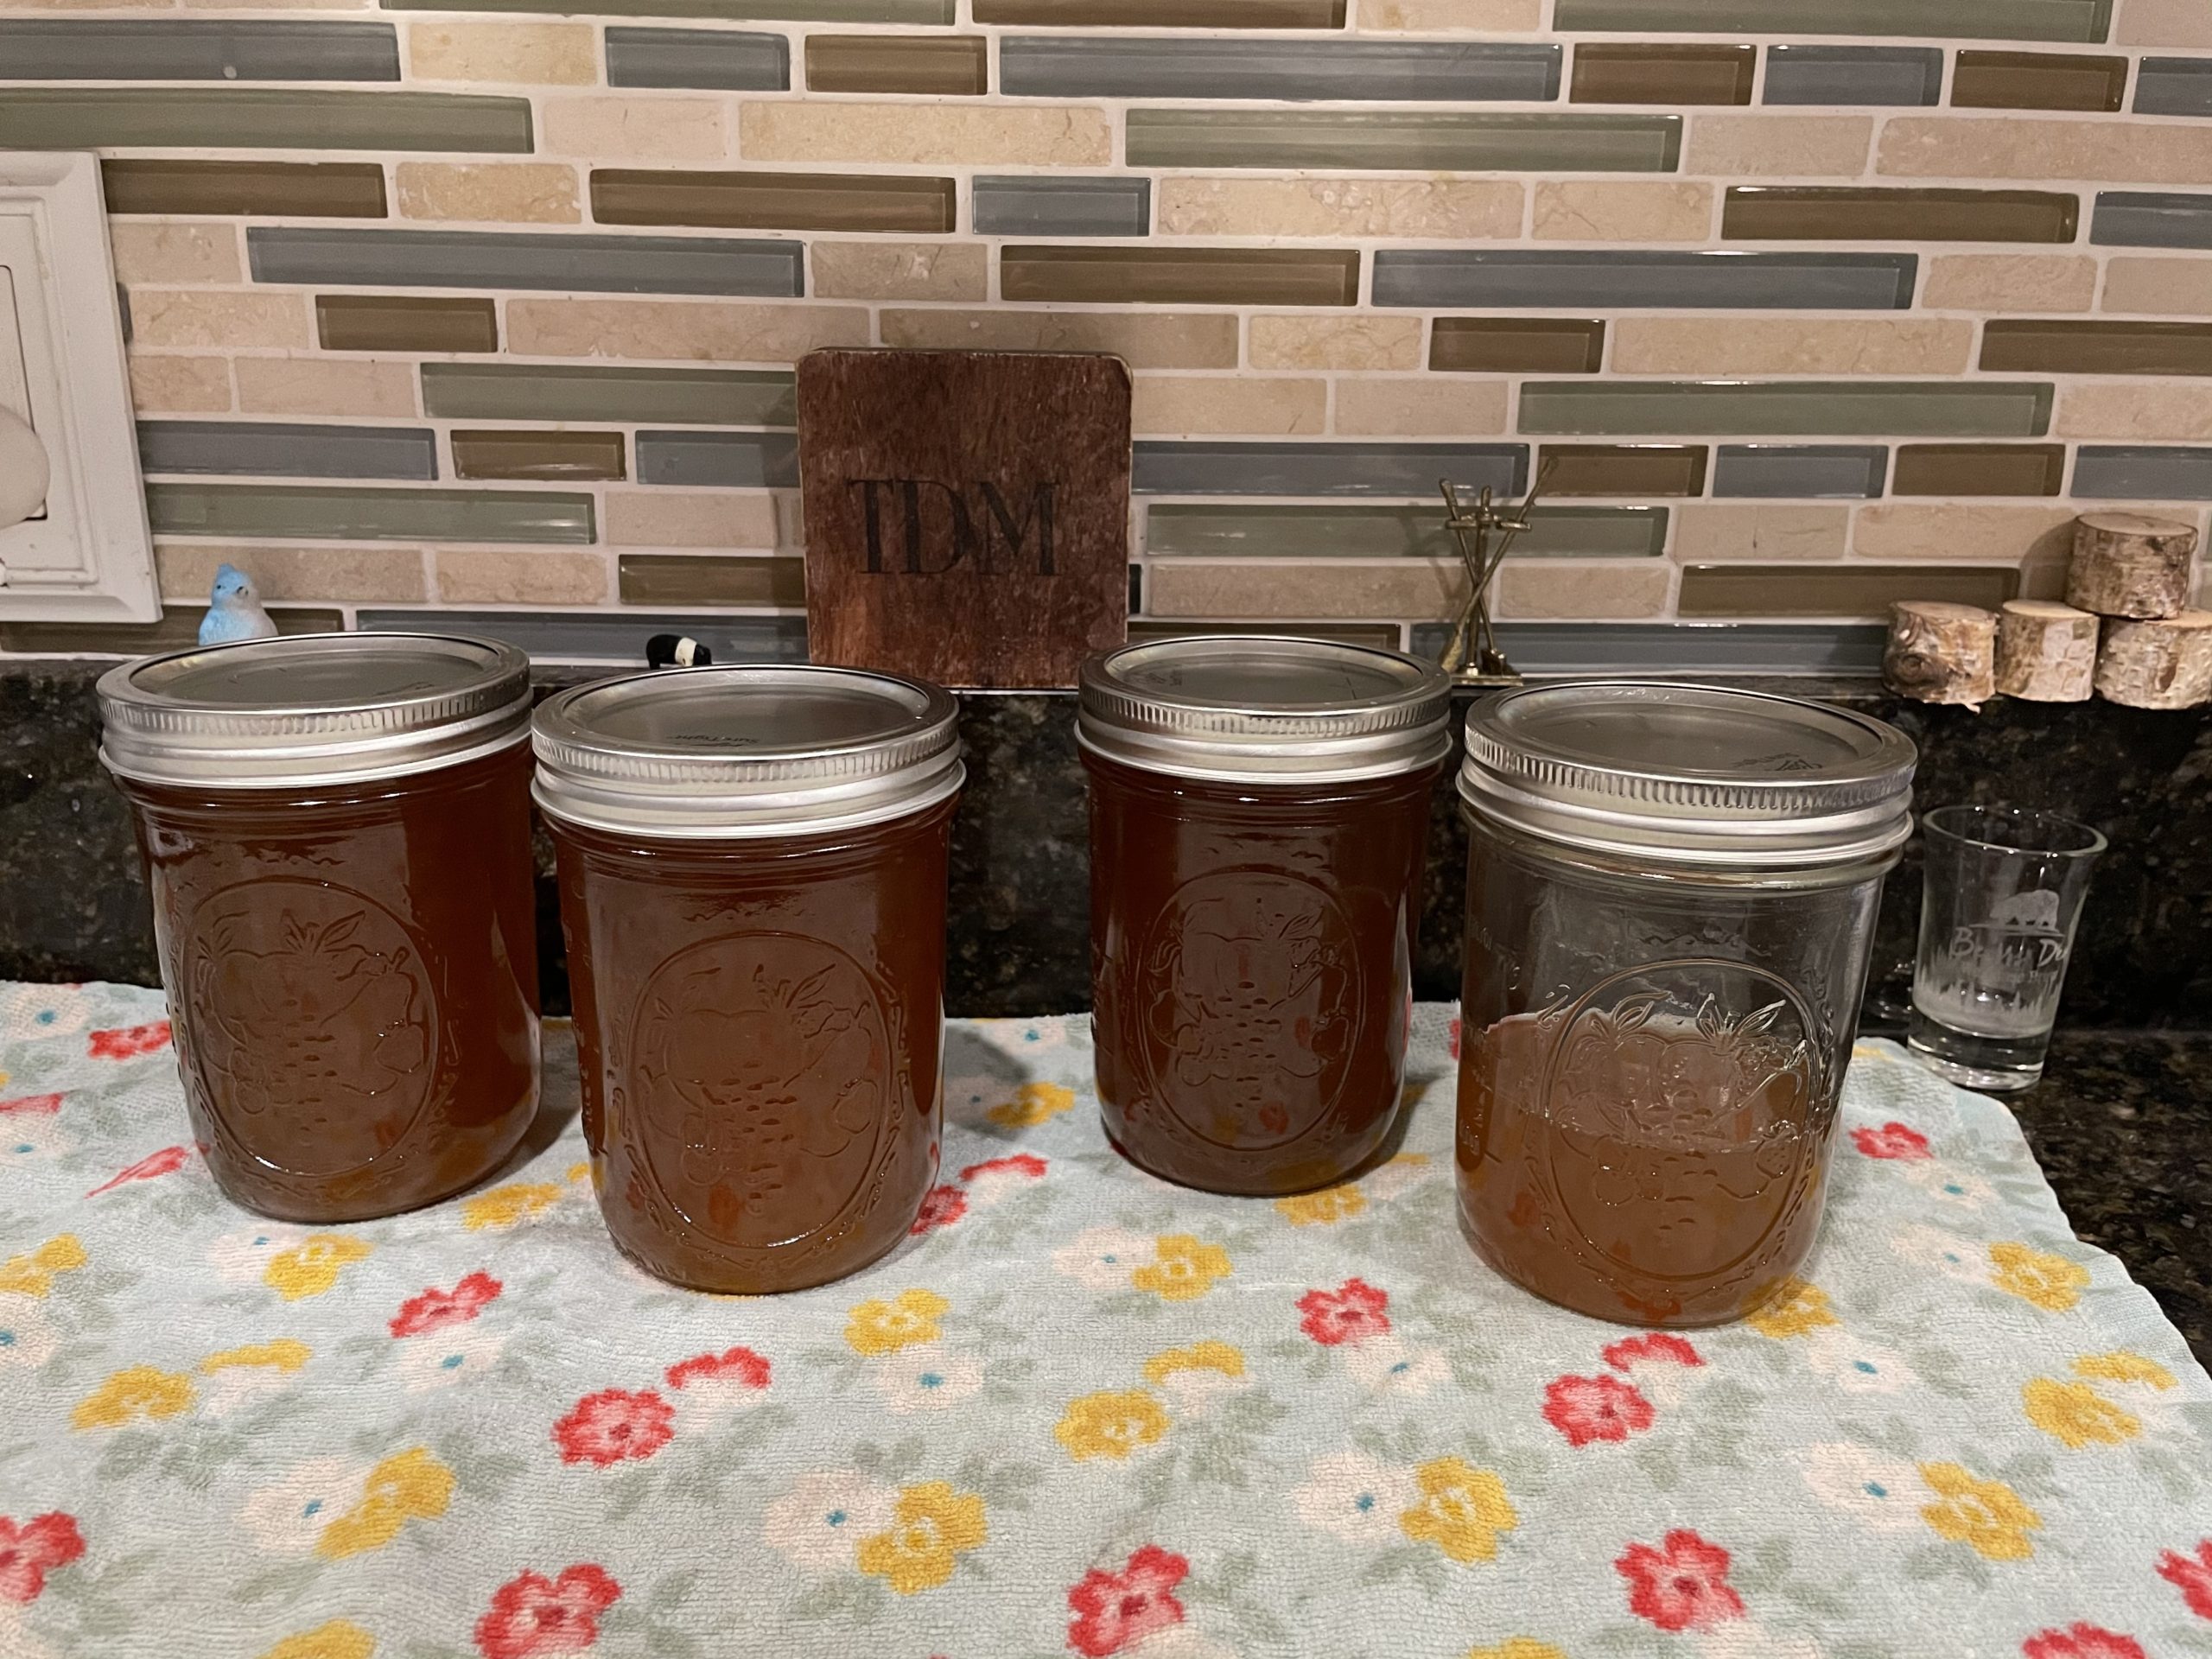
Making Maple Syrup Tips For Beginners
Since we are new to making maple syrup, this is NOT going to be a “How To” Page of the process. Instead it’s a list of tips that we WISH we knew ahead of time or that we learned JUST before we started.
We hope it will be helpful to any other Maple Tapping Beginner out there.
You will find a zillion of opinions about the process. Listen to other’s experiences and keep them in mind however ultimately it’s going to be finding what works for YOU and finding your OWN way of doing things.
Ok Let’s dive in!
“They”= Experienced Maple Tappers
Find a Network
If you have Facebook, I HIGHLY encourage you to find a Maple Tappers page specifically for your area/state. This made the experience all the more fantastic and successful for us.
There are tappers that have the weather down to an exact science (homemade charts/graphs and all!) as to when to tap and when to hold out just a bit longer. Giving heads up of when there should be a “good run” or encouragement that “Tomorrow is going to be slow, but the next day we’ll see a flow!”. They help take a lot of the 1st timer guess work away.
My very first boil, Troy was away and I was incredibly nervous. Everything I had read and watched went out the window when boiling day came, as I was doing it alone. Well…nope..I lied..I wasn’t alone. I had the three kids pulling me in every direction, being hungry, thirsty, potty training accidents, boys fighting, all kids fighting..etc… all while trying not to boil over or burn all of the sap we managed to collect.
I posted multiple questions on our state’s maple tapping Facebook page, and soon I was in a private message conversation with someone who was walking me through every step of the way in real time. It was incredible and I couldn’t have done it without him!
Also, no one else truly gets the level of excitement with your collection or your finished product like other Maple Tappers.
Find your Maple Tribe!
*Disclaimer: As an Amazon Associate we earn money from qualifying purchases.
Drill Bit
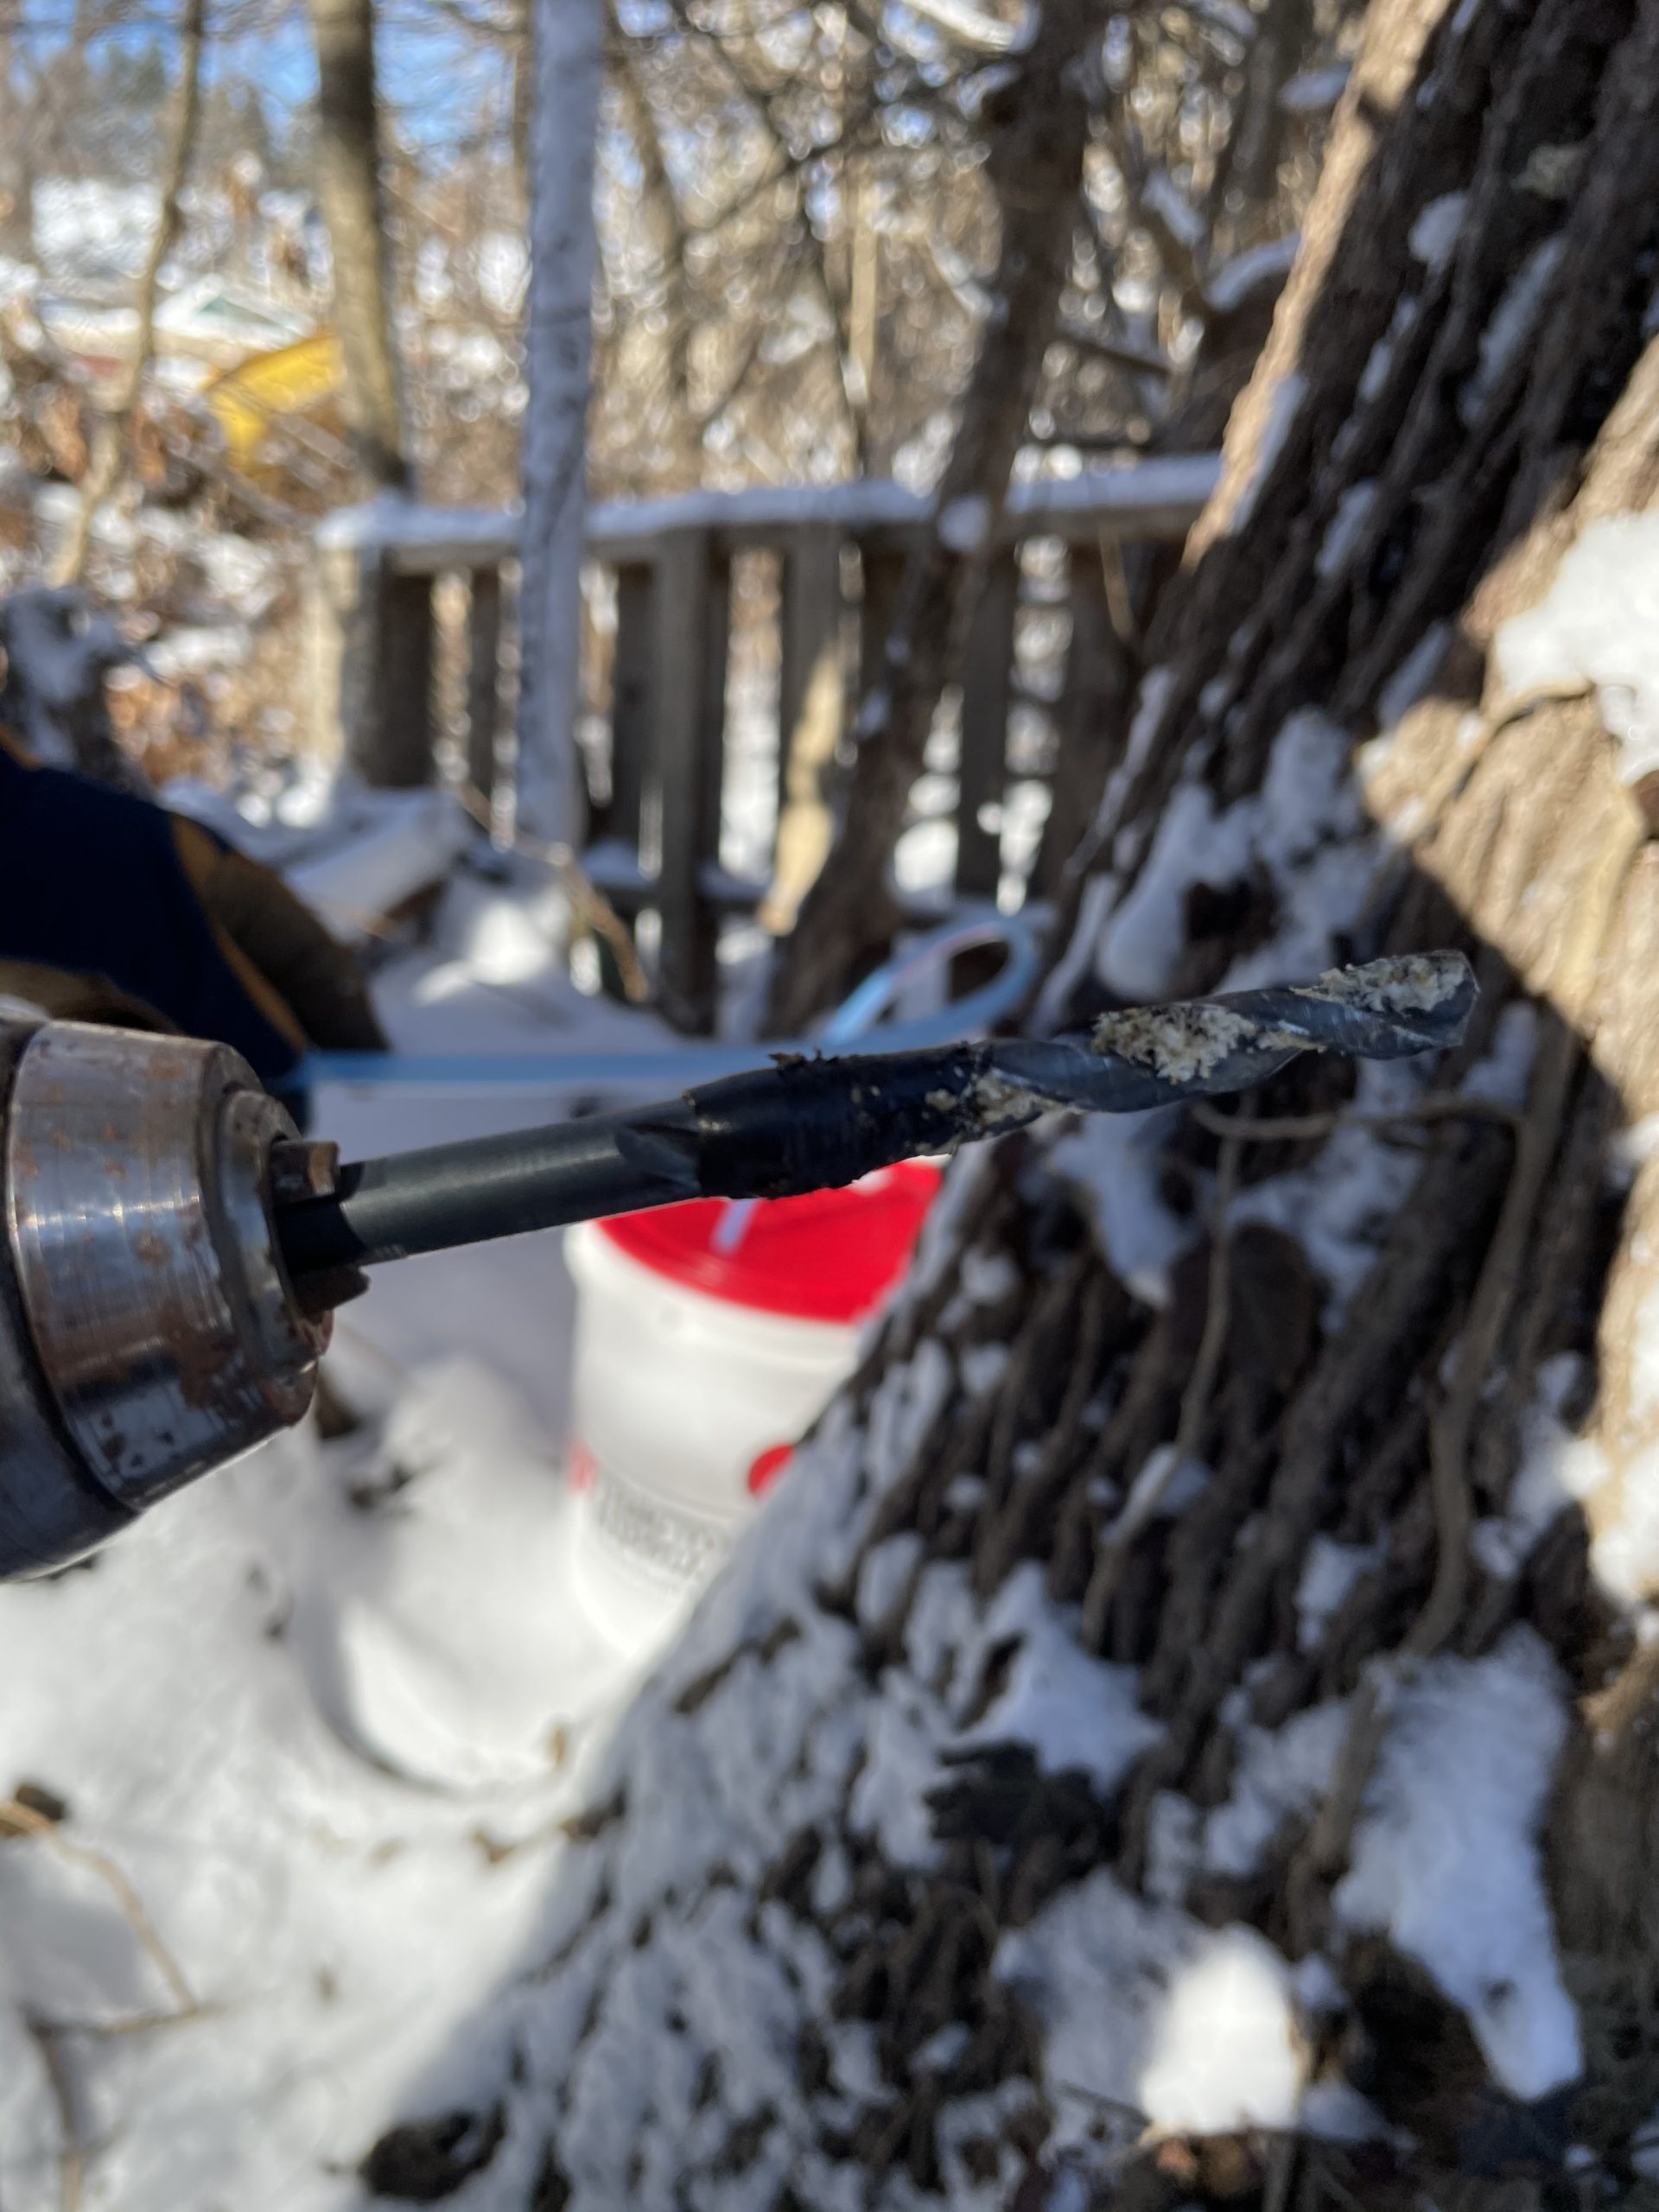
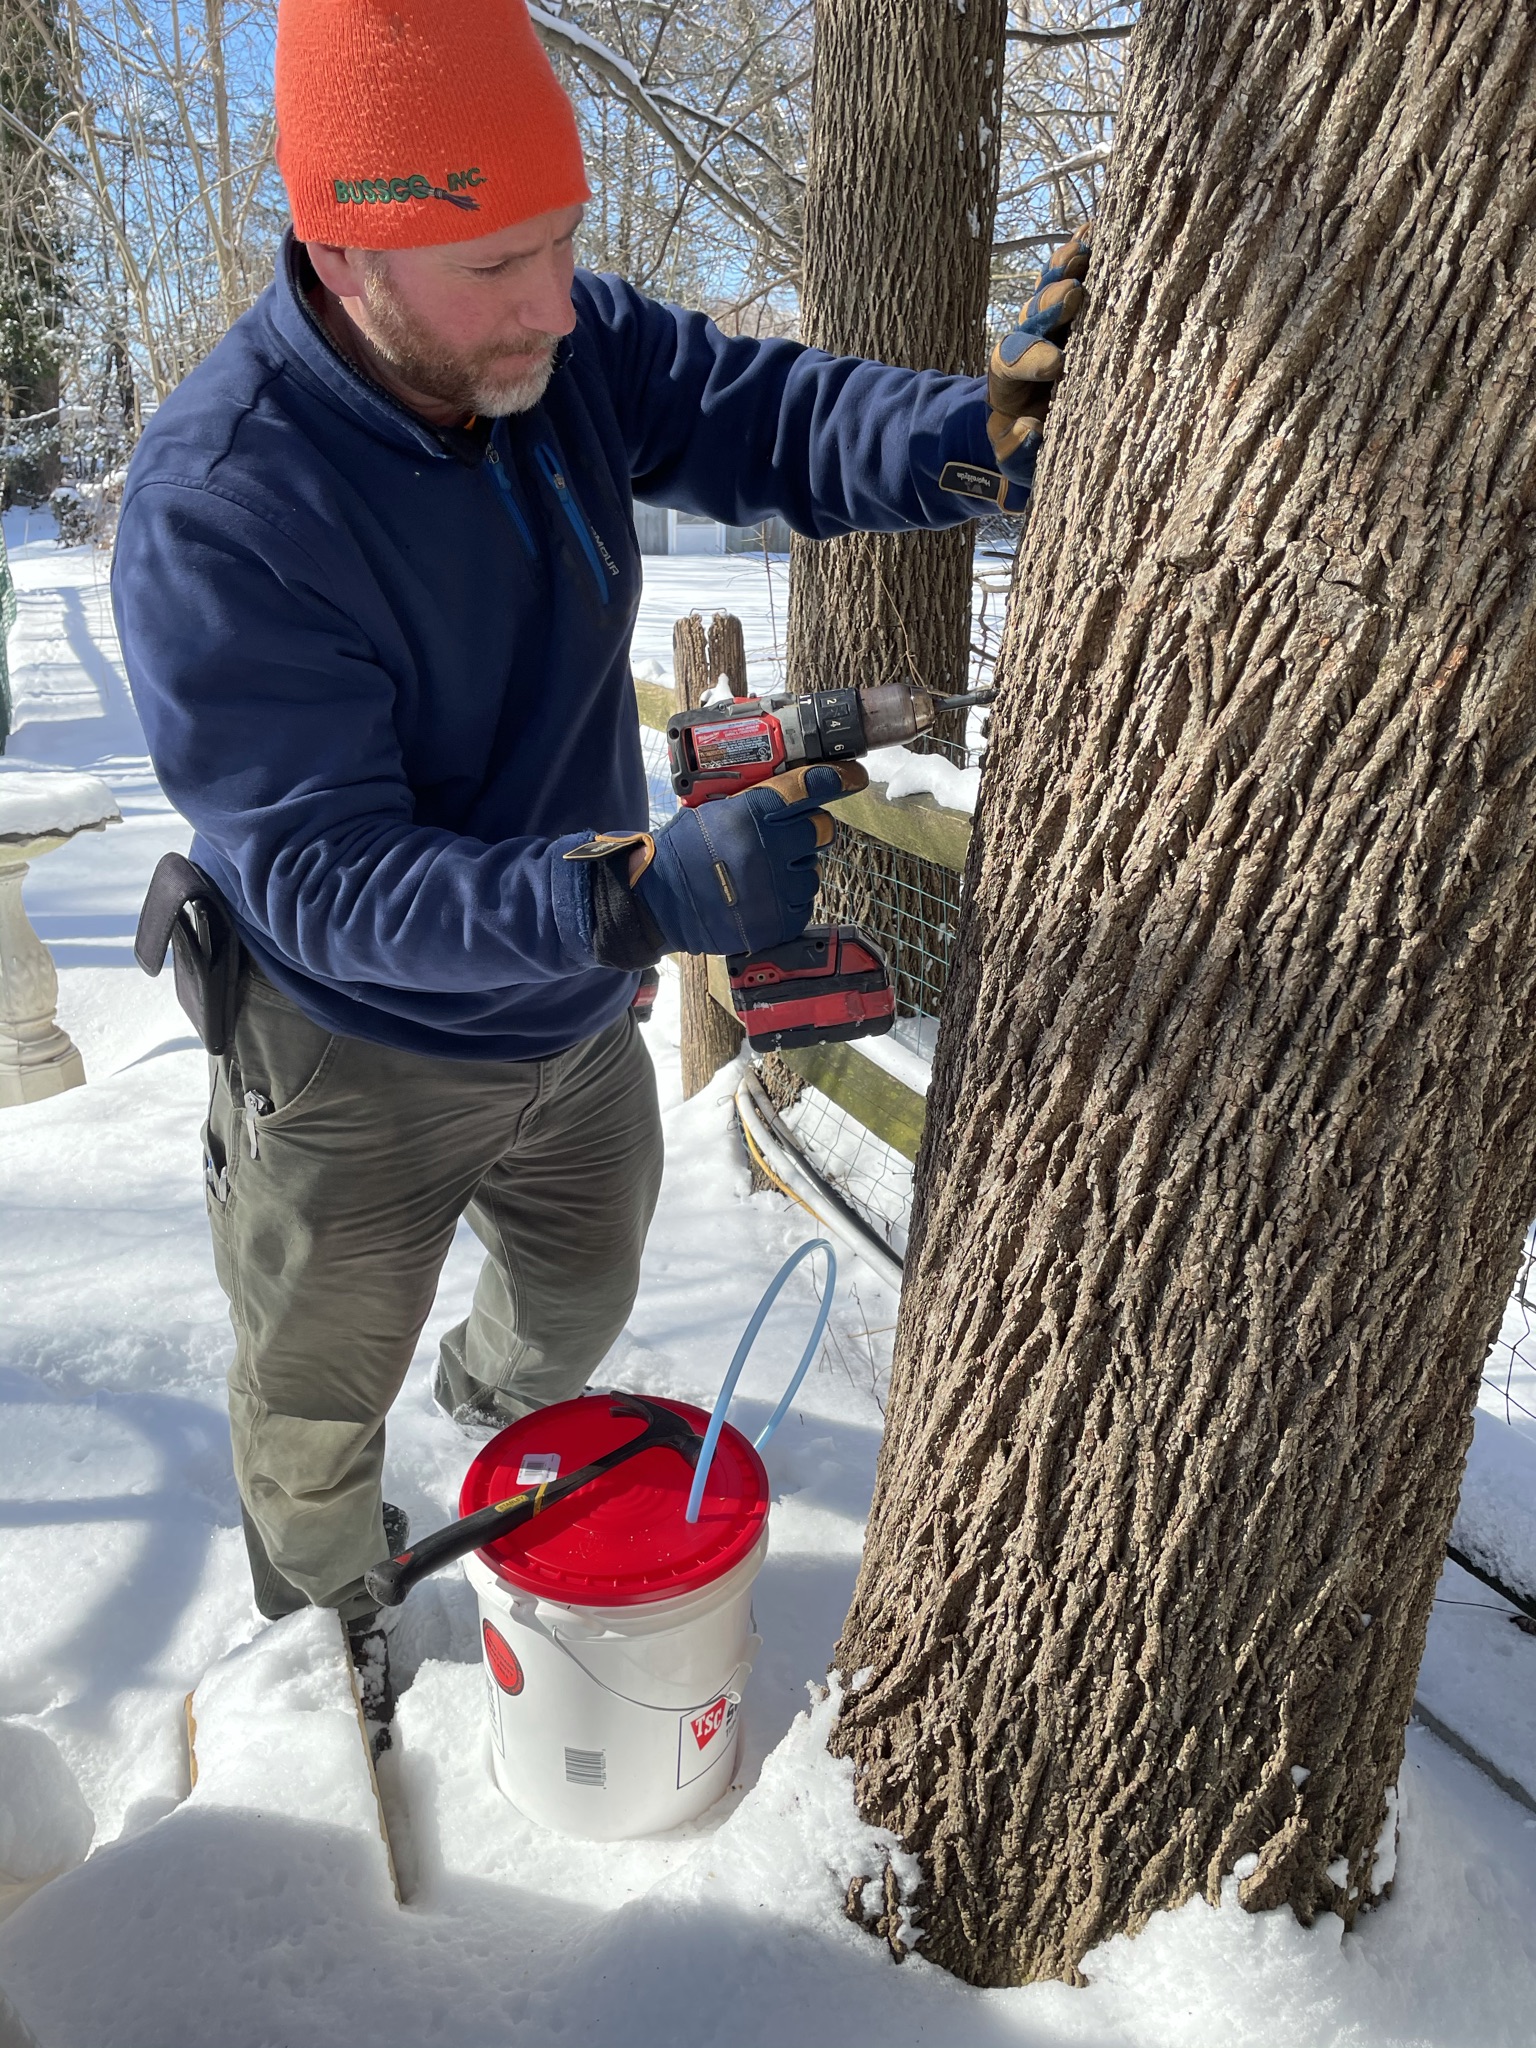
*Yes, the above tree is a Black Walnut and not a Maple…you could tap them too! Delicious! They are the only drill bit pics I had. Yes, I know we tapped way too high, ideally you should be 2-3 feet above base of tree, “they” say the lower the better flow. Learning curve!
Do yourself and your trees a favor and buy a new drill bit for tapping. Dull drill bits could cause rough wood to be in your hole. It could cause problems with the sap flow, but also many people have issues with sap leaking from around the tap and not all of it going into the hose. A lot of times this is from not having a sharp drill bit to start with.
While we’re at it, make it easy on yourself, add some tape onto your drill bit at 2 inches from the tip. When you go around, drilling your taps, you’ll instantly know when to stop.
Plastic vs. Stainless Steel Taps
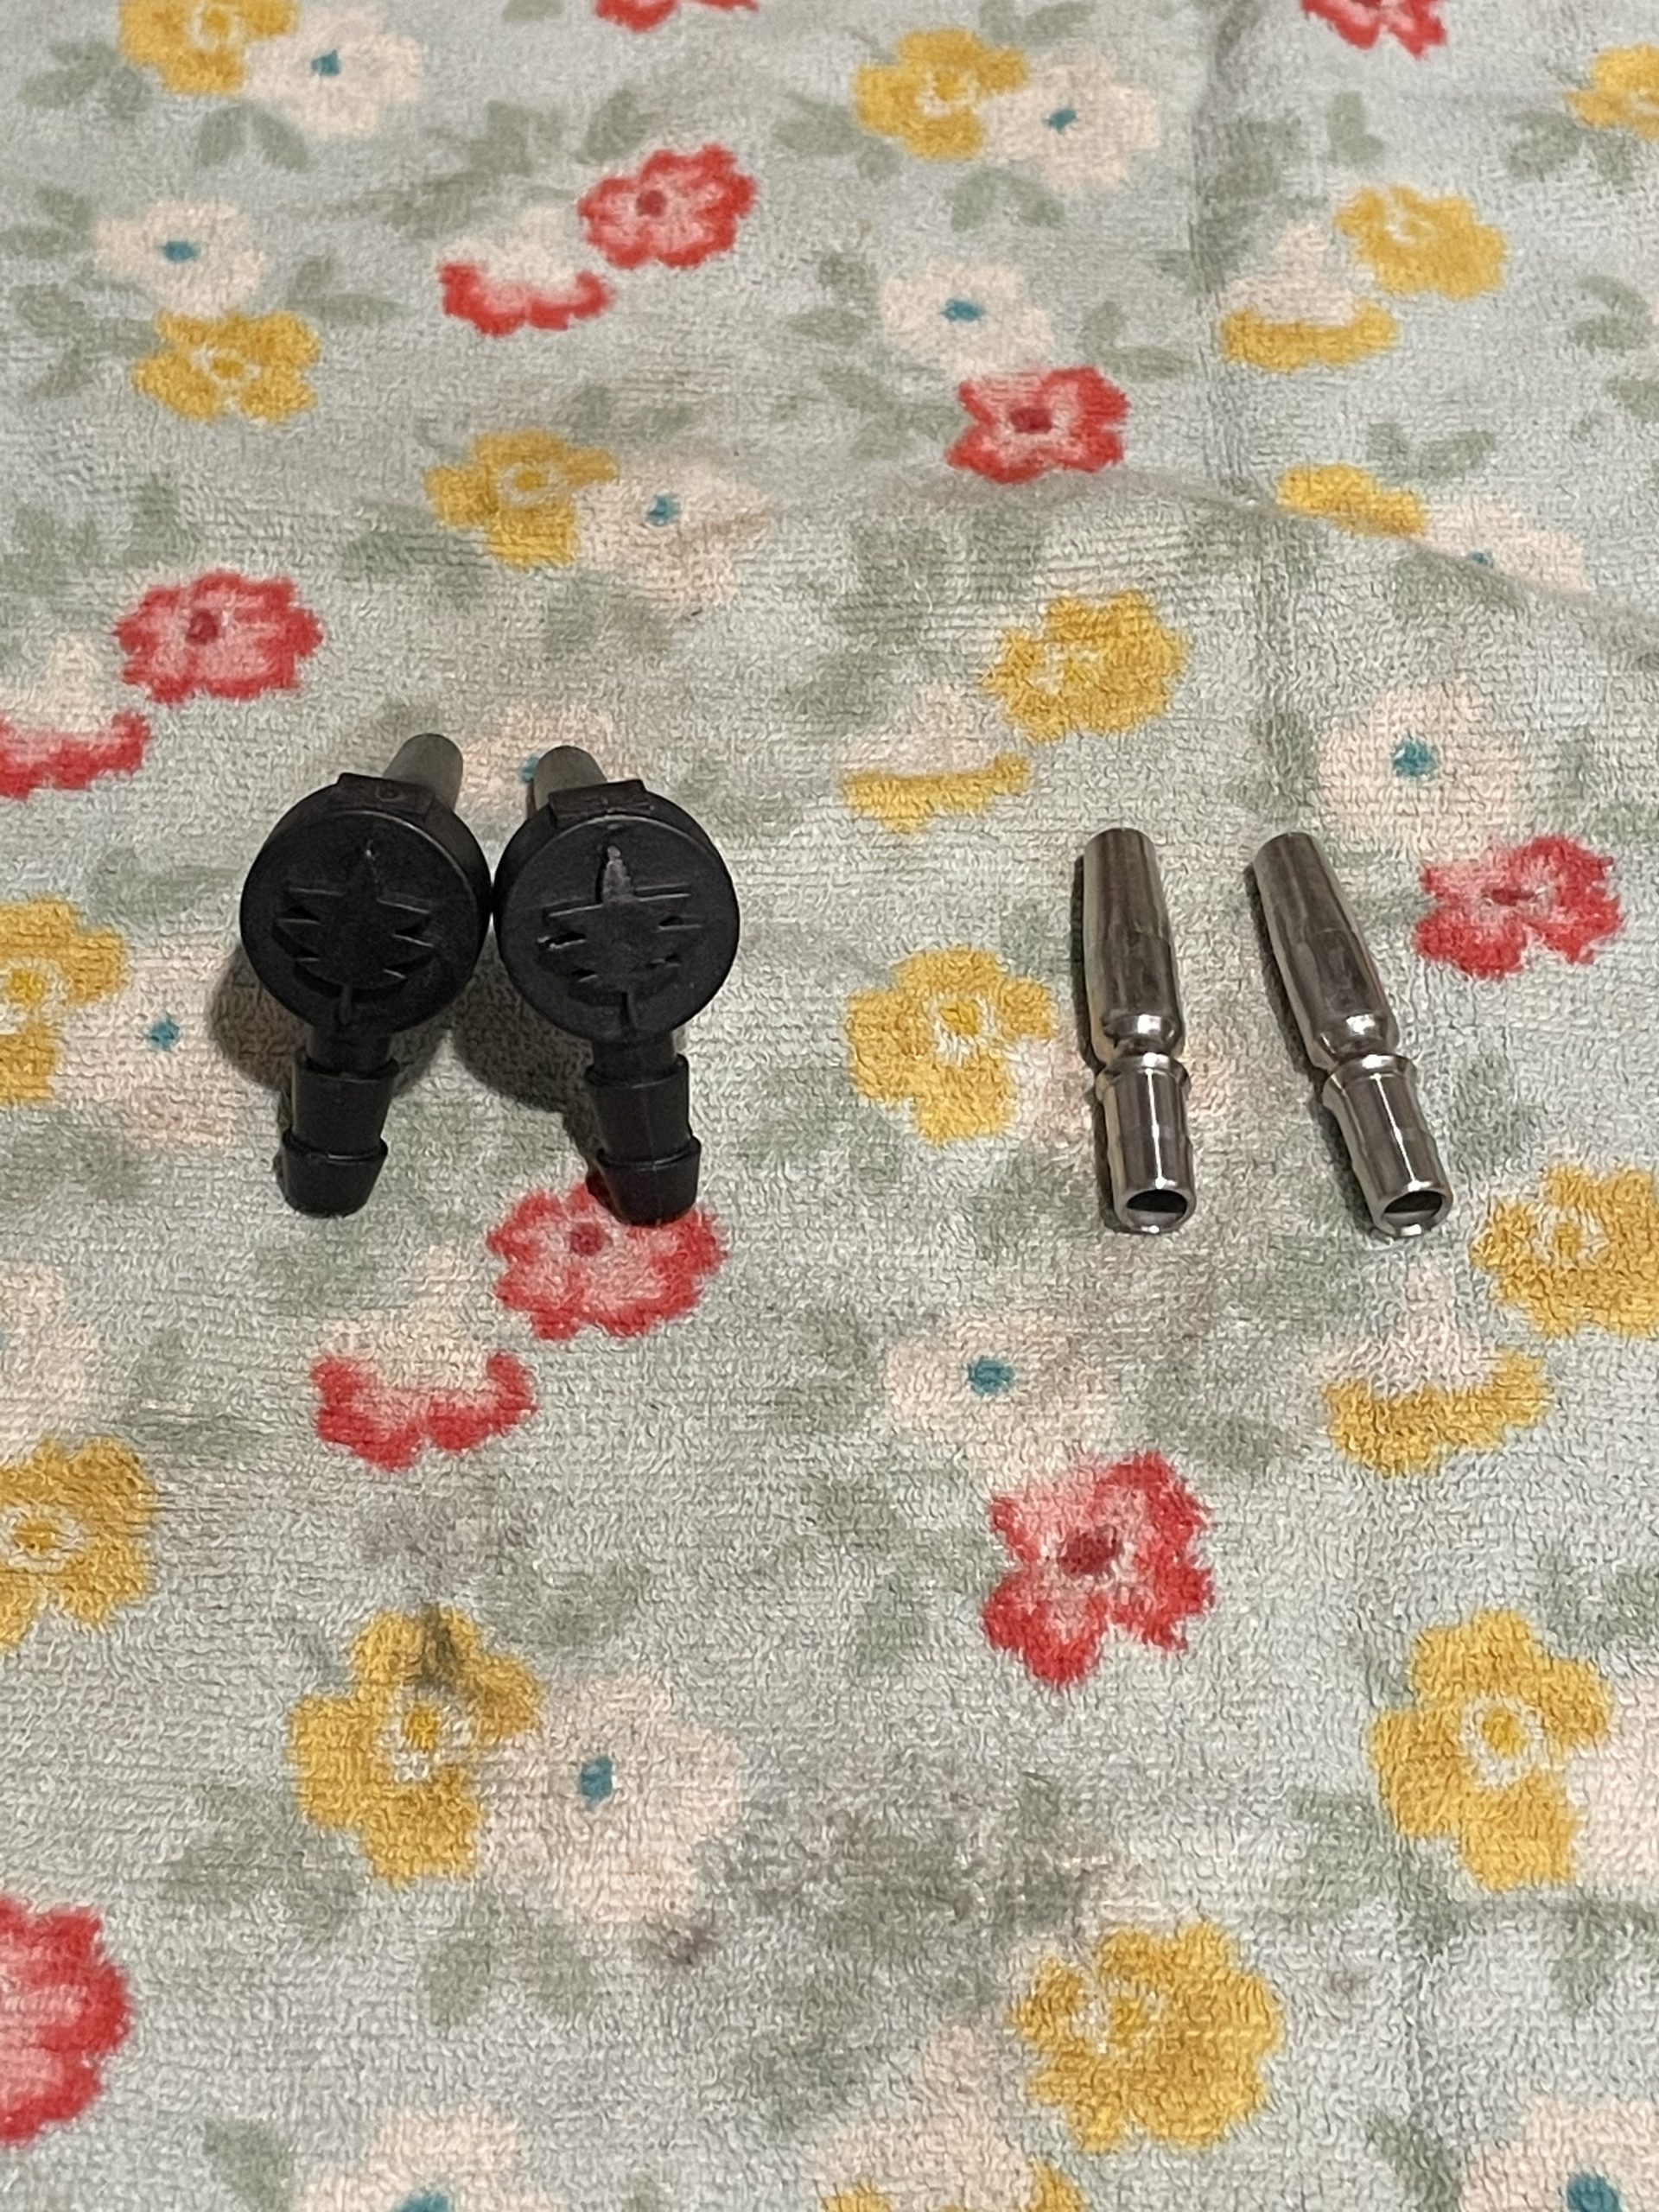
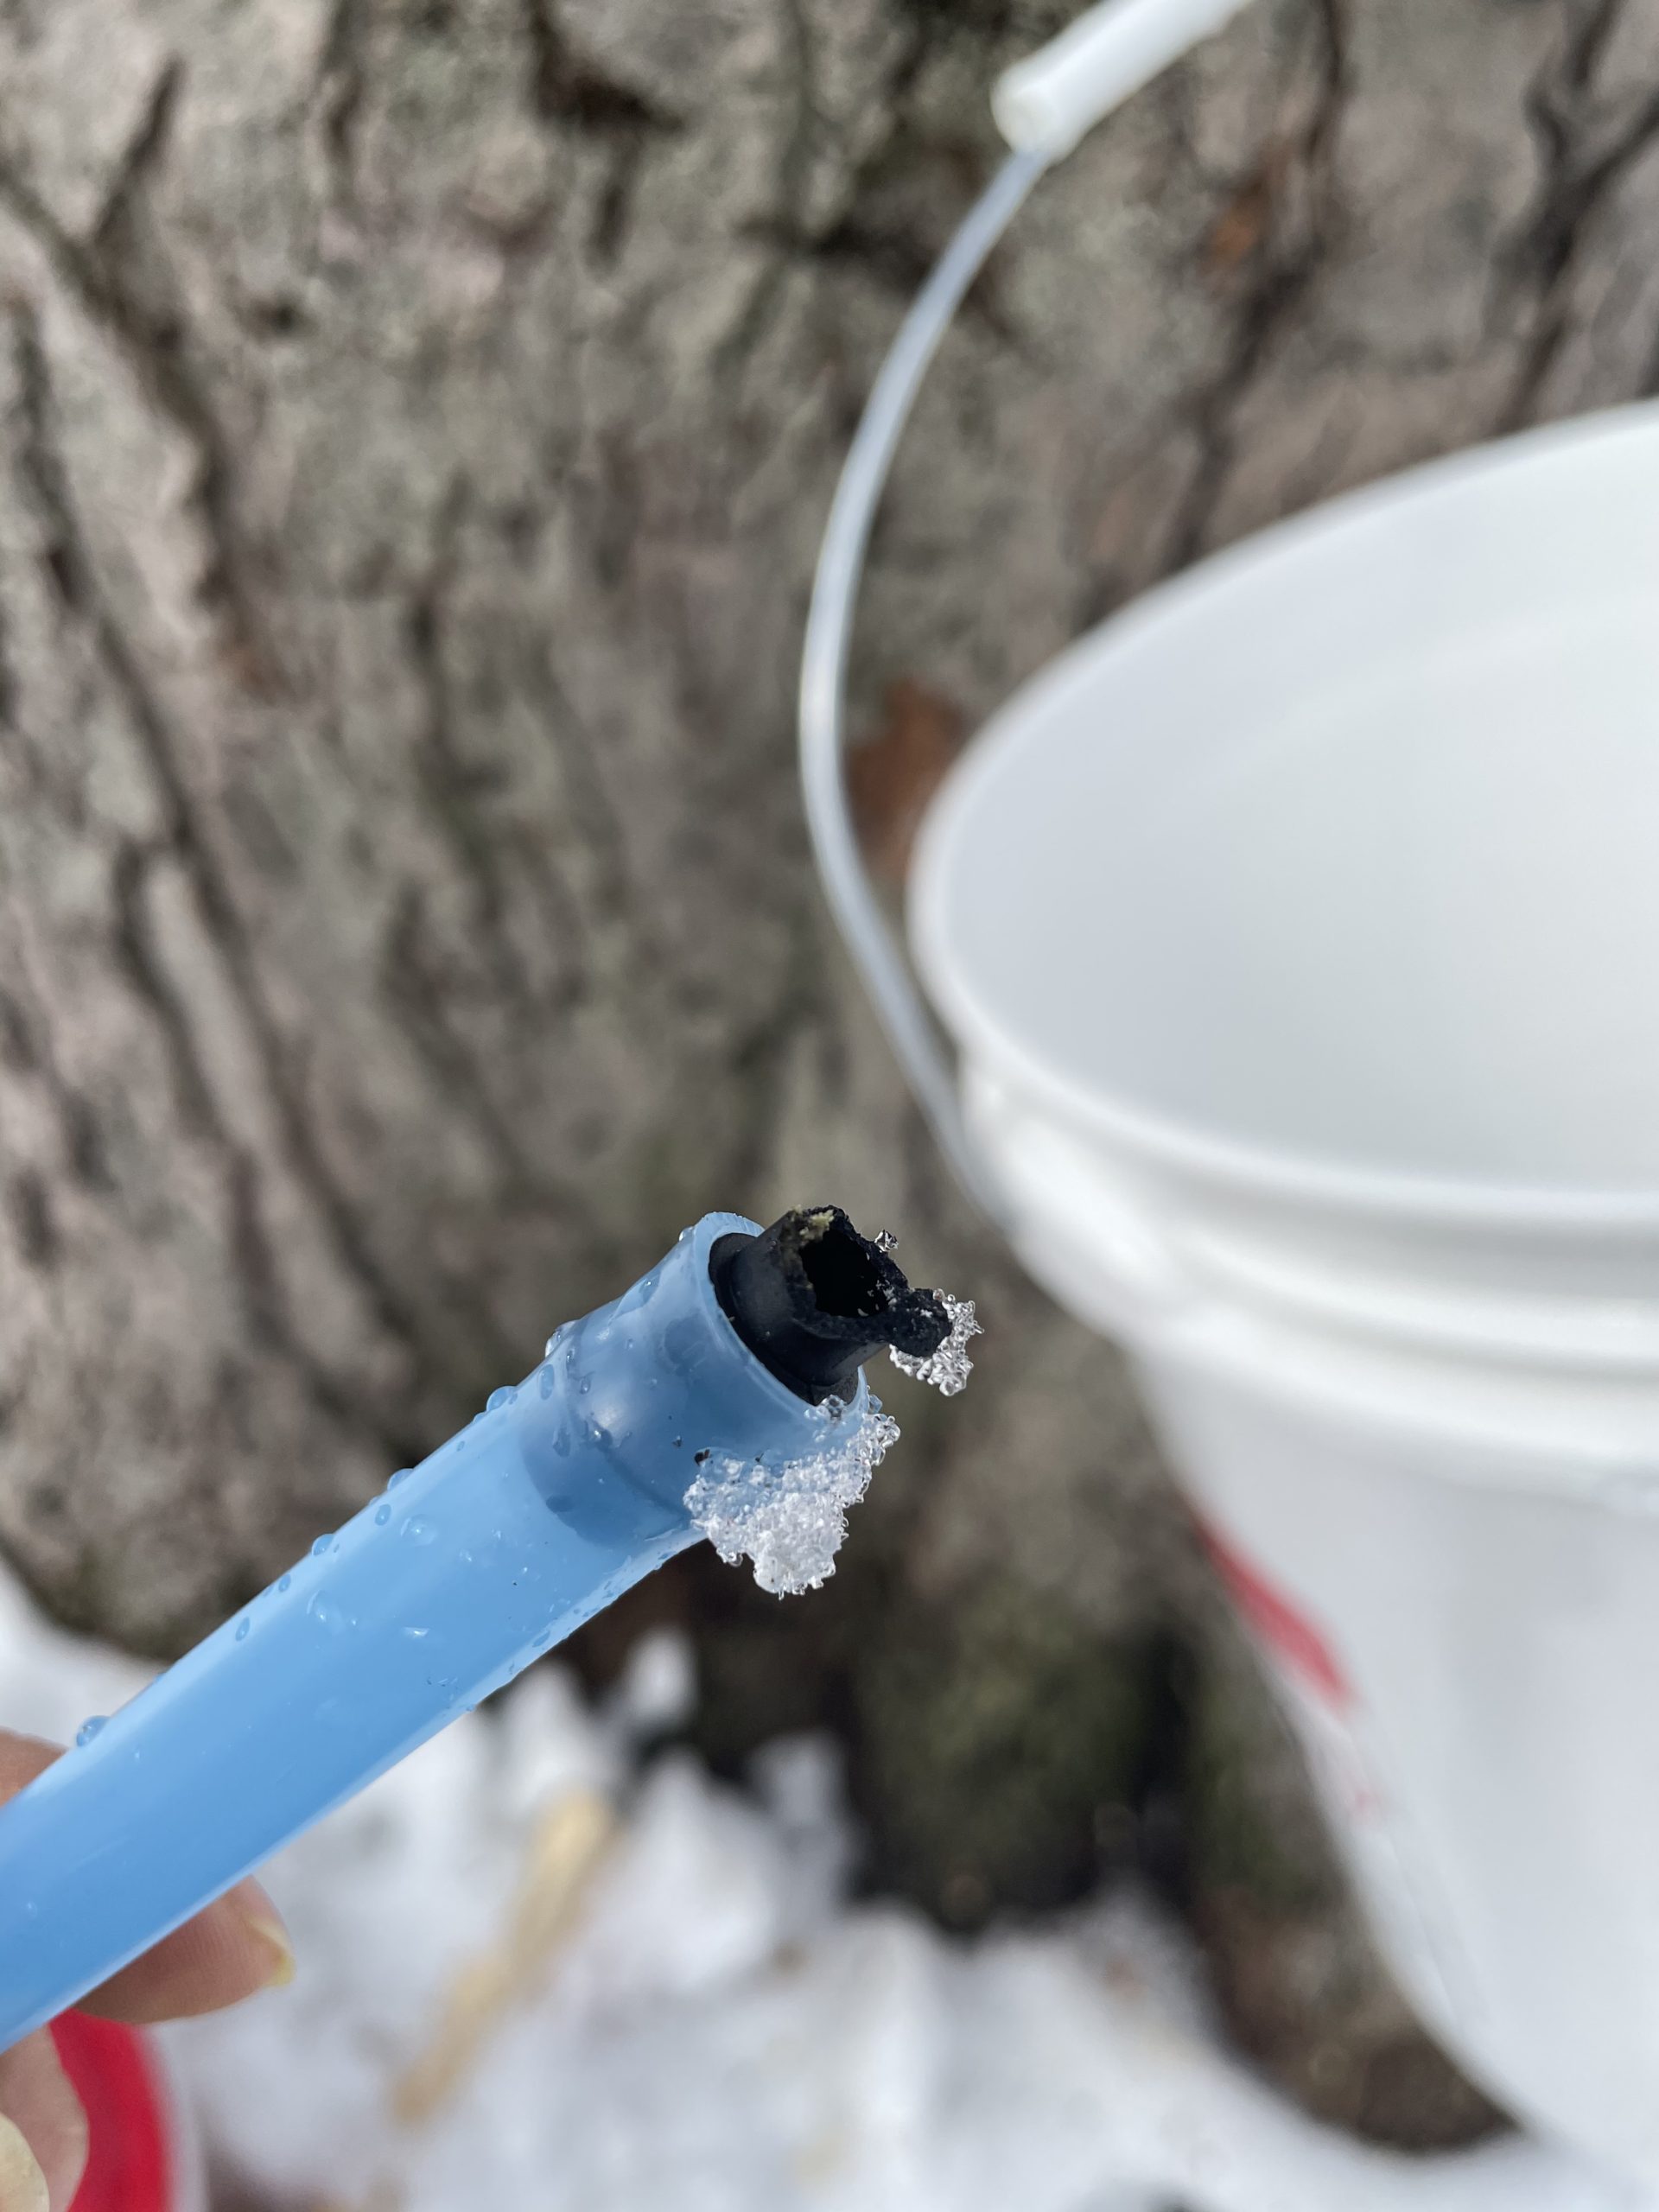
We initially started with a maple tapping kit that came with plastic taps. I’ve talked to people who use these by the hundreds with no problem at all and others who had the same experience as we did.
We broke some due to user error, hammering too hard accidently (which easily happens when using a regular hammer). Another I discovered one morning broken after 3 days of working fine..possibly we weakened it from initial hammering.?.? Not sure, however when I took a pair of pliers to gently attempt to pull out the nub from the tubing, the plastic just kept crumbling that I was never able to get a grip on it.
Needless to say we are NOT impressed by the cheap plastic taps.
We ordered stainless taps to try to get us through the season and they have worked flawlessly. In the future these will be the only way we go regarding taps.
Hammer
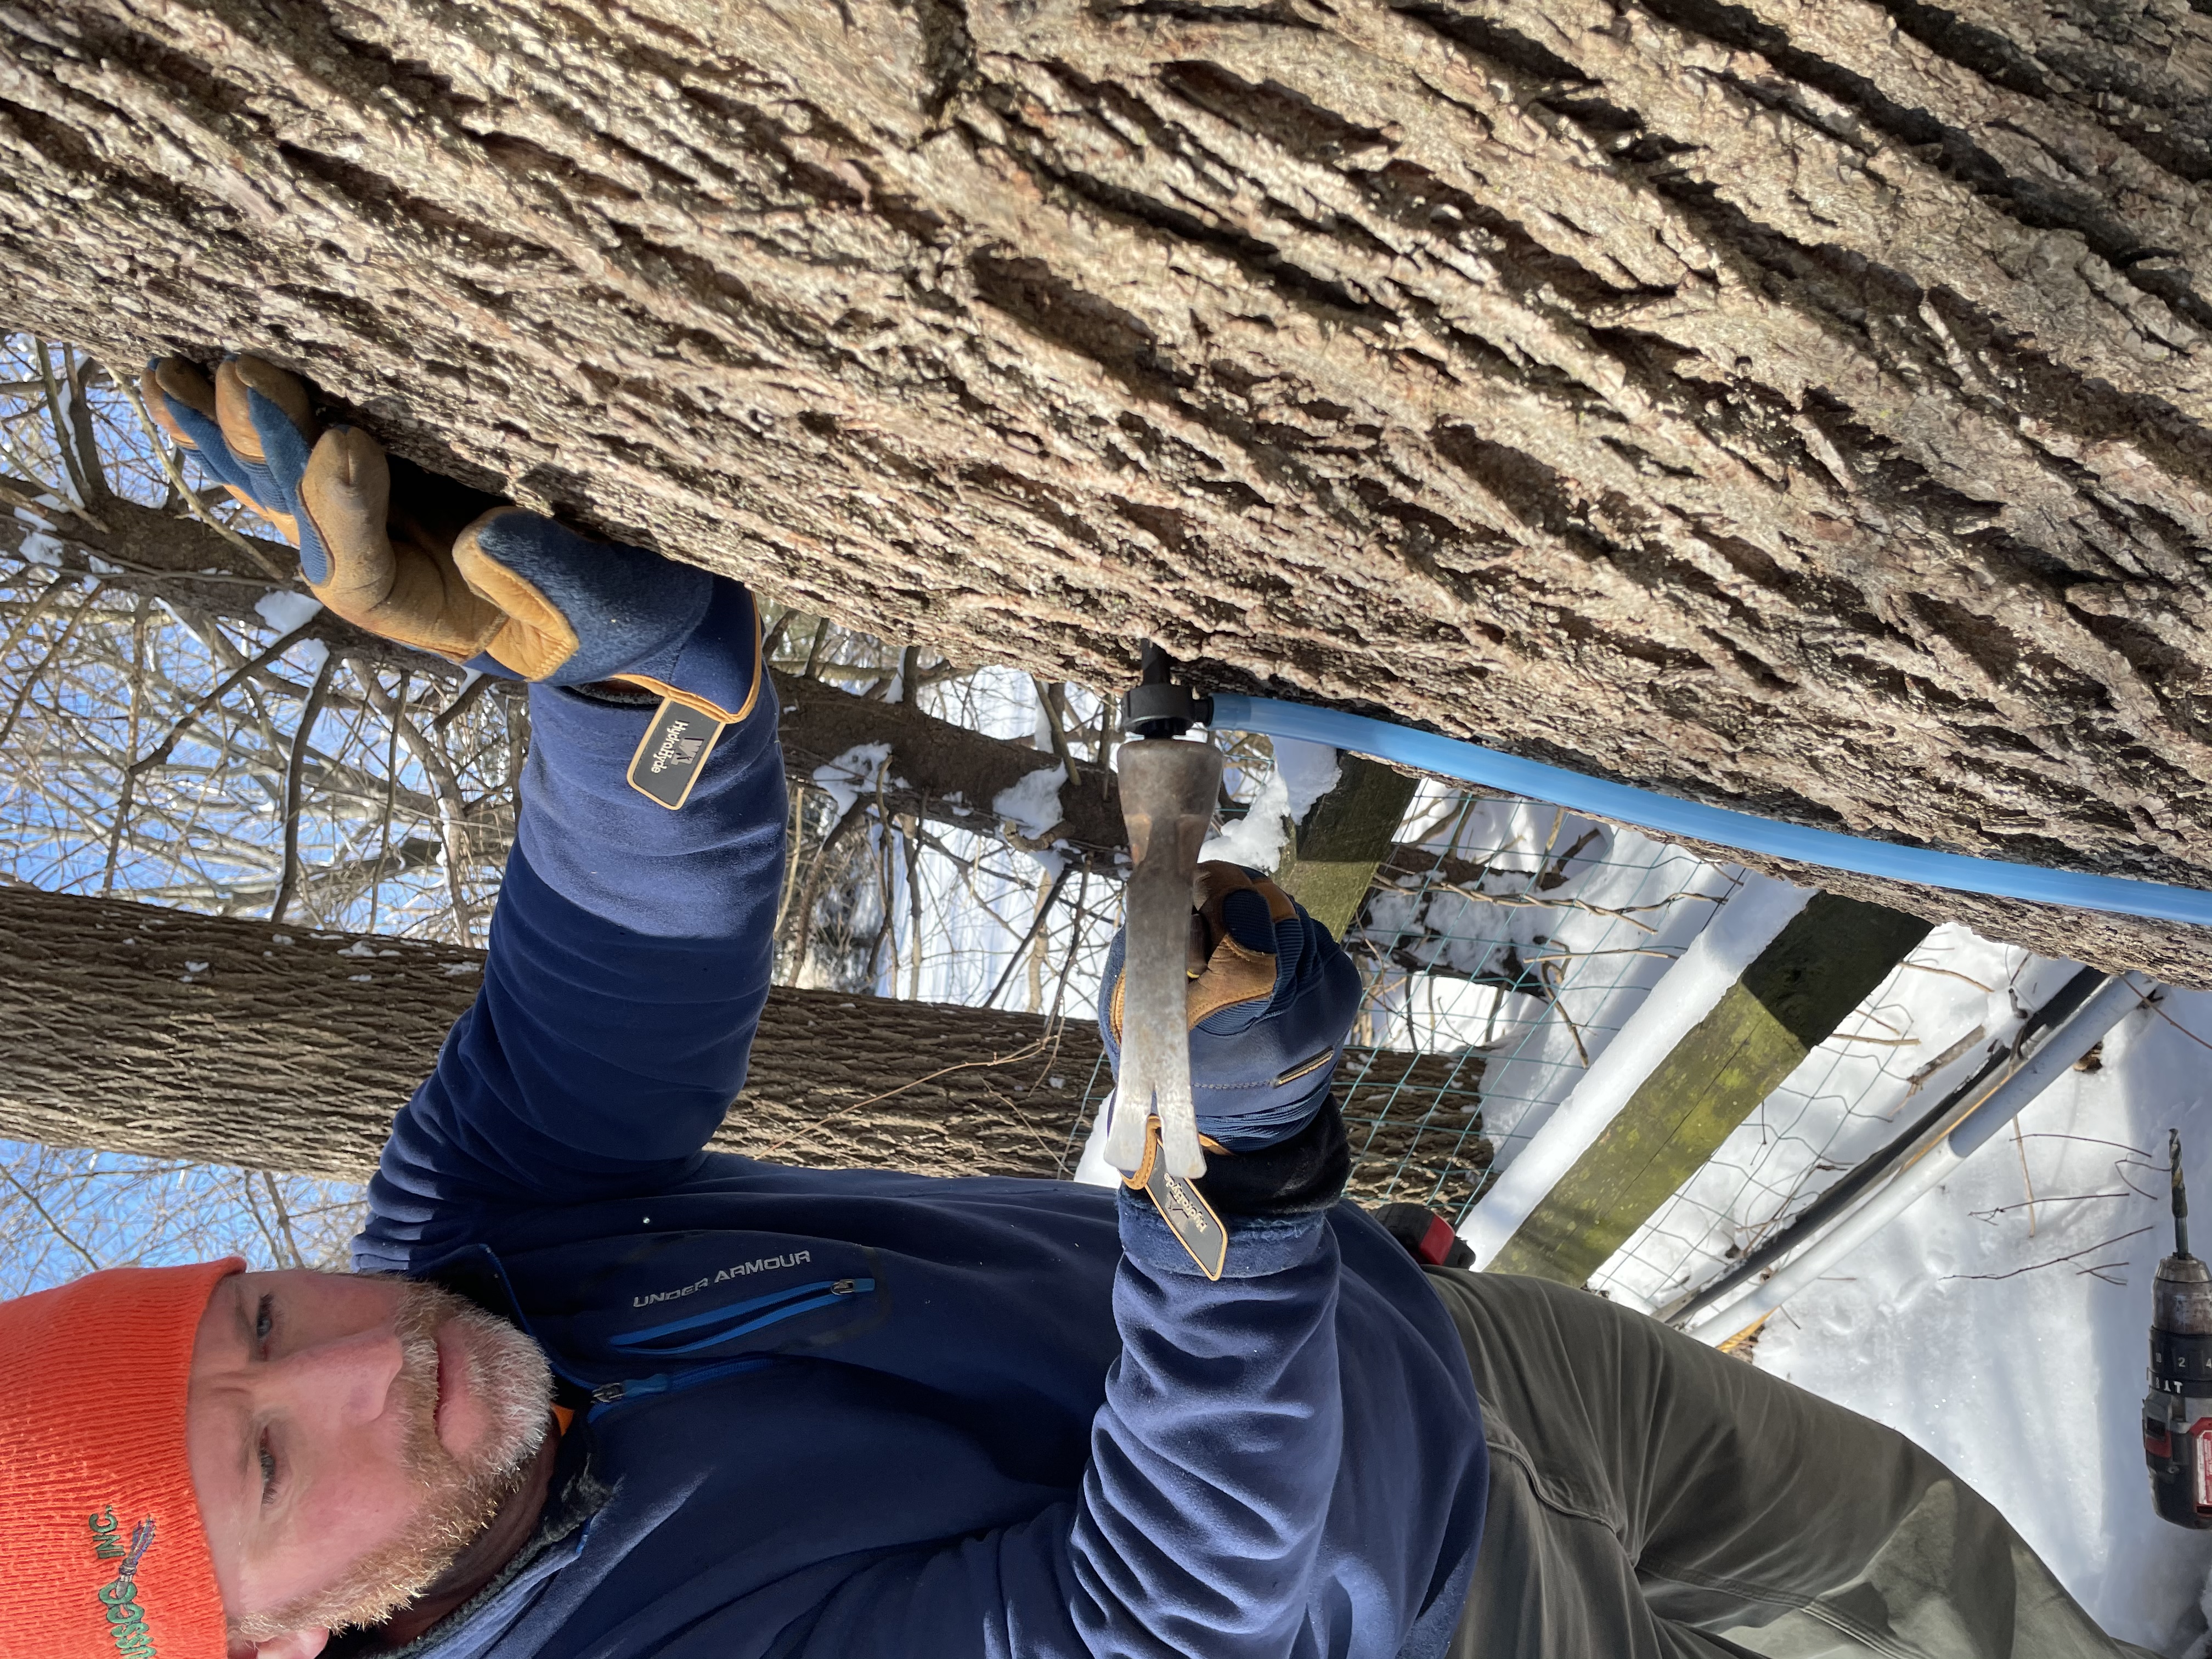
We used a regular hammer, if doing so TAP LIGHTLY….VERY LIGHTLY.
“They” actually recommend using lightweight or crafting type hammer.
Even though we didn’t FEEL like we hammered too hard, we obviously did by our outcome with the broken taps.
We are planning on getting a crafting hammer for next season.
Maple Tapping Hoses
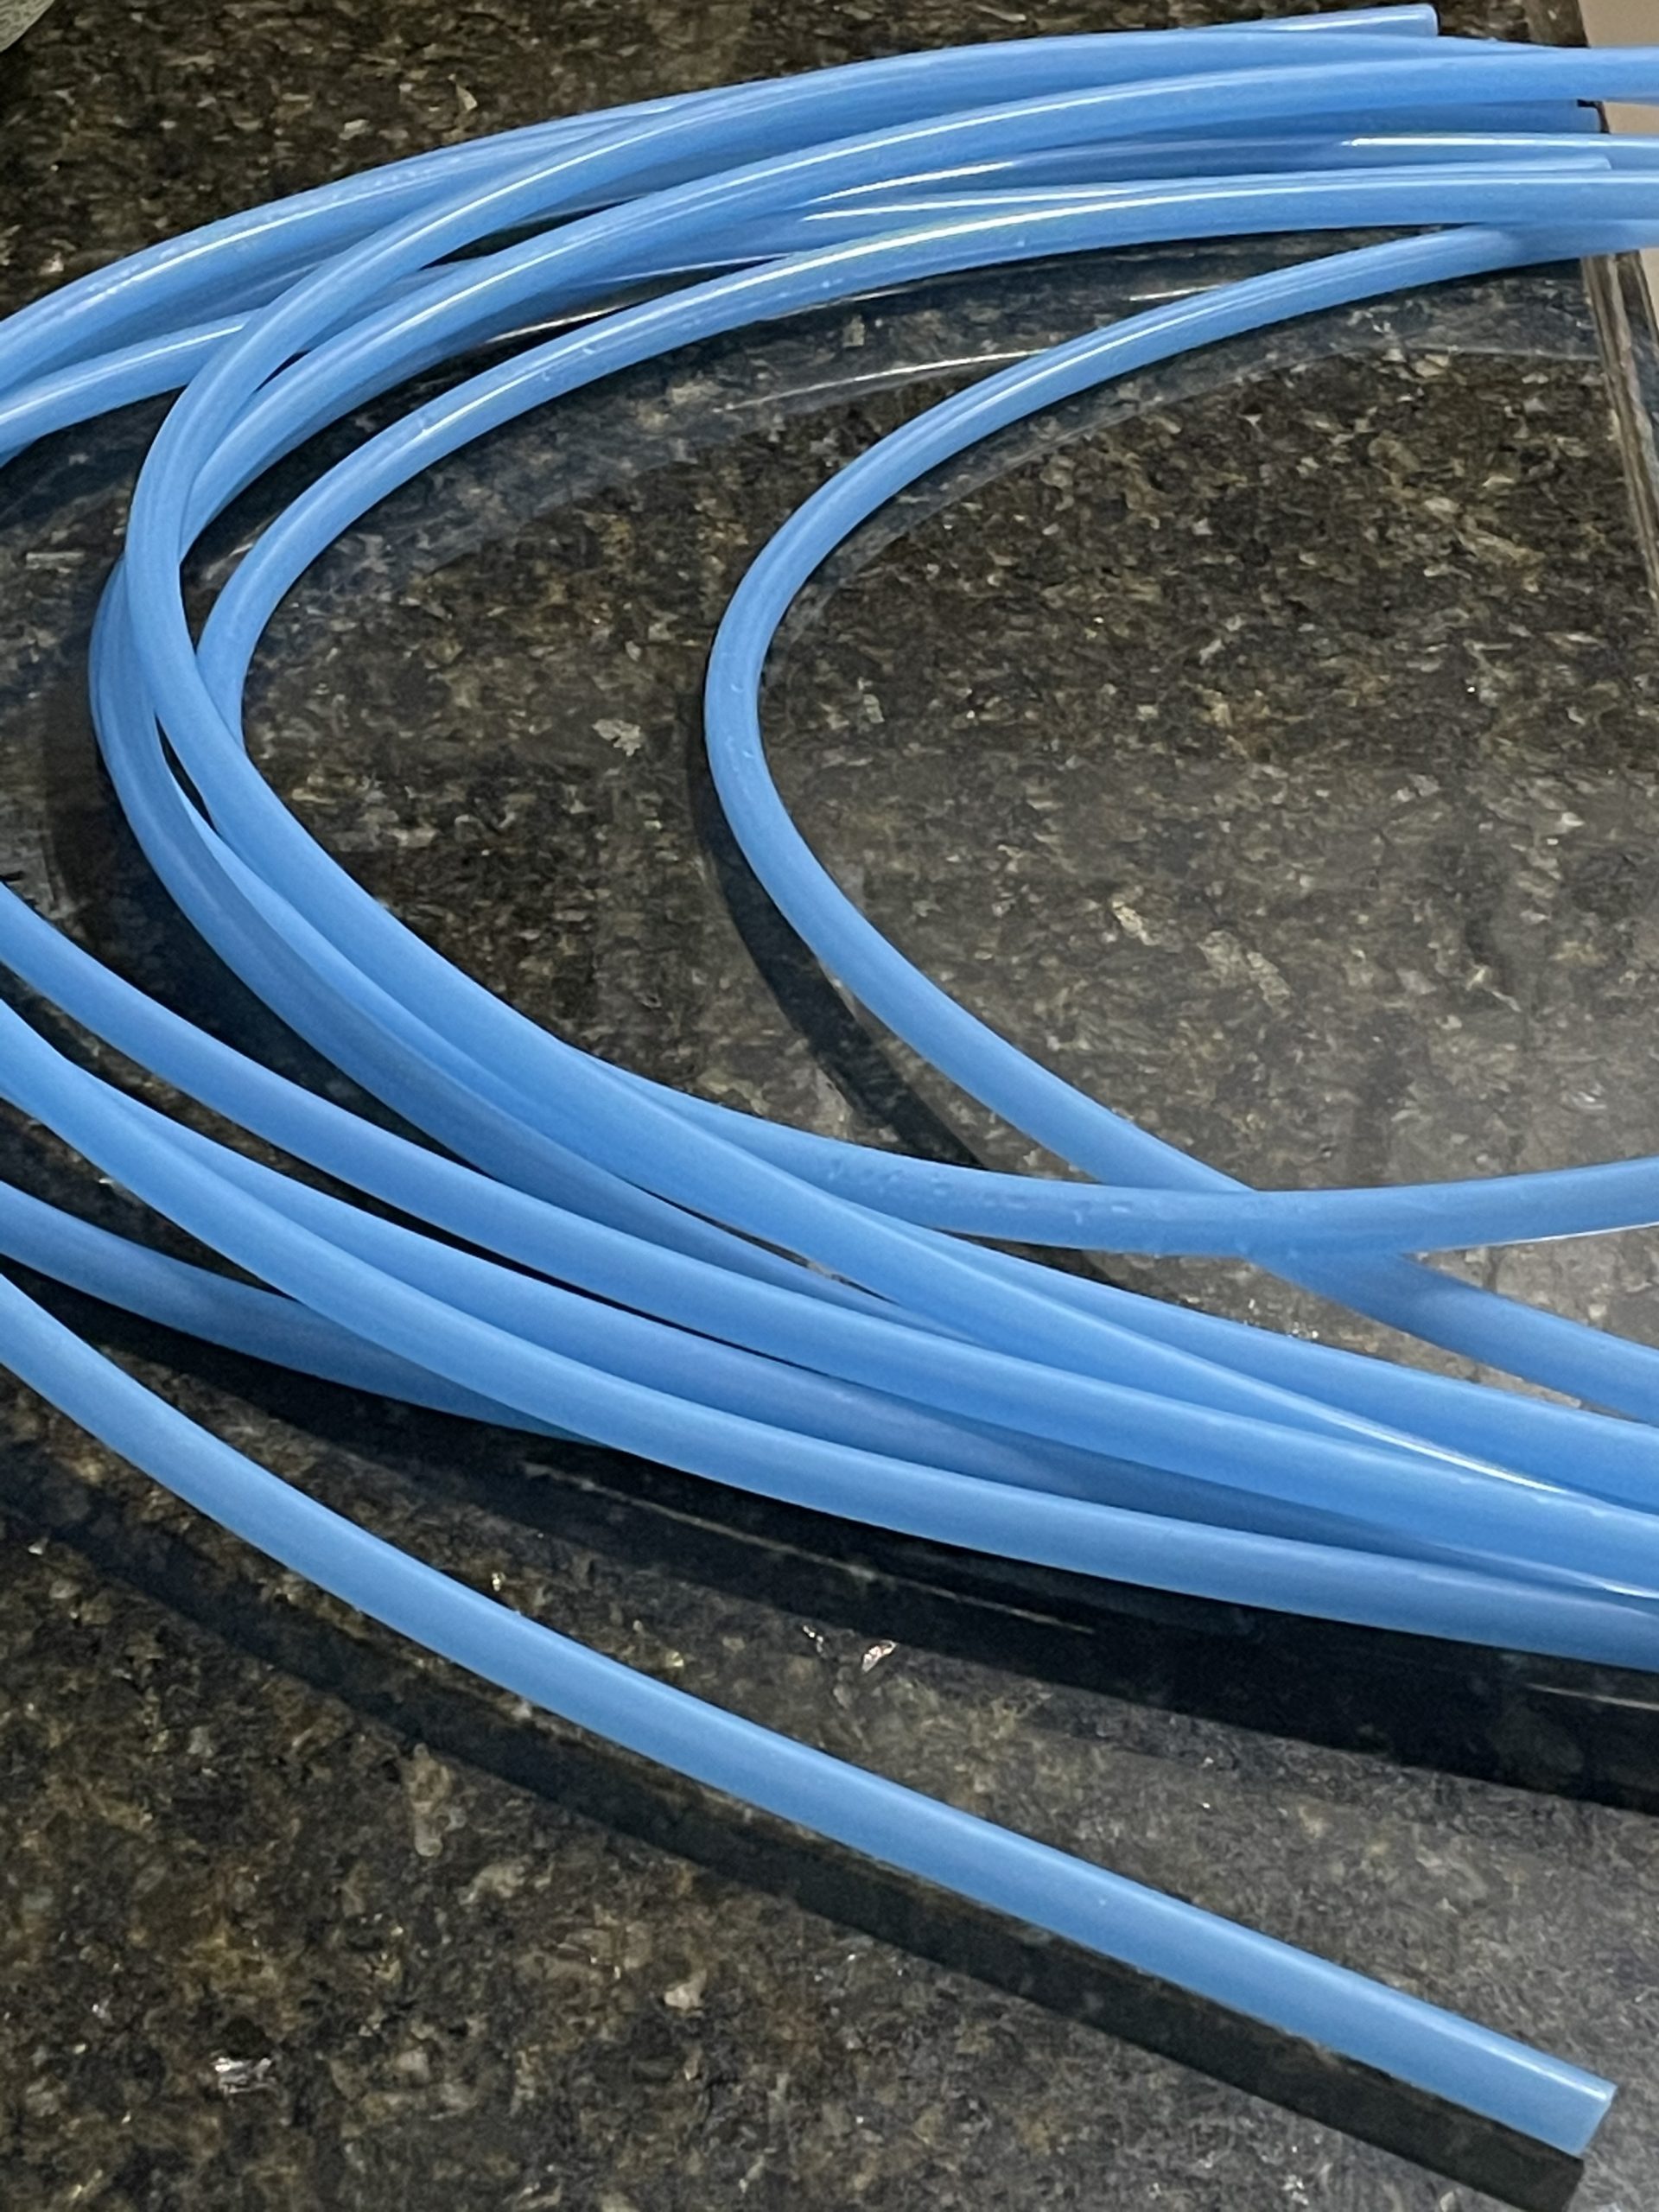
The maple tapping kit that we purchased came with pre-cut hoses.
They suited their purpose, reaching from the tap to the bucket …..IF you put the bucket directly under the tap, HOWEVER “they” recommend that you place your bucket in the shade of the tree, but these precut lines don’t always allow for that distance.
Also we ran into a few times having to cut the tubing, like when a tap broke and we couldn’t pull out the remaining piece from the tube. This made our already short precut tubing even shorter.
Next season we are definitely going with a roll of tubing instead.
2 Liter Bottle Trick
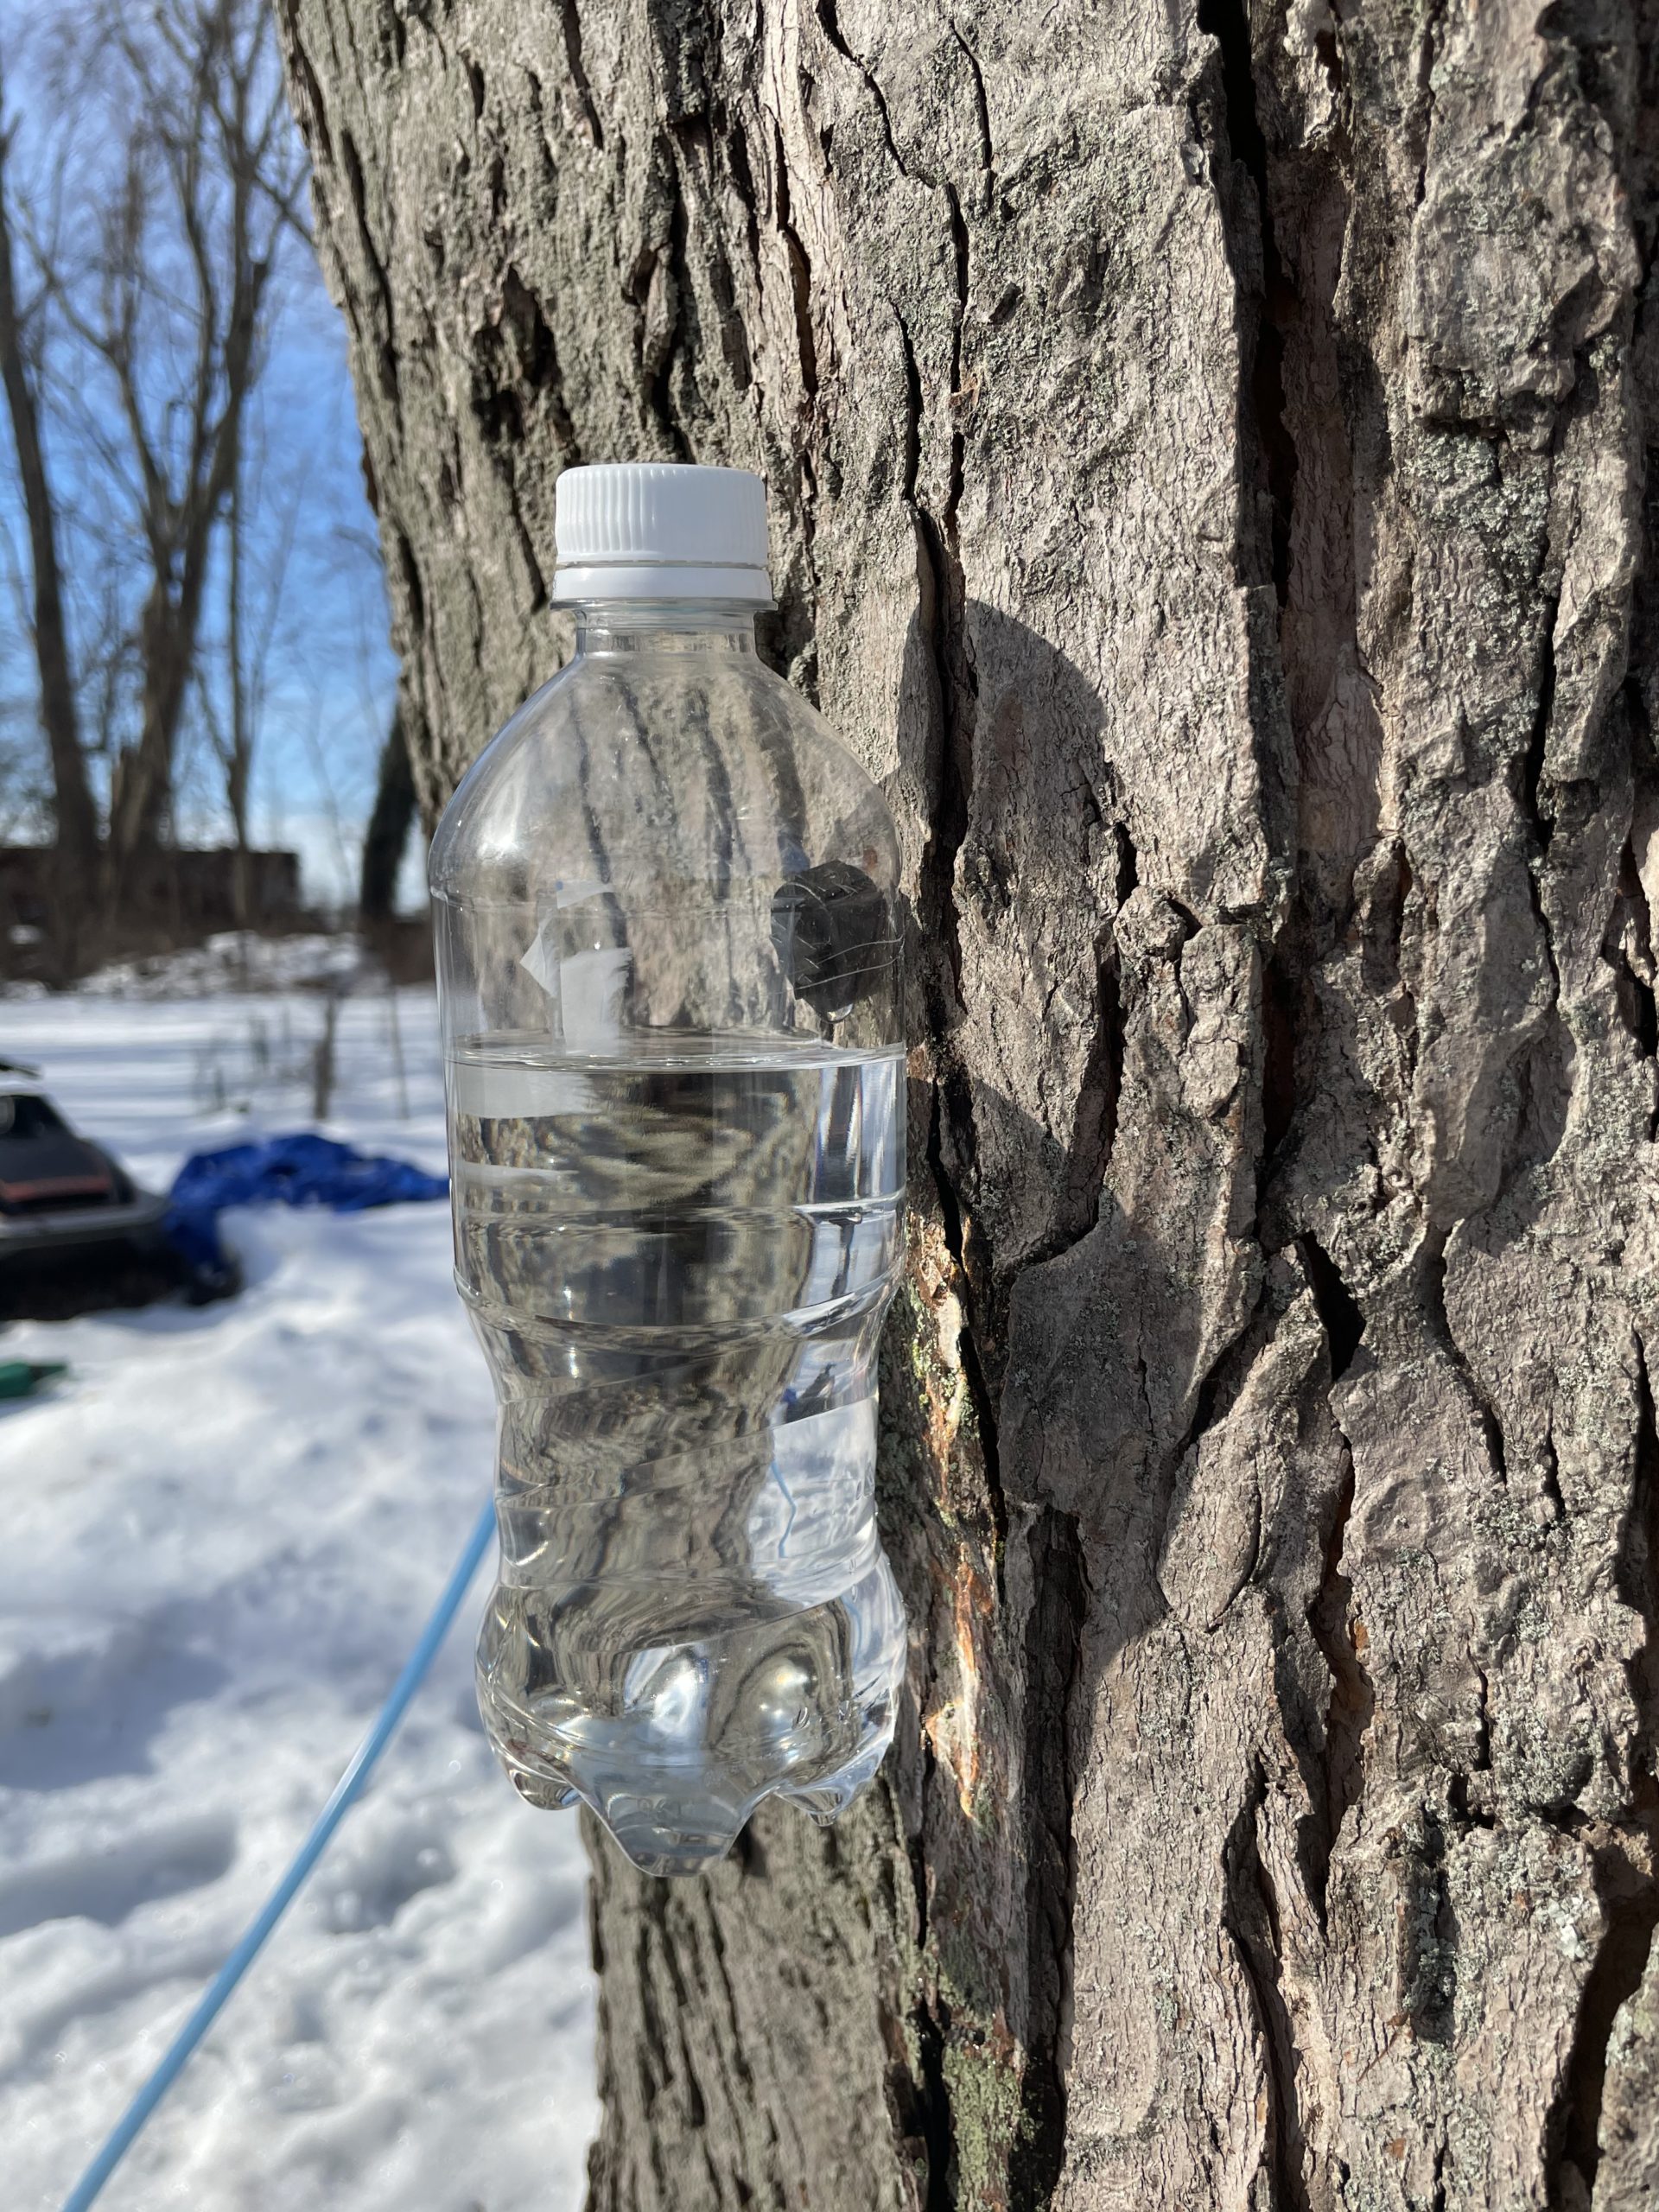
When we had broken taps and ran out of replacements, we didn’t just pull out the tap and waste that spot.
Instead, we cut a hole in the top side of a clean 20oz bottle and hung it on the tap.
Quickly we moved up to a full 2 Liter Bottle as it filled up quick!
This worked out great and was actually fun to watch as it filled up, from our kitchen window.
Just remember to empty it out, into a bucket, regularly so that it doesn’t overflow and waste precious sap!
Keeping Sap Cold Until Boiling Day
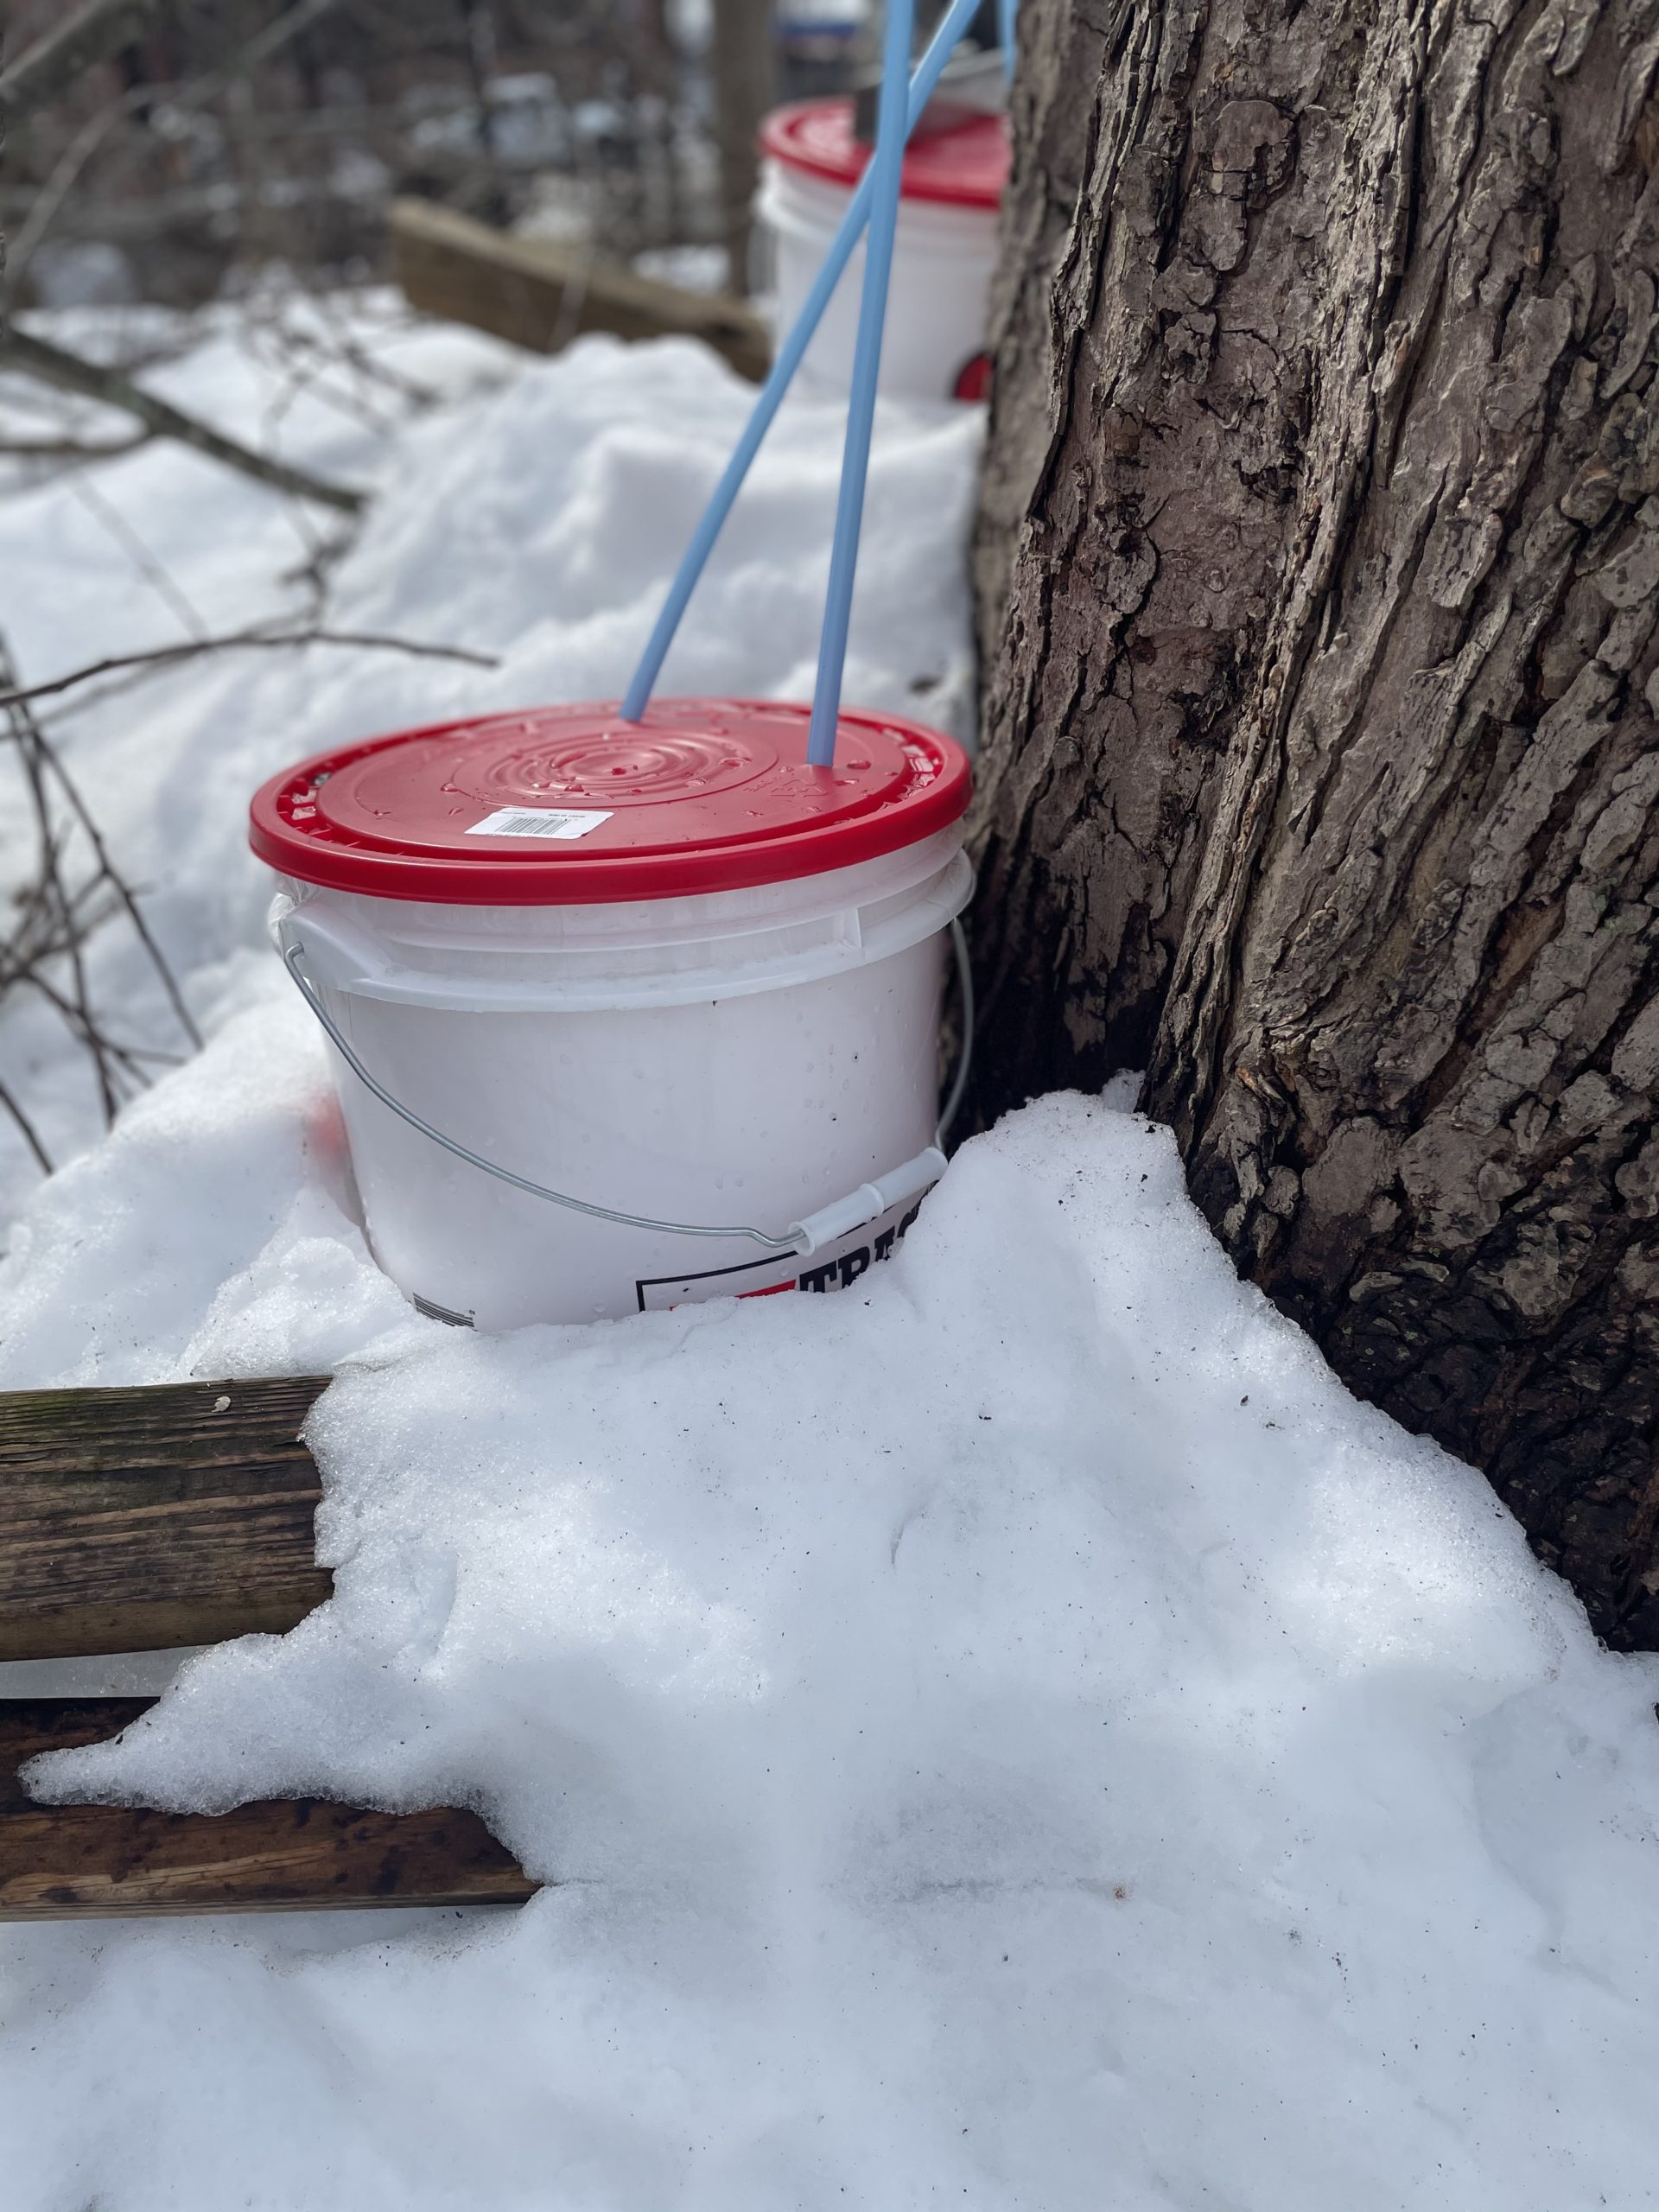
Maple sap kept at 32 degrees could last 7 days. Some will say to boil or freeze within 3-4 days though to be on the safe side. Again, I am “Safety Sally” and rather not take my chances when it comes to things spoiling, so I go with the 3-4 day rule.
In the beginning of Maple season, keeping buckets cold aren’t typically an issue as temps are cooler. As day time temps warm up, we have to get a bit clever.
Buckets are usually kept cold by piling snow around them, at the beginning. Many tappers collect snow into a huge pile in a shaded part of their yard at the beginning of the season (sooner rather than later!).
As the days get warmer and the rest of the snow melts, this stash pile will take longer to melt and becomes most valuable as Maple season progresses! Either take from it to pack around buckets, or store sealed buckets IN the snow pile.
Another way to keep buckets cold once the snow is gone, is by dropping a 20oz frozen bottle of water into the bucket of sap.
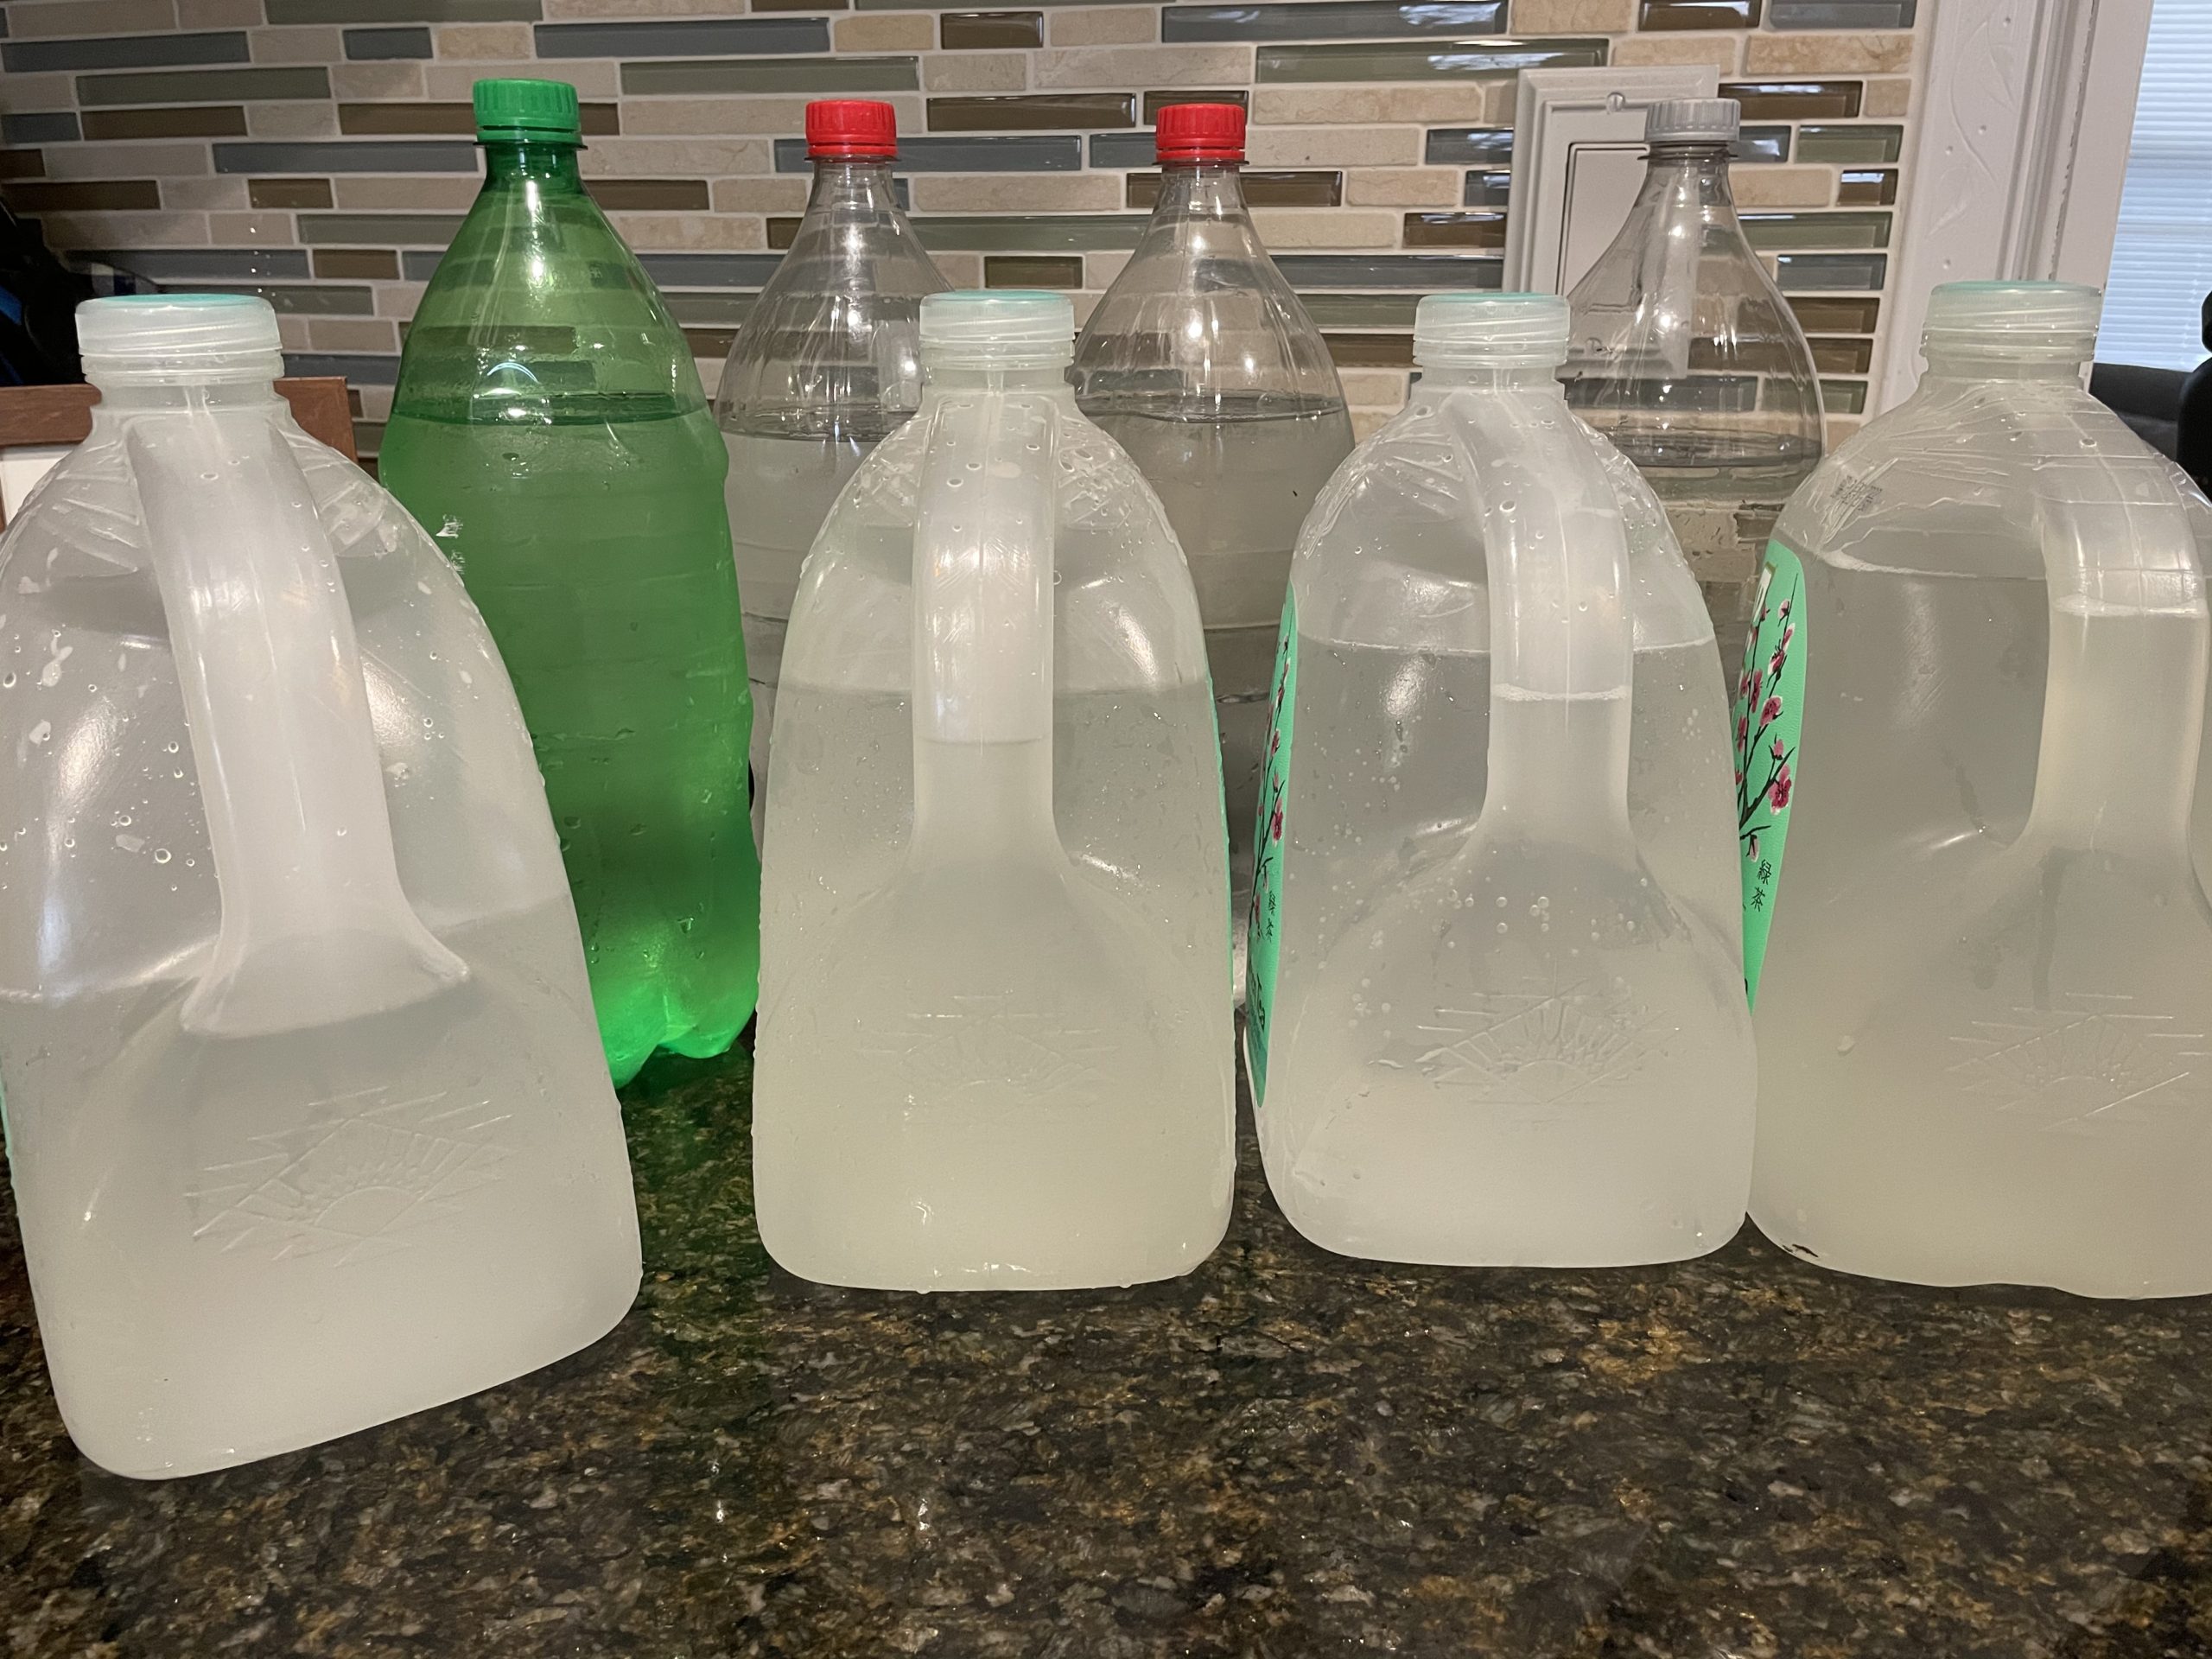
Not everyone is available for a full day of boiling every 3-4 days or even every 7 days depending on your schedule. Sap could be frozen and kept in the freezer until you are ready to boil as well. We did this quite a bit.
We filled clean 2 liter bottles and gallon jugs, leaving space at the top for expanding. Doing this could very quickly fill up an upright freezer though so plan ahead.
Sap could also be boiled down partially before freezing as well to save freezer space. If at all possible, boiling down partially first before freezing would be ideal because of the sheer volume of liquid that adds up quickly.
Propane Set Up
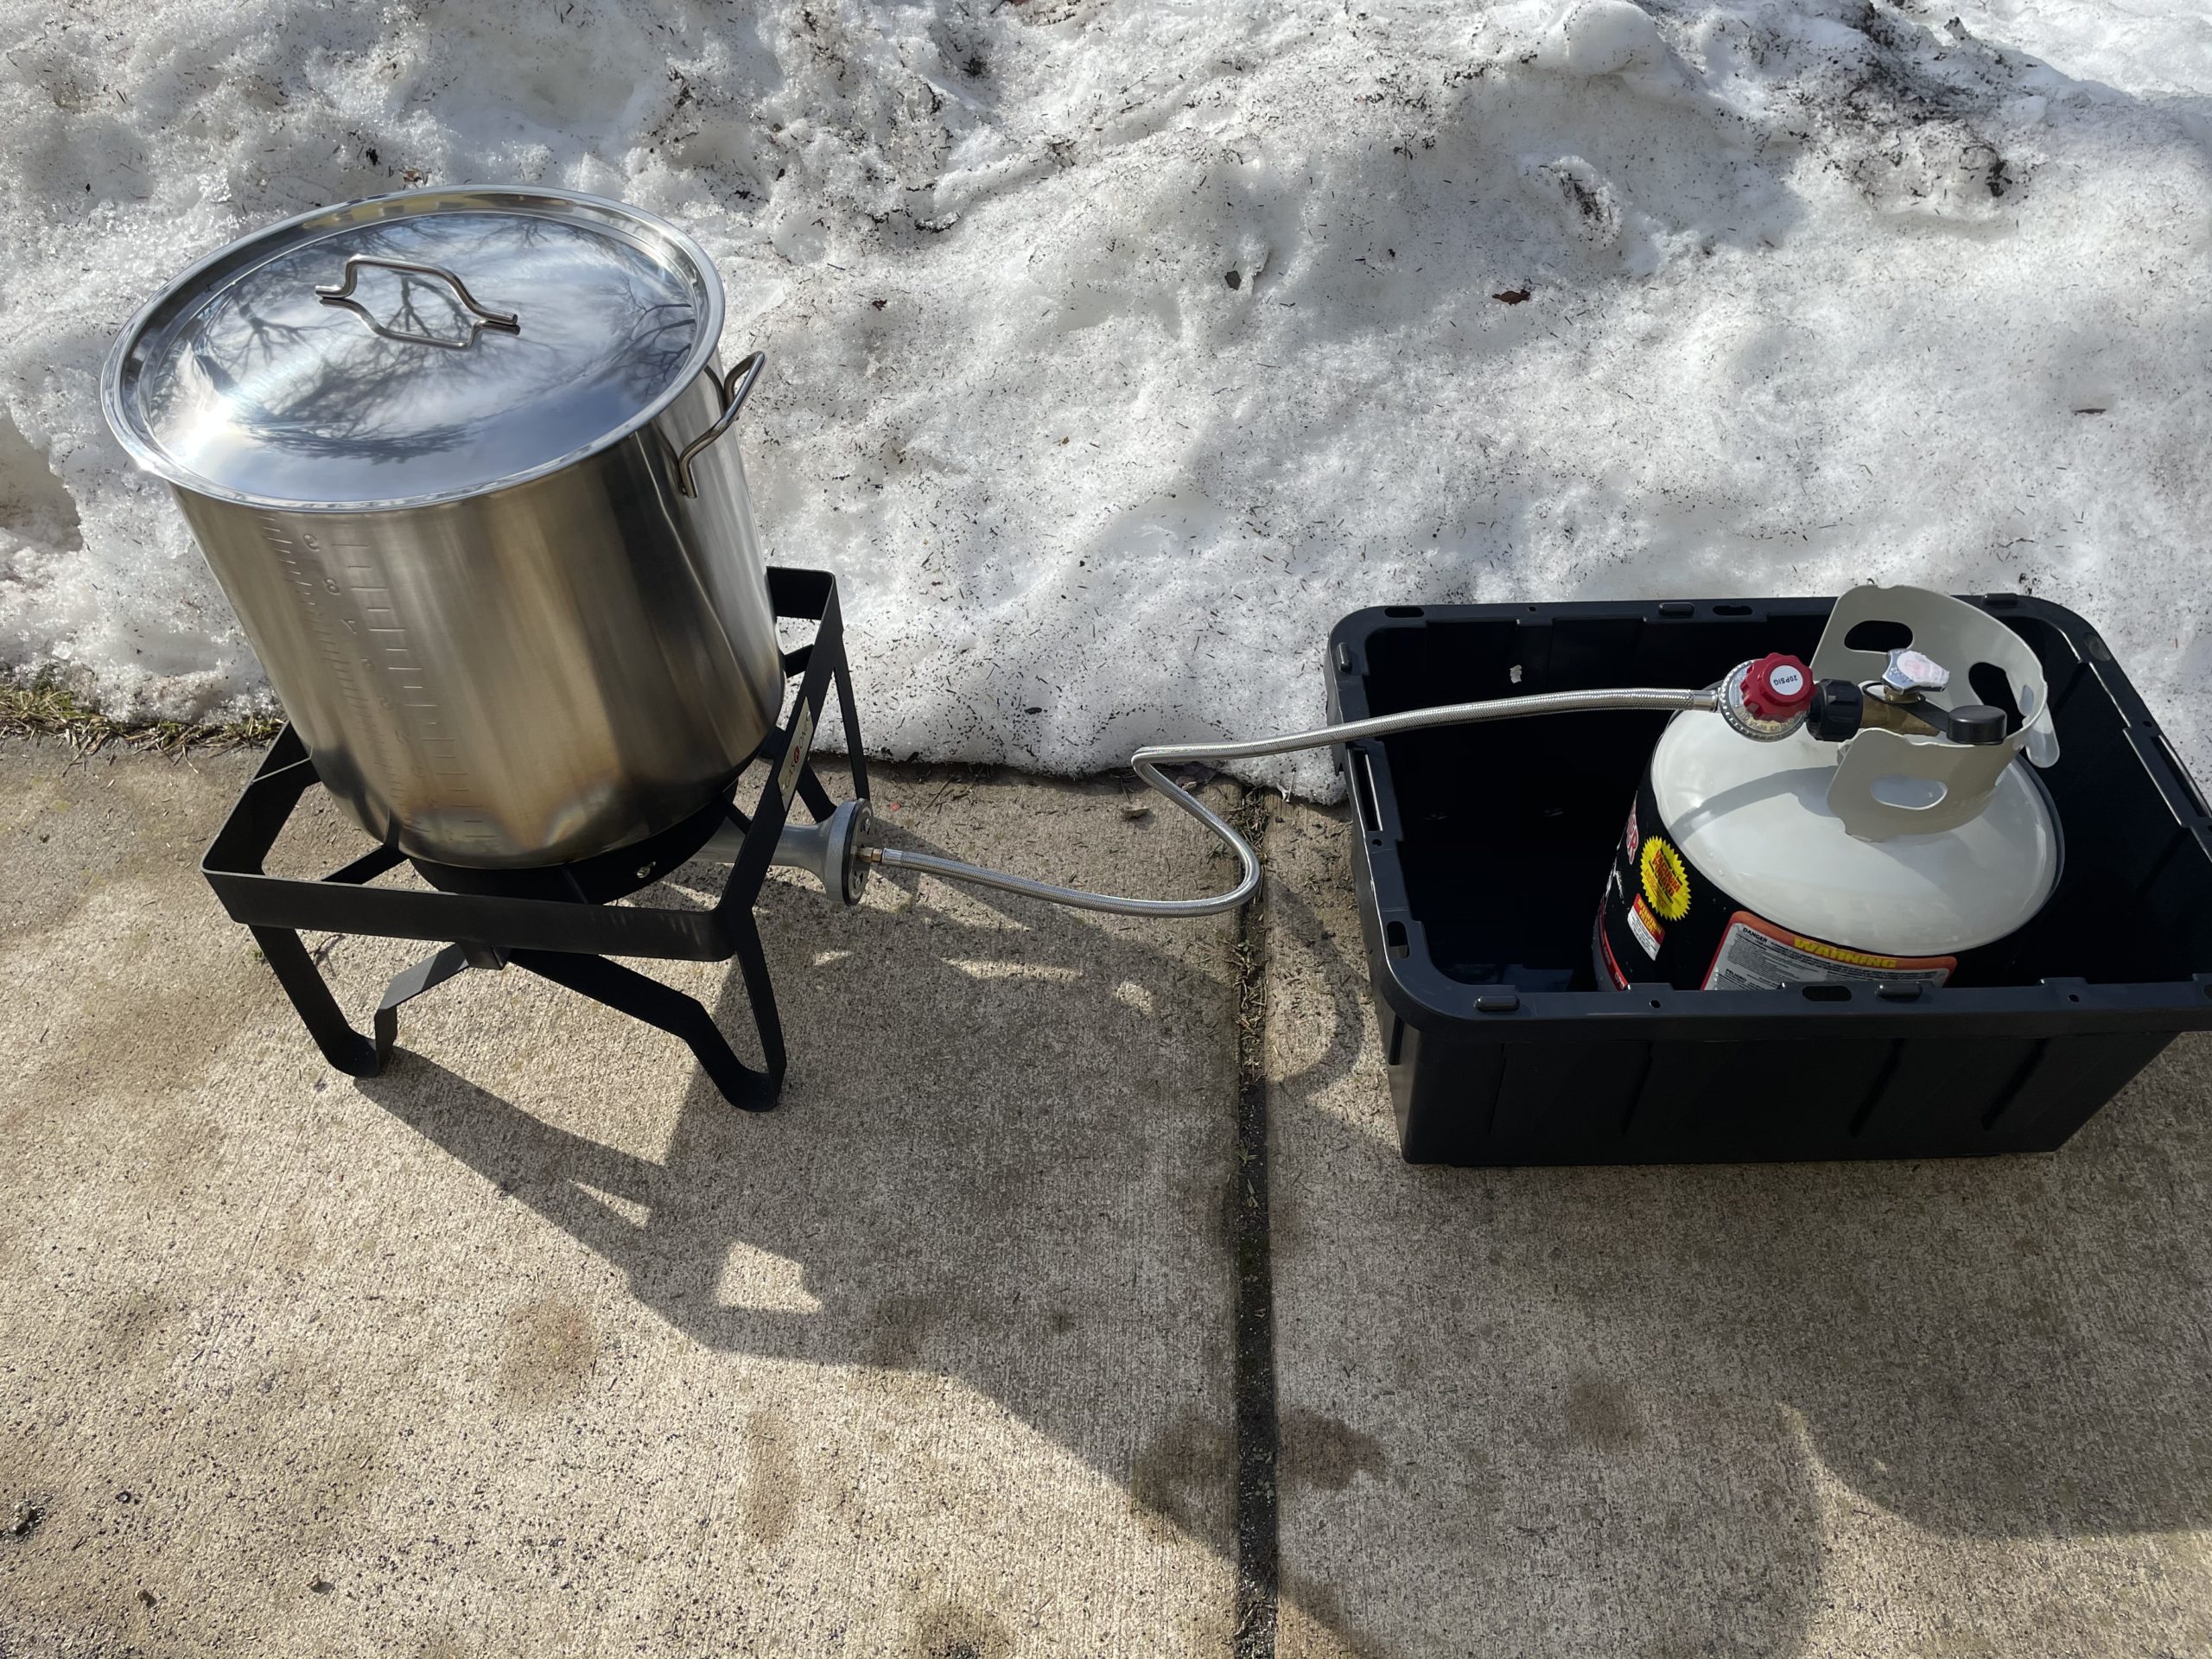
Of course, it all depends on how much sap you have and what your evaporator set up is like, however it may be a good idea to have an extra full propane tank on hand just in case you run out while boiling.
Also~
Watching a Youtube video, they suggested putting the propane tank into a bin or tote of water, while using it to boil. This is to keep it from freezing up…..Literally!
Being that we are using the propane tanks for so long, they could actually freeze with a layer of ice around the outside until they stop working all together.
To keep this from happening, keep the tank in a tote which has warm water in it, while in use. Periodically check the tank and water for ice and add more warm water if needed.
The first two times we boiled maple syrup, we did this but noticed nothing. The third time, it was colder out and we boiled longer. Sure enough thick ice formed making us glad we knew about this trick!
Thermometer For Finishing
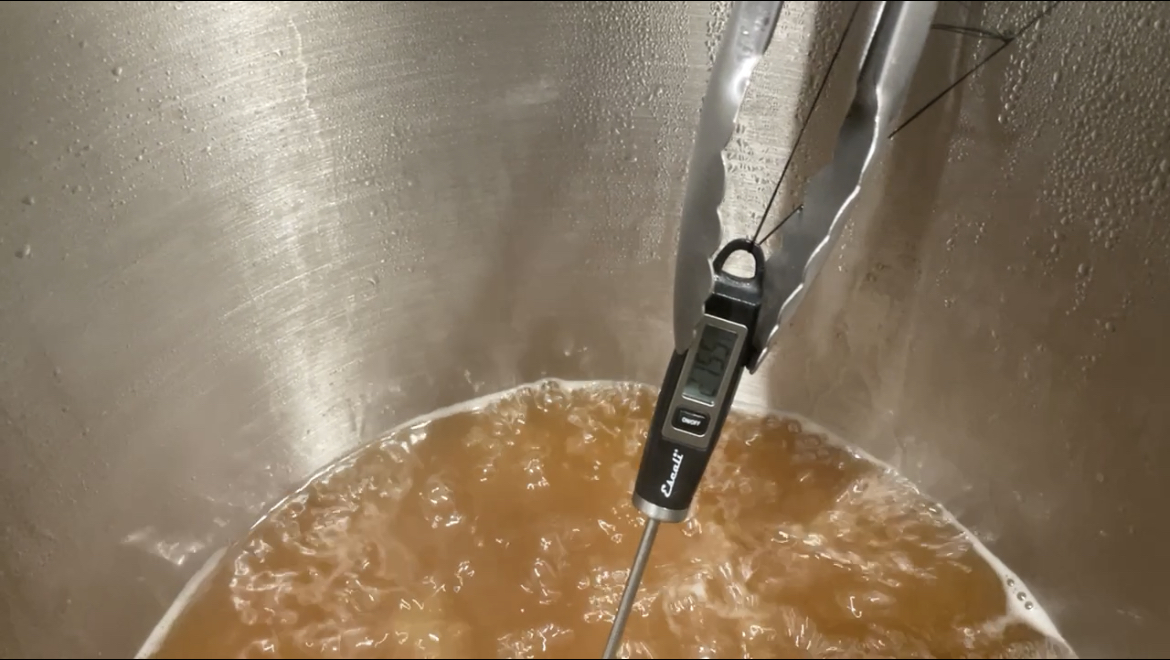
PLEASE don’t try to cut corners with your thermometer if you don’t have to….we did…and we scalded our hands a hundred times in the process!
We used just our regular kitchen thermometers, however the pot was too big, the sap too low, and temps too high (over 200 degrees!), that reaching our hands in the pot of steam was repeated torture!
Also the glass kept fogging up so it became really hard to read through the pain at times. We have a thermometer with probe on order for our next batch!
If you are reading this the day of and it’s too late to buy one for your current batch- We “got by” with using our regular thermometer by tying string around the hole and looping it around the pot handle as a safety, in case we drop it in boiling sap, and then used tongs to hold the thermometer in the pot when our hands had enough. I DON’T recommend doing this, but just an idea if you find yourself in the same situation as we did.
Don’t pull it right at 219 degrees!
Do not filter immediately after reaching Syrup Consistancy!
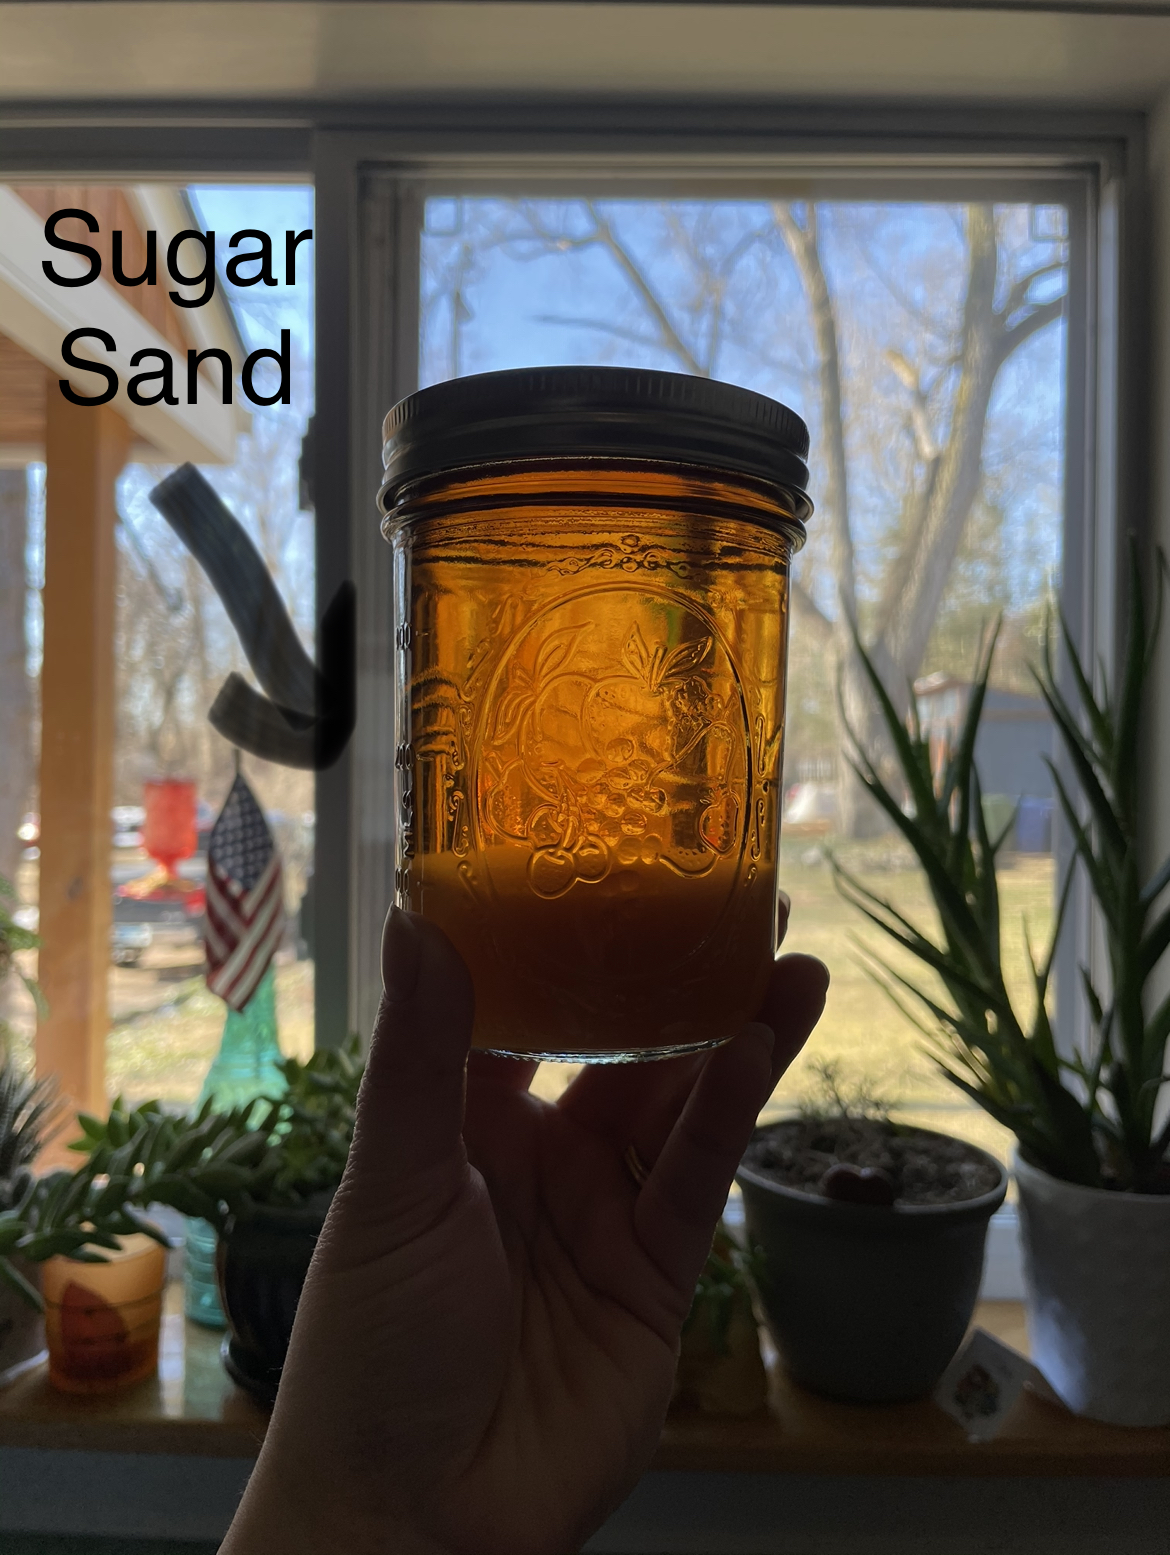
Once you’ve reached syrup, let it cool back down just a bit to 180-190 degrees before doing your final filter. If you filter too early and too hot then you will get a TON of “sugar sand” AKA nitre in your completed product.
Sugar Sand????? Sugar sand/nitre is the salt and minerals in maple syrup that settles as it cools. It is edible but not appealing and causes a cloudiness in syrup, which we all strive to avoid.
Also, when you DO filter, ladle it into the filter vs. pouring it directly from the pot. Syrup will cool quickly and become thicker as it passes through the filter, ladling it will help to keep it warm and in manageable amounts.
Speaking Of Filters…
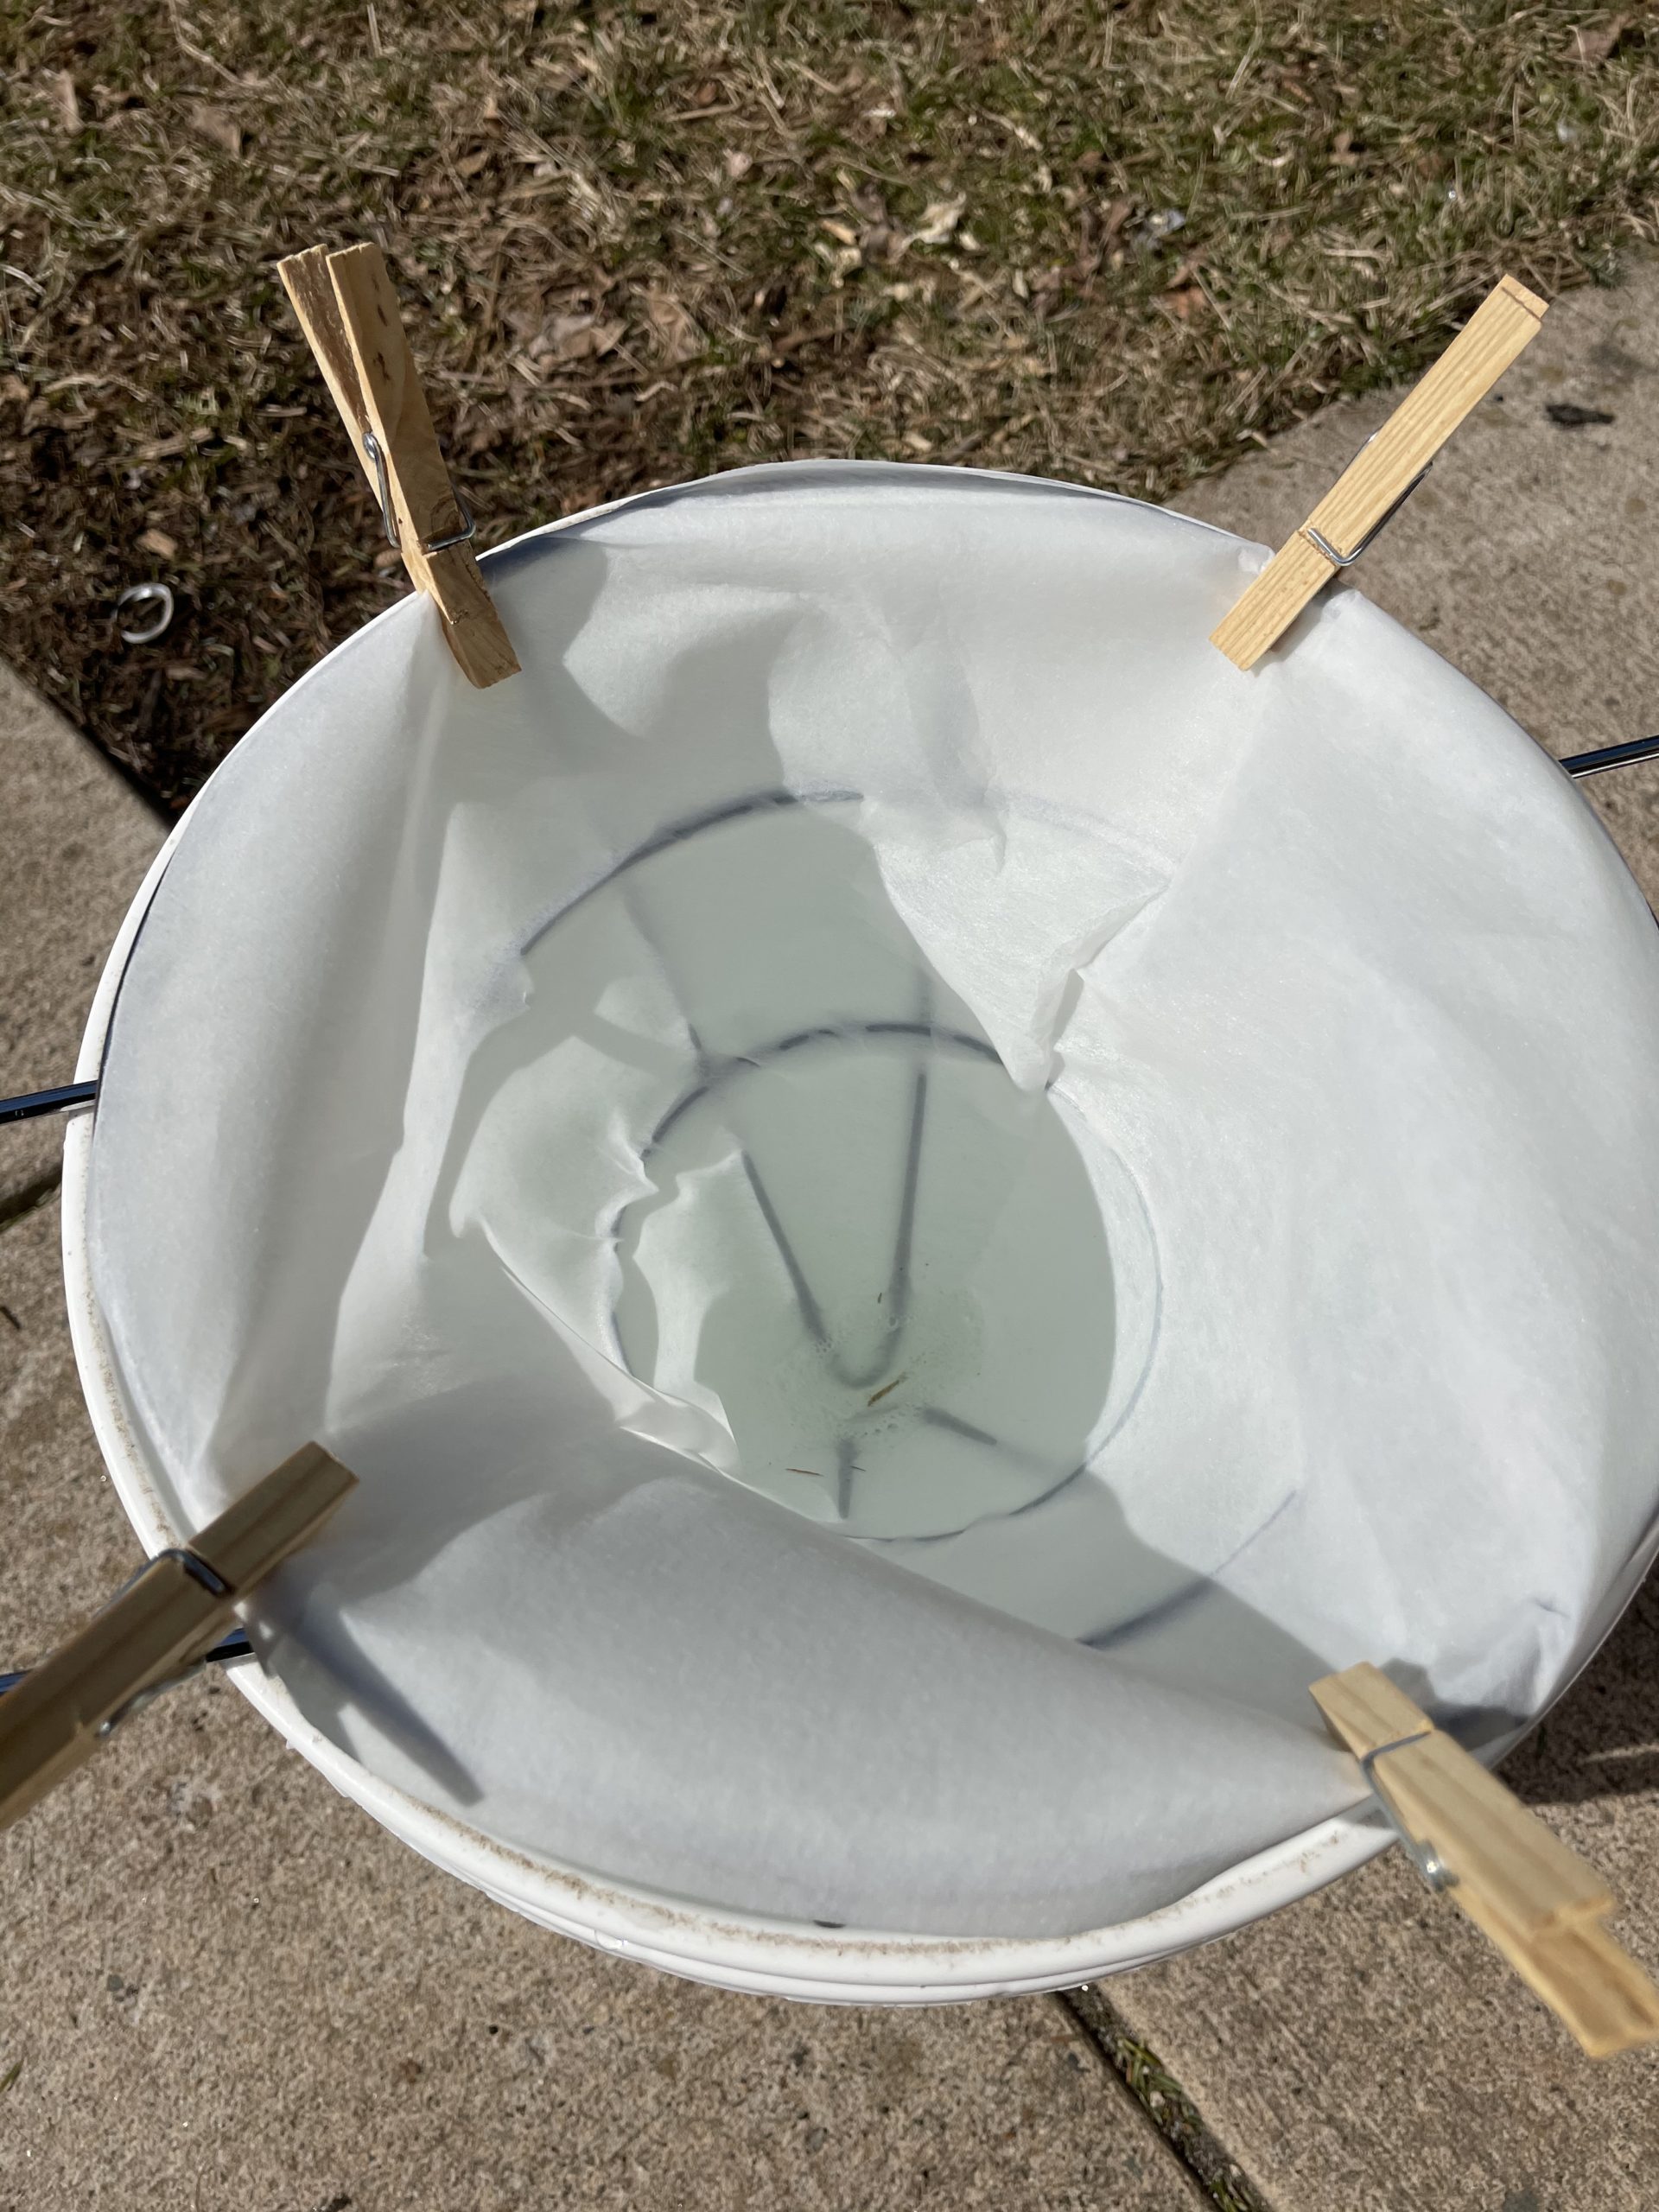
These disposable paper filters that are sold as “Maple Filters” on Amazon aren’t quite going to cut it for the final filter. They are great for the initial filtering to catch dirt, bugs, bark, pine needles and such when it is still in liquid sap form, but not when it has turned to syrup.
At the finishing point, they could be used as a pre-filter layer but not the sole filter.
We used them and they seem pretty useless at the final filtering stage. Some say to triple up on them if that is all that you have, others use 15-20 layers of cheesecloth, while many recommend the reusable Orlon filters.
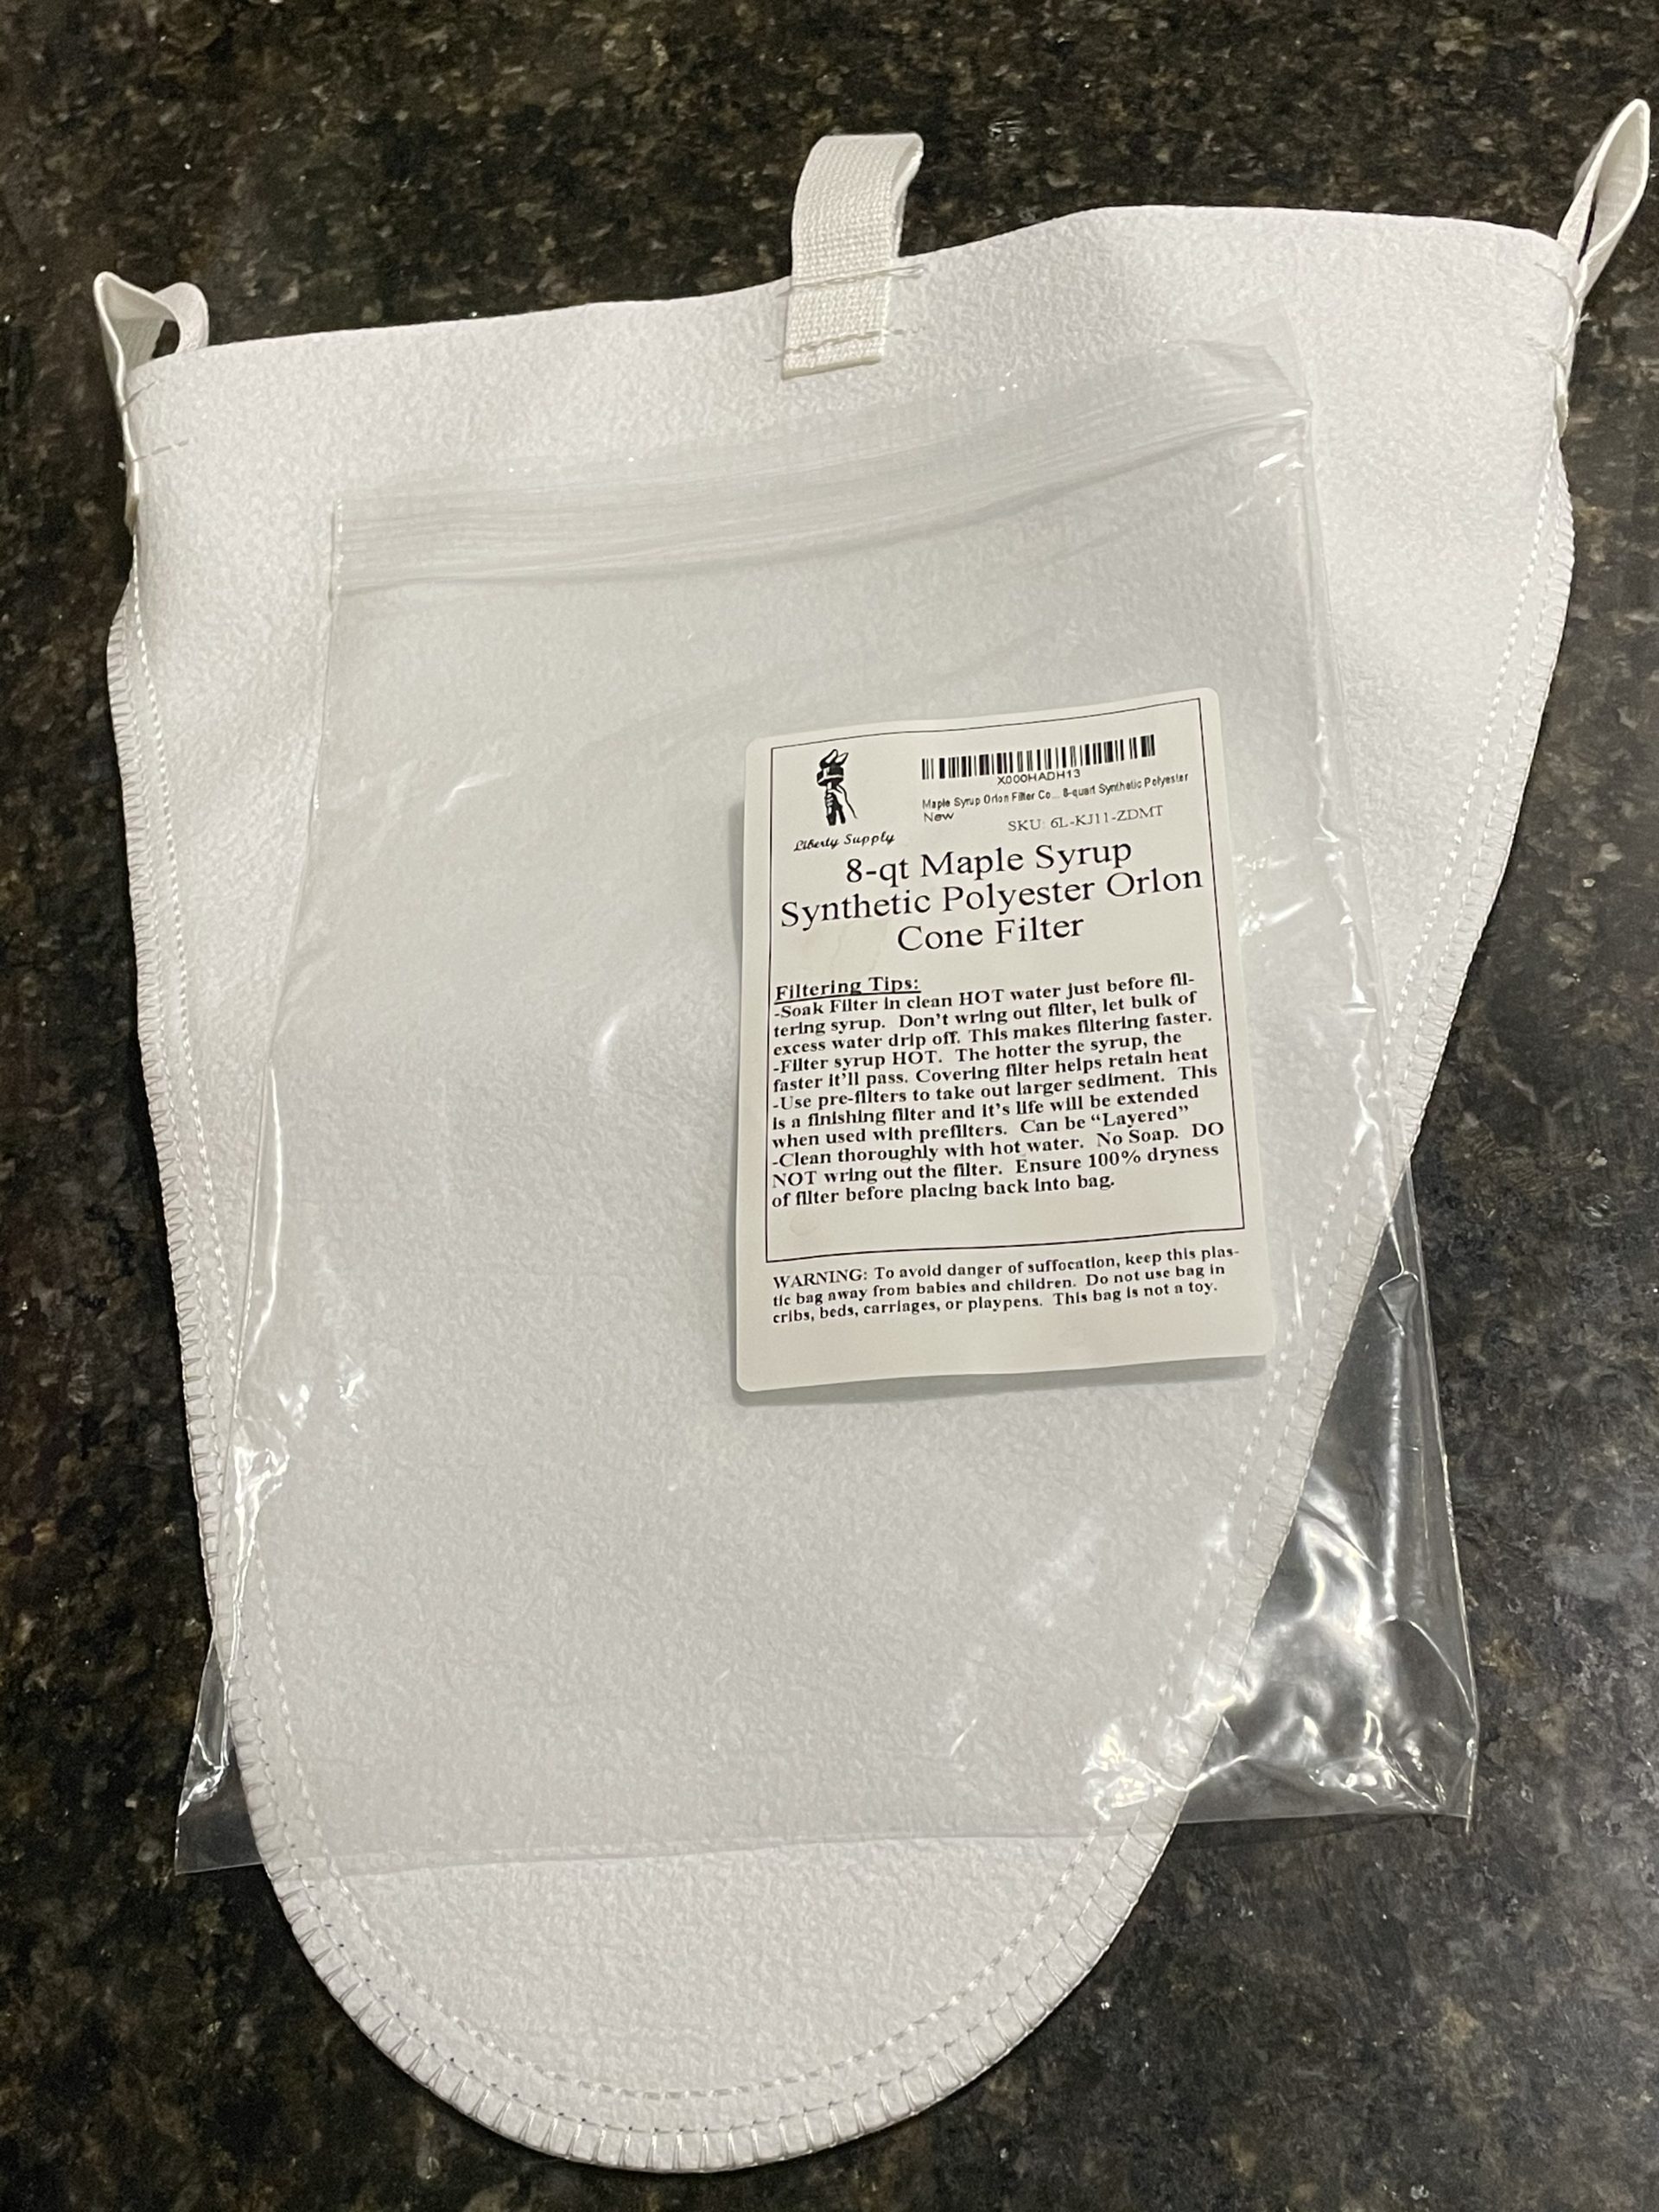
We just ordered an Orlon filter for our next batch since they seemed so heavily recommended on a few Facebook pages that I belong to for tapping.
Either way, the filtering process is something to definitely spend time on reading about, watching videos, and looking into as it’s the make or break for the picture perfect clear syrup that we all strive for.
START EARLY!
It’s going to be a long day….you WILL be tired at the end…..it’s going to be SO worth it!
Boiling sap down takes a LONG time. Start early in the morning, to maximize on your daylight…It’s hard to give an exact amount of time it’s going to take because there are so many factors. How much sap you have, what type of evaporator, what type of trees you tapped (Sugar Maple has higher sugar content than other maples and will go just a bit quicker), the wind and weather on boiling day, etc…
For our setup, just to give you an idea~ We fill our pot no more than 6 gallons to avoid boiling over (only fill your pot ¾ of the way full, max!), and keep adding more sap as it boils down. If we don’t add anything more, it takes us about 5 hours to get down to 1 gallon…It took us 10 hours to boil down about 20 gallons to the point of finishing off on the stove (which took even longer from that point).
Cleaning Burnt Maple Syrup In Pot
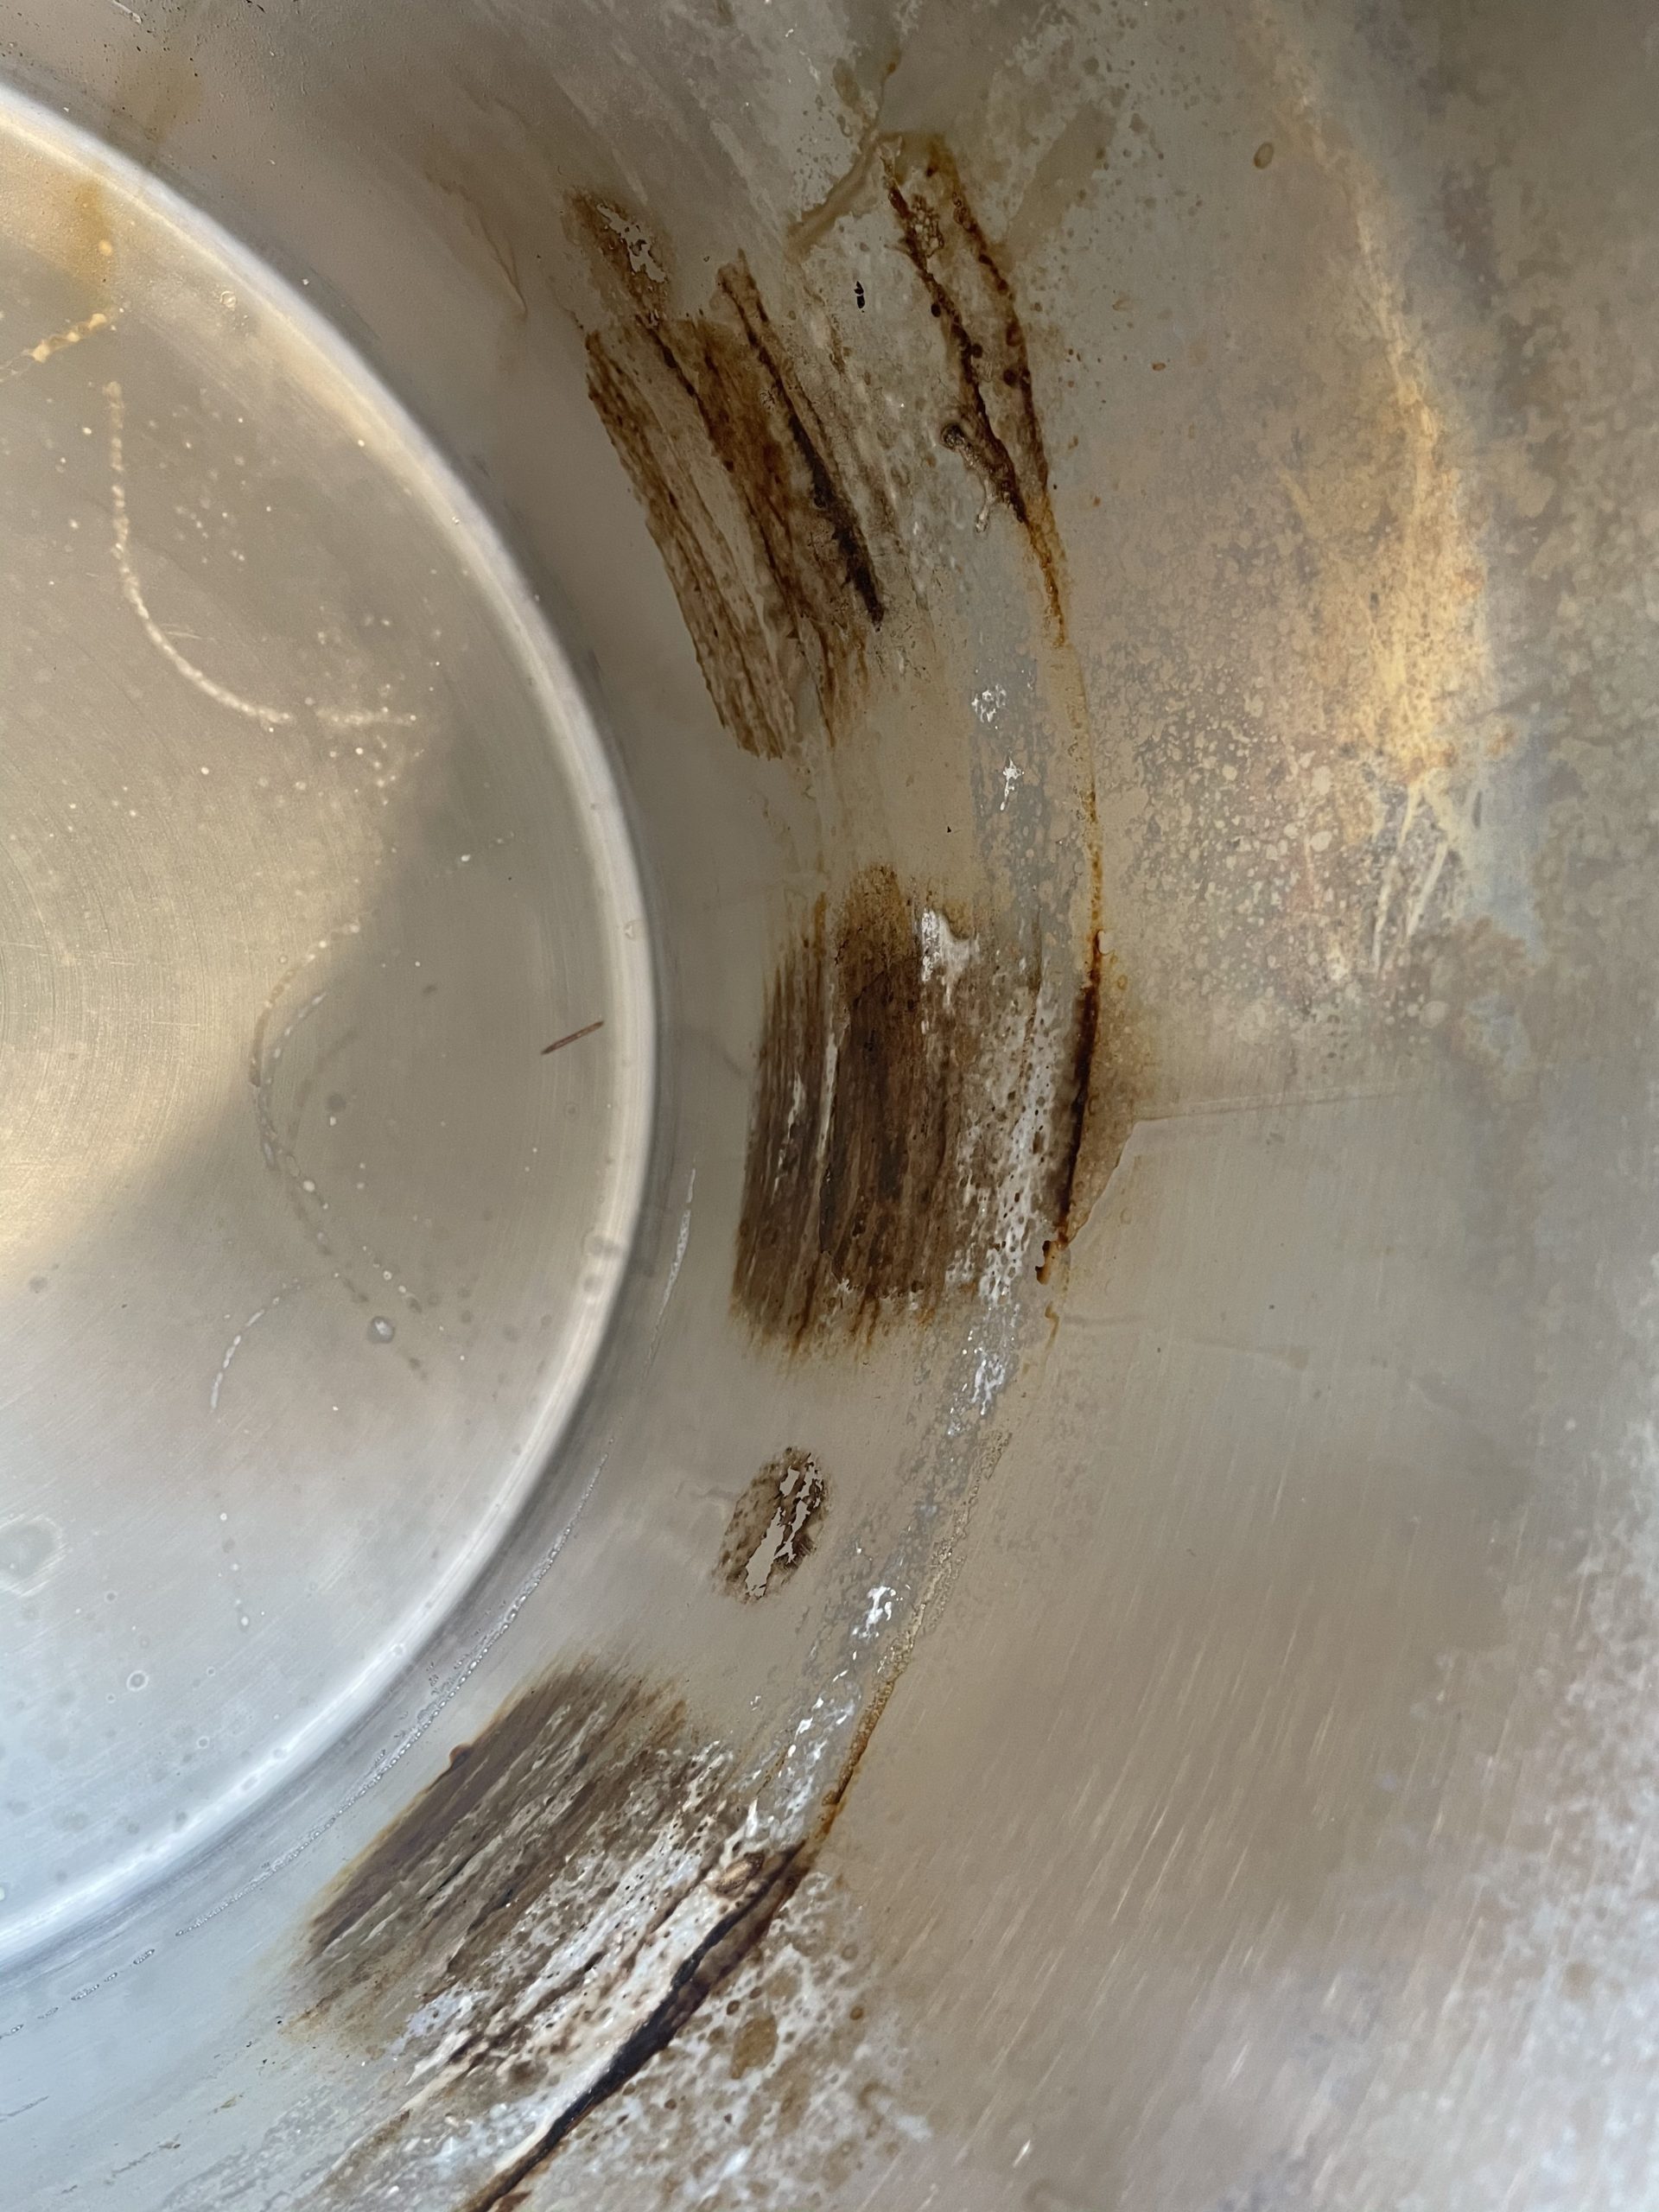
At some point, we are all bound to experience scorch marks or burnt syrup in our pots. DON’T worry! It’s not ruined!
I’ll admit, I freaked out a bit when I thought that I had just ruined our brand new pot, when I experienced scorch marks that I couldn’t for the life of me scrub off.
After my arms were tired from scrubbing, I hit up good ole’ Google and sure enough found the perfect “hack”.
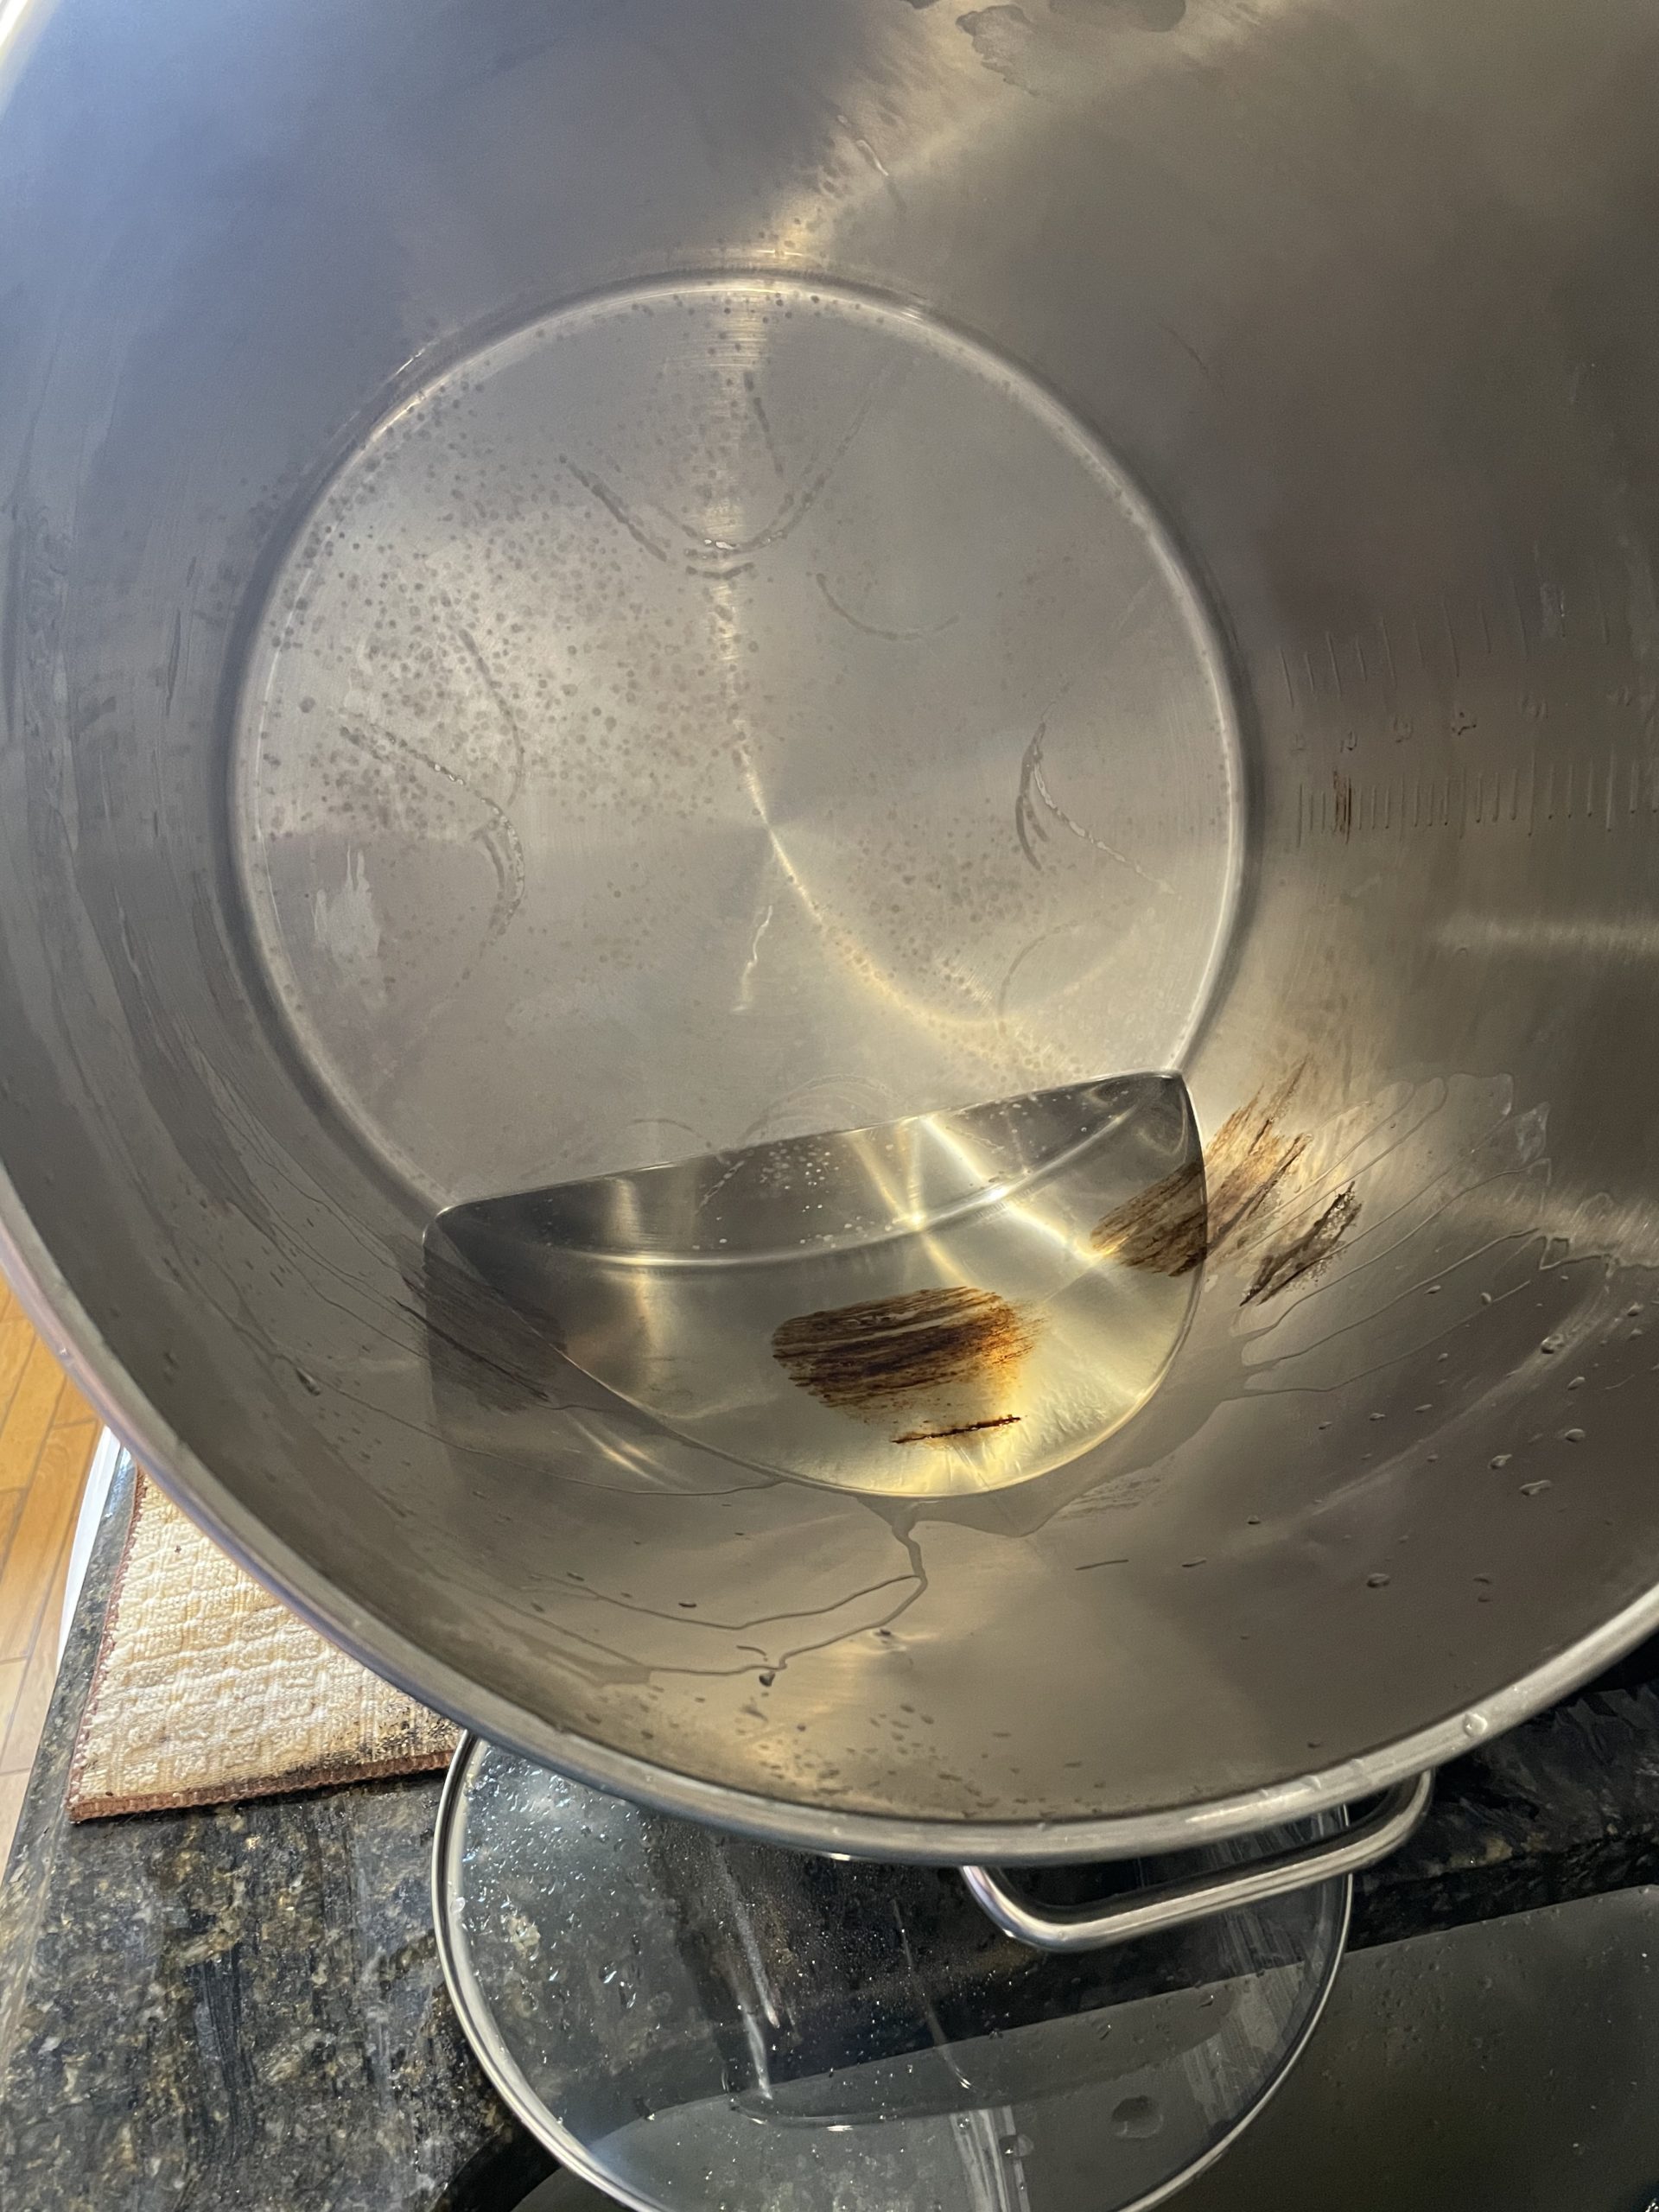
Boil 1:1 ratio of water and vinegar until you have covered the burn marks.
If the marks are up the side of a very large pot, you could boil the water & vinegar in a smaller pot first.
Then, pour into the bigger pot and prop it laying down, so that the liquid is over the burn mark. (see picture above)
After 30sec-1 min I rotate the pot, if there are multiple spots that I want it to reach.
After a few minutes, dump out the liquid but do NOT rinse your pot.
If I’m doing this in my very large pot, then I will dump the liquid back into the smaller pot to reserve the liquid in case I need to let it soak a bit longer (for REALLY bad spots).
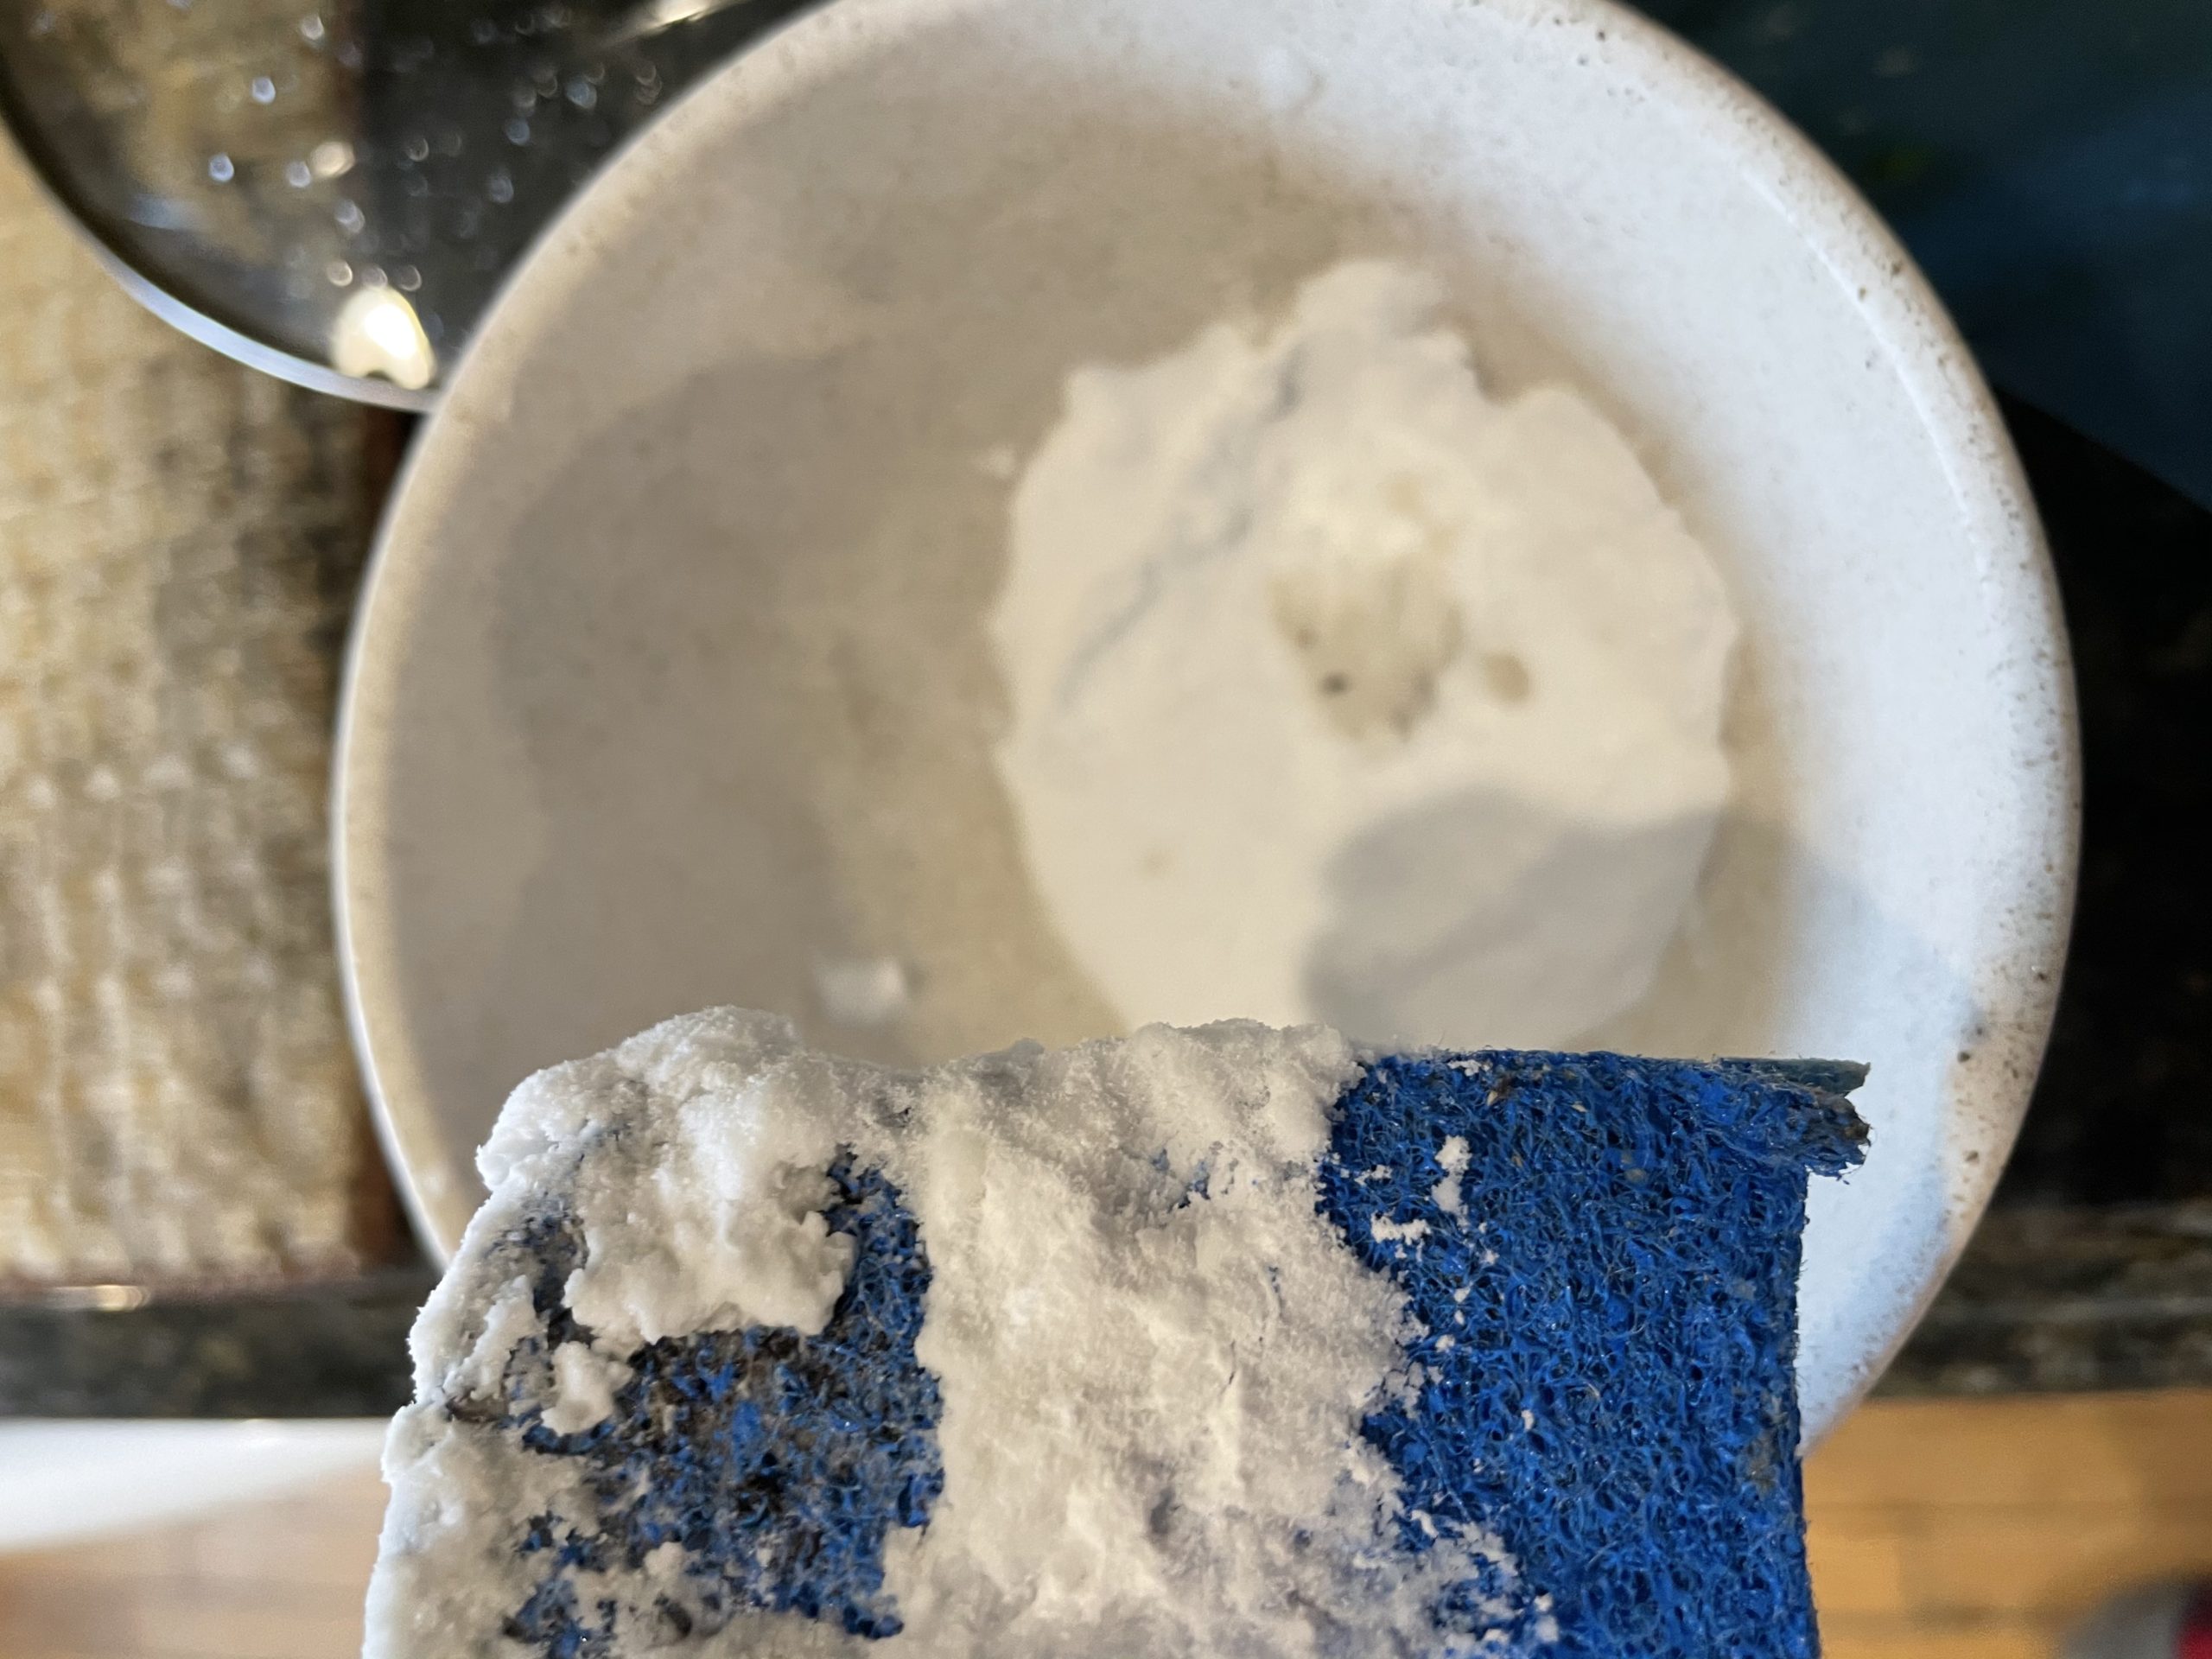
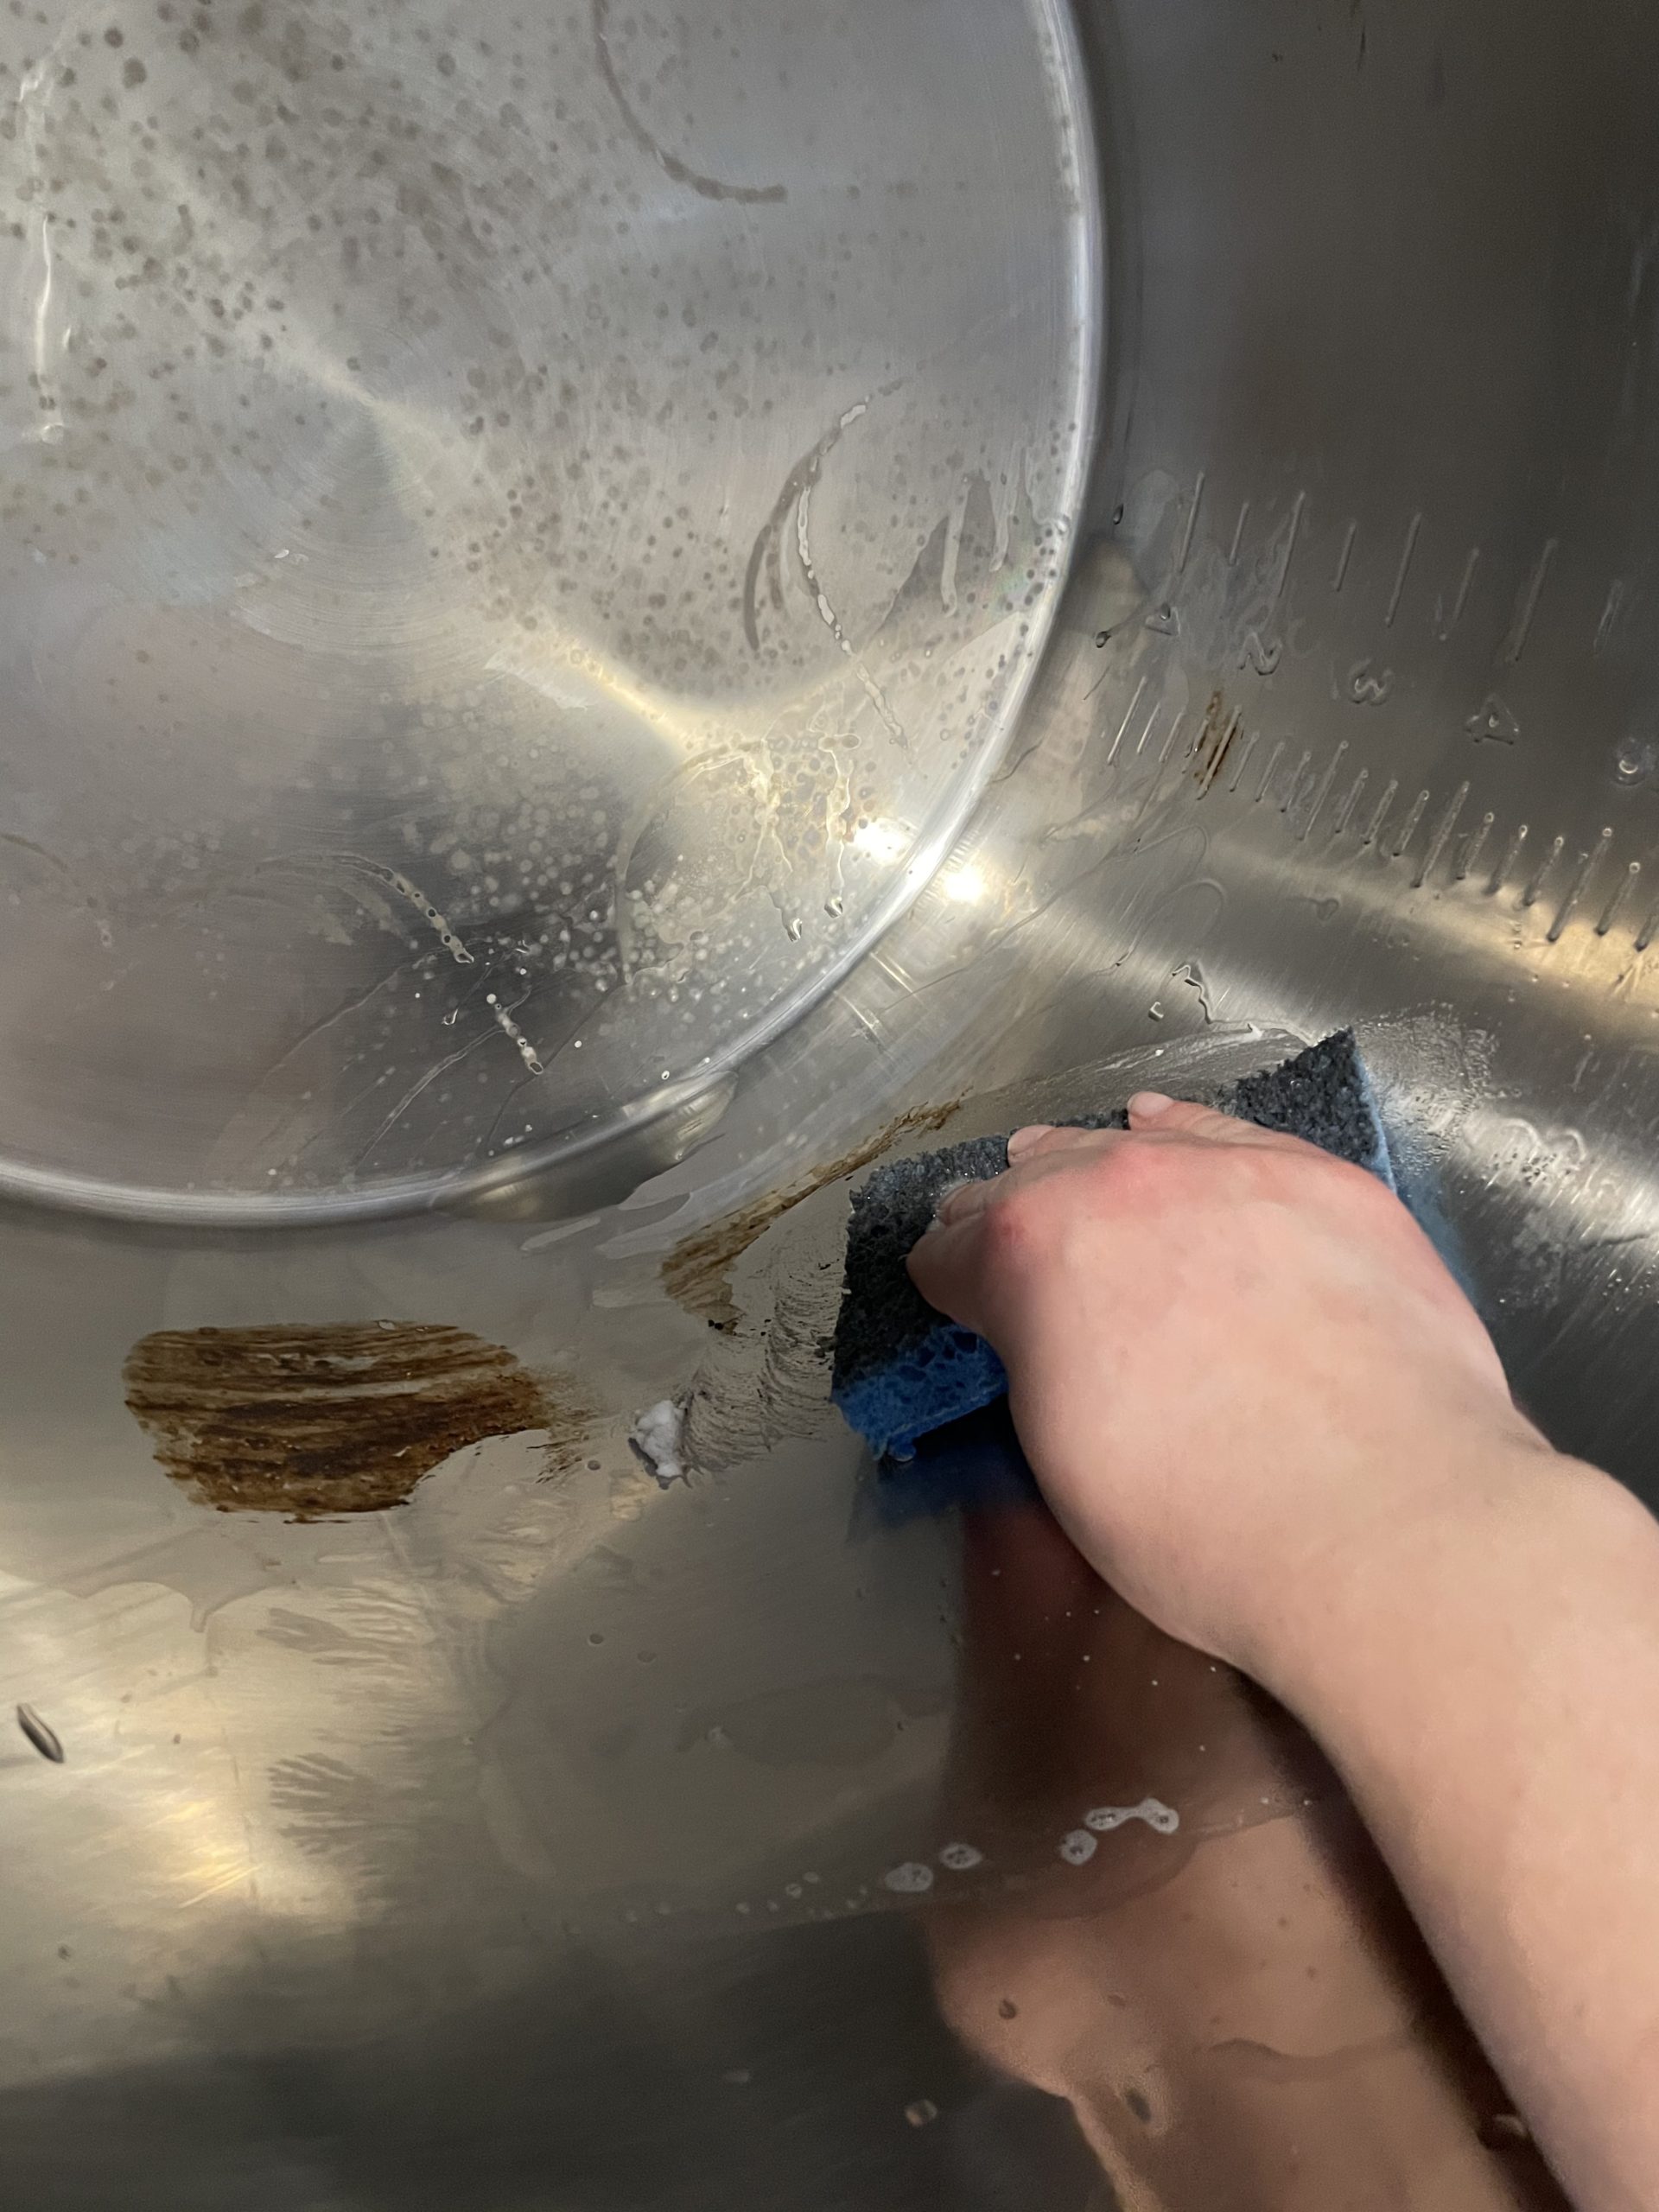
Now dip your wet sponge into some baking soda, then use it to wipe the burn marks.
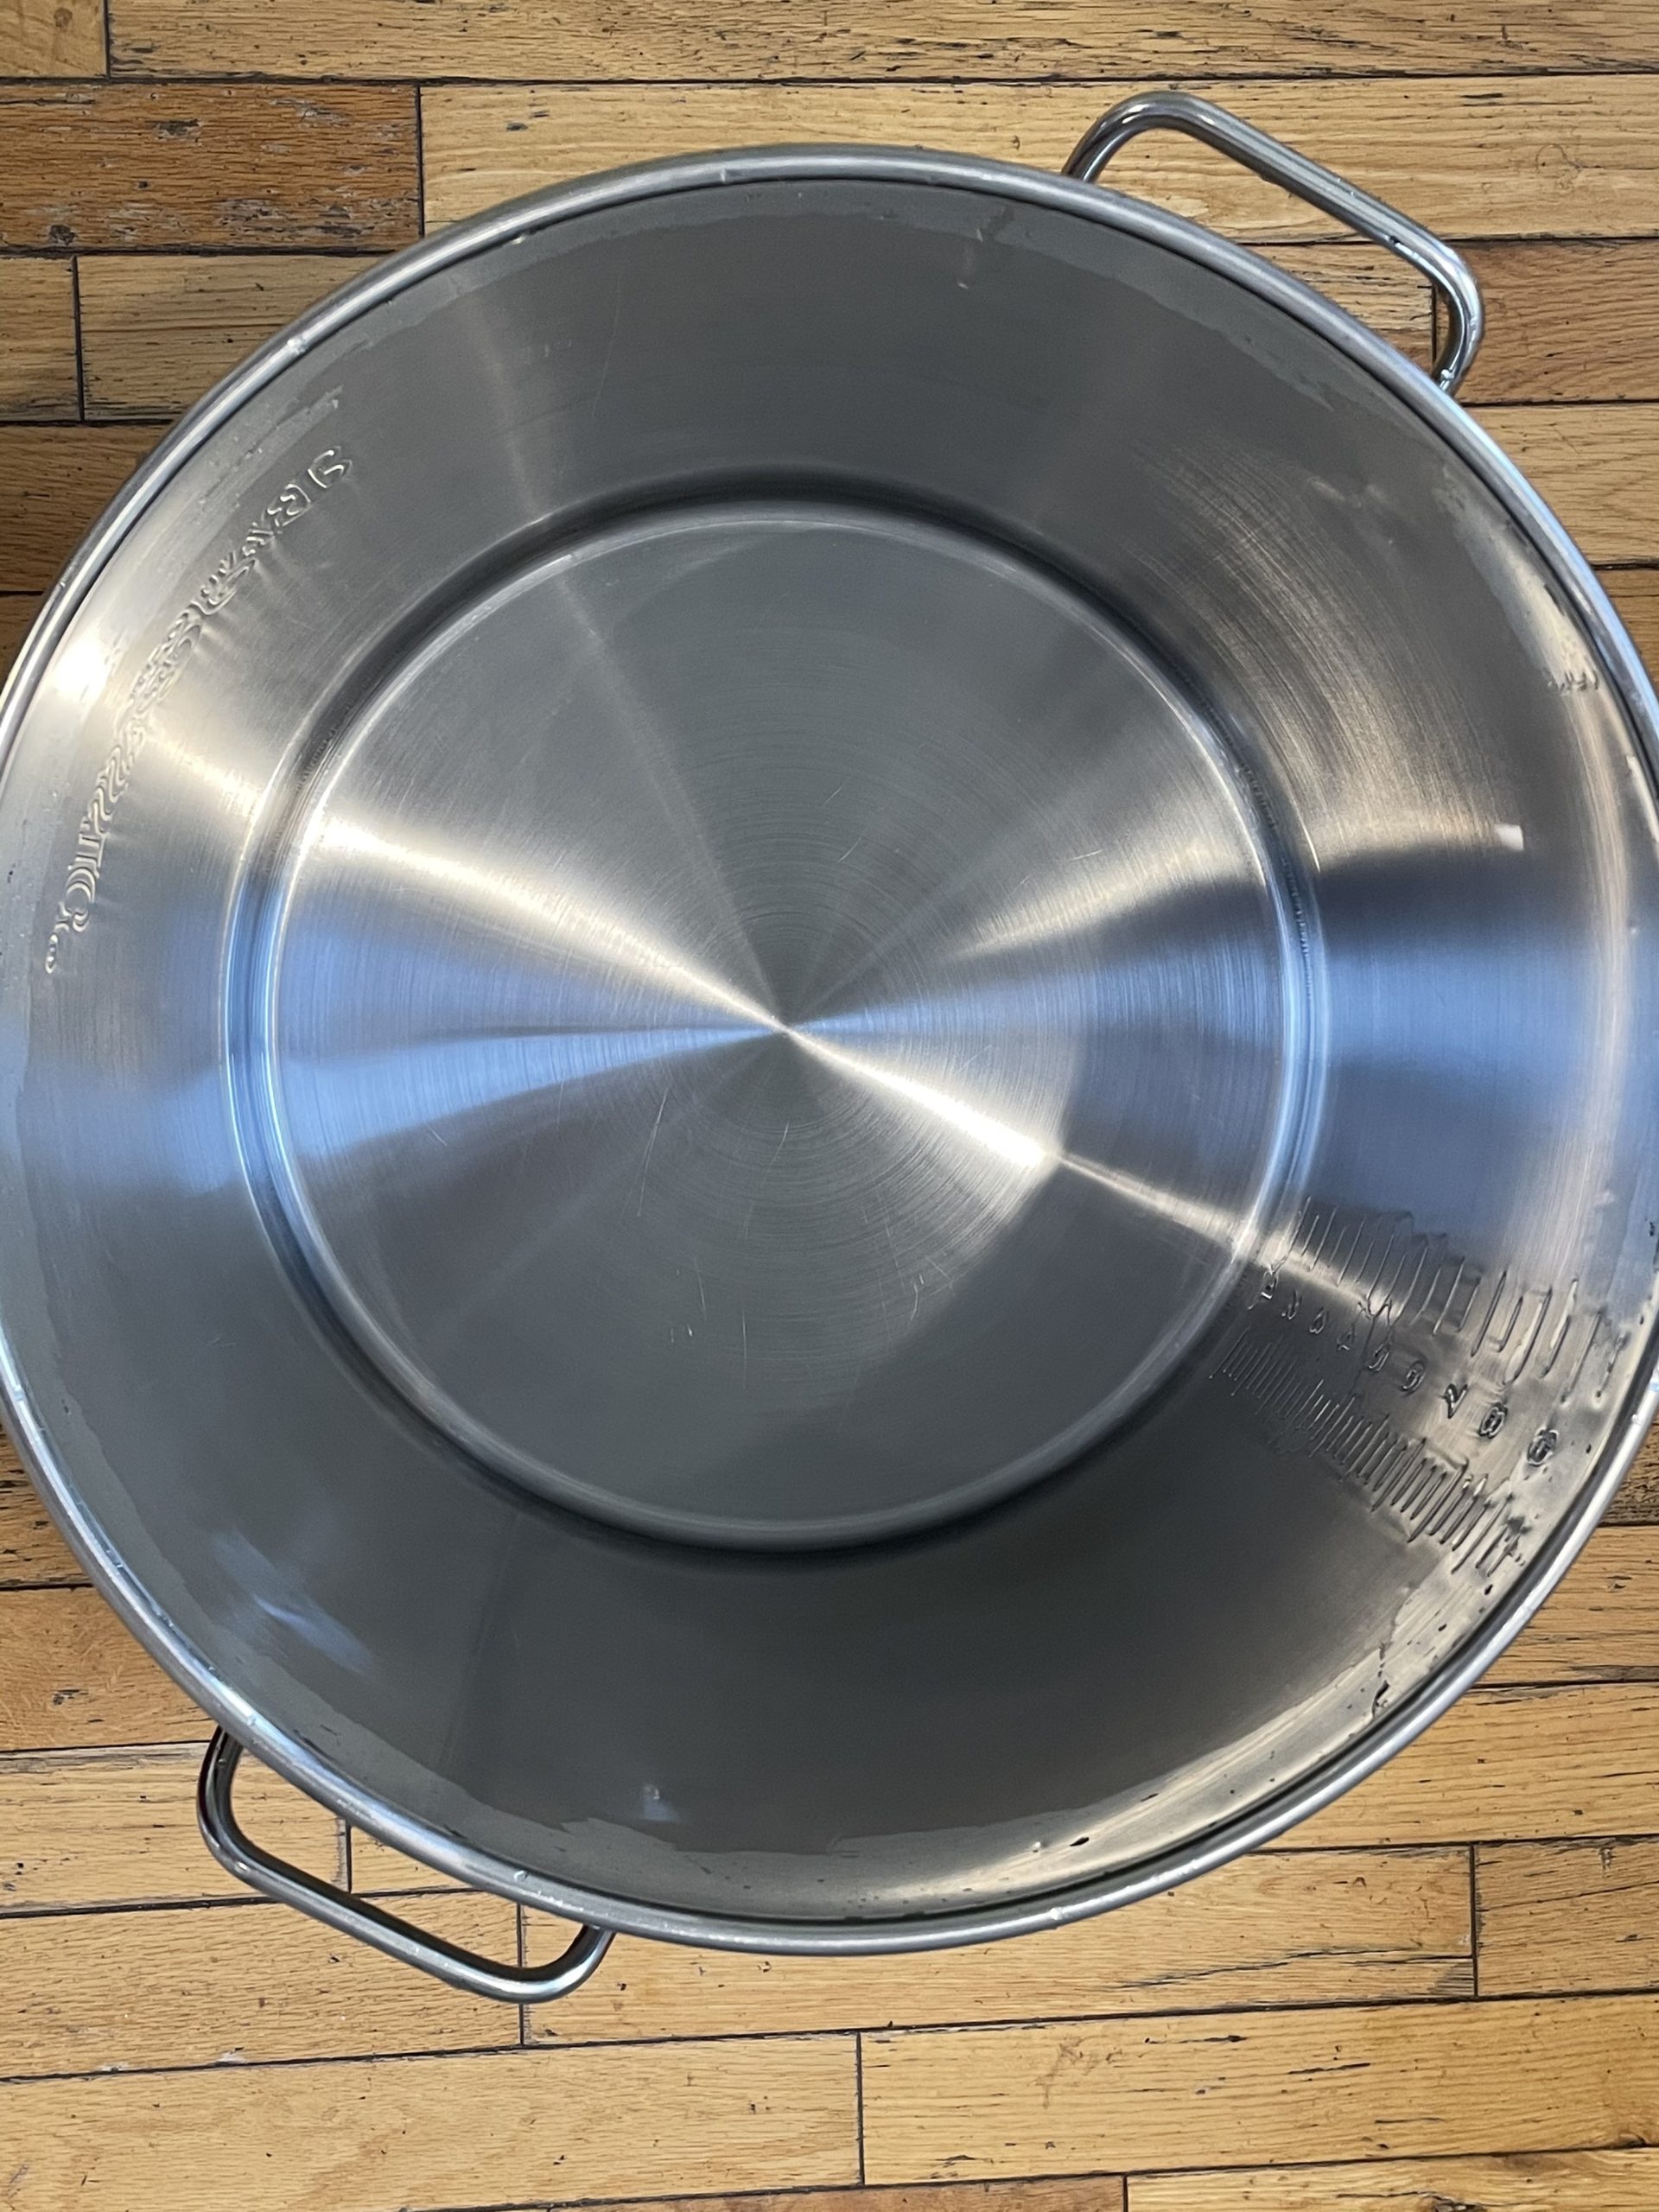
They will melt away like butter and the pot will be like new again!
It’s works INCREDIBLY well!
NOW you could rinse your pot :).
Our Return
Keep in mind that when making maple syrup, all of the time and energy in the process, doesn’t necessarily reap a large amount quantity wise comparatively (unless you have a ton of trees).
44 gallons of Sugar Maple sap will produce 1 gallon of syrup. That ratio changes depending on the type of trees that you tap. With other trees the same amount of sap will produce less syrup in the end, due to Sugar Maples having a higher sugar content.
There are days that one tree will hardly produce anything and then days when the tree may fill a whole 5 gallon bucket.
HOWEVER…The knowledge that we gain from the process, the connection with nature, the pride in the finished product, the challenge in improving with each batch, and the sharing of experiences and creating memories with loved ones is worth it all!
You can’t pay me enough to trade all of that for a store bought bottle of syrup.
We would LOVE to hear any tips and tricks for Making Maple Syrup that you may have…Please comment below!
Our Top Picks For Making Maple Syrup:
 About Me
I can’t wait to try some of these tips! Yesterday was our very first boil day and I still have to “finish off.” It’s a huge learning curve, but so fun!
Natalie that’s so exciting! Perfect timing! Sending you lots of good syruping vibes..let me know how it turns out!