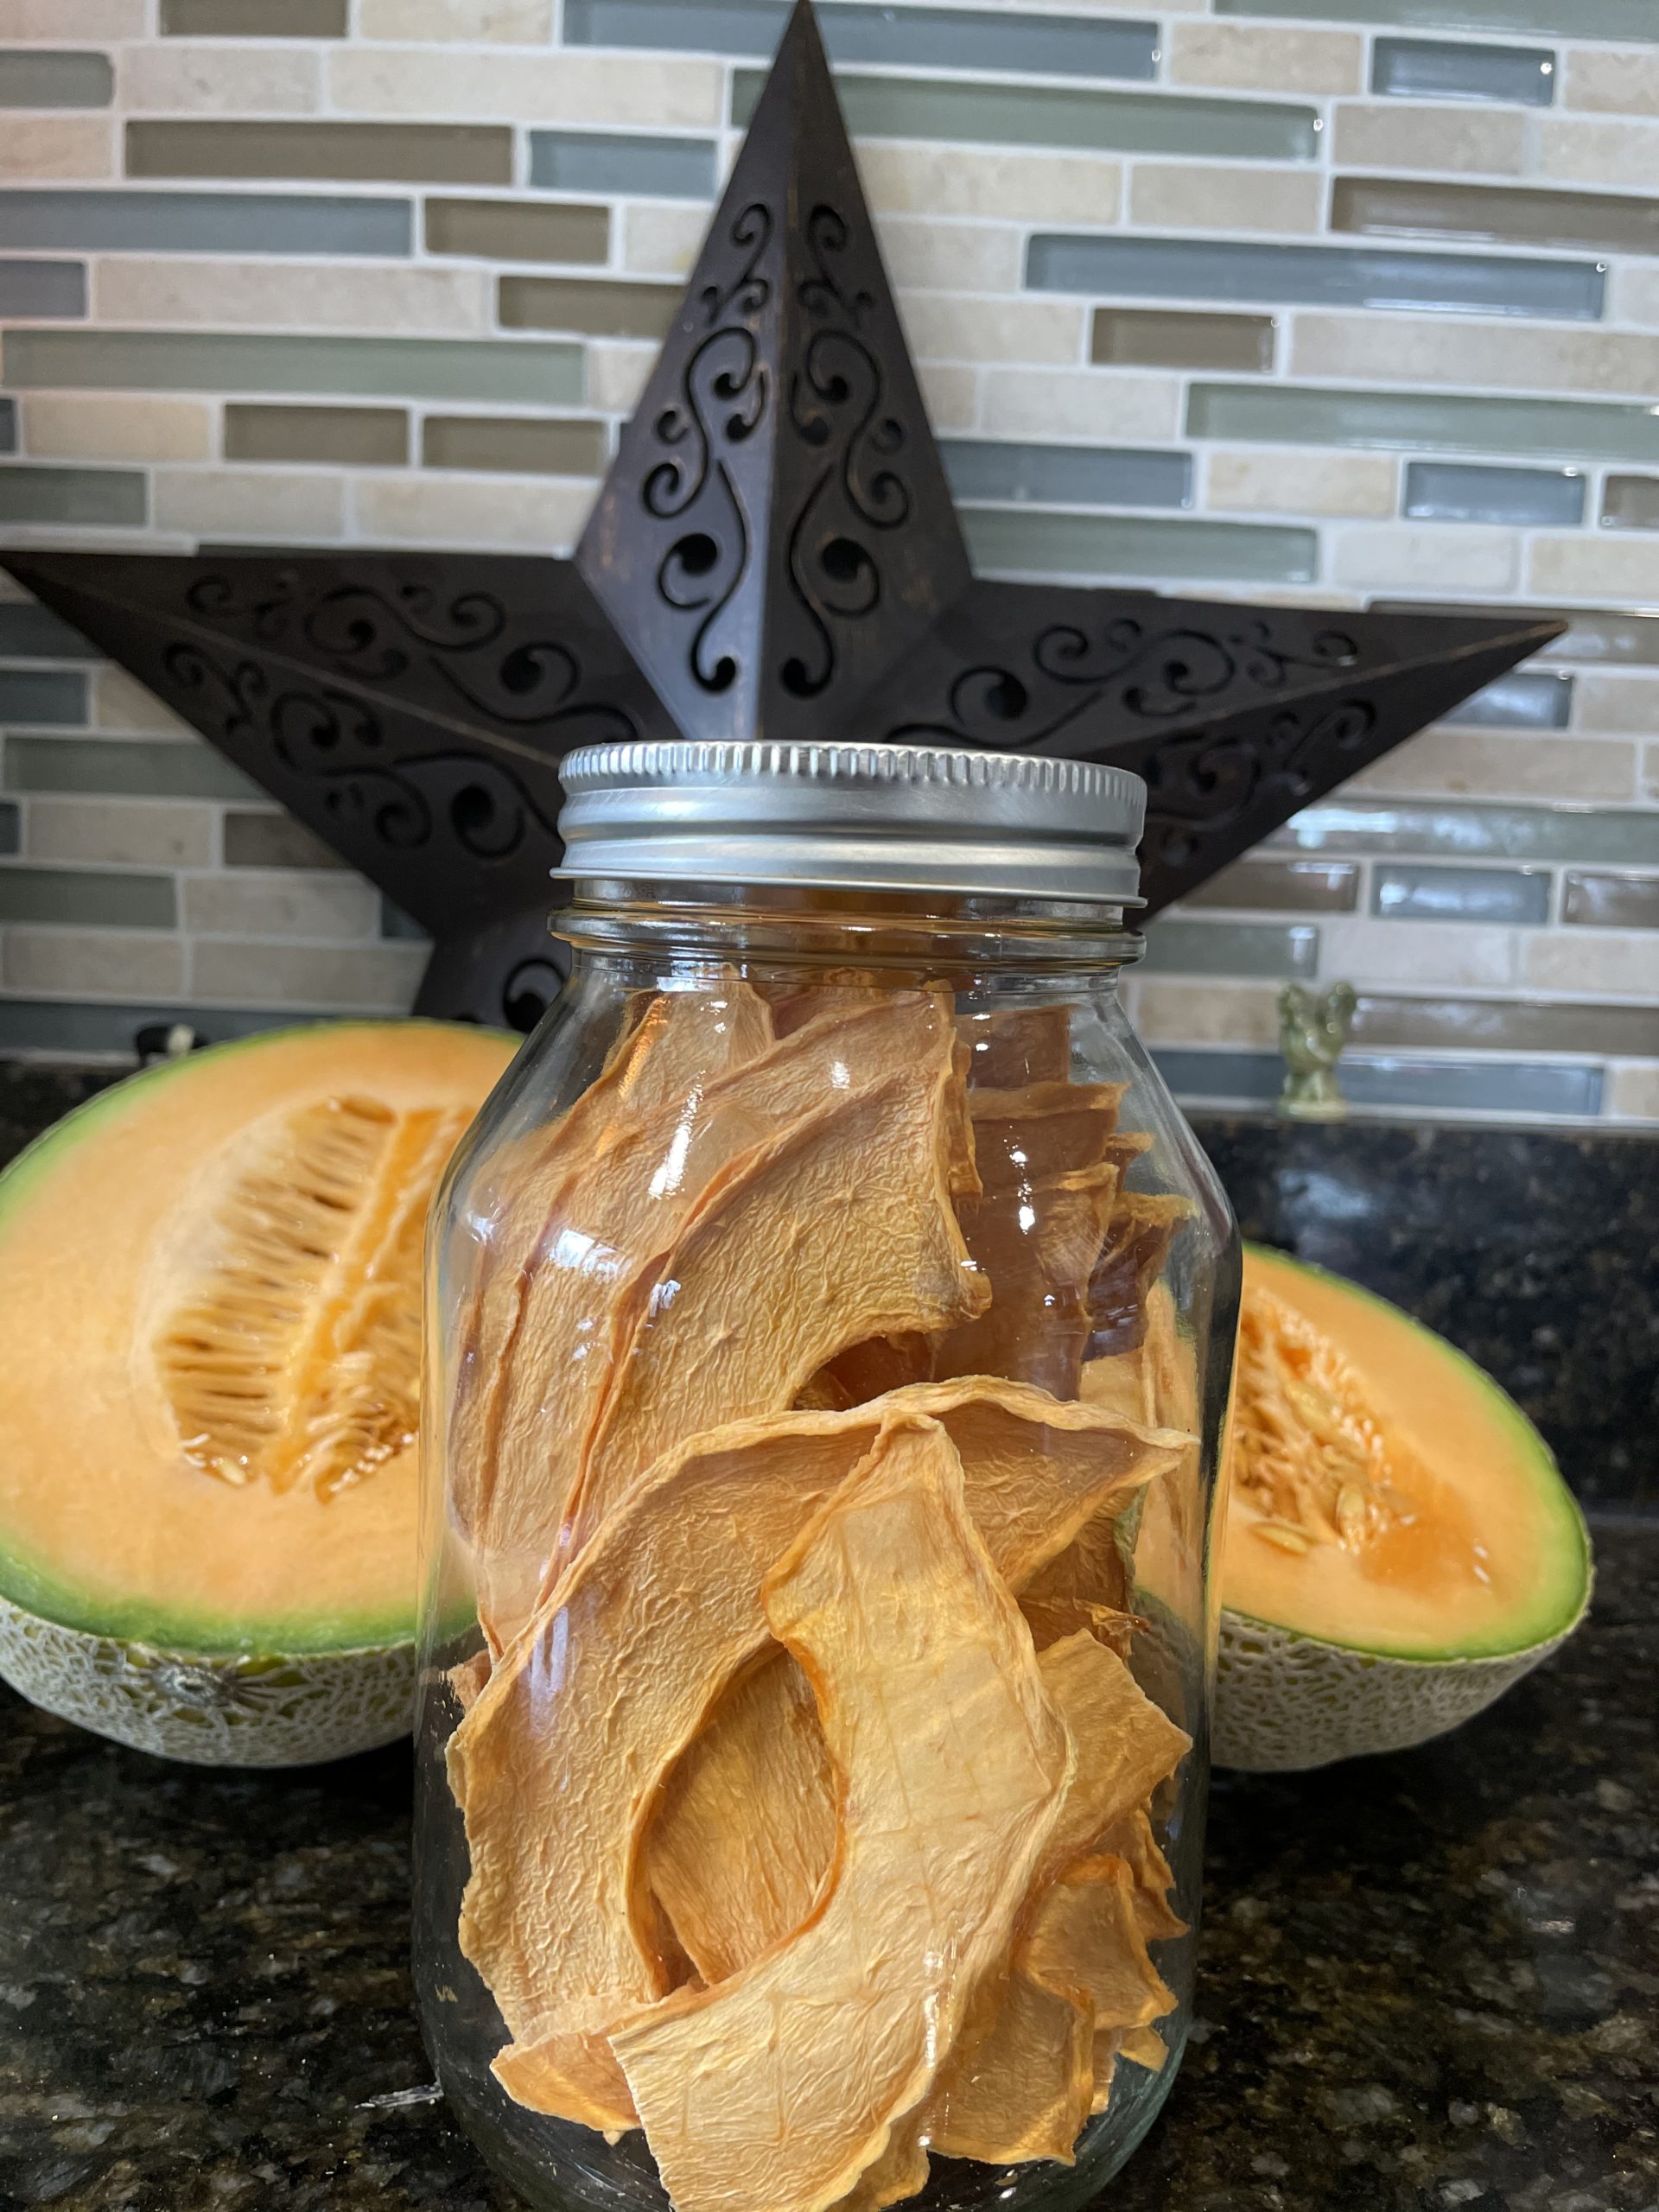
Dehydrating Cantaloupe
Lately I have been going crazy dehydrating cantaloupe almost every other day.
My whole life, I said that I didn’t like cantaloupe and would pick around it in fruit salads. It’s a texture thing!
If you added up all the pieces that I’ve eaten throughout my life, it would probably not even equal a complete slice. Since dehydrating cantaloupe?? Let’s just say that I have eaten 5 entire cantaloupes dehydrated over just this past WEEK!!!
Disclaimer-Eating excessive amounts of cantaloupe is not recommended of course, especially due to the high amounts of Potassium which could be hard on kidneys, especially those with damaged kidneys. However if we are being totally honest here, the high amounts of Little Debbie Oatmeal Cookies with Cream filling sandwiches that I was stress eating (which these replaced), I’m SURE weren’t better on my kidneys! Everything in moderation, right.?.
No joke..I’m hooked!
I’m going to lovingly blame my good friend Stacey, from Vintage Pathways, who challenged me to try dehydrating cantaloupe via Instagram. I never say no to a good challenge, so absolutely accepted. (Which if you are on Instagram and want to connect let me know! @halfwaytohomesteading21 )
And now here we are…I can’t stop eating them! (I’m eating them as I type this, as a matter of fact!)
What’s even better than eating them myself, is that Abby is loving eating the fresh pieces that I cut as I prep the dehydrator! I LOVE seeing kids eat healthy snacks!
I heard that people even make these for their dogs as well! I have to look into that one a bit more. If all checks out, it may be in our future as we are planning on getting a new puppy soon.
*Disclaimer- As an Amazon Associate, I earn money from qualifying purchases.
Why dehydrate cantaloupe??
Why not??
It’s a great way to preserve excess fruit.
I love dehydrating fruit that has gotten a bit riper than what the kids like to eat, so that it doesn’t get wasted. Also, the riper the fruit the more sweet & delicious they are dehydrated!
It’s a great way to add more fruit into our diets, being much more of a convenient grab and go snack.
Cantaloupe is packed with Vitamin C, Antioxidants, Vitamin A, Fiber, Potassium, Folate, Calcium, Zinc and more!
2 WAYS TO DEHYDRATE
We could dehydrate foods on a very low heat, in the oven.
The plus side to oven dehydrating is that we could use what we have and not have to purchase a whole other appliance.
Also, oven dehydrating tends to go a bit faster (still hours though). Usually the lowest temp of an oven is still warmer than what we set an official dehydrator to.
OR
We could use an official dehydrator.
Dehydrators are so convenient because they allow you to set it and almost forget it, much like the convenience of a crockpot. When dehydrating in an oven, we usually have to keep flipping the fruit or veggies to ensure even drying during the process, but not with dehydrators.
Dehydrators don’t interfere with daily life. Dehydrating takes HOURS which could tie up your oven for an entire day (or two! or even longer!).
While dehydrators cost money initially, they are much more energy efficient than ovens. So trying to save money up front by not purchasing one, could ultimately cost a lot more money in the long run.
Dehydrators range in price, but honestly when starting out we don’t need anything spectacular.
I spent $40 on a very basic Presto and it’s paid for itself in all the food that I have been able to preserve and not throw out. I’m even planning on getting additional trays to be able to do more at a time, since I am finding myself using it more often lately.
So while, yes, it’s true that you don’t NEED a dehydrator, my vote is strongly FOR them!
*Because Cantaloupes are grown on the ground, they are more susceptible to different types of bacteria like Salmonella and Listeria. Be sure to scrub the outside of cantaloupe with a brush well, under running water prior to cutting into it.
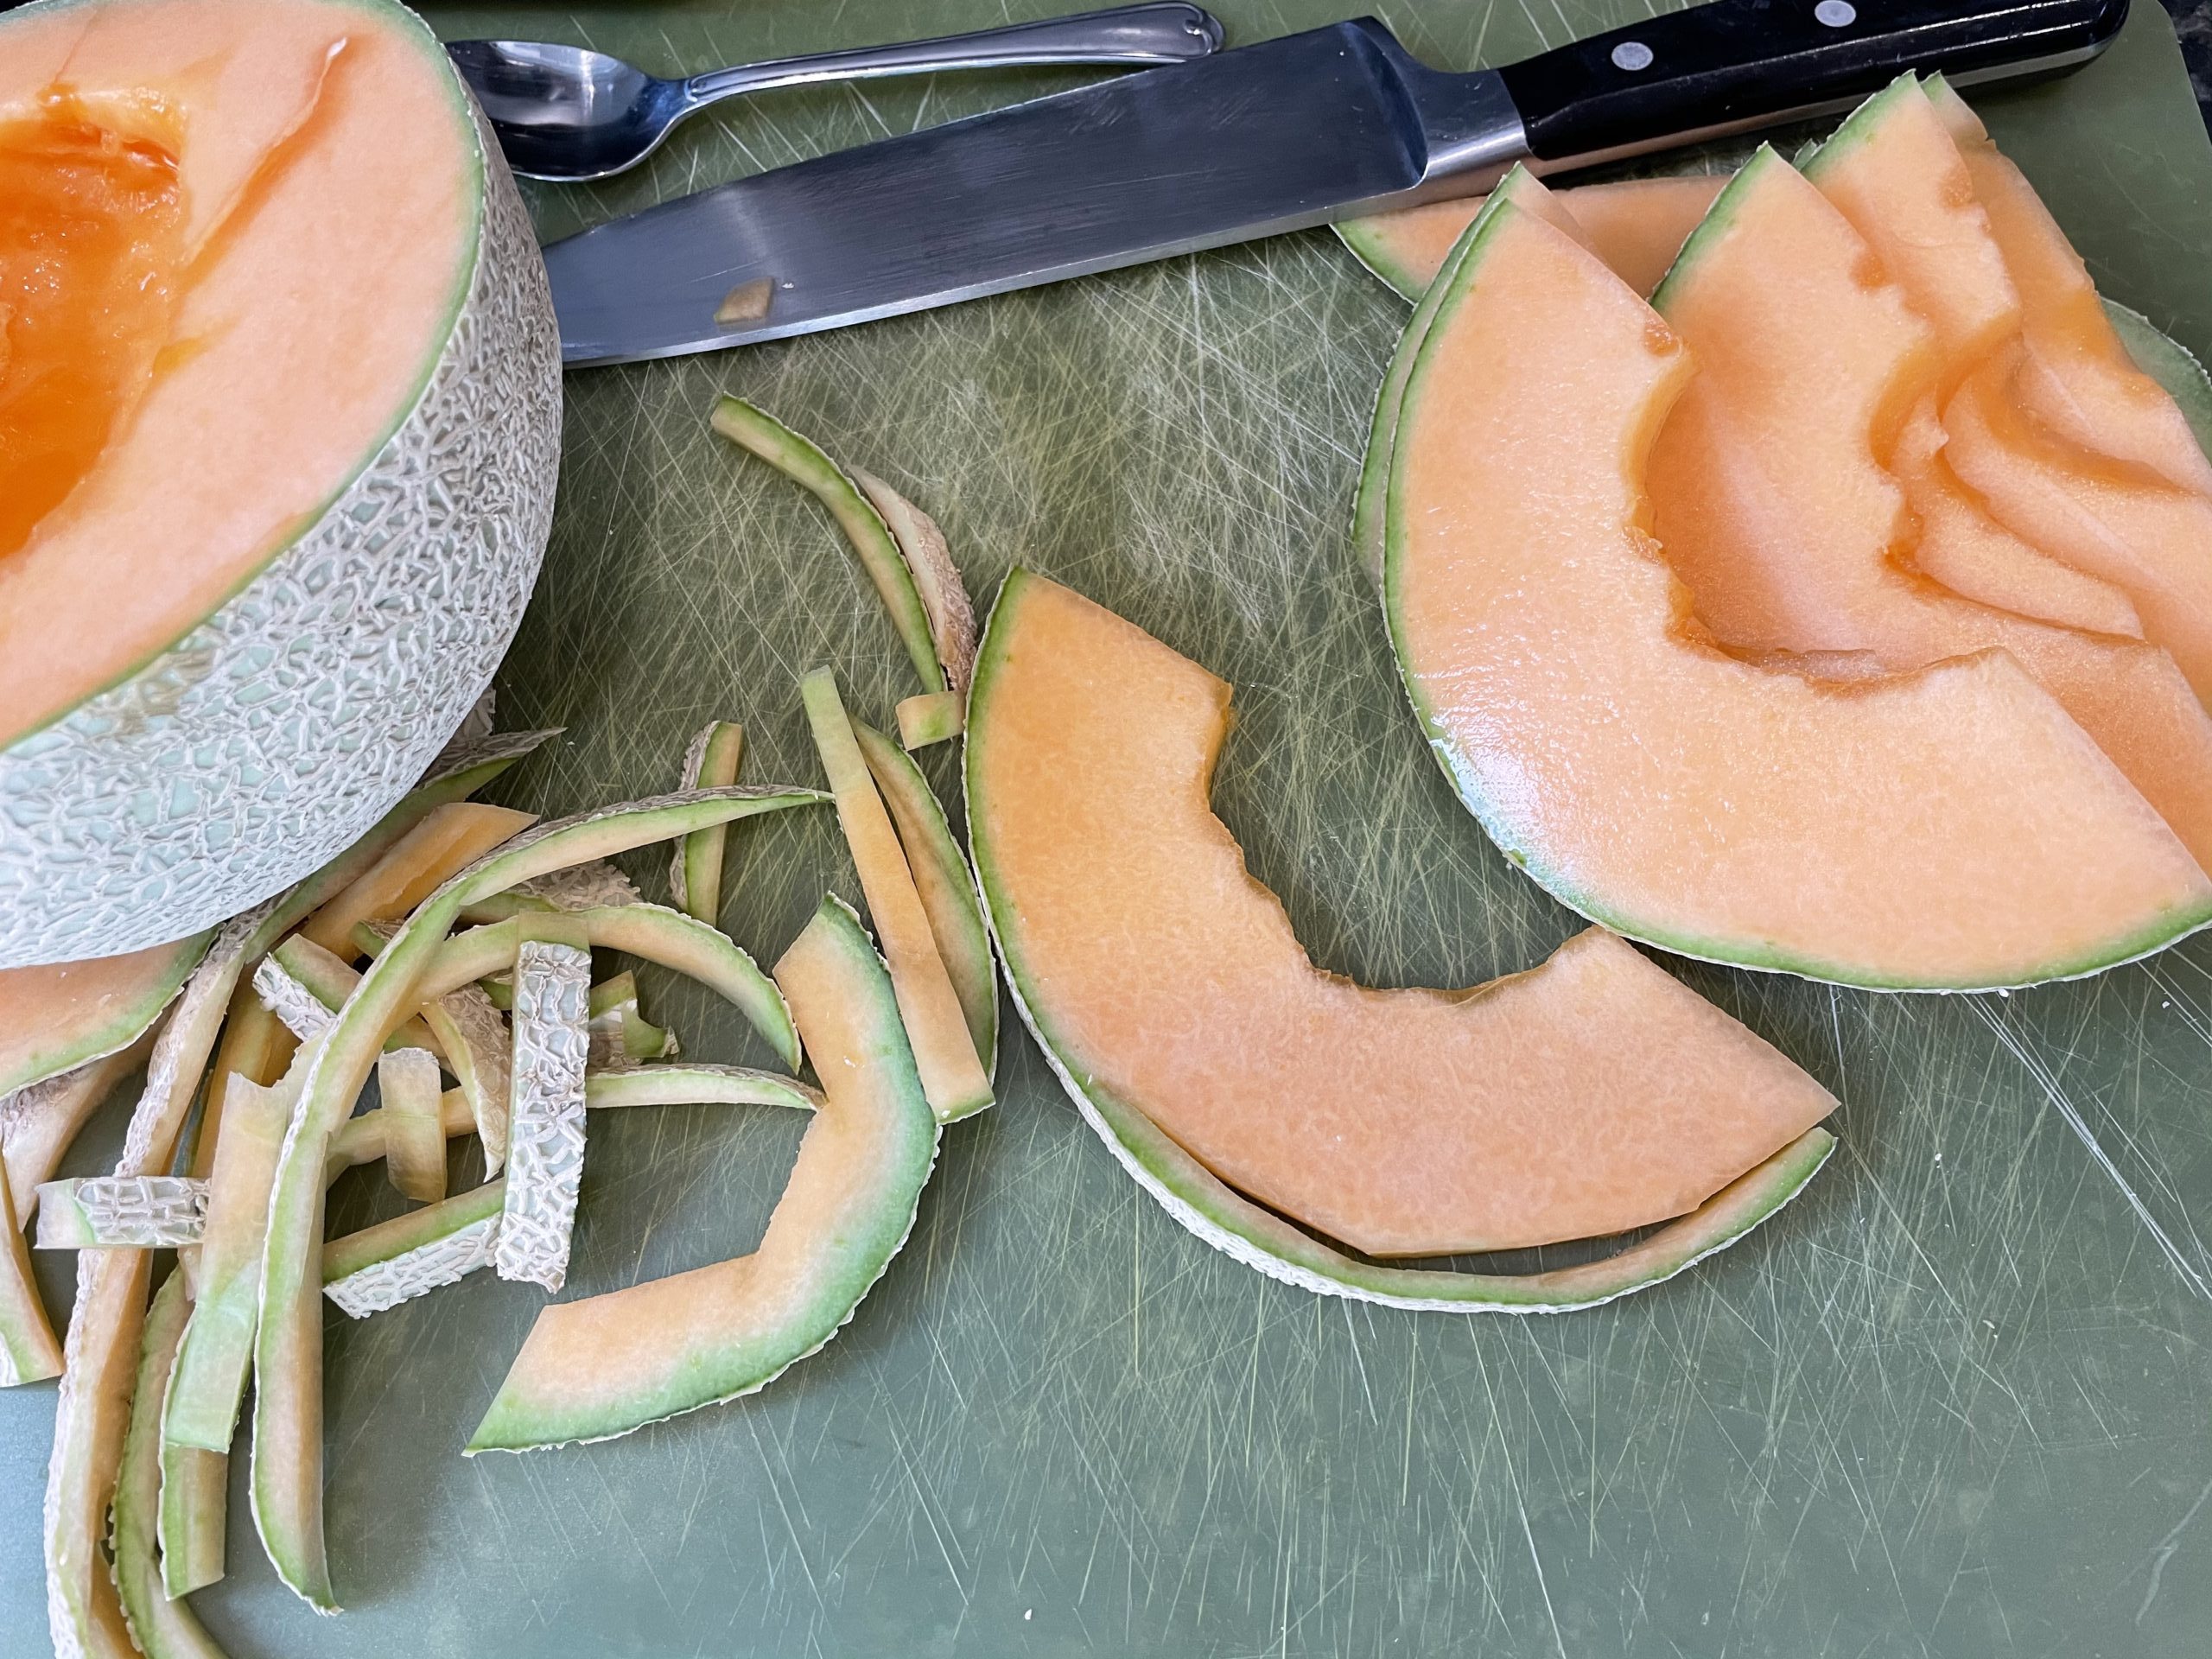
How to dehydrate cantaloupe in the oven
Turn oven onto its lowest setting. (Unfortunately this varies with each oven, ideally we want 135 degrees for fruit however your oven may not go that low. Go on the lowest setting but no more than 200 degrees.)
Wash outside of cantaloupe and pat dry with a towel.
Cut Cantaloupe in half .
Remove seeds using a spoon.
Give seeds to chickens if you have any.
Slice cantaloupe into ¼ inch thick semi-circle pieces.
Remove Rind.
Place slices onto a lined cookie sheet/sheet pan. (You could use parchment paper or a silicone liner.)
Be sure to keep space between pieces by not letting them touch or overlap.
Put tray in oven, keeping oven door slightly open to let steam continually escape.
Flip pieces every 45 minutes.
Bake for 2-3 hours. See below for how to tell when they are ready.
How to Dehydrate Cantaloupe in a Dehydrator
Wash cantaloupe and pat dry with a towel.
Cut Cantaloupe in half.
Remove seeds using a spoon.
Give seeds to chickens if you have any.
Slice cantaloupe into ¼ inch thick semi-circle pieces.
Remove Rind.
Arrange pieces onto dehydrator trays, making sure none are touching or overlapping.
Like with ovens, dehydrators vary with their temperatures and settings. Refer to your owner’s manual if you have one. Ideally you will set the dehydrator at 135 degrees.
My simple cheap (but awesomely functional!) Presto Dehydrator doesn’t have setting options. You just plug it in and it turns on, so just roll with it!
Leave in dehydrator for 8-18 hours…HUGE difference in time I know however this truly depends on how thick you made your cuts, how full your dehydrator is, and the type of machine you are using. Start checking at about 6 hours in.
How to tell when dehydrated cantaloupe is ready
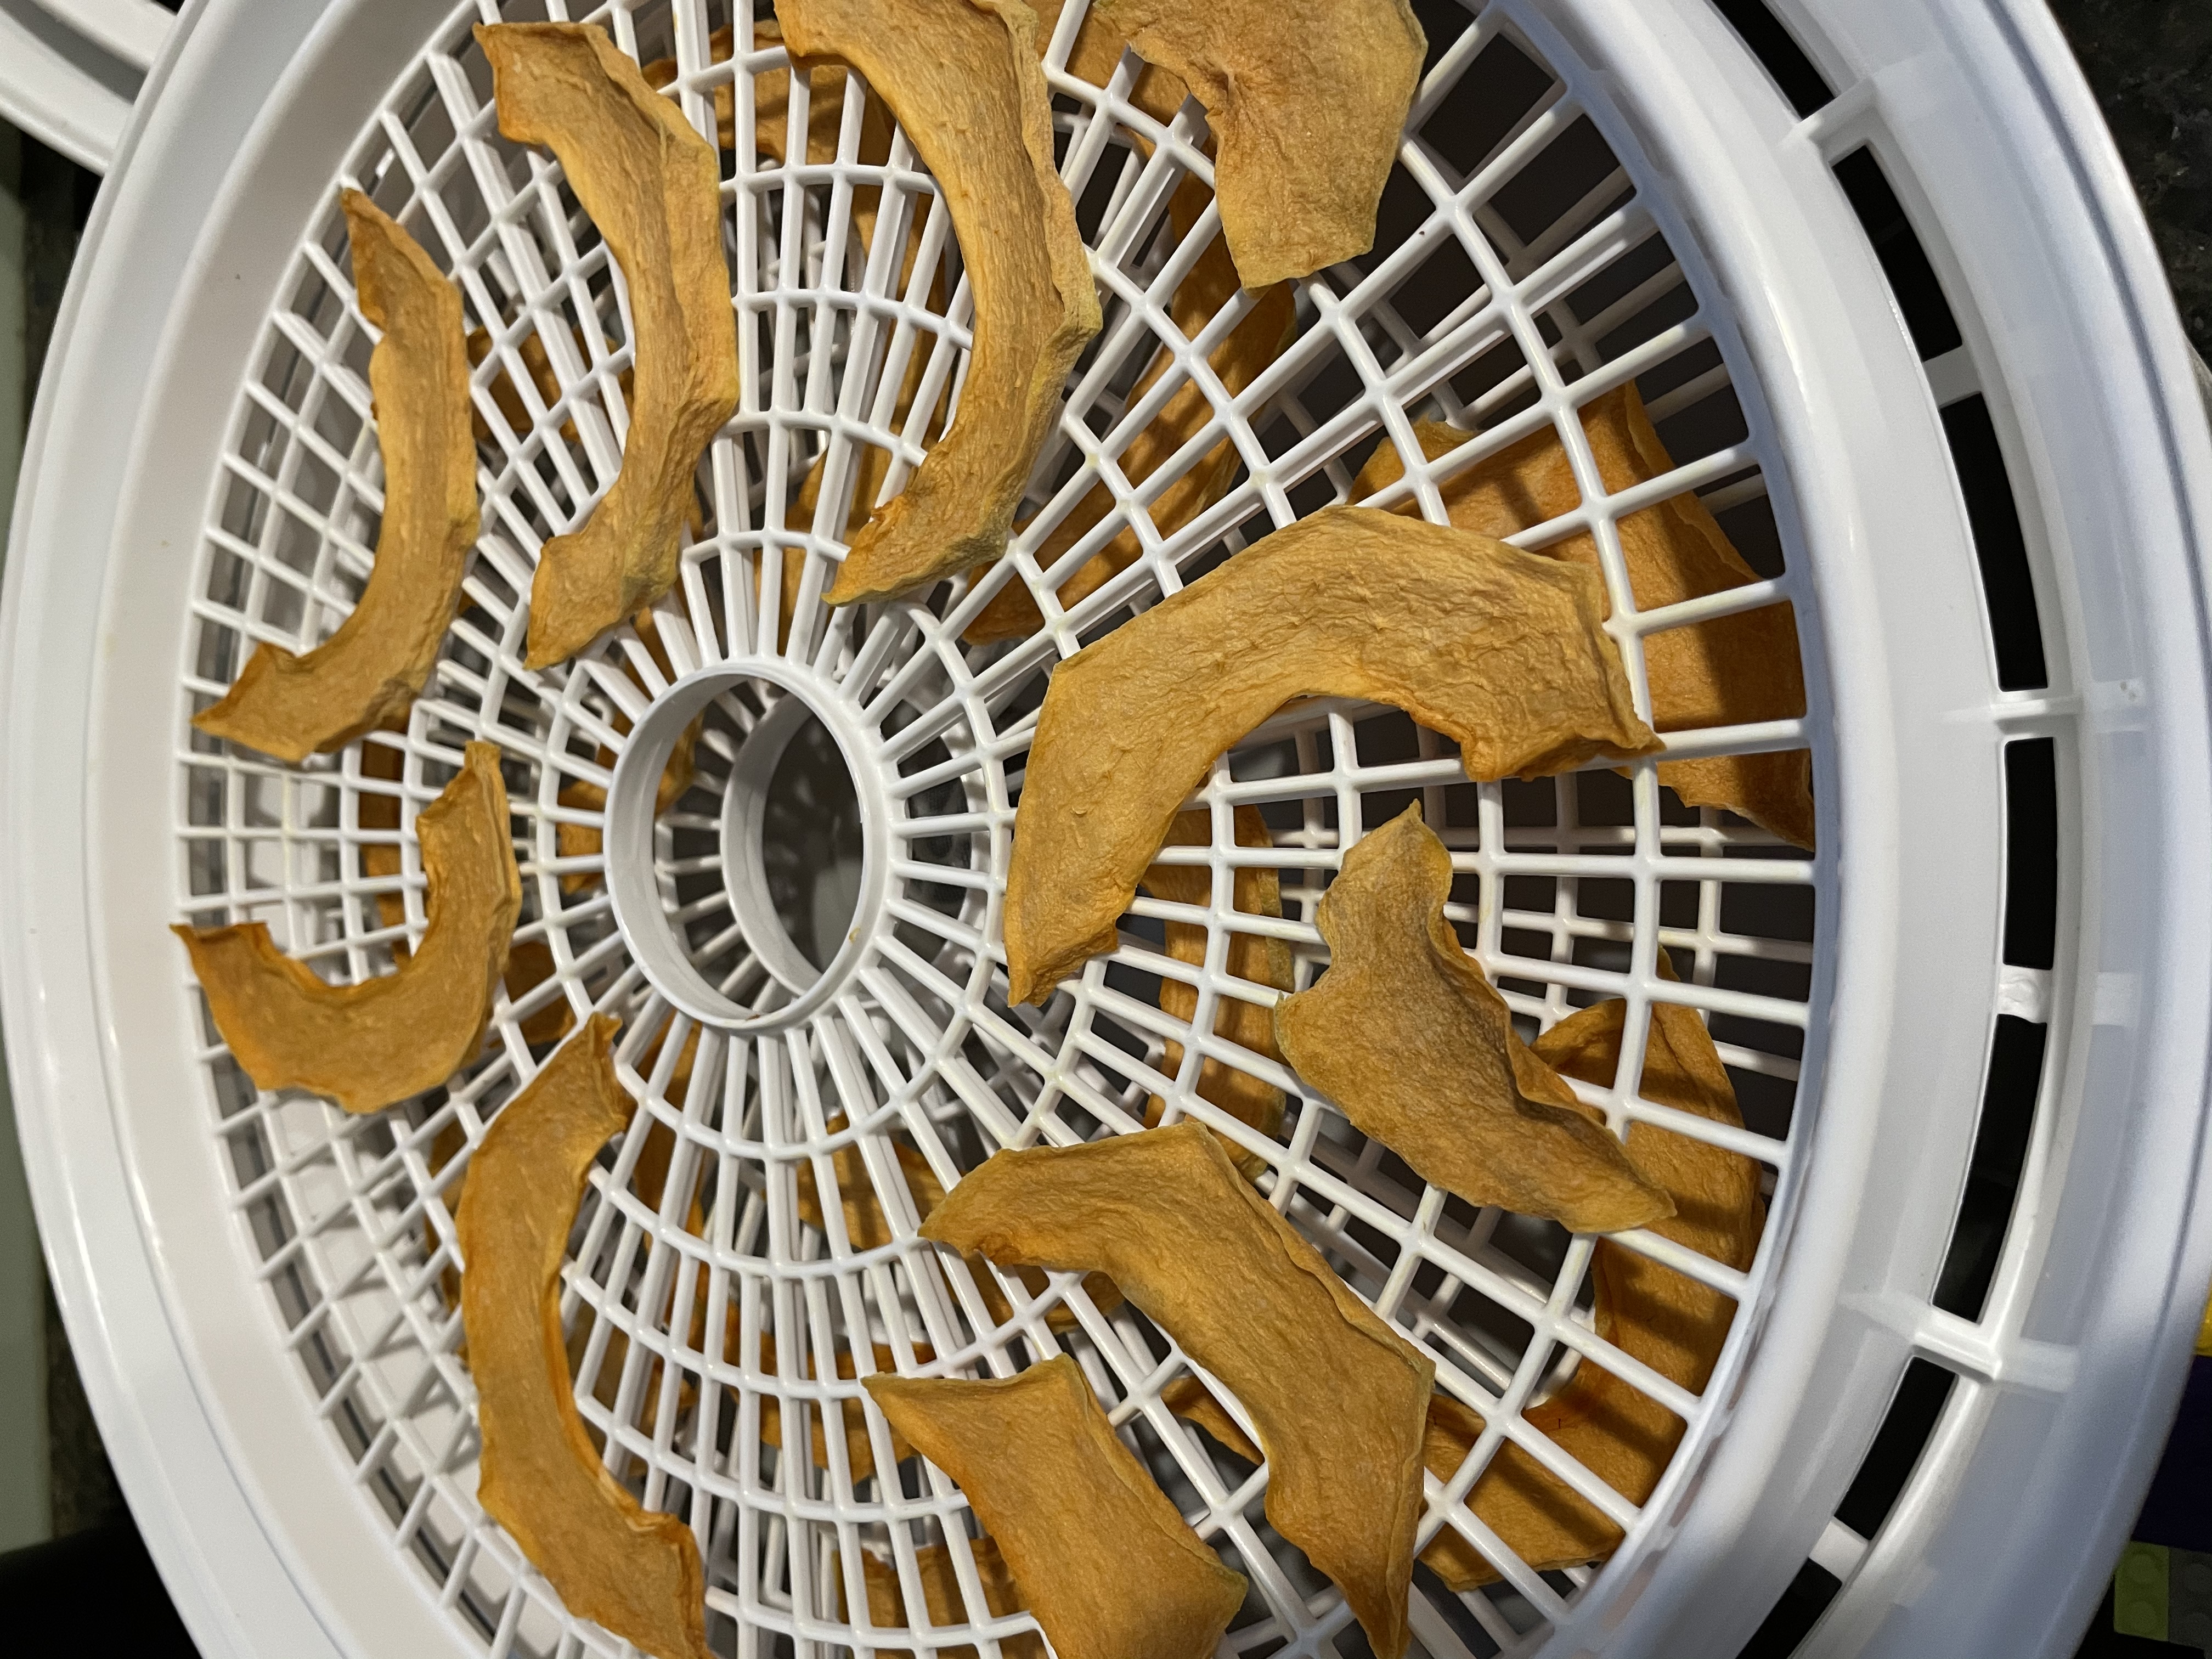
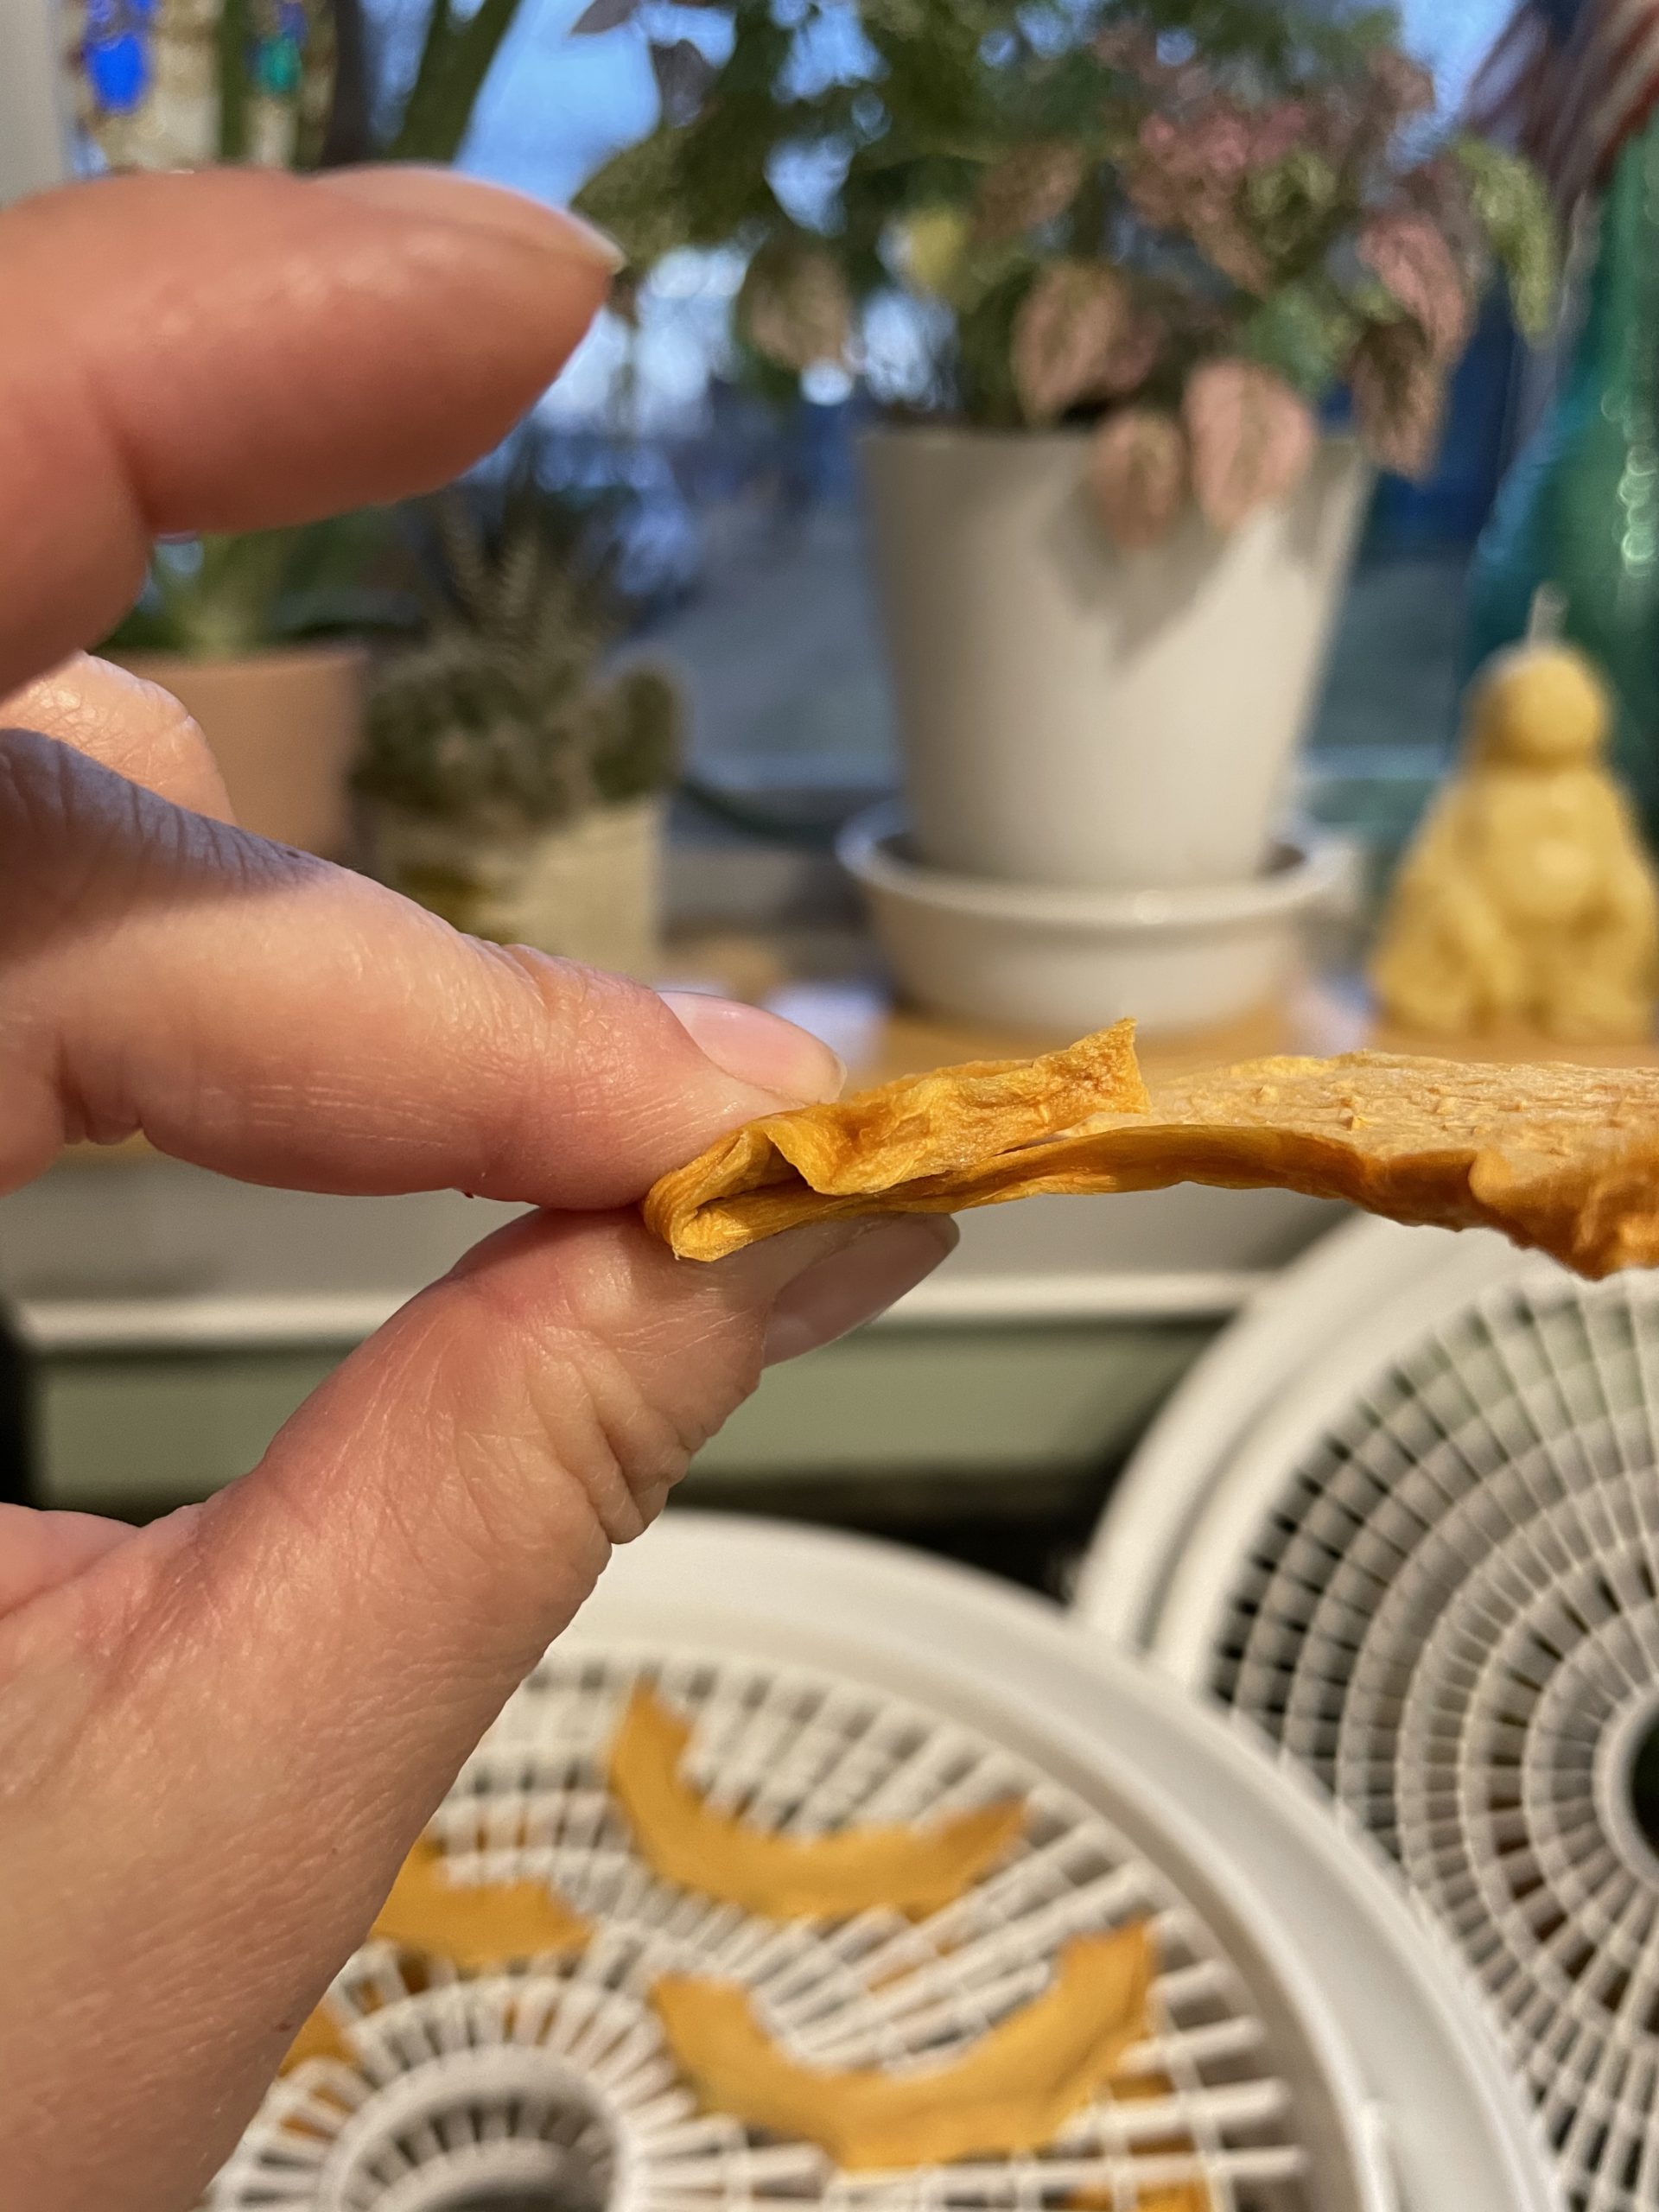
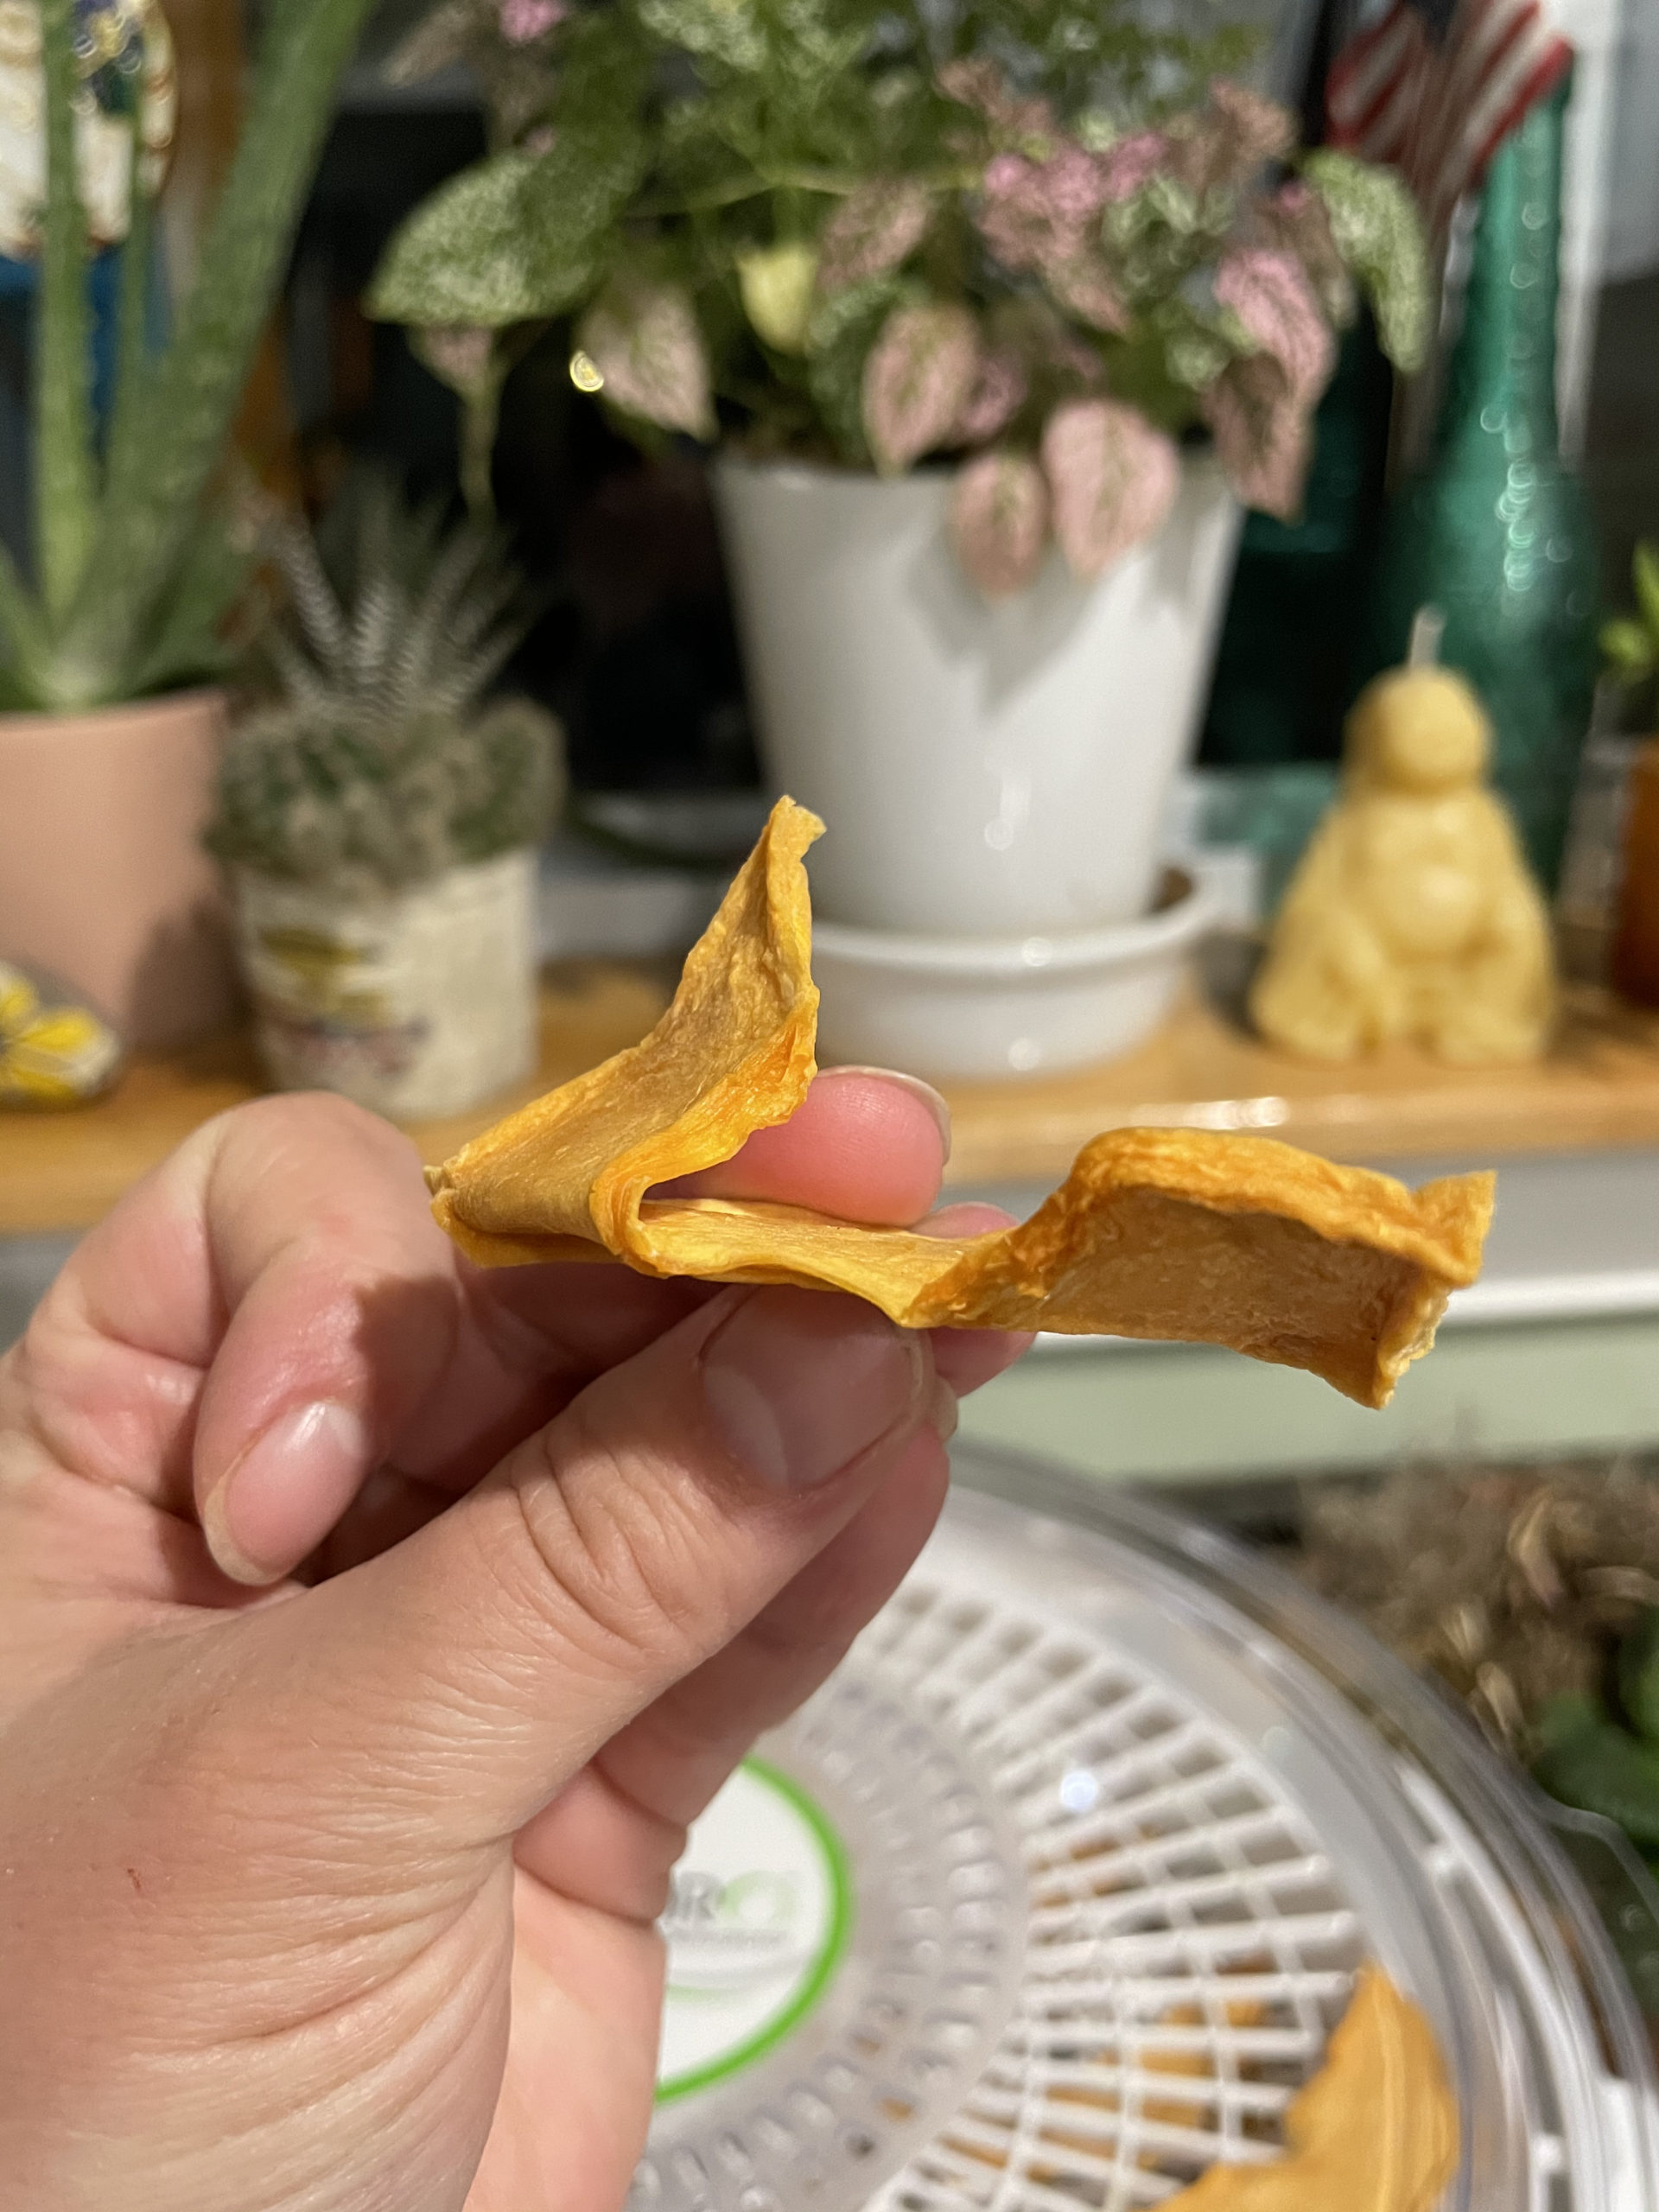
Like everything so far with these instructions, “readiness” also varies GREATLY depending on preference.
For starters they will look dry and shriveled.
They are done when they are leathery but not sticky.
Once you feel that you have arrived at the right “doneness”, check one piece from each tray (each tray may vary a bit with dryness so be sure to check each one) by folding the piece and pinching it against itself, then release your fingers.
If it stays stuck together then it is definitely not ready. Keep it going longer.
If you release your fingers and it starts to unfold itself on its own, then it’s ready.
If the piece cracks where you folded it, then it is definitely ready and may be a bit more done than you would want depending on how you like them.
Usually when dehydrating cantaloupe you’ll want the pieces to be pliable (bendable), however some people like them totally dried out to be more of a crunchy chip.
If you snack along the process you’ll discover your favorite finished product!
So now…shut off machine or oven and let everything naturally cool down.
Once pieces are COMPLETELY cooled, put them loosely in a sealed container (ideally a sealed glass jar), store in a dry cool location away from direct sunlight, and condition them.
Conditioning Dehydrated Cantaloupe
Every day for the next week, shake the jar gently and look all around the glass for any signs of condensation or moisture. If there is any sign at all…put back into oven or dehydrator for a bit longer.
Any moisture will cause mold, so this is a very important step.
Once you know there is no moisture in your finished product, keep stored as stated above and eat within a year (ideally).

 About Me
0 Comments