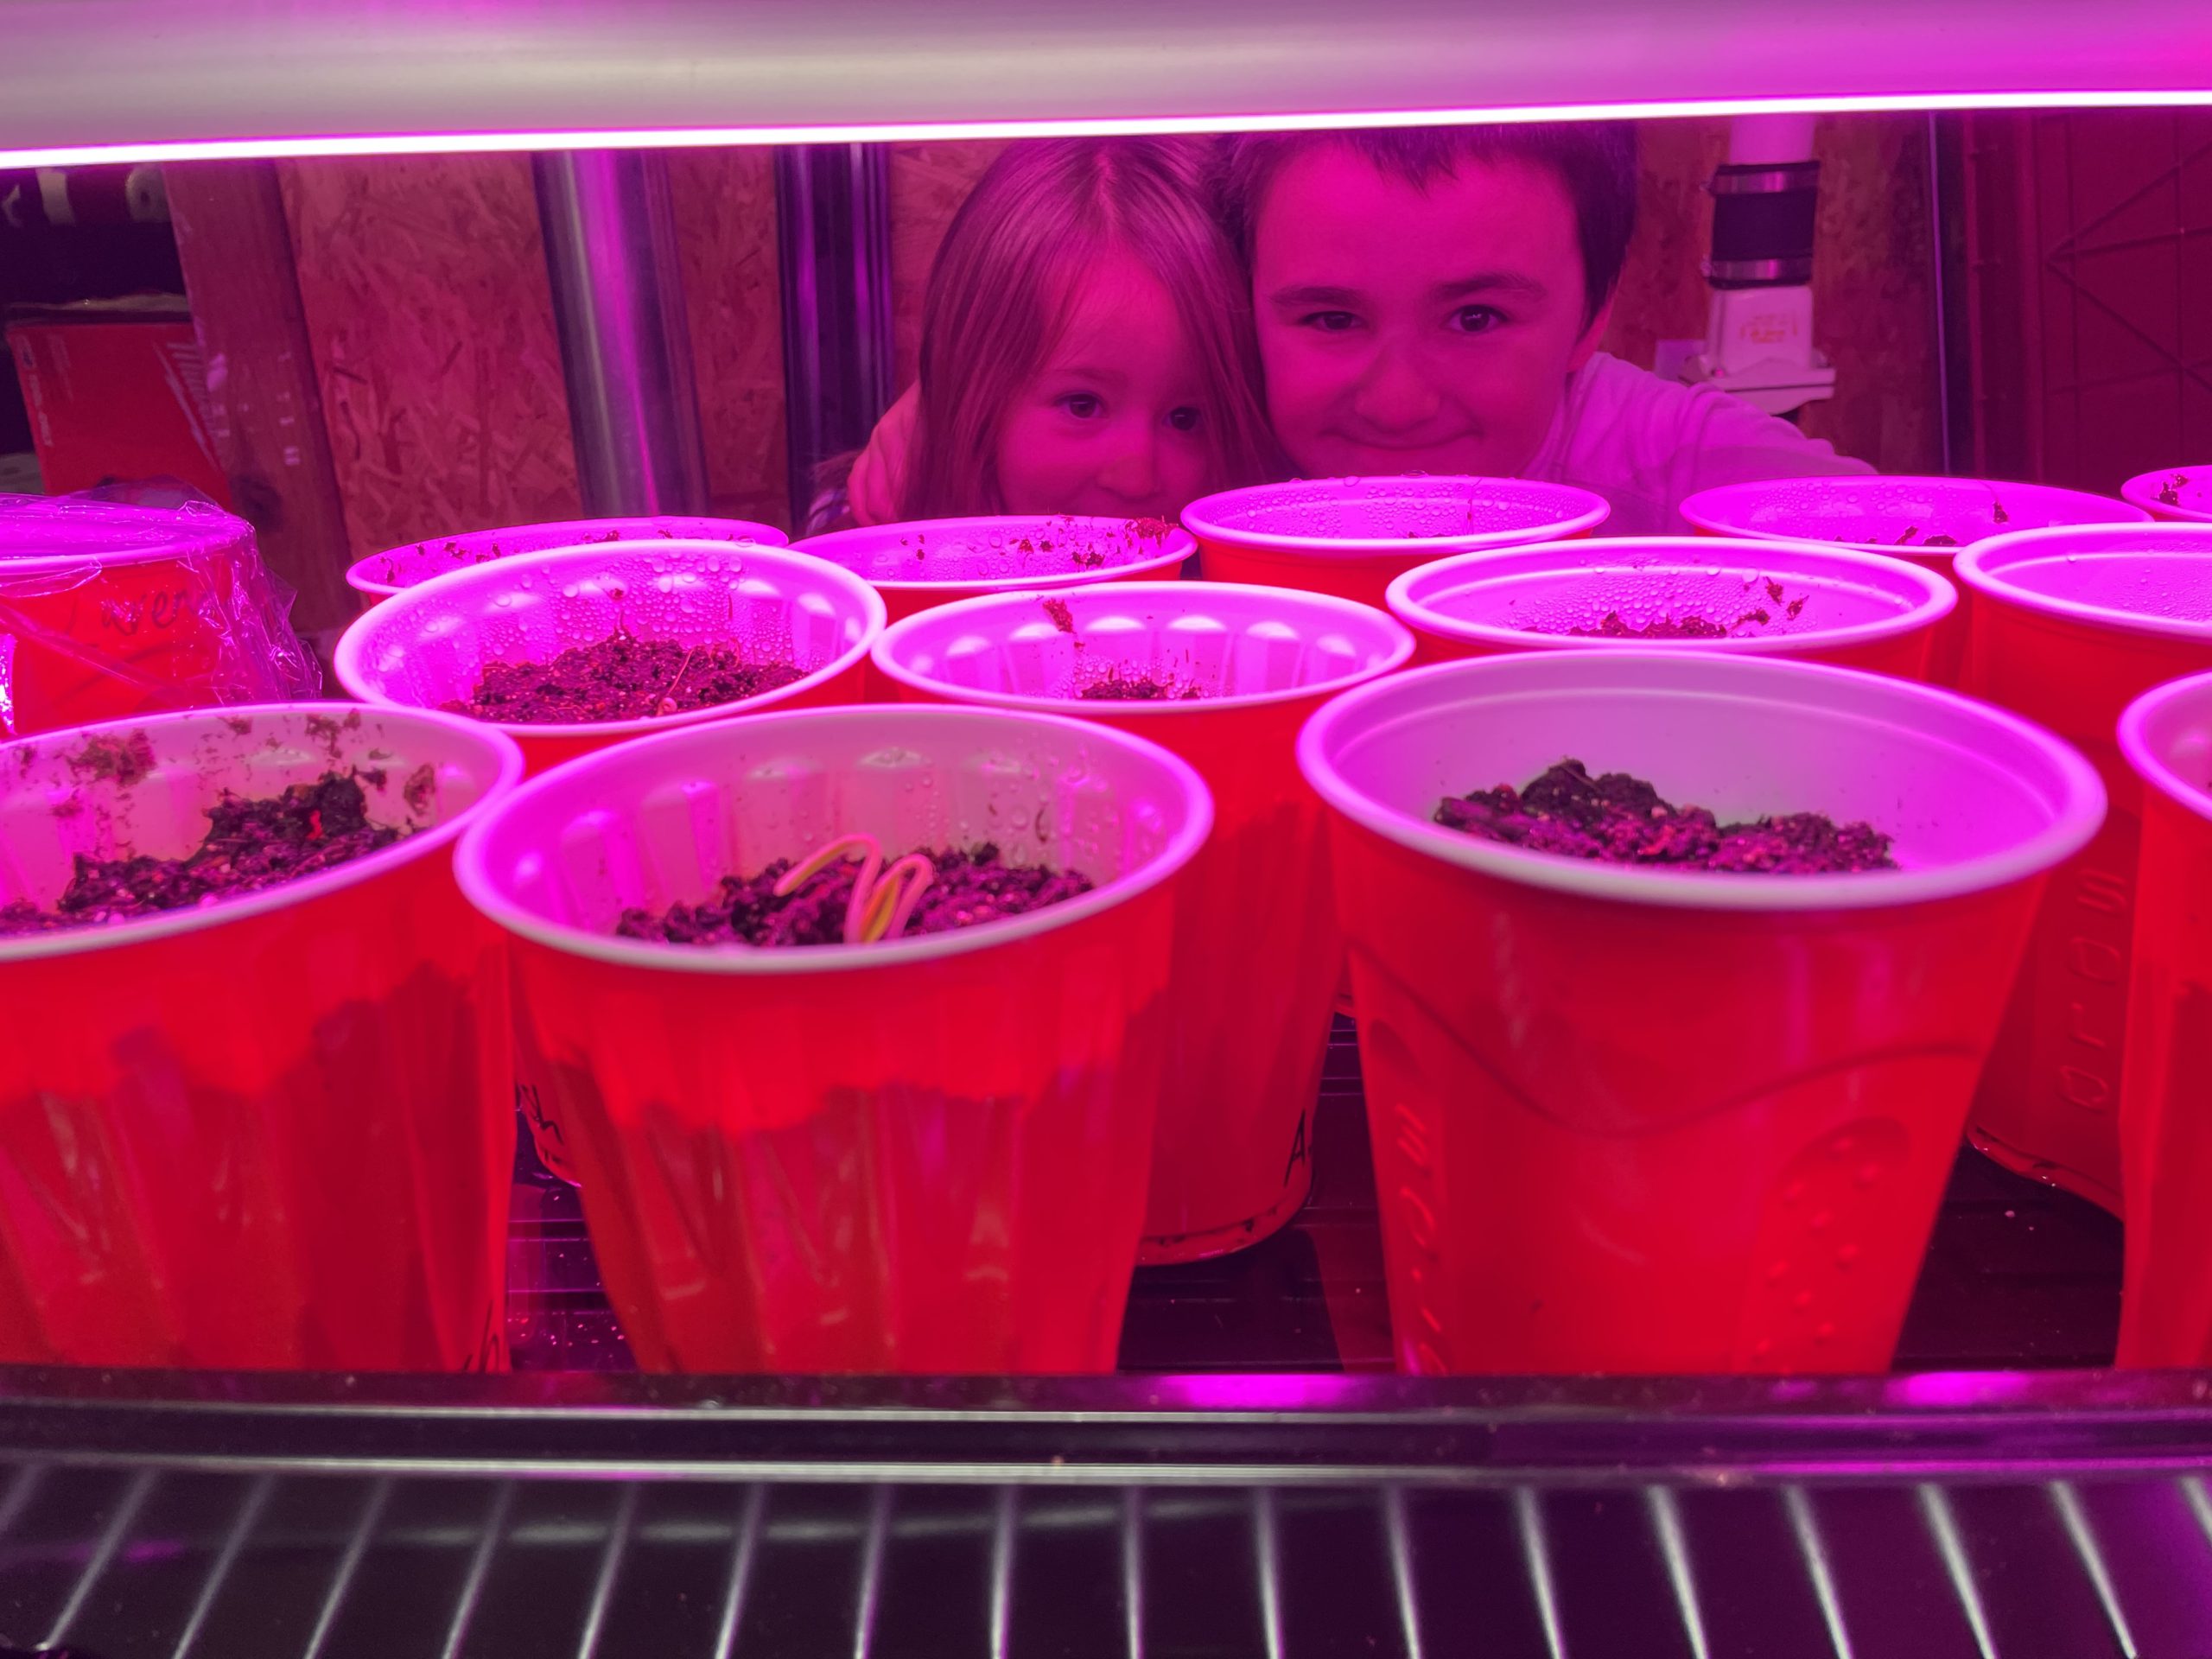
Starting Seeds Indoors : Getting Prepared
Starting seeds indoors allows us to get a jump start on the growing season. This gives us established strong plants to begin our gardens with but also extends our harvest period. Providing more food in the end is ultimately our goal, right?
Those living in cooler climates have shorter “growing seasons” with less warm weather months. When most plants take several months to develop, grow, and ripen, every bit of a jump start counts!
When starting seeds indoors, instead of purchasing seedlings, we could save a TON of money on plants (this doesn’t include your initial start up investments if you choose to purchase lights or special shelving and such). But just referring to the plants alone, a packet of seeds for a couple to a few dollars could have 10-80 seeds in it vs. that same dollar amount (or more!) for one pre-grown seedling at the store.
The exciting challenge of starting something from seed, nurturing it, and watching it grow to the point of being able to harvest from it is just unbeatable and invaluable!
Preparation and planning is EVERYTHING in gardening, though, especially if we are going to start with seeds.
*Disclaimer: This post contains affiliate links to Tractor Supply and Amazon. As an Affiliate Associate I earn from qualifying purchases.
FIRST Plan Your Growing Space
Where are you going to put these plants to grow?
This usually is determined by what you are going to use for lighting.
Growing In A Window? Make sure it’s a south facing window in order to get adequate sunlight, as the south side of your house will get the most direct sun. Keep in mind, when growing in a window you’ll need to rotate the seedlings regularly, to keep them from leaning too far to one side as they stretch to reach the light.
Starting Seeds Indoors With Grow Lights?
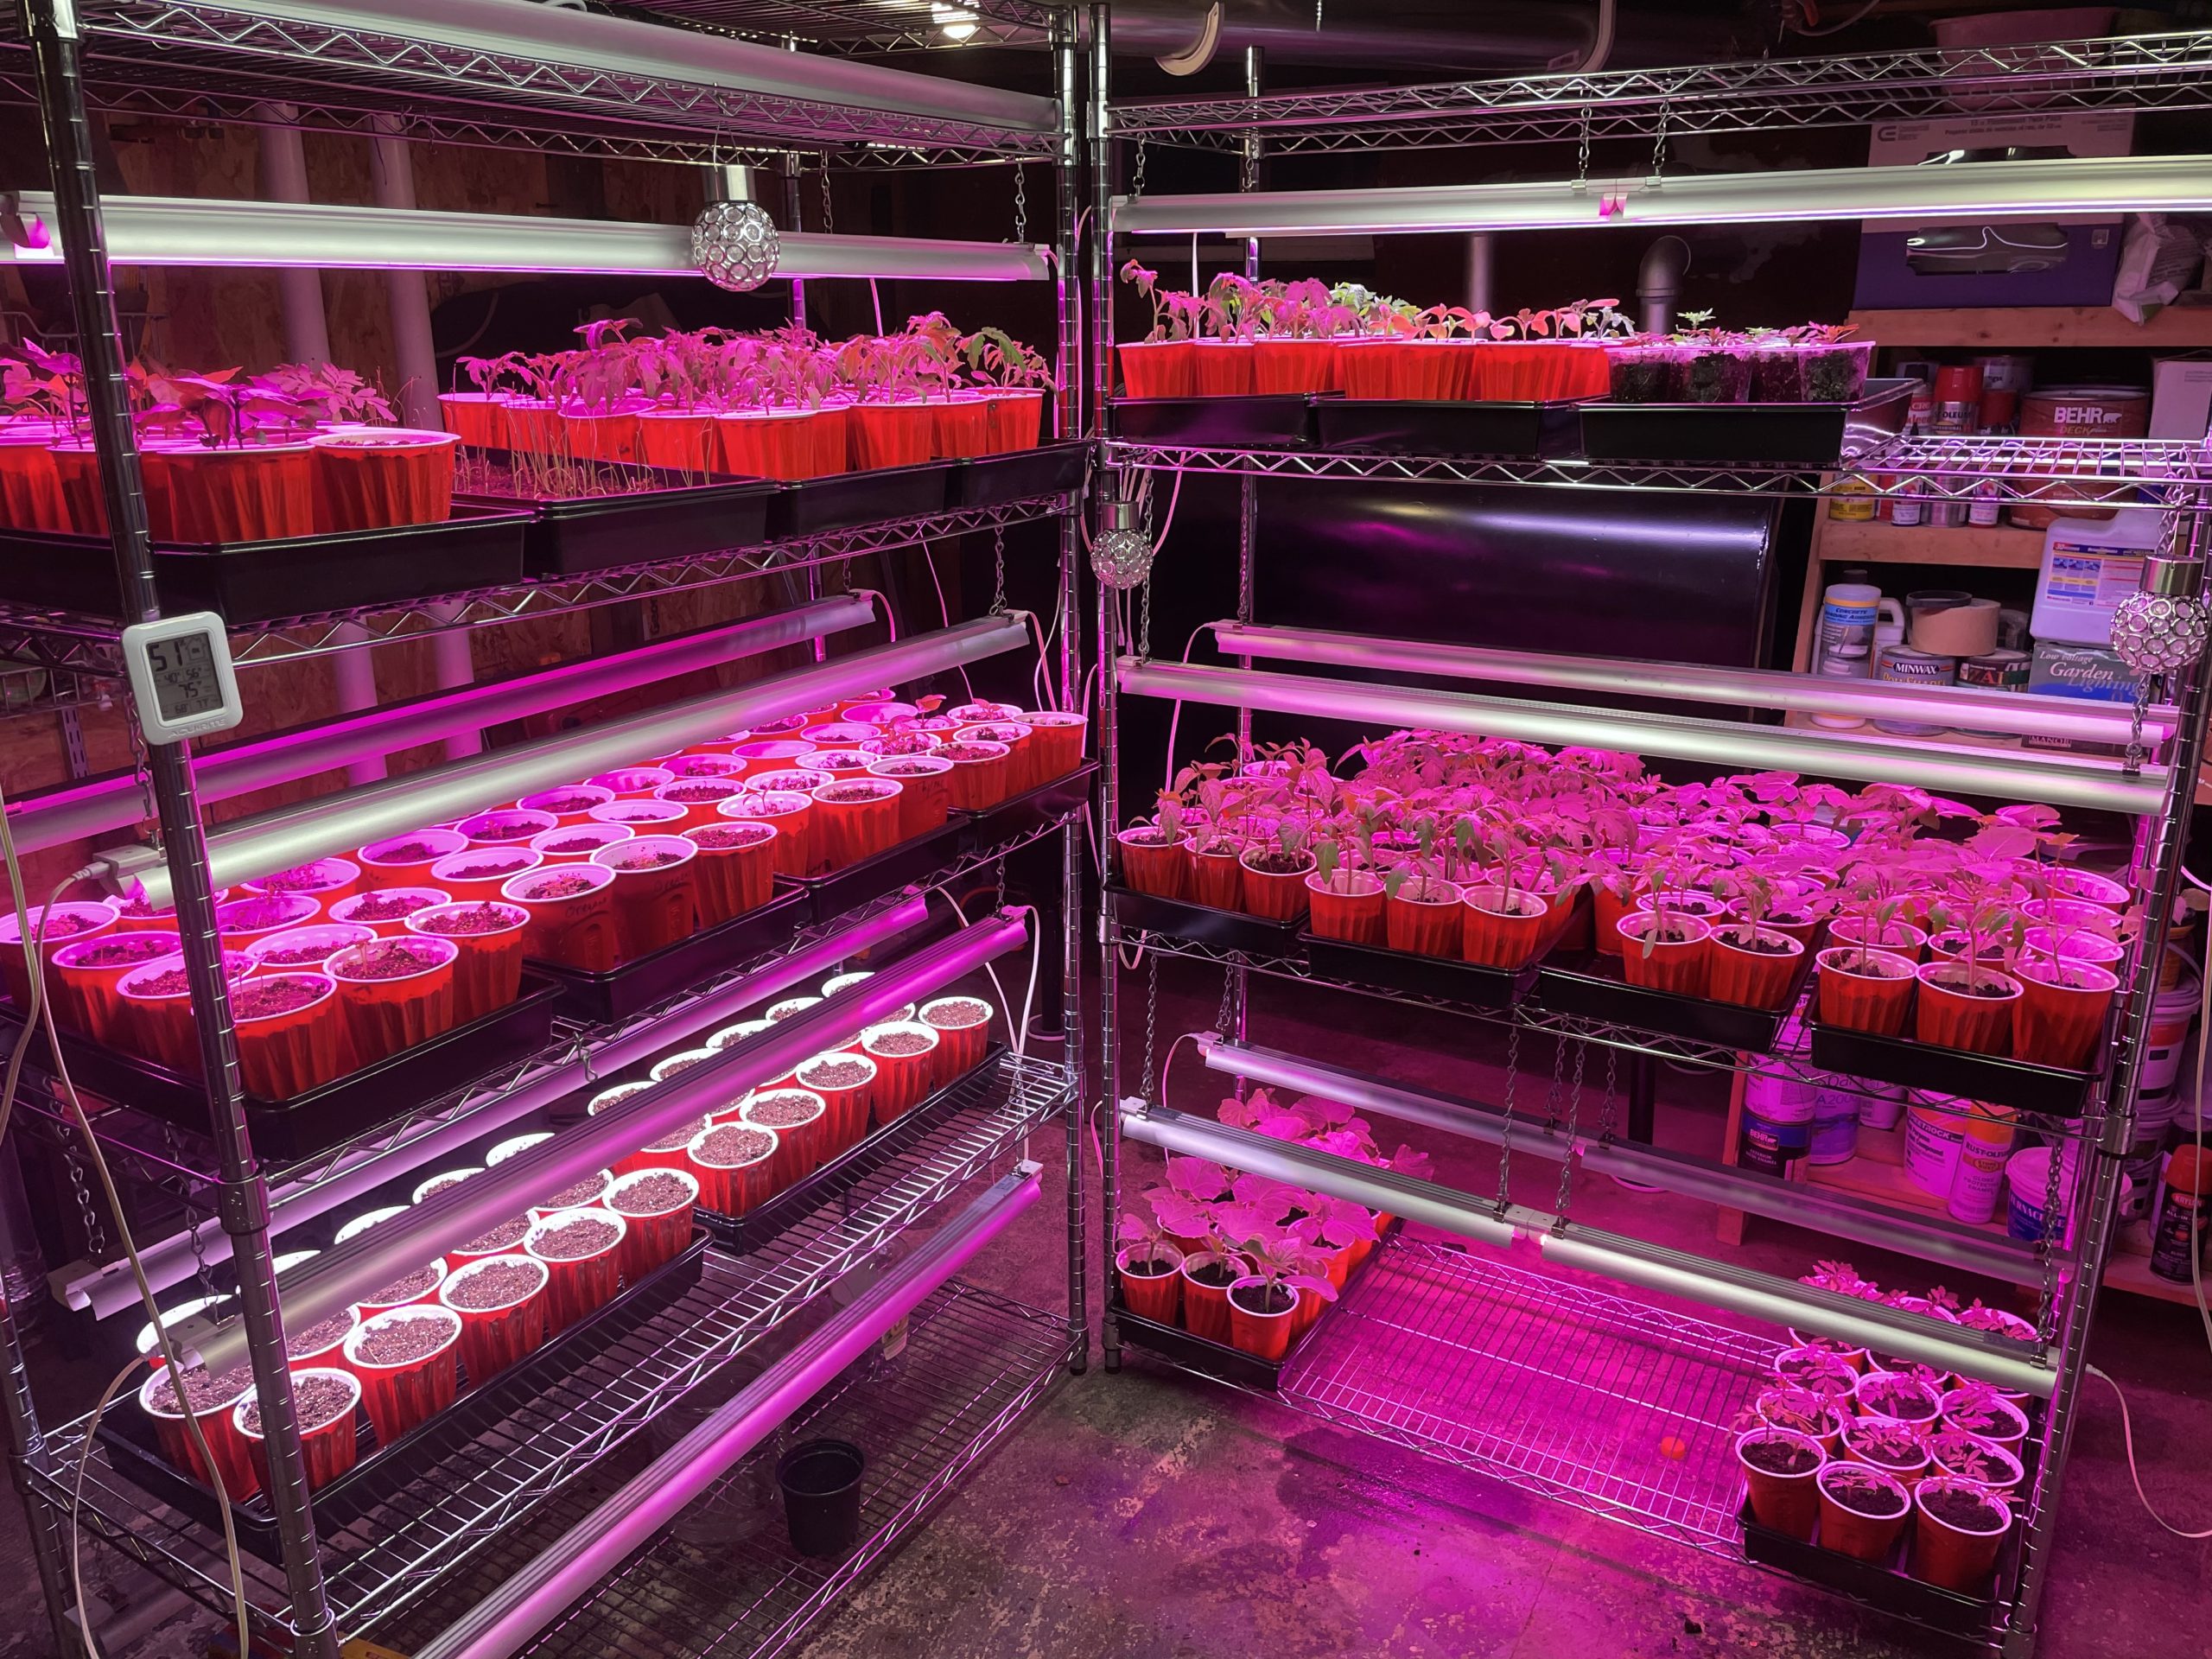
Some people use lights specific to growing plants “Grow Lights”, while others use regular shop lights. Though shop lights are cheaper and many people have success with them, they don’t offer the same type of light spectrum specific to plants, as actual grow lights do.
Grow lights help to give us more control during the growing process. Keeping the light directly over the plants, within a few inches as they grow, prevents them from stretching to try to reach light which makes the stems thin, stringy, and weak.
Troy and I looked into lighting a LOT prior to starting our seeds. Honestly, it quickly became extremely frustrating. As with everything garden related, you will find varying opinions as well as those that completely contradict.
After talking to other gardeners for recommendations, we ended up purchasing Barrina LED Grow Lights from Amazon. They have 4ft and 2ft to choose from. For these particular lights and utility shelving set up, we felt that the plants did best and we could fit the most by putting two rows of lights running parallel on each shelf. We have been so pleased with these lights that we purchased more, and then more again!
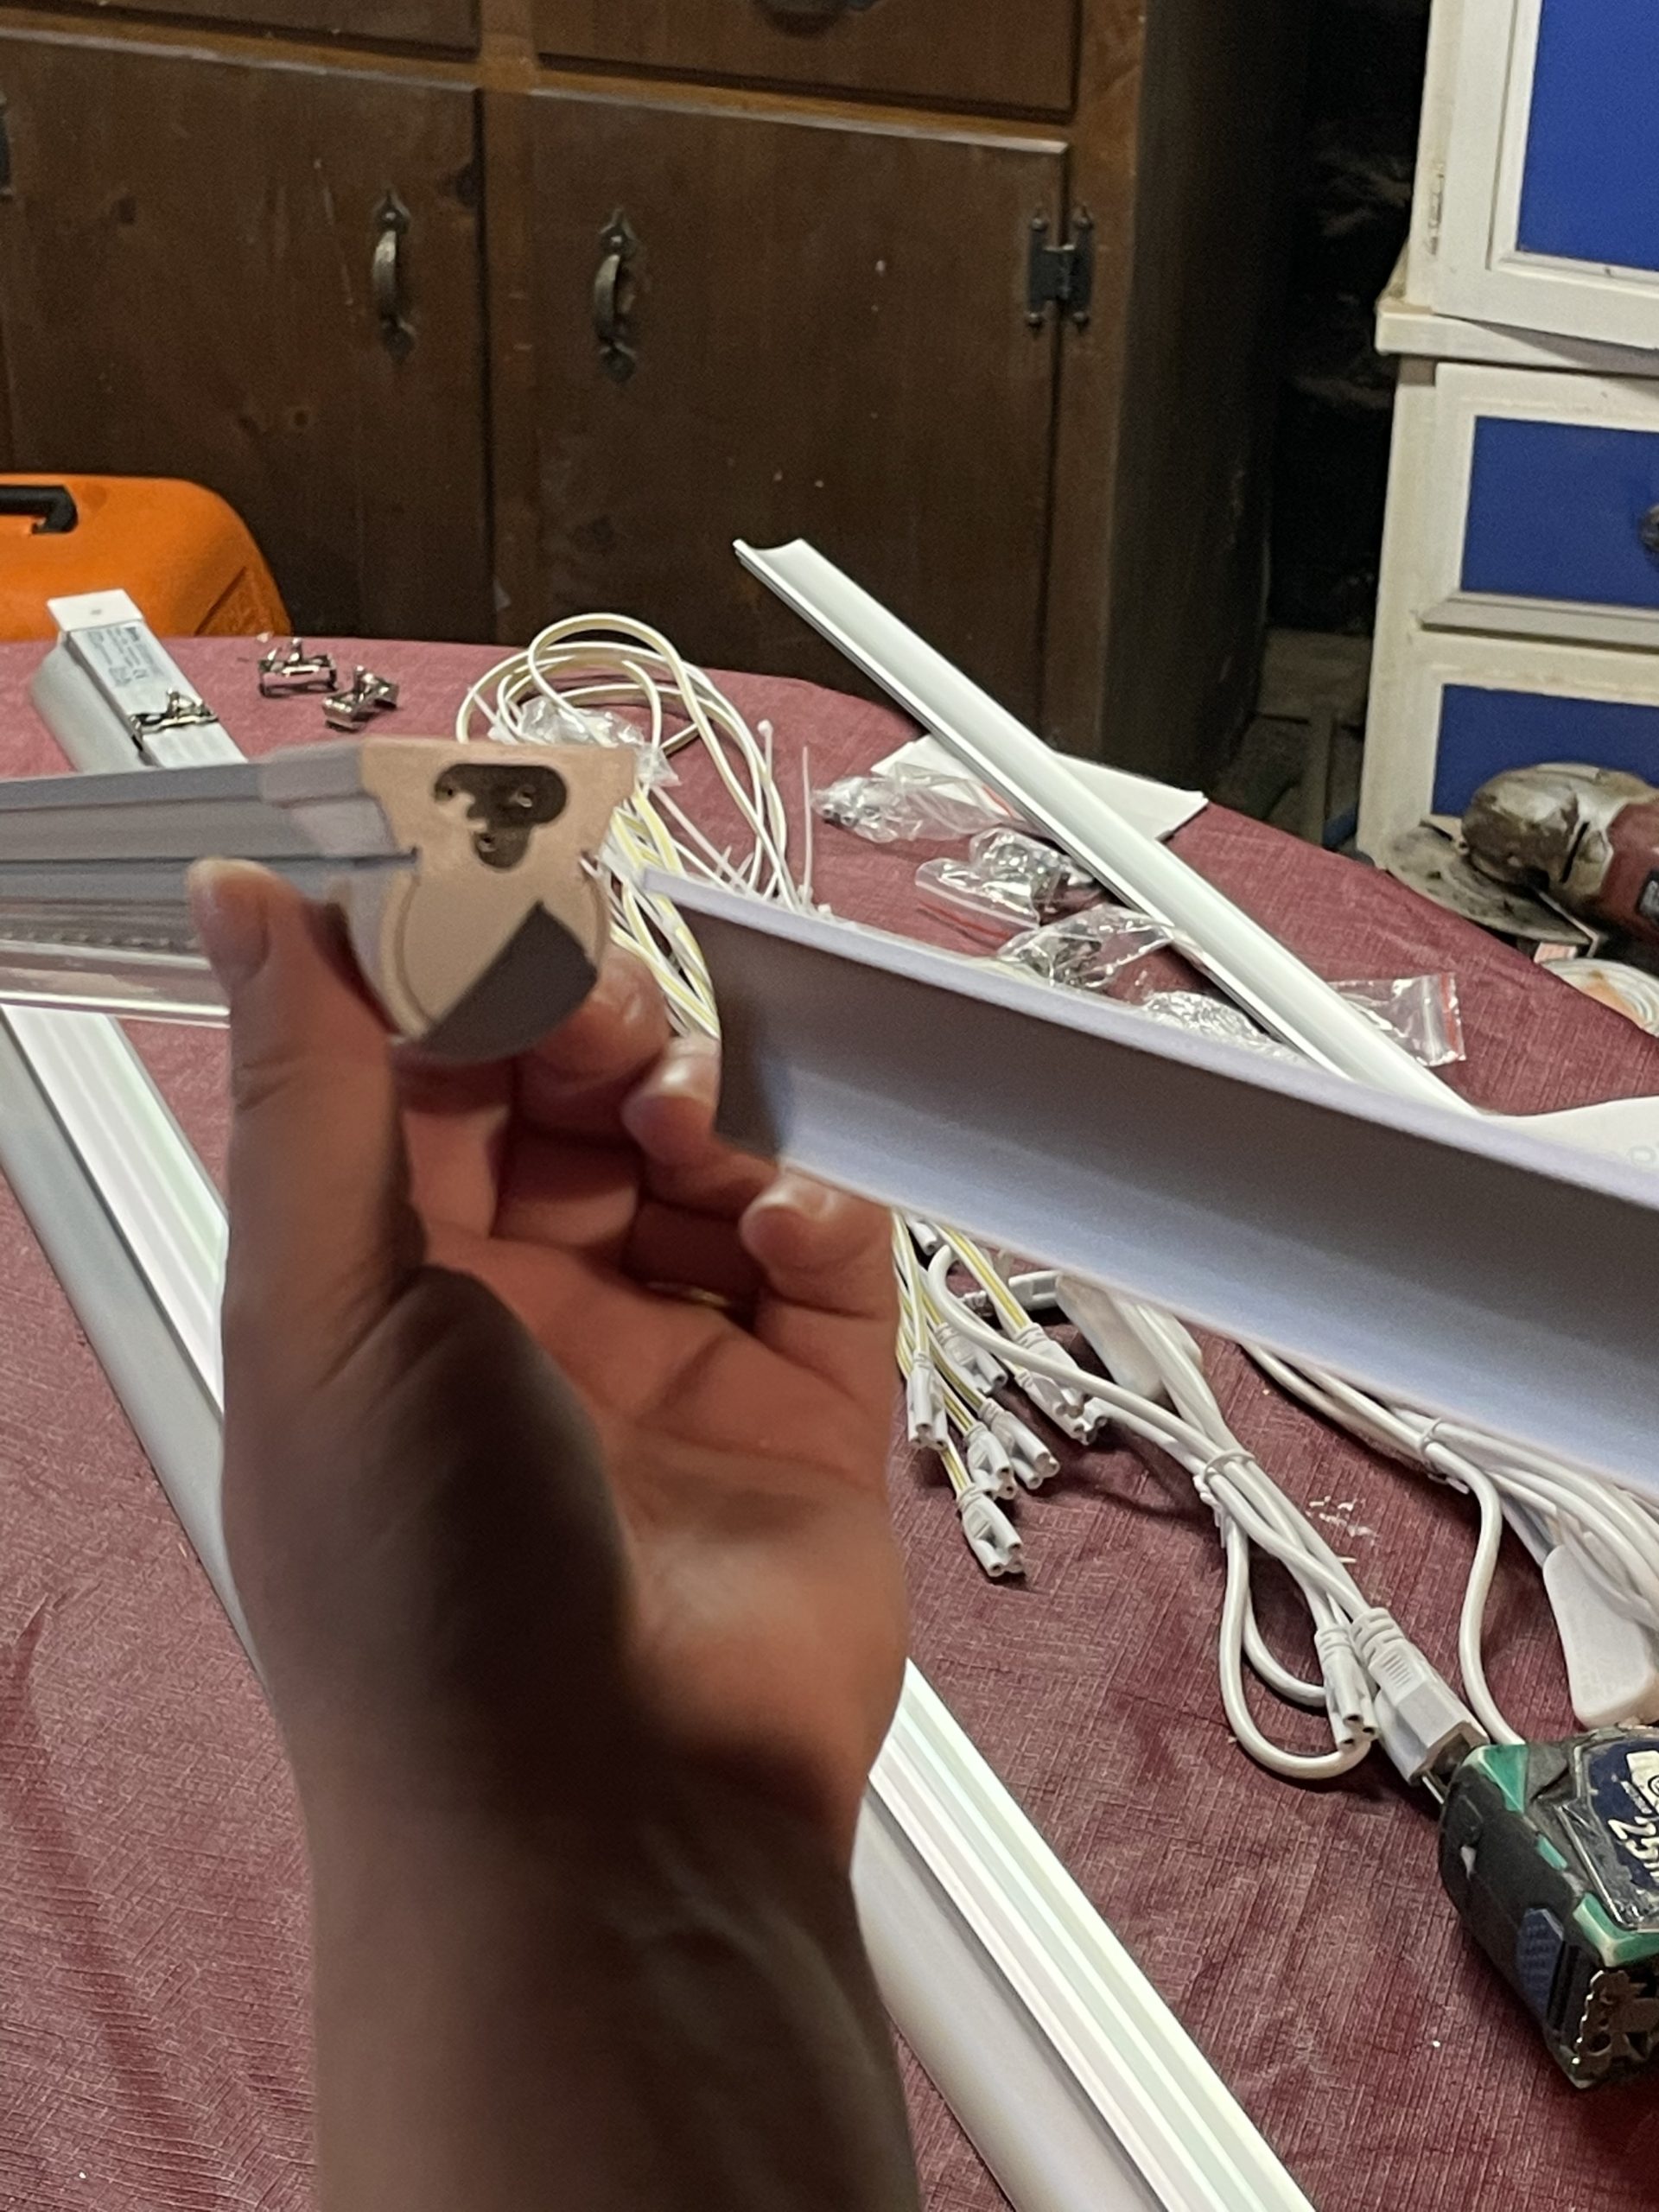
The ONLY thing that we want to forewarn you of is that the reflector shields are a bit of a pain in the butt to slide in.
You really have to eye ball them to line up with the right angle of the grove. Some people recommend putting them together outside, so that you could stand the light straight up (resting on the flat ground) and then slide the shield straight down into it.
We did them in our basement and didn’t have that type of room so it was a bit of a struggle to get the right angle (This will all make sense if you were to purchase them. ).
Also don’t forget to take off the clear plastic film from the light bulbs! We wish they had a pull tab for them or made them a different color for ease. Besides that we really enjoy how well these lights have worked out!
SEED GROWING Containers
Almost anything with a hole in the bottom for drainage could be used for starting seeds indoors. However the smaller the container the more times you may need to “pot up” the seedling.
“Potting up” means to transplant the growing seedling into a larger container to allow its roots more room to grow, as it becomes larger. Ideally we want to transplant the seedlings as few times as we can, to avoid disturbing and/or damaging the roots.
Small cell trays, cardboard egg cartons, toilet paper rolls (yes, people use these as mini planters!) will definitely need to be potted up, for most plants grown, before the final transplant to where they will stay till harvest.
Larger cell trays, Solo cups, plastic strawberry containers (with lid acting as a greenhouse), plastic mushroom containers, milk jugs or 2 Liter bottles with tops cut off, are all larger starting planters that allow more room for growth. Sometimes these may still need to be potted up depending on how big your seedlings are growing, however sometimes these may be sufficient as the only container used until final transplant.
You could get super creative here, just make sure to drill holes in the bottoms! We use a 5/16th drill bit.
Containers vs Cell Trays
This year, we went with 18oz red Solo cups (some generic ones as well) thinking we were slick and being frugal vs purchasing the seedling specific cell trays. AFTER THE FACT, I did a cost comparison and the cell trays are actually cheaper to purchase. UGH! However we think that we actually prefer the Solos.
Solos could get a bit wobbly when trying to fit as much as possible in a watering tray, whereas the Cell Trays are made with the same dimensions as the underneath watering trays and fit nice and neat.
HOWEVER what we found is that Solos (as with other individual containers) gives us the ability to move a single plant at a time instead of the whole tray. We actually needed to do this quite a bit as some plants mature faster than others and need different light heights or need to be turned because they are leaning. Seedling Cell Trays are all connected so they don’t give that same type of flexibility.
WAtering Trays
Since we are growing in things with holes, we’ll need something to catch water as they drain. Anything could be used for this. A bowl, casserole dish, cookie sheet, etc..
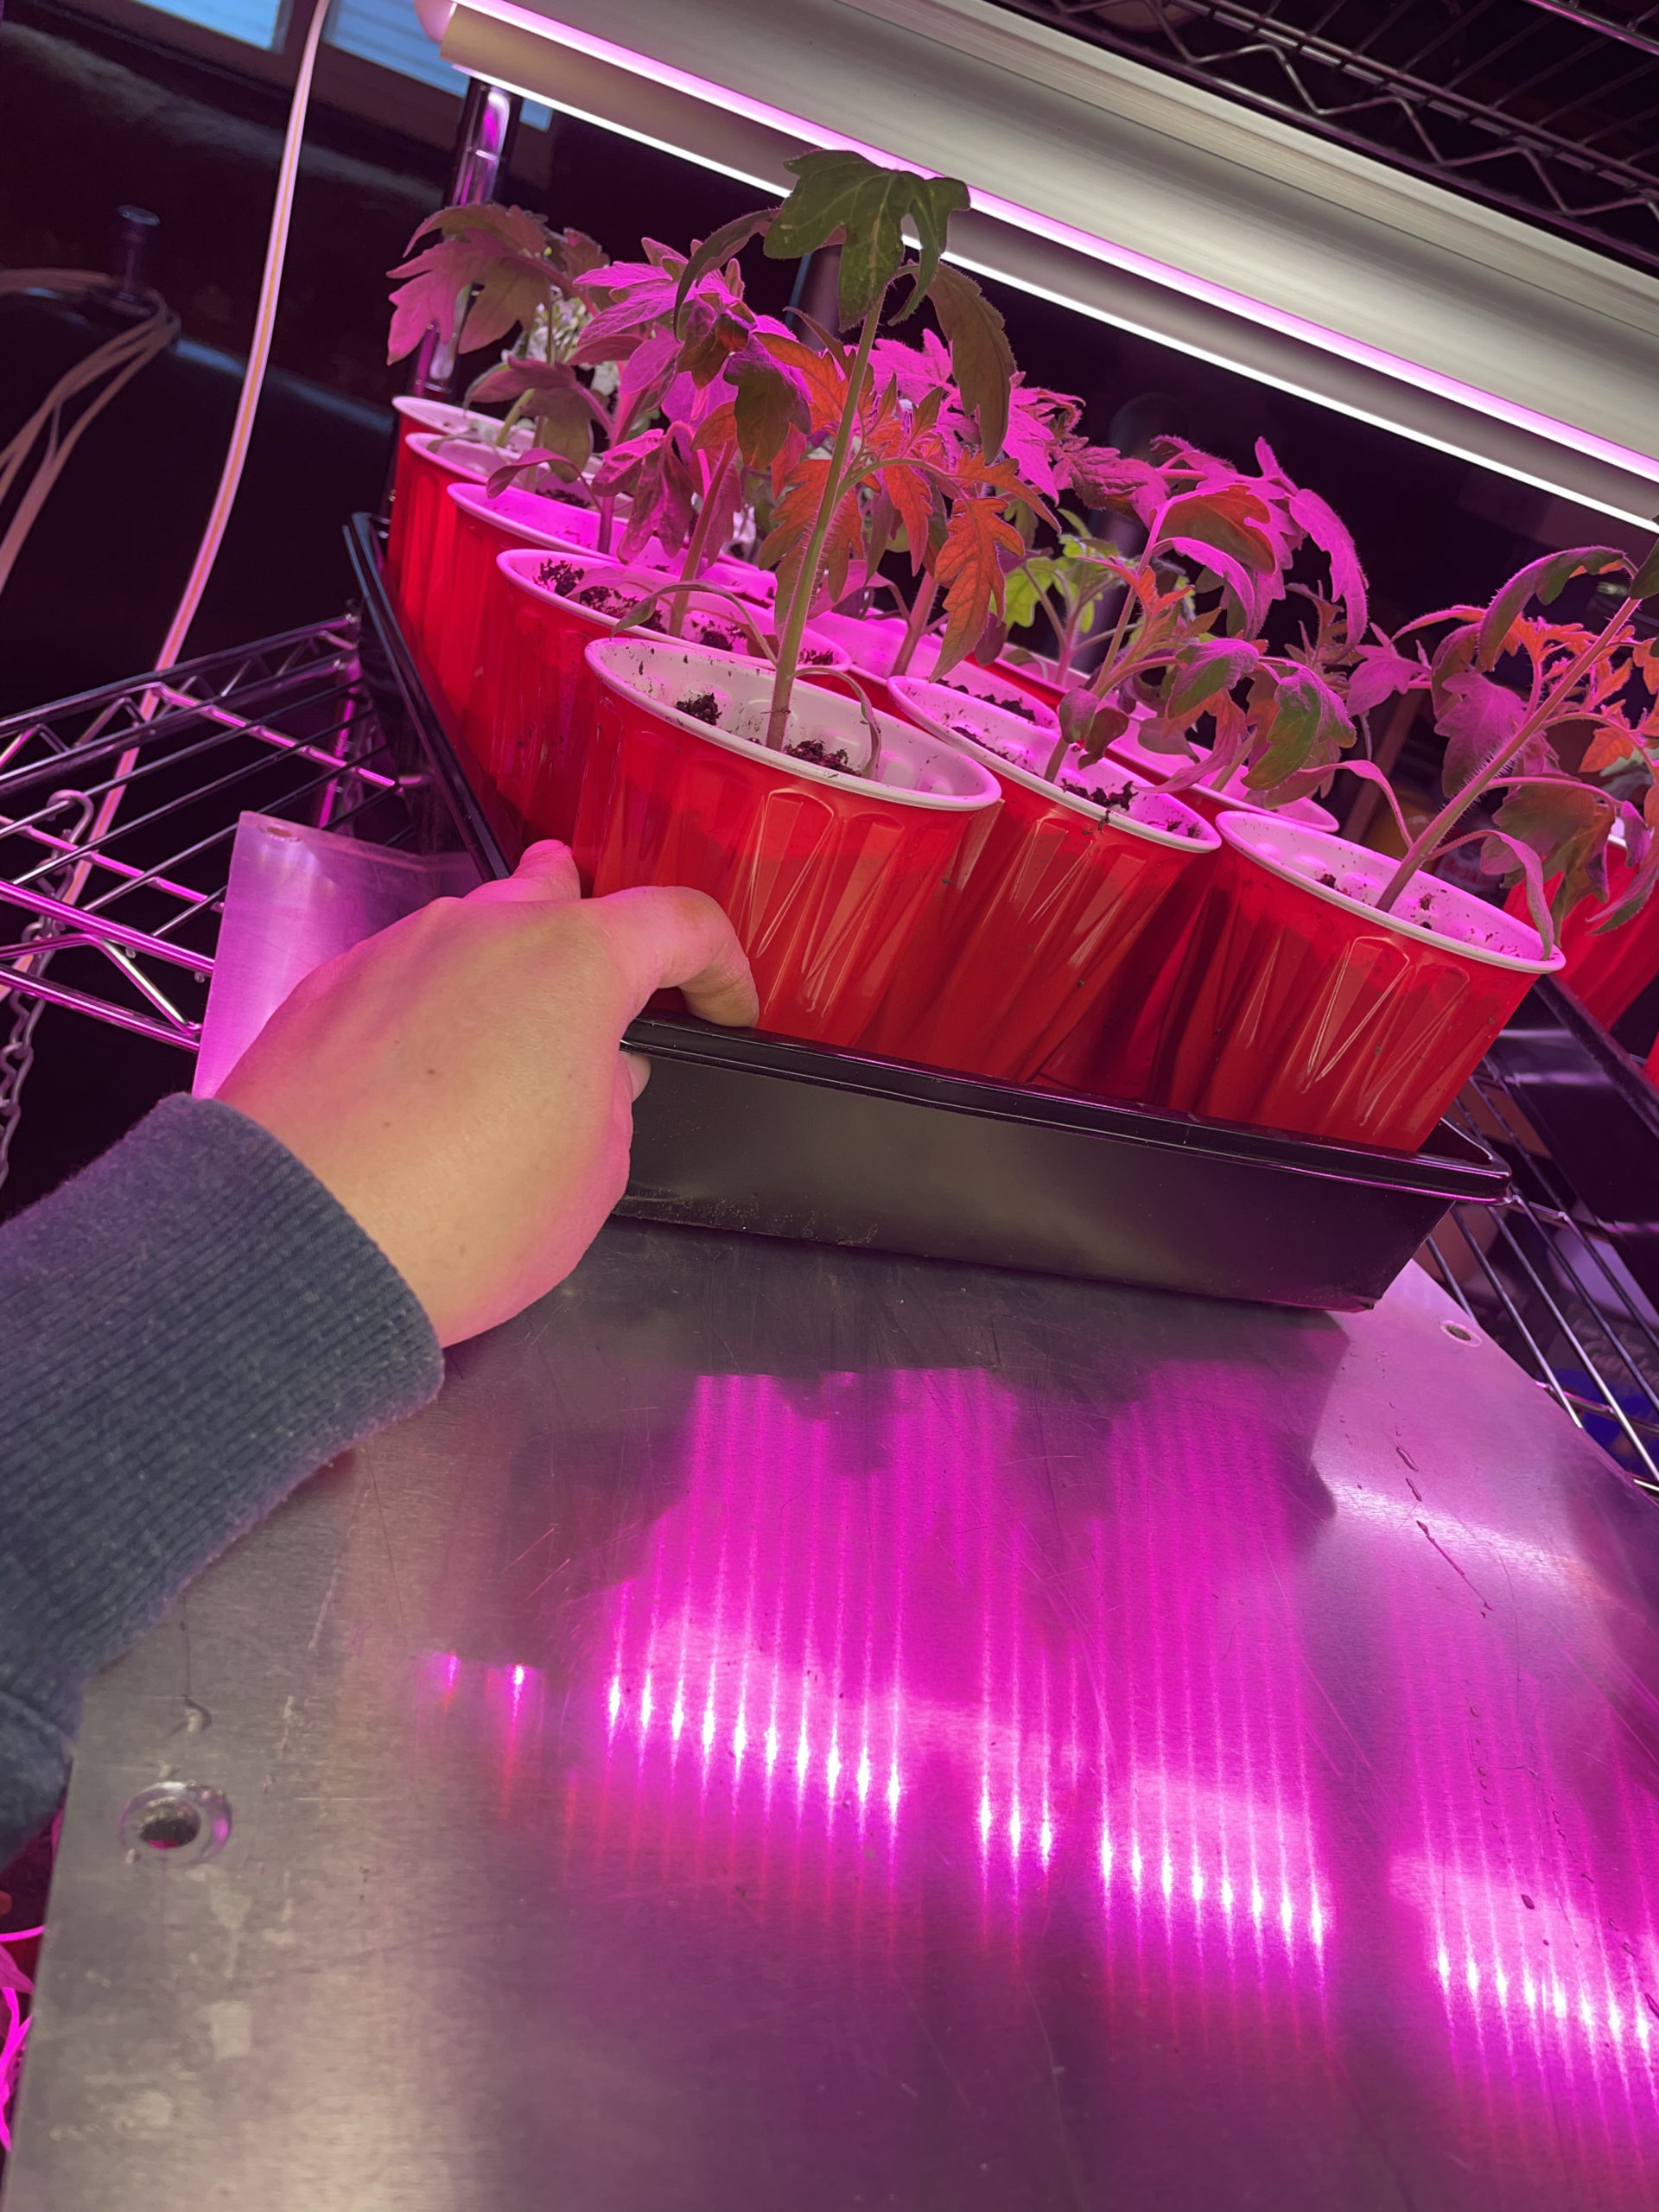
Having specific “watering trays” are great to have as they suit the above purpose, but also allows for bottom watering of the plant.
“Bottom watering” is putting the water in the tray and NOT on top of the soil. This encourages growth of deeper and stronger roots as they grow down to get the water in the lower soil.
It also helps to avoid over or under watering, and extremely handy if you are going out of town for a few days and worry about your plants not being watered.
Warning: These trays are wonderfully handy, but also could be a bit flimsy.
If you grab them the wrong way, the plastic seems to tear easily.
To give them more stability when moving around (like when we take them outside for the hardening off stage) you could use a piece of scrap wood (or anything stable actually) a bit bigger than the dimensions to slide the trays on and off to carry.
We use a thick piece of scrap metal and it works beautifully!
How Much Could You Fit?
Know how many plants you will be able to fit in your indoor space BEFORE planting a zillion seeds. Don’t waste your time, money, soil, or seeds! It’s understandable to be super excited and want to plant a TON, however it’s not worth getting over run with plants and not being able to give them adequate care (or LIGHTING!).
Having fewer SUPER healthy plants is far greater than having a TON of weak ones.
Each watering tray that we have holds 15 cups and each shelf holds 4 trays. Knowing this ahead of time helped us decide how many of each plant we wanted.
Seed Starting Mix vs Potting Soil
While, yes, we could definitely grow seeds in potting soil, the question is SHOULD we.?.? What’s the difference?
1. Seed Starting Mix is lightweight and airy, allowing fragile seedlings to emerge easily during germination and delicate roots to grow more freely. This also makes it less likely to become waterlogged vs a denser potting soil.
2. Seed Starting Mix has far less nutrients than Potting Soil. How is that a good thing?? Well, seed starting mix is just that. It’s a mix (NOT SOIL) just to get plants germinated, started, and roots formed. SEEDS don’t need added nutrients to germinate, they actually contain all of the nutrients they need to survive their first few days. They need constant moisture (damp not sopping wet), warm temperatures, and light.
After the seed germinates and roots begin to form they look for nutrients. Having a LOT of nutrients present in the soil may help the plant greenery grow, however it could be deceiving as it doesn’t promote root growth which is ultimately what makes a stronger, healthier plant for the long haul. Making the roots work a bit to find nutrients is actually a good thing and will cause them to grow deeper.
HOWEVER plants still do need nutrients and can’t live in seed starting mix forever. It’s important to note that a diluted fertilizer will be needed once the seedlings form their 1st set of “true leaves” (which is their 2nd set of “actual leaves”) and weekly there after OR until transplanted into a potting soil which has nutrients for the growing seedling. Feeding them from the bottom will continue to encourage that root growth, though.
3. Seed Starting Mix is often times sterilized and will be marked as such on the bag if it is. This means it has been heated to a degree that nothing should be able to survive, so should be free from bacteria and pathogens which could harm or kill seedlings. It also shouldn’t have random stray seeds in the mix that compete with your intended plants.
In the past, we always grew in potting soil right from seed. This is our first year using Seed Starting Mix and I feel that we are experiencing far greater success with germination and healthy, thriving plants than in previous years. We’ve used a variety of different brands but mostly Jiffy Organic.
*IMPORTANT TIP- When using Seed Starting Mix always dampen it with warm water FIRST!! We pour the bag (12 Qt) into a big pot or bucket then add about a gallon of warm water and stir. After a bit, it’s just easier to use your hands to really work the mix with the water. This is SOOO important to do BEFORE putting it into containers. We learned the hard way that if you don’t do this important step, you will have a REALLY hard time getting the mix to absorb and retain water. After already in the growing container, you can’t mix it once the seed is planted.
WHAT to plant
Not all plants should be planted indoors. Some may be more delicate or finicky and don’t transplant as well, but instead should be “Direct-Sow” (meaning planting the seed directly in the ground where you expect them to fully grow till harvest).
The Old Farmer’s Almanac has a great chart of which plants could be started indoors and which should be Direct-Sow- Check it out here!
How many to plant
Plan your garden layout BEFORE planting seeds indoors. If you need help knowing how to do that, check out our Backyard Vegetable Garden Layout page.
Consider your end goals and recipes for each harvest (example-some canning recipes may require 30 ripe tomatoes. To have that many ripe at the same time means we’ll need multiple/several plants not just one or two).
Keep in mind Companion Planting and how we could not only maximize on space, but also have plants work to benefit each other by planting different types of compatible plants together.
Add a couple/few more to your seedling numbers of each type of plant, in case they don’t all germinate or get lost in the hardening off process.
When to start seeds indoors?
Know your average last frost date! Click Here for the Old Farmers Almanac, enter your zip code and find out!
This is always an estimate and definitely subject to change, as the weather is screwy and does its own thing when it pleases, but at least you will have something to use as a gauge.
If you are on Facebook, I encourage you to join a gardening group for your area or state. Experienced gardeners in your area can prove to be a HUGE asset and likely know better estimates than what you could find online.
Read your seed packet! Each variety of the same plant could be different!!
I feel like lately I have been saying this more times than I say my kid’s names in a day, as it’s SOOO imperative for successful seed planting. Read each seed packet!
When to plant a seed varies depending on what it is. I don’t mean just tomato or pepper in general. Timing for planting seeds is actually more specific than that, as each variety of tomato or pepper (or any other plant) could vary greatly in not only the length of time they take to germinate, but also how long it takes that specific variety to mature til harvest.
If we wait too long to plant a seed then while the plant may grow big and beautiful, it may not have enough time in our growing season to fully mature and ripen before the cold weather comes and wrecks it.
I have some tomato seeds that need to be planted 6-10 weeks before average last frost date and some that need to be planted only 4-6 weeks before. Same with my peppers. Typically the hotter the pepper, the longer time it will need to grow and ripen.
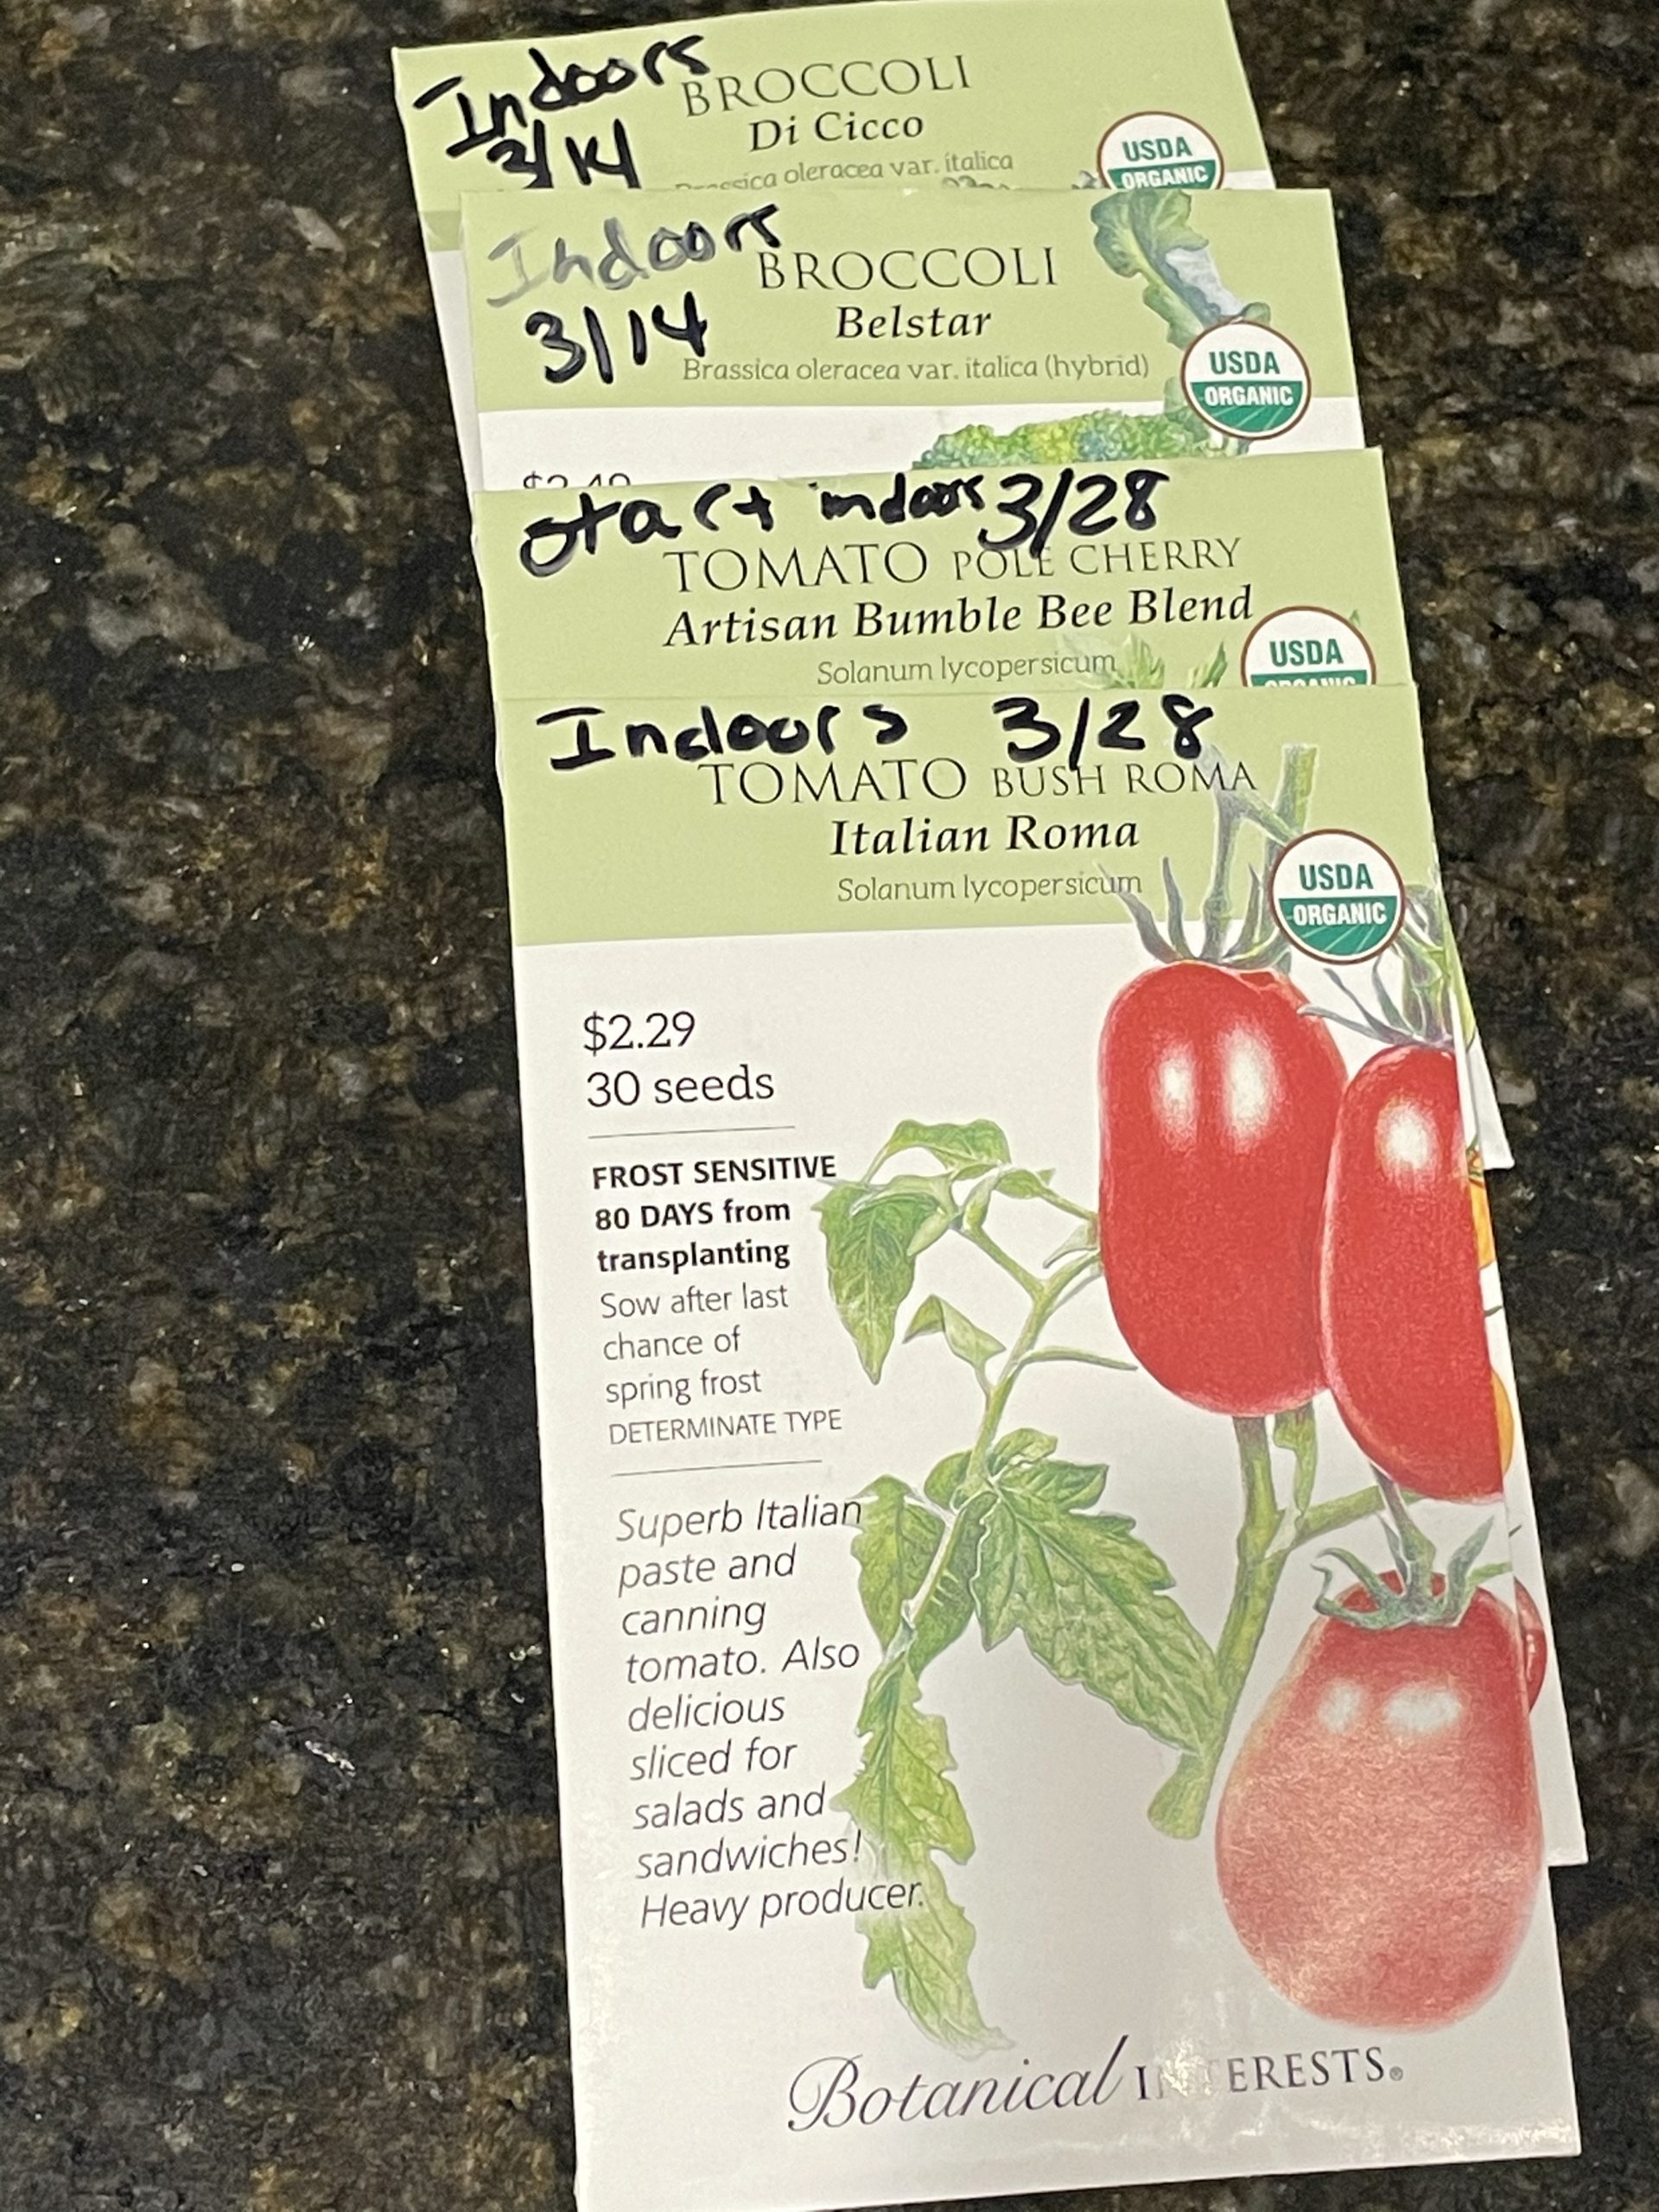
When checking seed packets and comparing to your area’s last frost date, it could be very helpful to write the date that they should be planted right on the seed packet.
Trust me..writing the dates down will save you a lot of time in the future as you may find yourself repeatedly checking on when to plant each packet.
Also you don’t want to forget (out of sight, out of mind), and find yourself weeks behind schedule.
Writing it down on a calendar as well is even better!
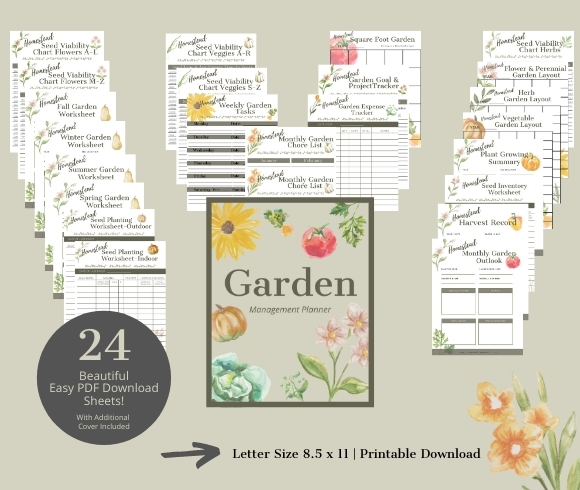
Then there is also keeping a planner specific to your garden, which is the Ultimate Way. Planners or journals of our gardening is HIGHLY recommended by the most efficient of gardeners and homesteaders.
Garden Planners are a great way to stay organized with all of the various dates to keep track of, remembering which growing methods worked and which didn’t, recording crop locations for future rotations, tracking harvests which could help in planning how much to plant the following year, and so much more!
I’m thoroughly impressed with this planner, designed by Suzan from It’s My Sustainable Life . This is not an affiliate link, I get no commission from sales, I just REALLY enjoy Suzan’s blog and planner! It’s a well thought out, beautiful, affordable, and convenient printable planner designed with all of the gardener’s needs in mind. Check it out! (picture linked to her Etsy page)
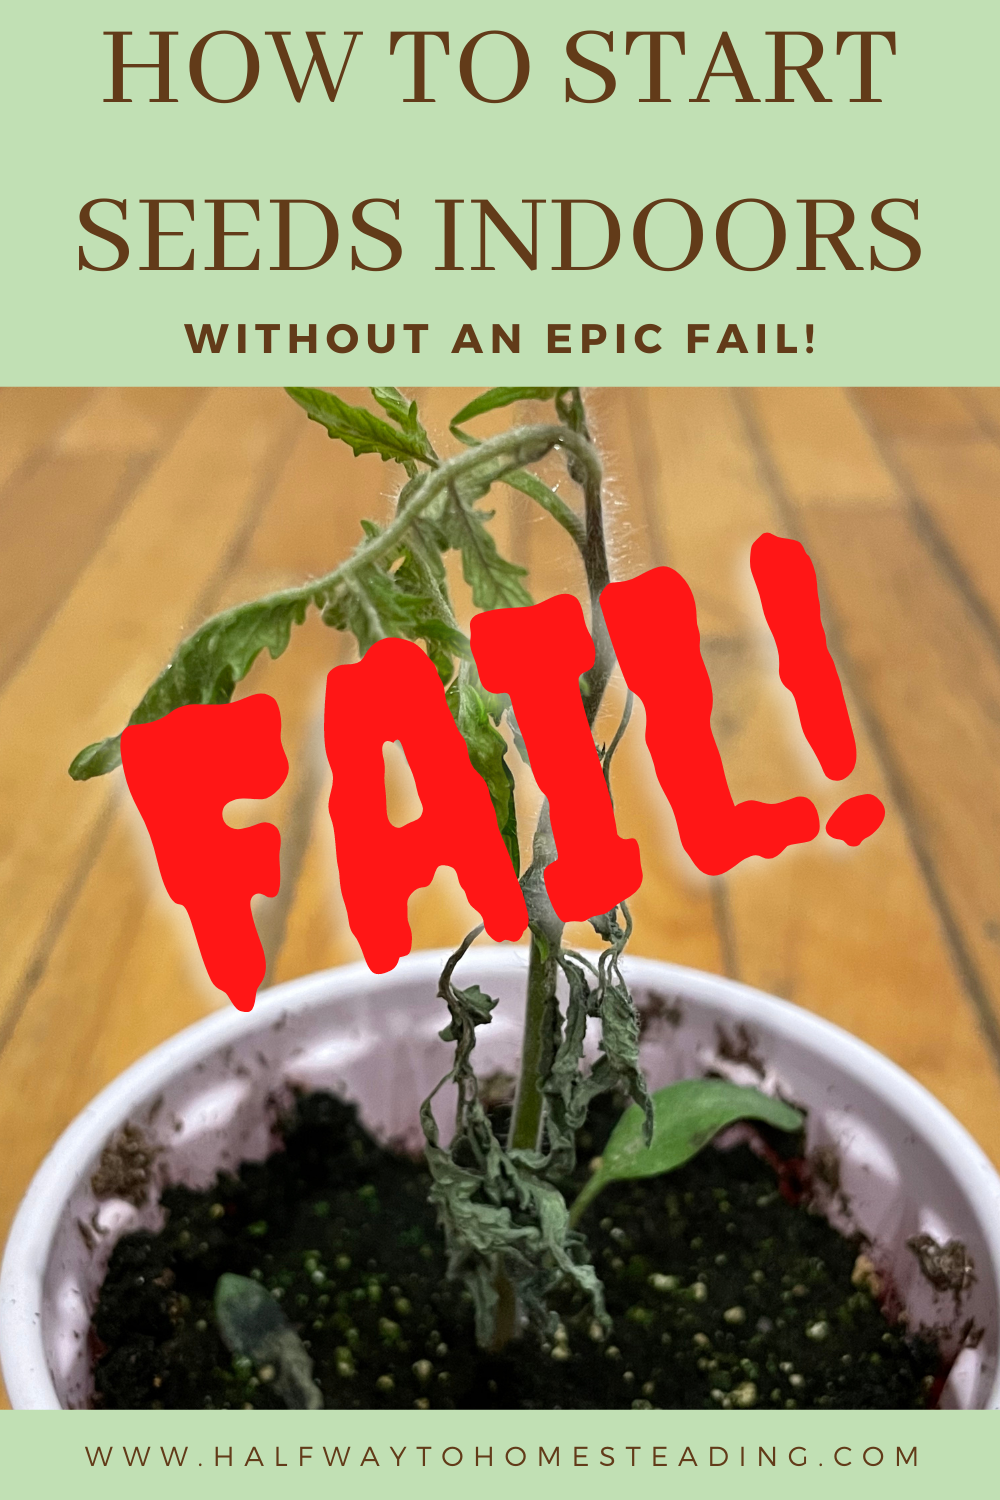
Now that we are organized and prepared, we are ready to plant! Click below for tips and a step-by-step on How To Start Seeds Indoors Without An Epic Fail. Learn from OTHER’S failed attempts and avoid common mistakes to maximize your seedlings’ success.
 About Me
WOW! You are all in! I just started my tomato seedlings last month and now on to growing more. I have a heating pad, but was lacking the lighting. I should be getting it today- super excited! I’m working on starting my blog soon, hoping to share some pics of the journey soon. Thanks for sharing great tips and that planner too!
Awesome! Yes, exciting for sure!! I haven’t ventured into the world of heated mats yet. Since we are growing in our basement, we use a space heater but they are on my list to look into. Best of luck to you..garden and blog! Please feel free to come back and share your blog link in my comments once it’s ready! You are more than welcomed to since our readers will probably be interested in both! Subscribe to our newsletter so you don’t forget to come back! 🙂
This is a wonderful post, thank you for sharing! I’ve never grown anything from seed, but we’re doing it this year, and I’m trying to learn as much as I can. So far, we’ve got lots of seedlings sprouting and it’s so exciting. I think we might start some more soon!
That’s so exciting! It becomes a bit addicting, doesn’t it?!?! I have more that I need to plant as well but we are soon to be maxed out on indoor seedling space…eek!! Thank God we are just about ready to plant some things outside (potato box should be completed tomorrow!). Enjoy and best of luck to you!!
This is such great information! We tried to start our tomatoes indoors last year but they didn’t make it so we had to buy some plants. I’m definitely going to save this and use it when we get started this year!
We hear that a lot from SOO many gardeners and are in the midst of creating “How to Start Seeds Indoors Without An Epic Fail” (should be posting it tonight, keep an eye out for it!). With every failed seedling I learn something new and am hooked on the challenge and triumphs! Good luck with this year’s garden… Happy Planting!
Ooooooo I love it! We are getting a seed starter kit from Lowes today so I’m excited to start with those this season!!!!! Thank you so much for sharing!
Exciting! Best of luck to your future garden! Keep an eye out for our next post “How To Start Seeds Indoors Without An Epic Fail” to avoid the most common mistakes we all make at one point or another.
I really enjoyed reading your post, I do some small scale gardening, and actually now have a tower garden, I loved all of your pointers, great info on the difference of the lights; liked the idea of writing the dates for planting on the packages, and thanks on the tips for preparing seed starting soil, never thought of wetting it first.
So glad that you enjoyed it, thanks for reading! I’m jealous of your tower garden. I’ve been wanting to do one of those, maybe this will be the year. They are SO popular right now. Best of luck to you this growing season!
I love your set up! I always feel like mine are so skinny and get leggy and never get thick. I’ve tried taking them outdoors in good weather all the time lately. Maybe I need to invest in some grow lights. And save your solo cups! I reused mine from last year!
Thanks Sarah! Yes the grow lights definitely did the trick! I have only one South Facing window with only a small space to set plants. Whenever I put them there, they stretch and get leggy, the grow light being low and directly over them have been a game changer!