Growing sprouts in a Jar
Seeds to Greens within a week! No land, garden, or even soil needed when growing sprouts in a jar!
Just a counter, shelf, or table will do. Heck! You could even use the floor if that’s all you have. No excuses allowed with this one! You don’t even need sunlight until the last two days and even THAT is optional!!
This method could easily be done at any time of the year. We love growing sprouts in a jar once snow is on the ground and we no longer could grow outdoors.
Disclaimer: As an Amazon Associate I earn from qualifying purchases.
Music Credit To www.BenSound.com Thank you!
Sprouts grow SO fast that they are perfect for kids with shorter attention spans. You literally see growth every day, better yet after each rinsing! Incredibly cool!
Growing sprouts in a jar is also great for anyone wishing for homestead life, but waiting to someday have the land. Perhaps you live in an apartment, condo, or even a college dorm room? Anyone, anywhere, could do this.
How much work is involved in growing sprouts?
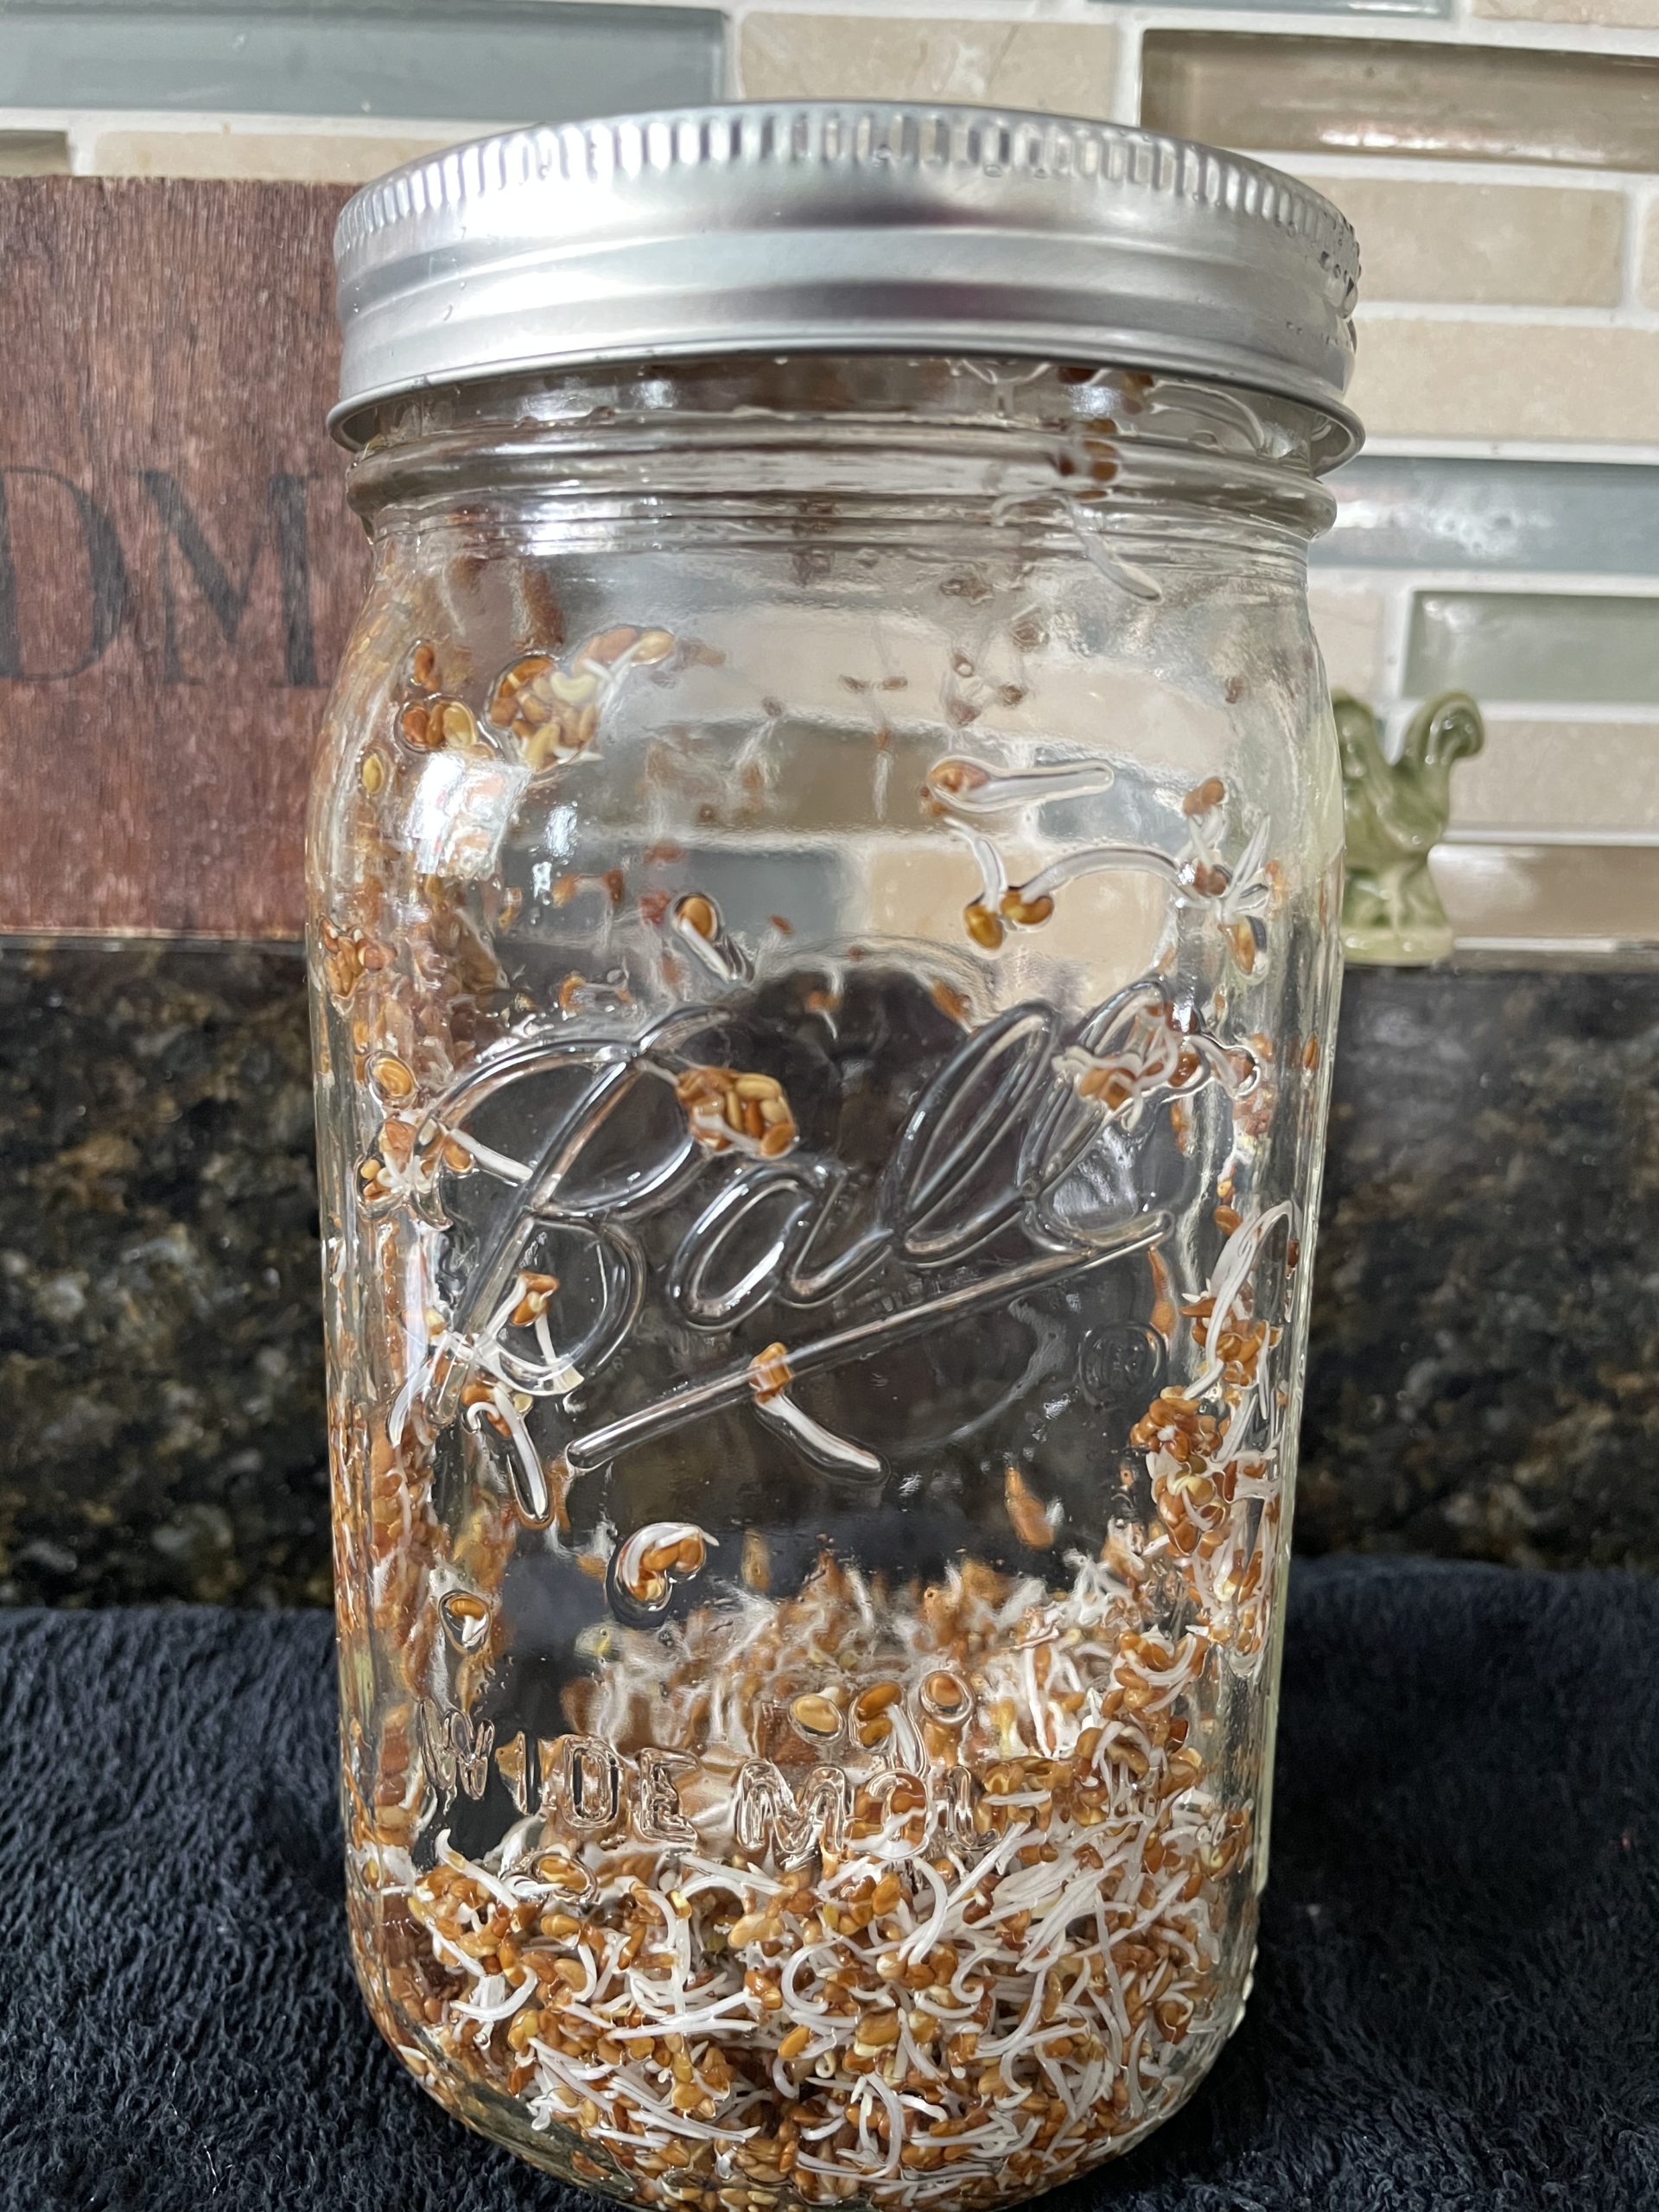
A few minutes each day tops!
If you have kids capable of using the sink without causing a flood, you won’t have to lift a finger.
2-4 times a day the sprouts need to be rinsed and drained.
This is all done through the lid which makes it even easier and effortless.
Benefits of Growing Sprouts in a Jar
No land needed
Little space requirements
Minimal work
Can be grown all year round
Provides excellent source of nutrients (Calcium, Potassium, Vitamin K, Magnesium, Folate, and more!)
Sprouting increases fiber, which is a prebiotic and feeds the healthy bacteria in our gut, aiding in digestion. Fiber also helps maintain healthy blood sugar levels!
Provides Chlorophyll which helps our blood bring oxygen to all the cells in our body. This aids in energy production as well as detoxification.
Saves money by growing them ourselves vs. purchasing at the store.
They have such a welcomed homegrown, crisp, fresh taste even in the dead of winter!
Excellent Homeschooling activity! Be sure to teach about photosynthesis at the end!
Sprouting Safety
Pregnant women should NOT consume RAW sprouts. You CAN still grow and eat as long as you cook them first. Listeria would be the big concern while pregnant. Usually undetected in the average person but could be lethal to a developing fetus. While many people will say they ate raw sprouts when they were pregnant without problems, I personally feel it’s just not worth the risk at all.
When eating raw veggies especially sprouts, there are always concerns over bacteria like salmonella, listeria, and E.coli. We’ve all seen the recalls in the news and posted at grocery stores.
Nothing to be scared of but definitely to be aware so that you take the proper precautions while growing.
Sprouts are more easily susceptible to these types of bacteria due to growing in warm moist conditions.
The great thing about growing sprouts at home though, is that YOU are controlling the growing conditions and potential contaminants.
I wouldn’t worry as long as you are following these easy basic steps when growing sprouts in a jar:
Be sure to use a clean jar.
Use seeds meant for sprouting.
Rinse/drain 2-4 times per day.
Wash hands before handling.
Don’t eat if they are slimy or smell bad.
Rinse before eating.
Could you grow anything as a sprout?
Not exactly, but there IS a lot that you can! The most common are Alfalfa, Broccoli, Clover, Radish, Mung Beans, and Lentils. Try one at a time or a combined mix for a nice blend!
Avoid sprouting kidney beans if you plan to eat them raw due to toxicity concerns.
Do you have to buy specific sprouting seeds?

It’s tempting to want to start playing right away with whatever dry beans you may have in your cupboards.
While I am all for experimenting and they may turn out totally fine, there are things to consider first.
Some may be irradiated so that they purposefully won’t sprout.
Some may be too old to be viable.
Safety Concerns- The beans sold in stores are there to be cooked and aren’t intended for sprouting. You have no idea what type of conditions they have been in, if they are contaminated, or what safety precautions were used.
There are many people who do sprouting with dry beans from the store, and have successfully for many years. That is awesome.
However….
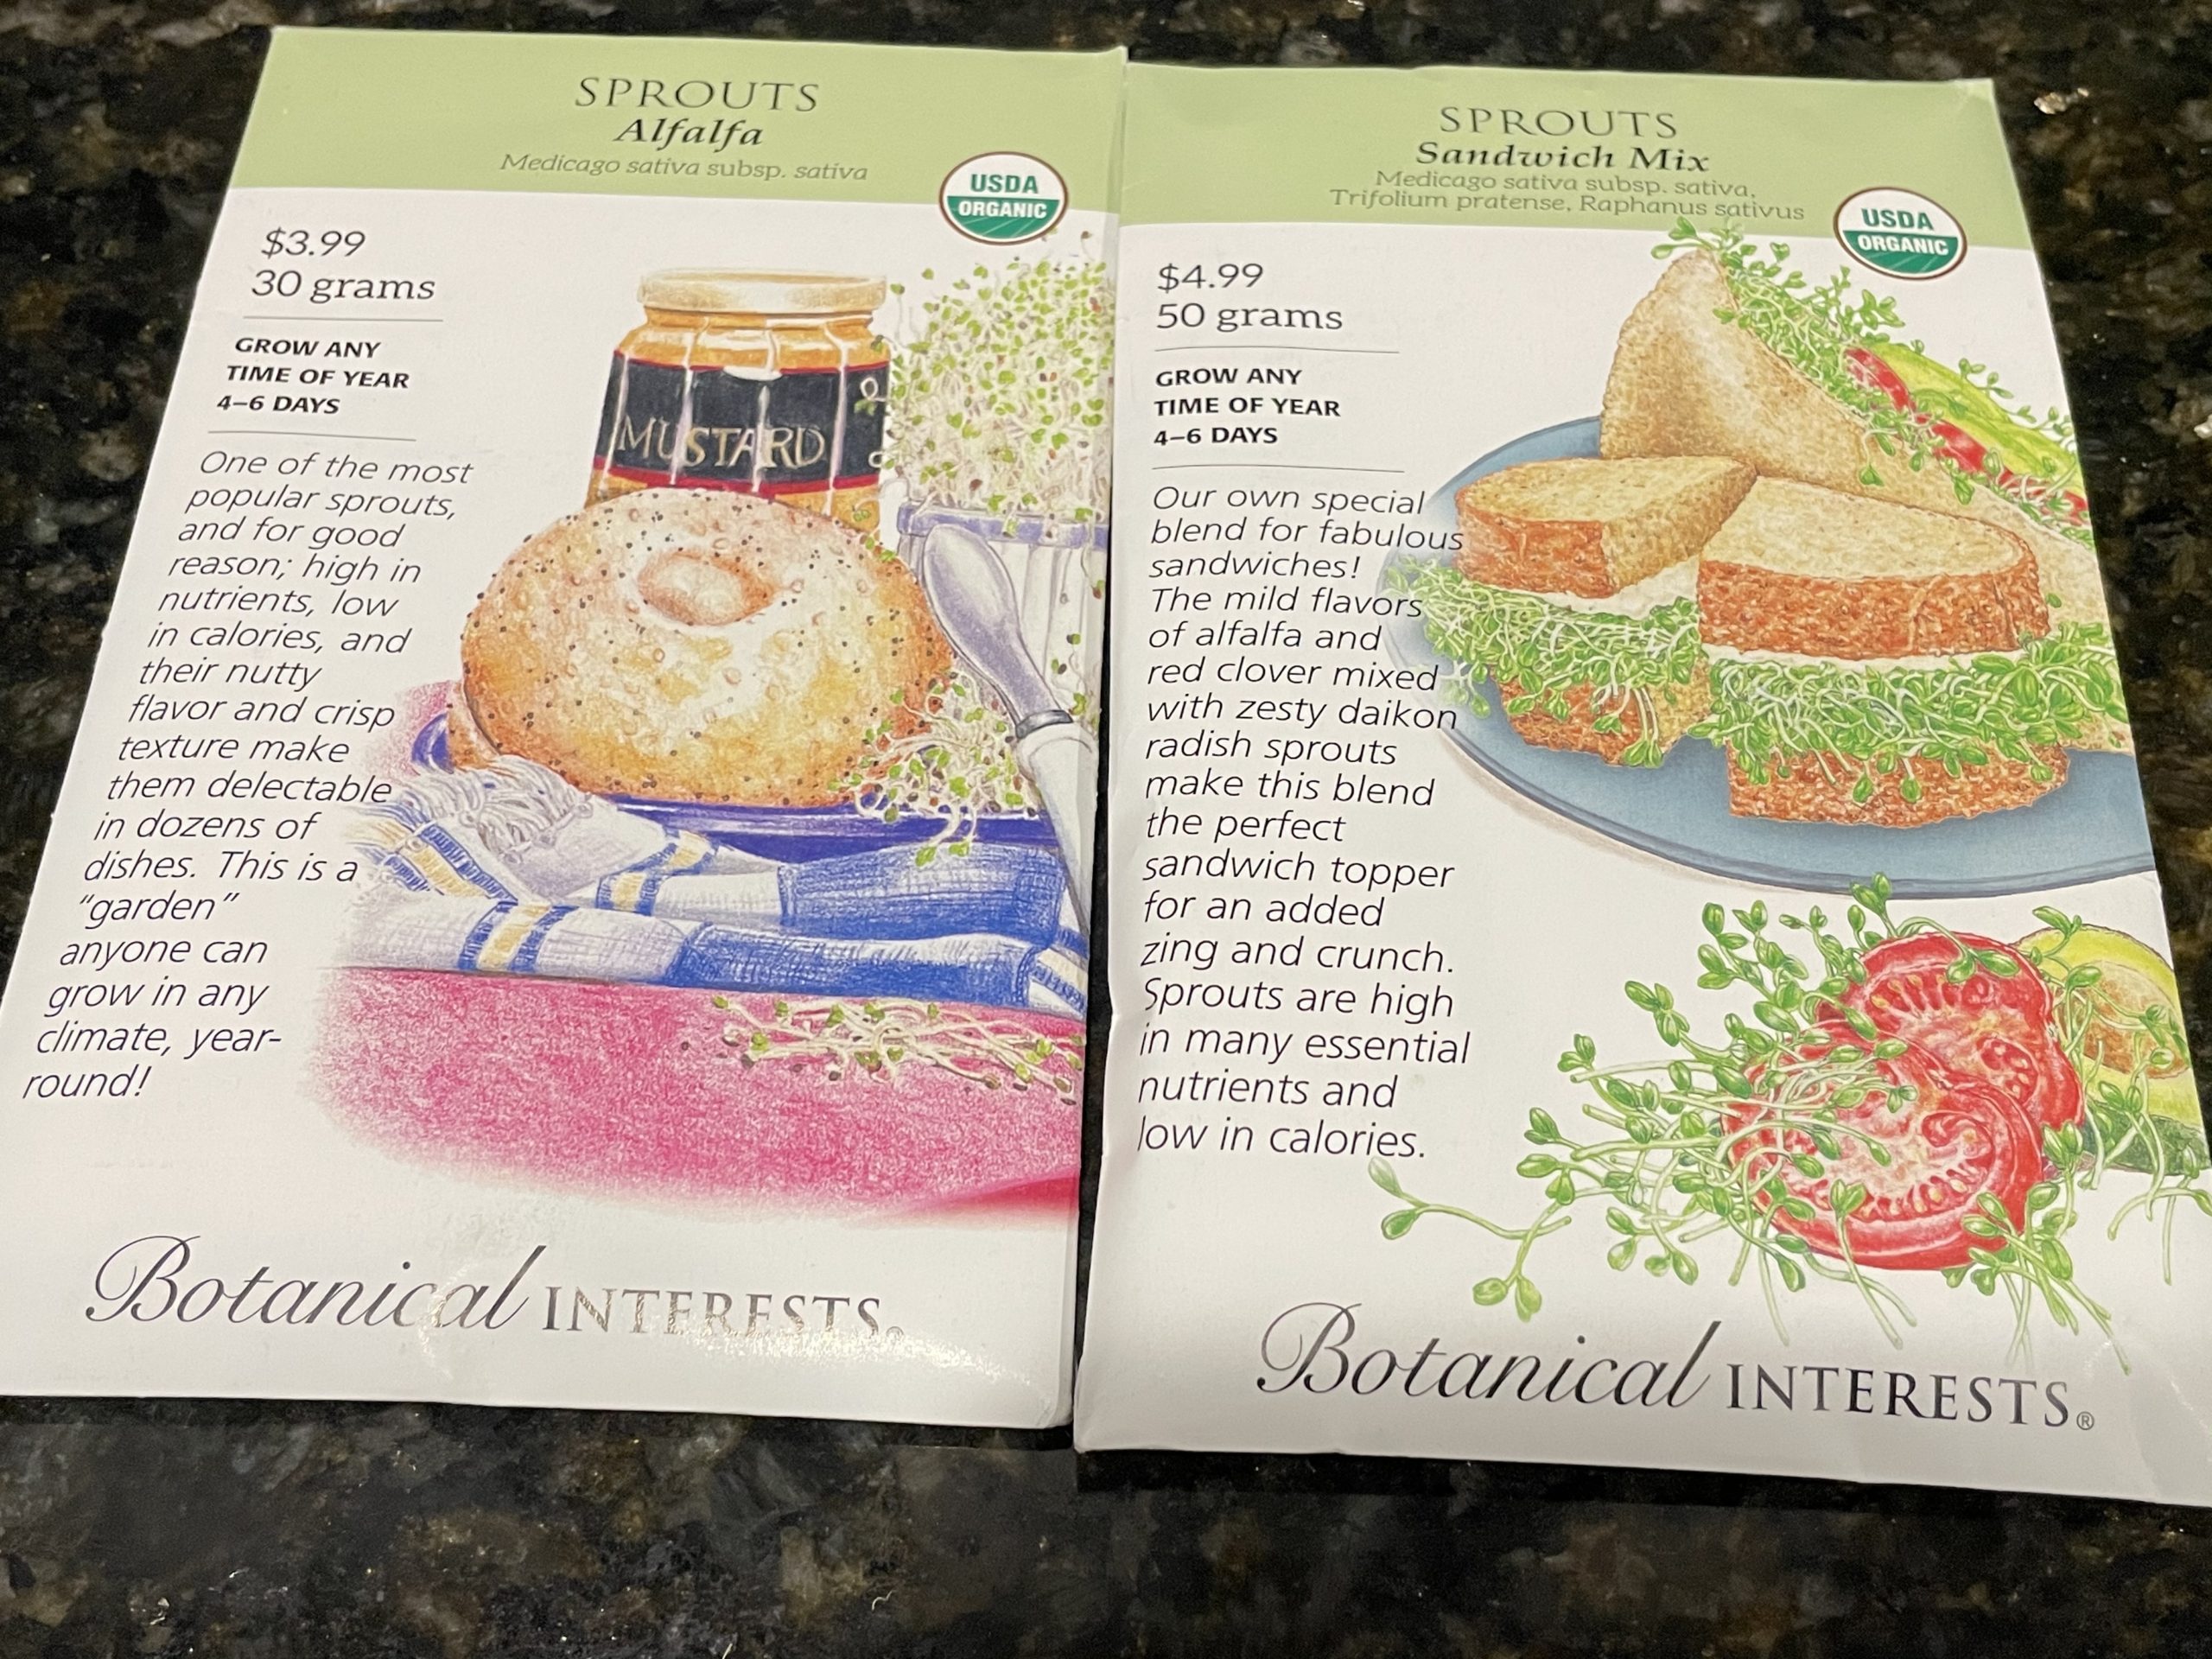
The kids and their friends call me “Safety Sally”. I play it safe with everything! I personally prefer to purchase actual Sprouting Seeds (paid link) with a little safety blurb on them. It just makes me more comfortable with what I’m growing.
I use Botanical Interests (paid link) but there are lots of different options and brands available.
What Supplies are needed?
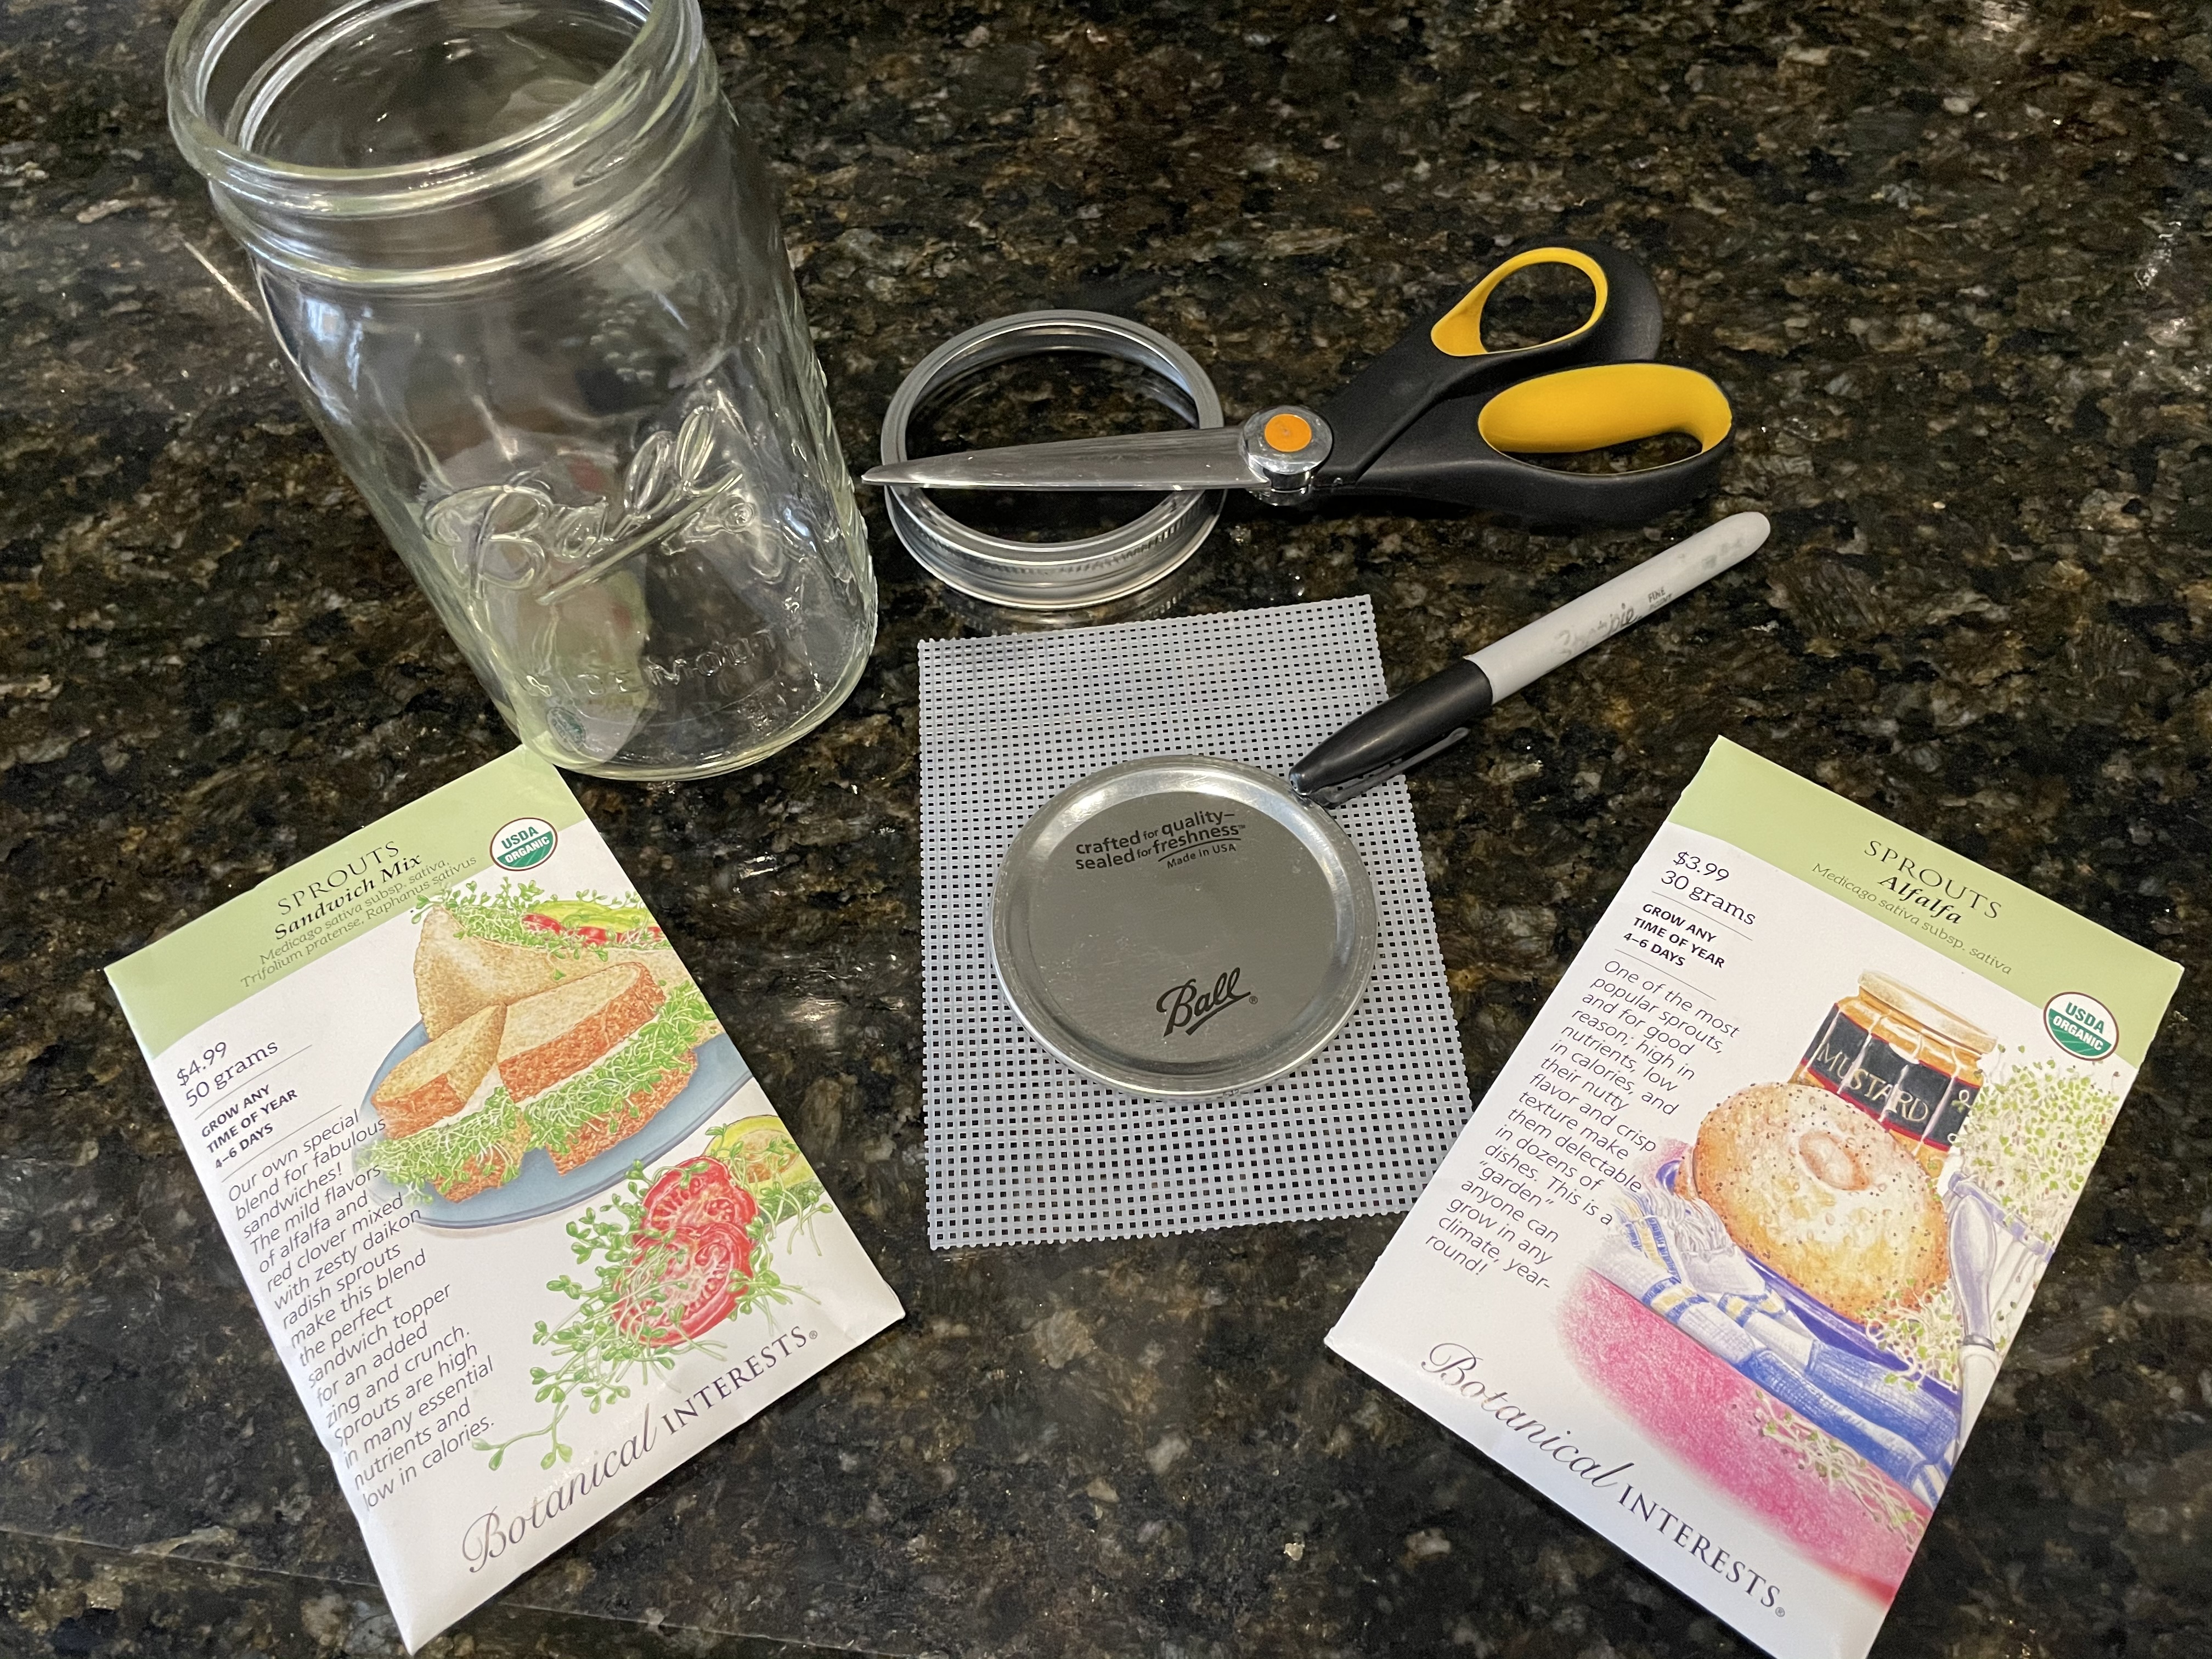
Growing sprouts in a jar requires:
(paid links below)
Mason jar– wide mouth tends to be preferred as it makes it more convenient when removing grown sprouts.
Bowl or Baking Dish
Hand Towel/Cloth
Sprouting Lid – Either Store bought or a DIY Sprouting Lid
*Clean Water*
How To Make Your Own Sprouting Lid
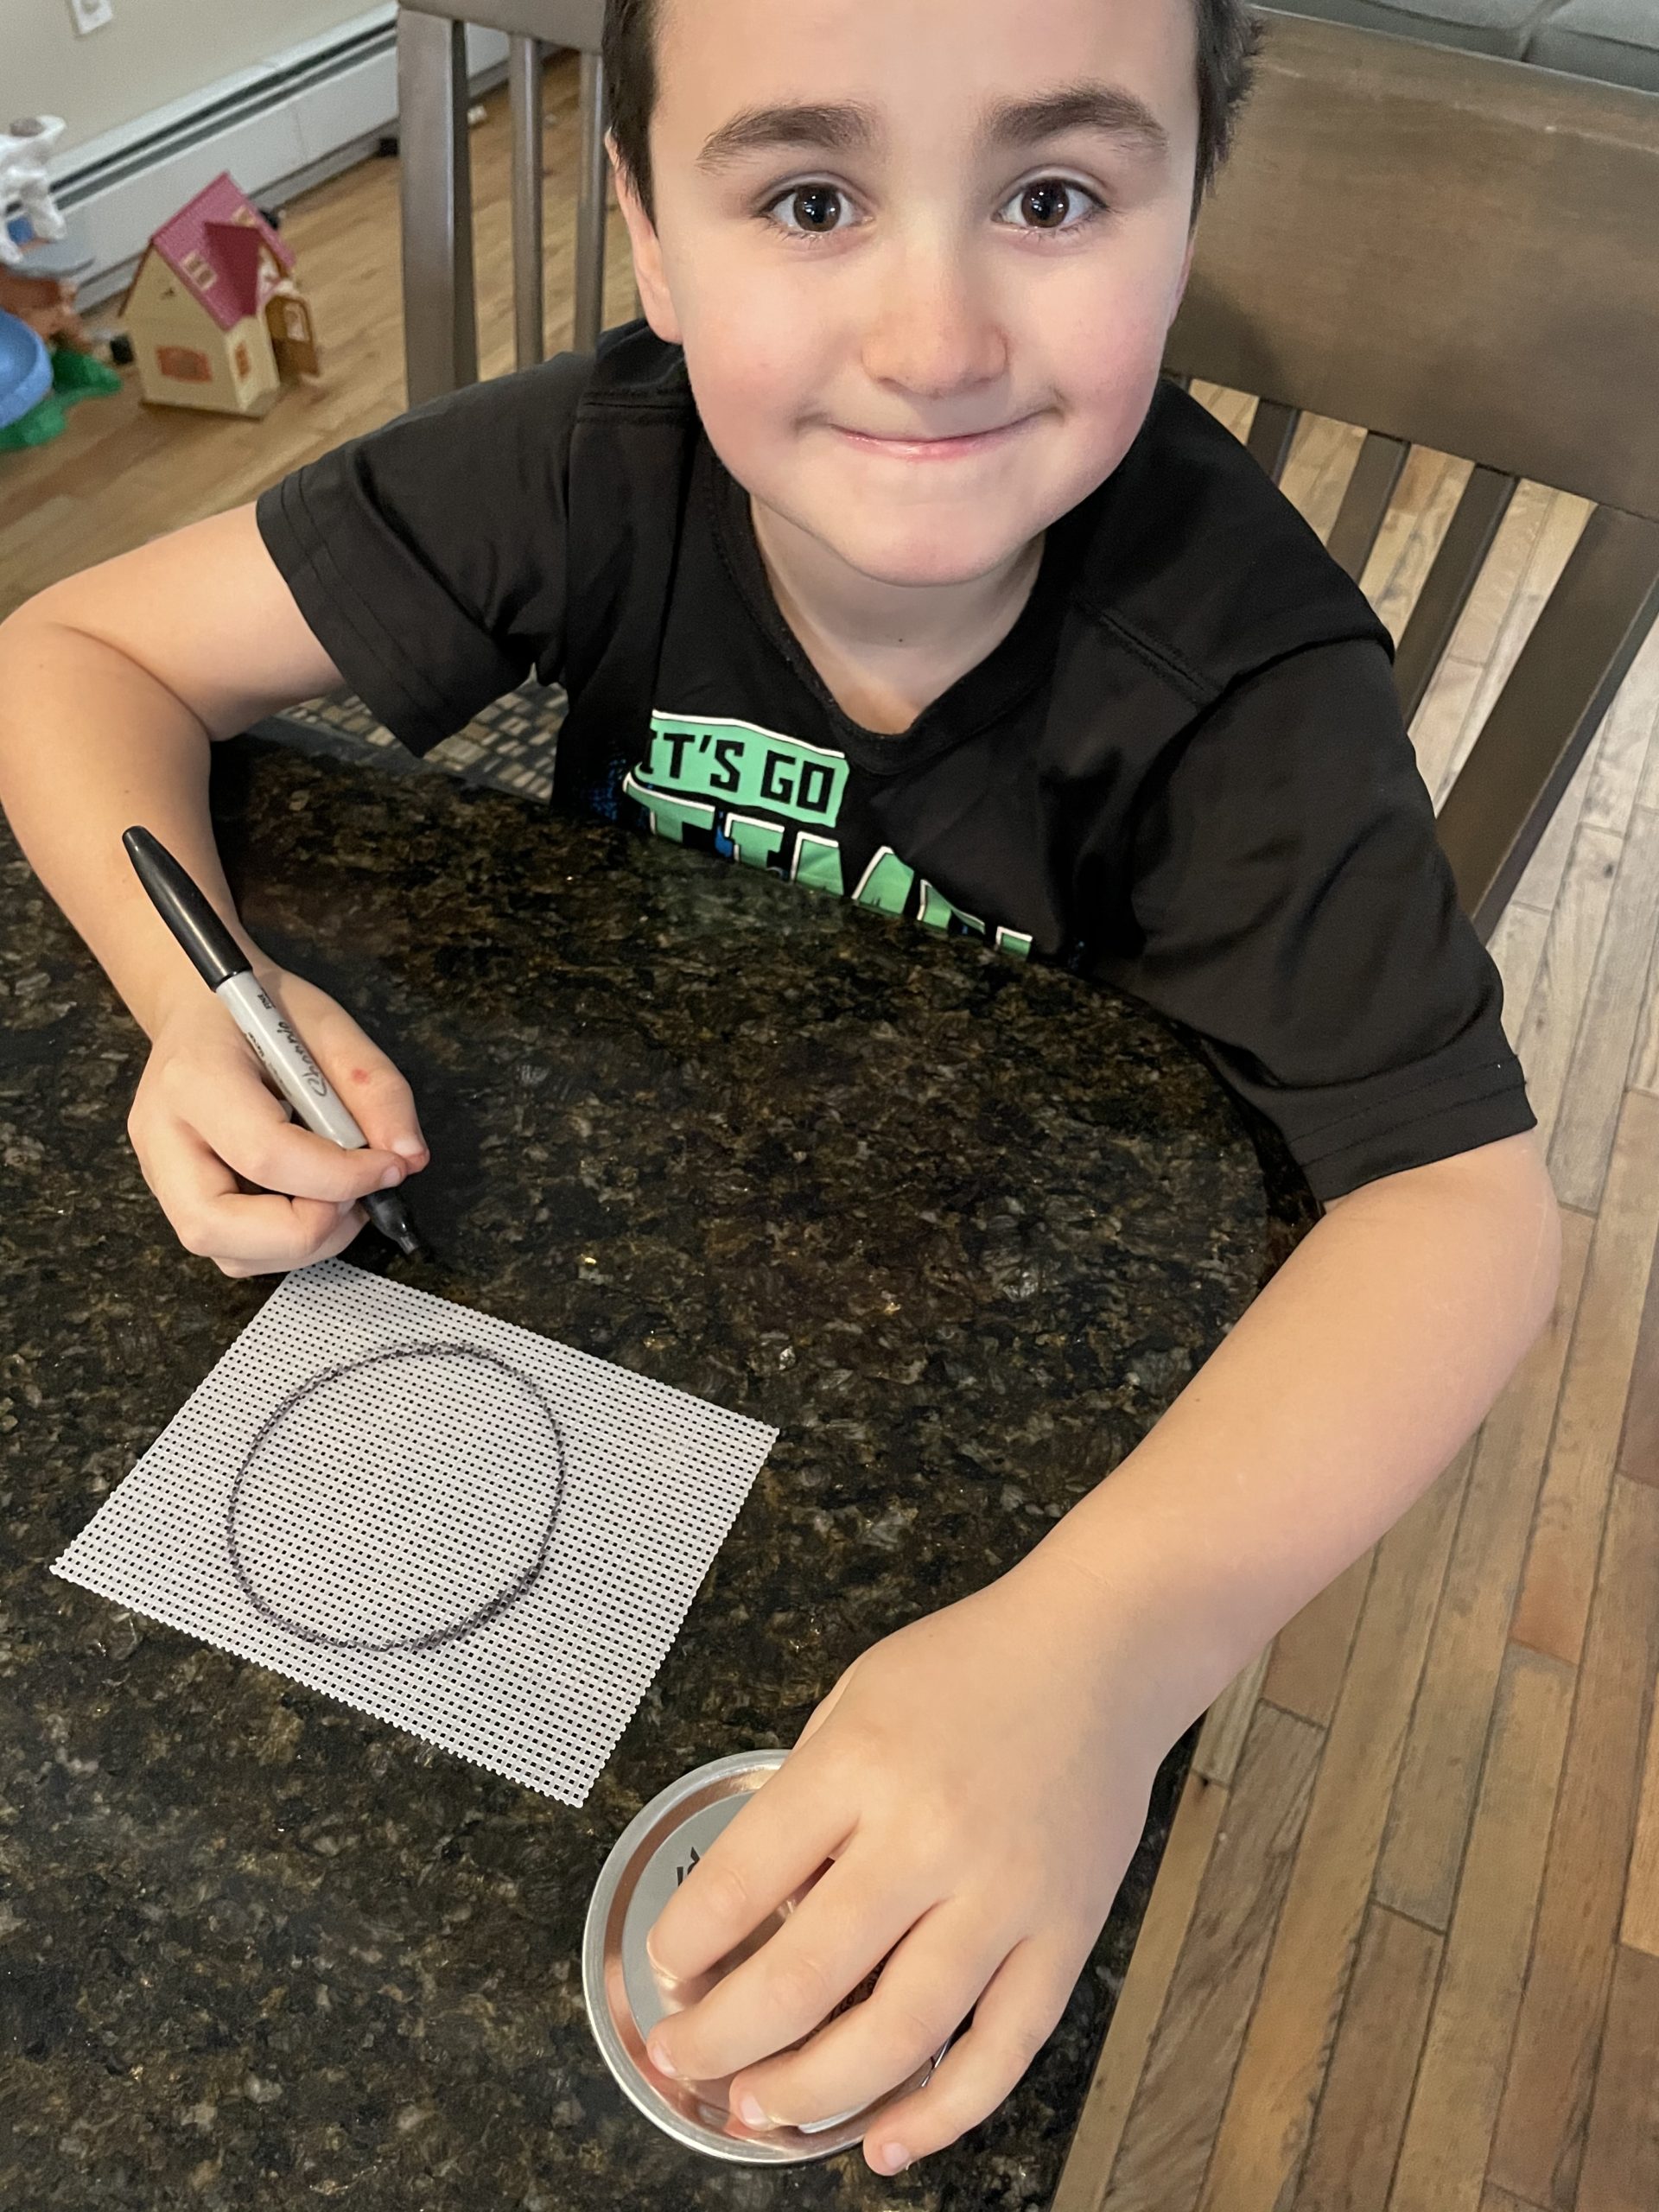
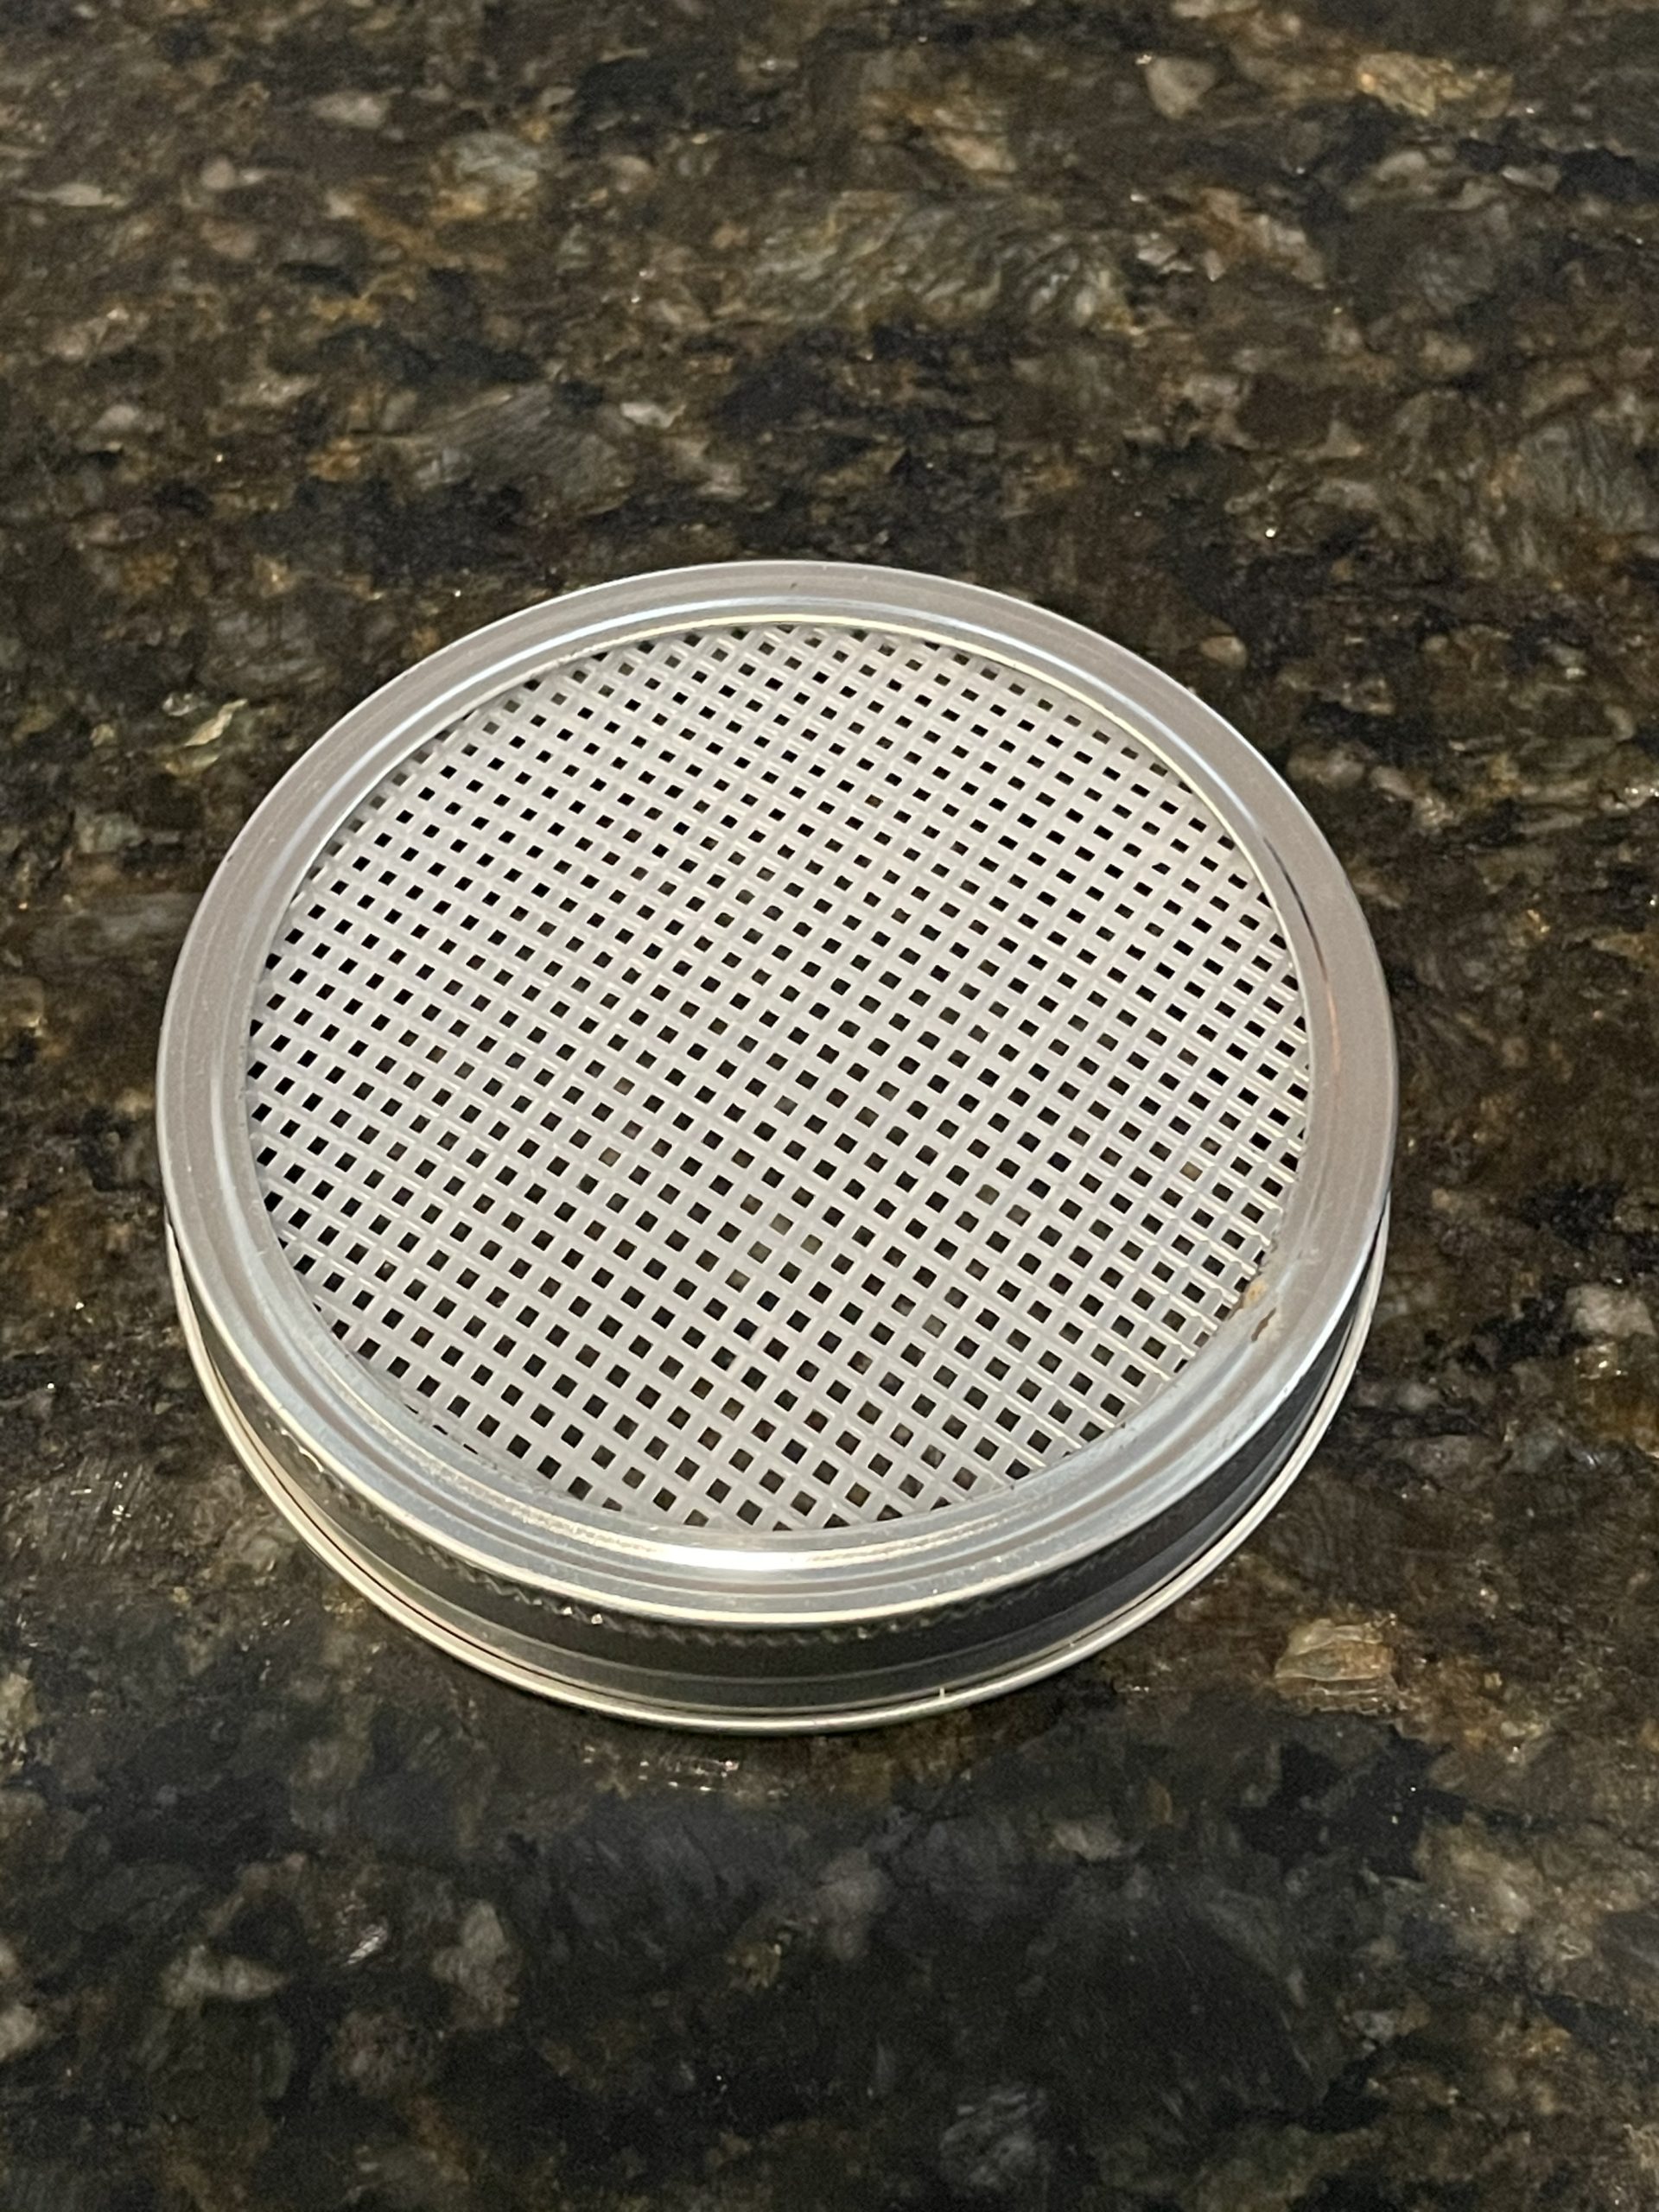
We made our own lid because I happened to have what I needed on hand already. If you have the metal ring to your mason jar, you could make the screen part easily.
We used a piece of plastic cross stitch canvas. Traced around the metal lid insert for correct sizing, cut, and boom had an official Sprouting Lid.
I have seen people use a piece of cheesecloth as well.
I DO plan on purchasing actual sprouting lids (paid link), because they come with different sized holes which makes it easier draining as the sprouts grow. For beginners though, DIY lids work well enough to start with.
Growing Sprouts In a Jar ~ Instructions
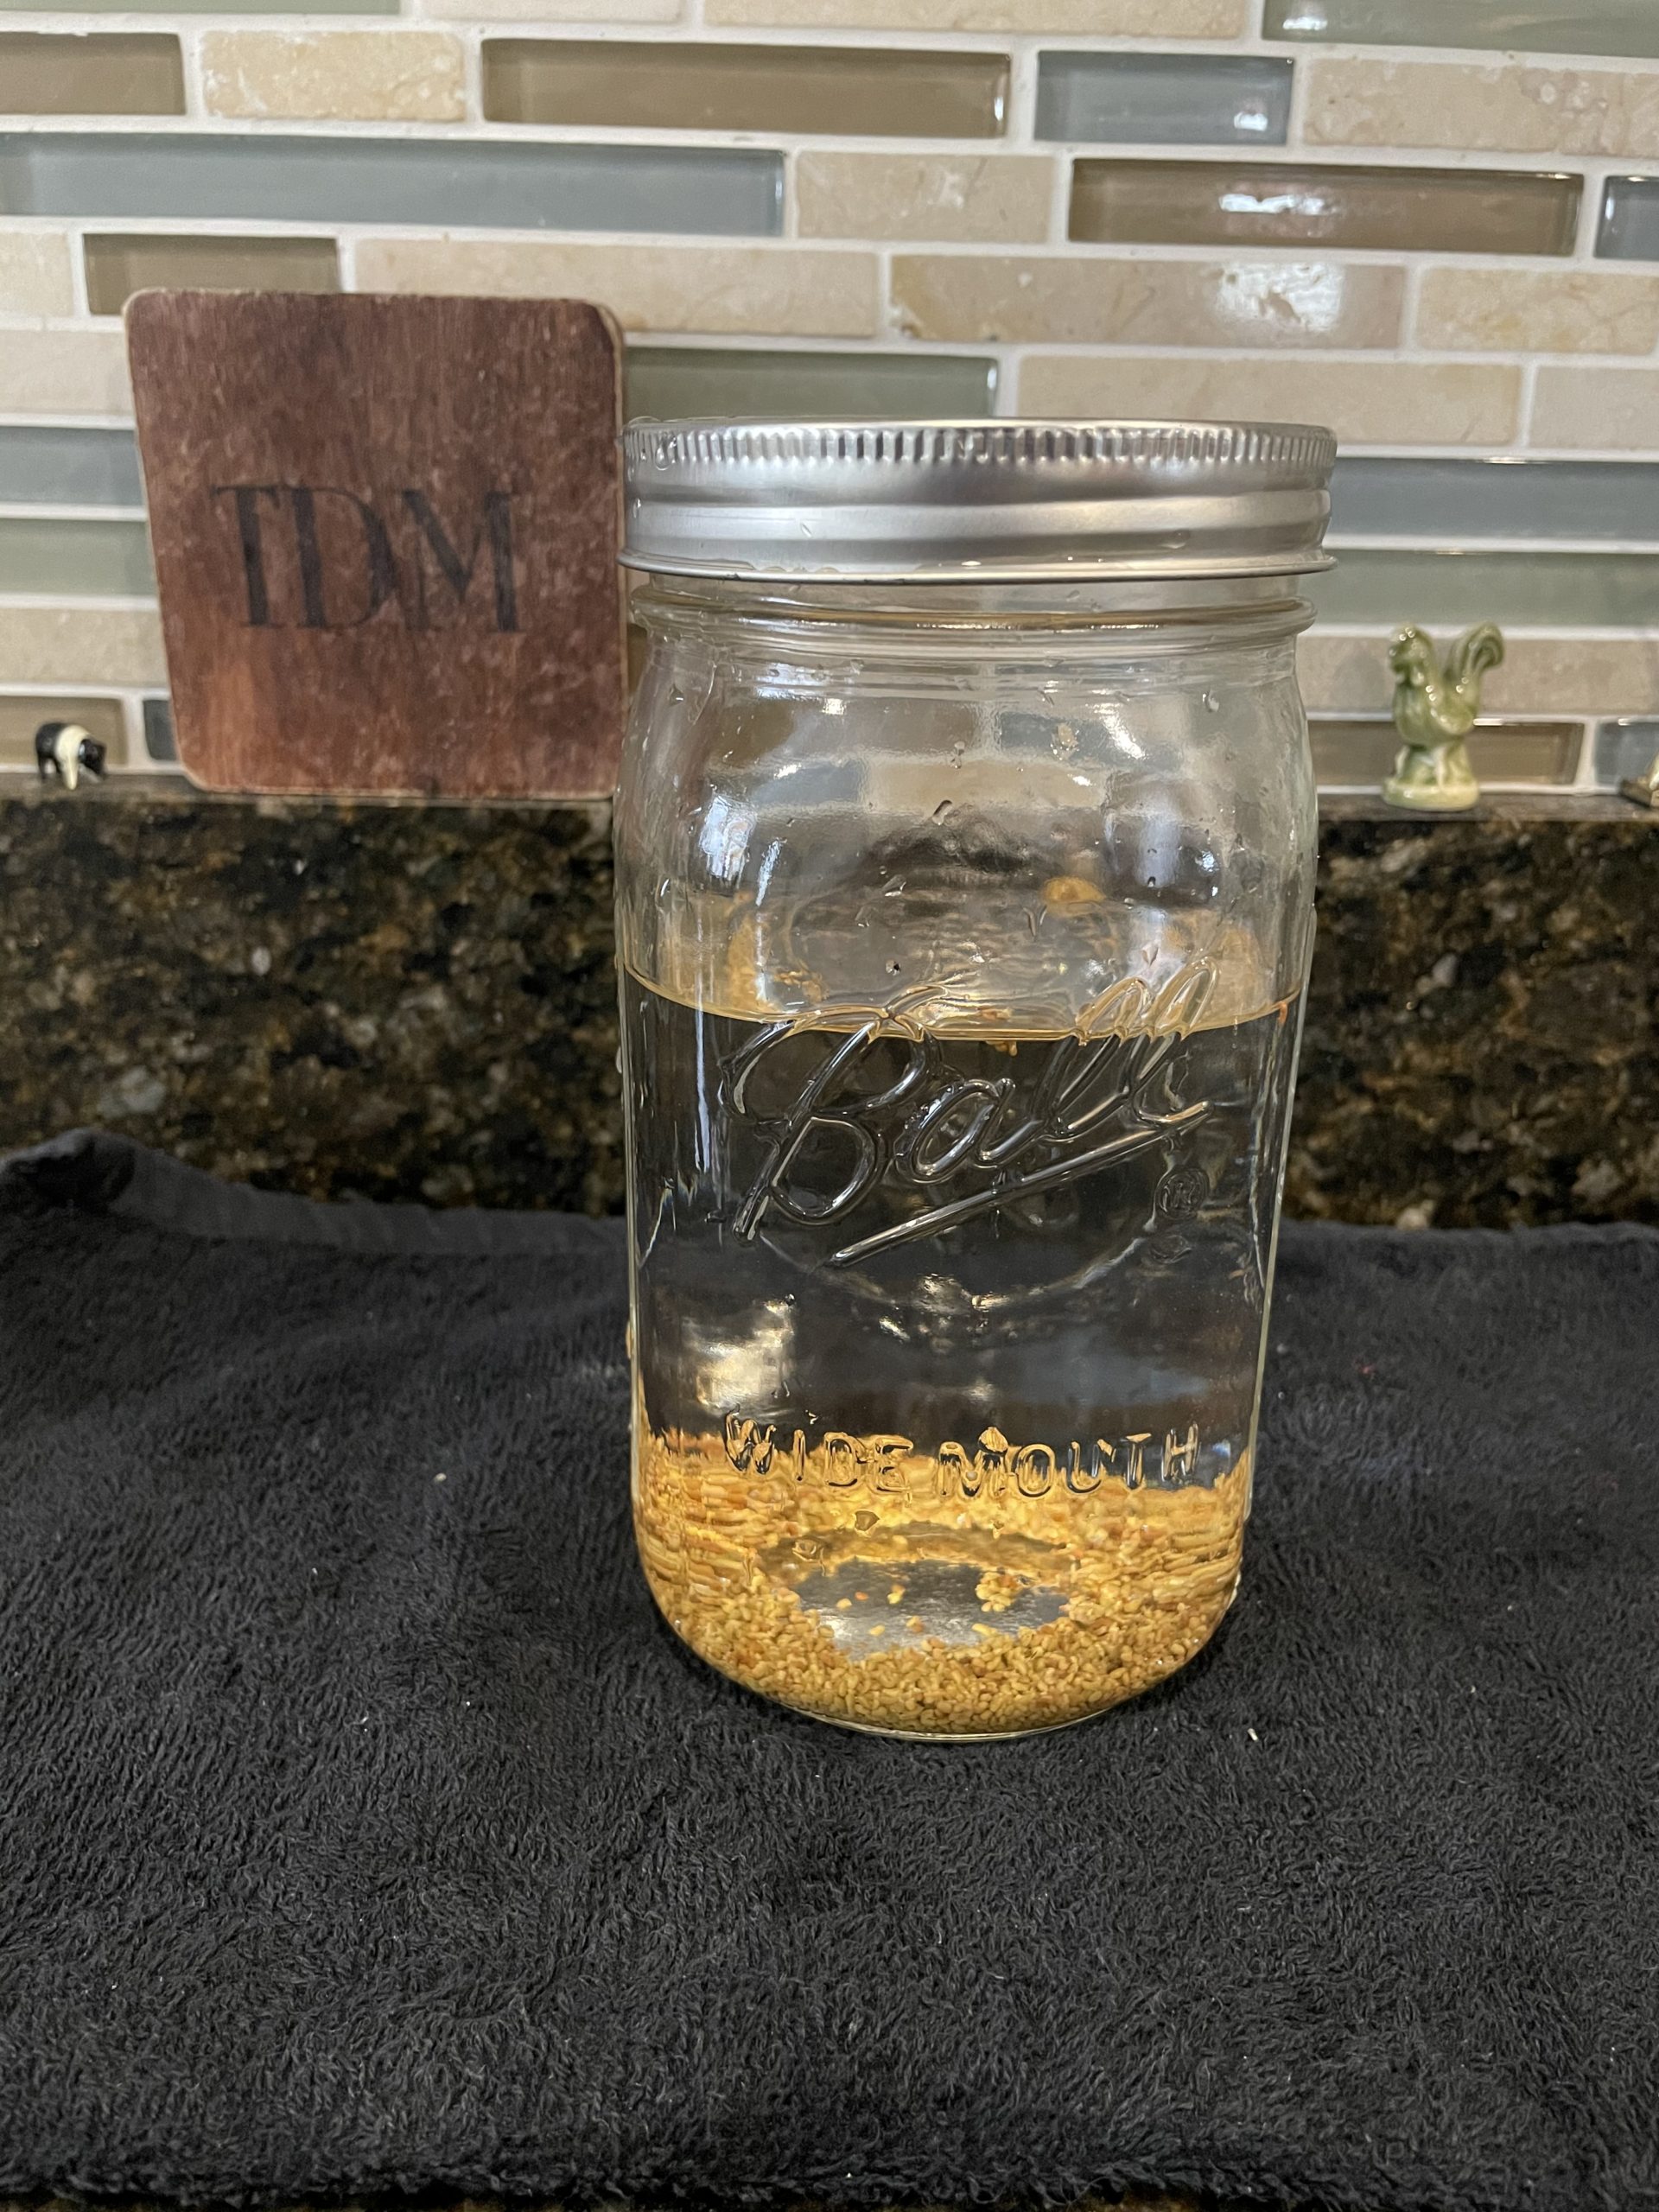
Add 1-2 Tablespoons of Sprouting Seeds to a clean (sterilized recommended) glass jar.
I suggest starting with 1 tablespoon to gauge how much you’ll produce/eat.
Pour clean cool water over the seeds, filling jar about ¾ of the way full.
Place sprouting lid on jar and tighten.
Set jar in a cool clean space for 8-12 hours.
Starting in the evening and letting them soak overnight works out great.
After they have soaked, drain through the lid.
Rinse with cool water (swirling the seeds around in the jar) and drain again.
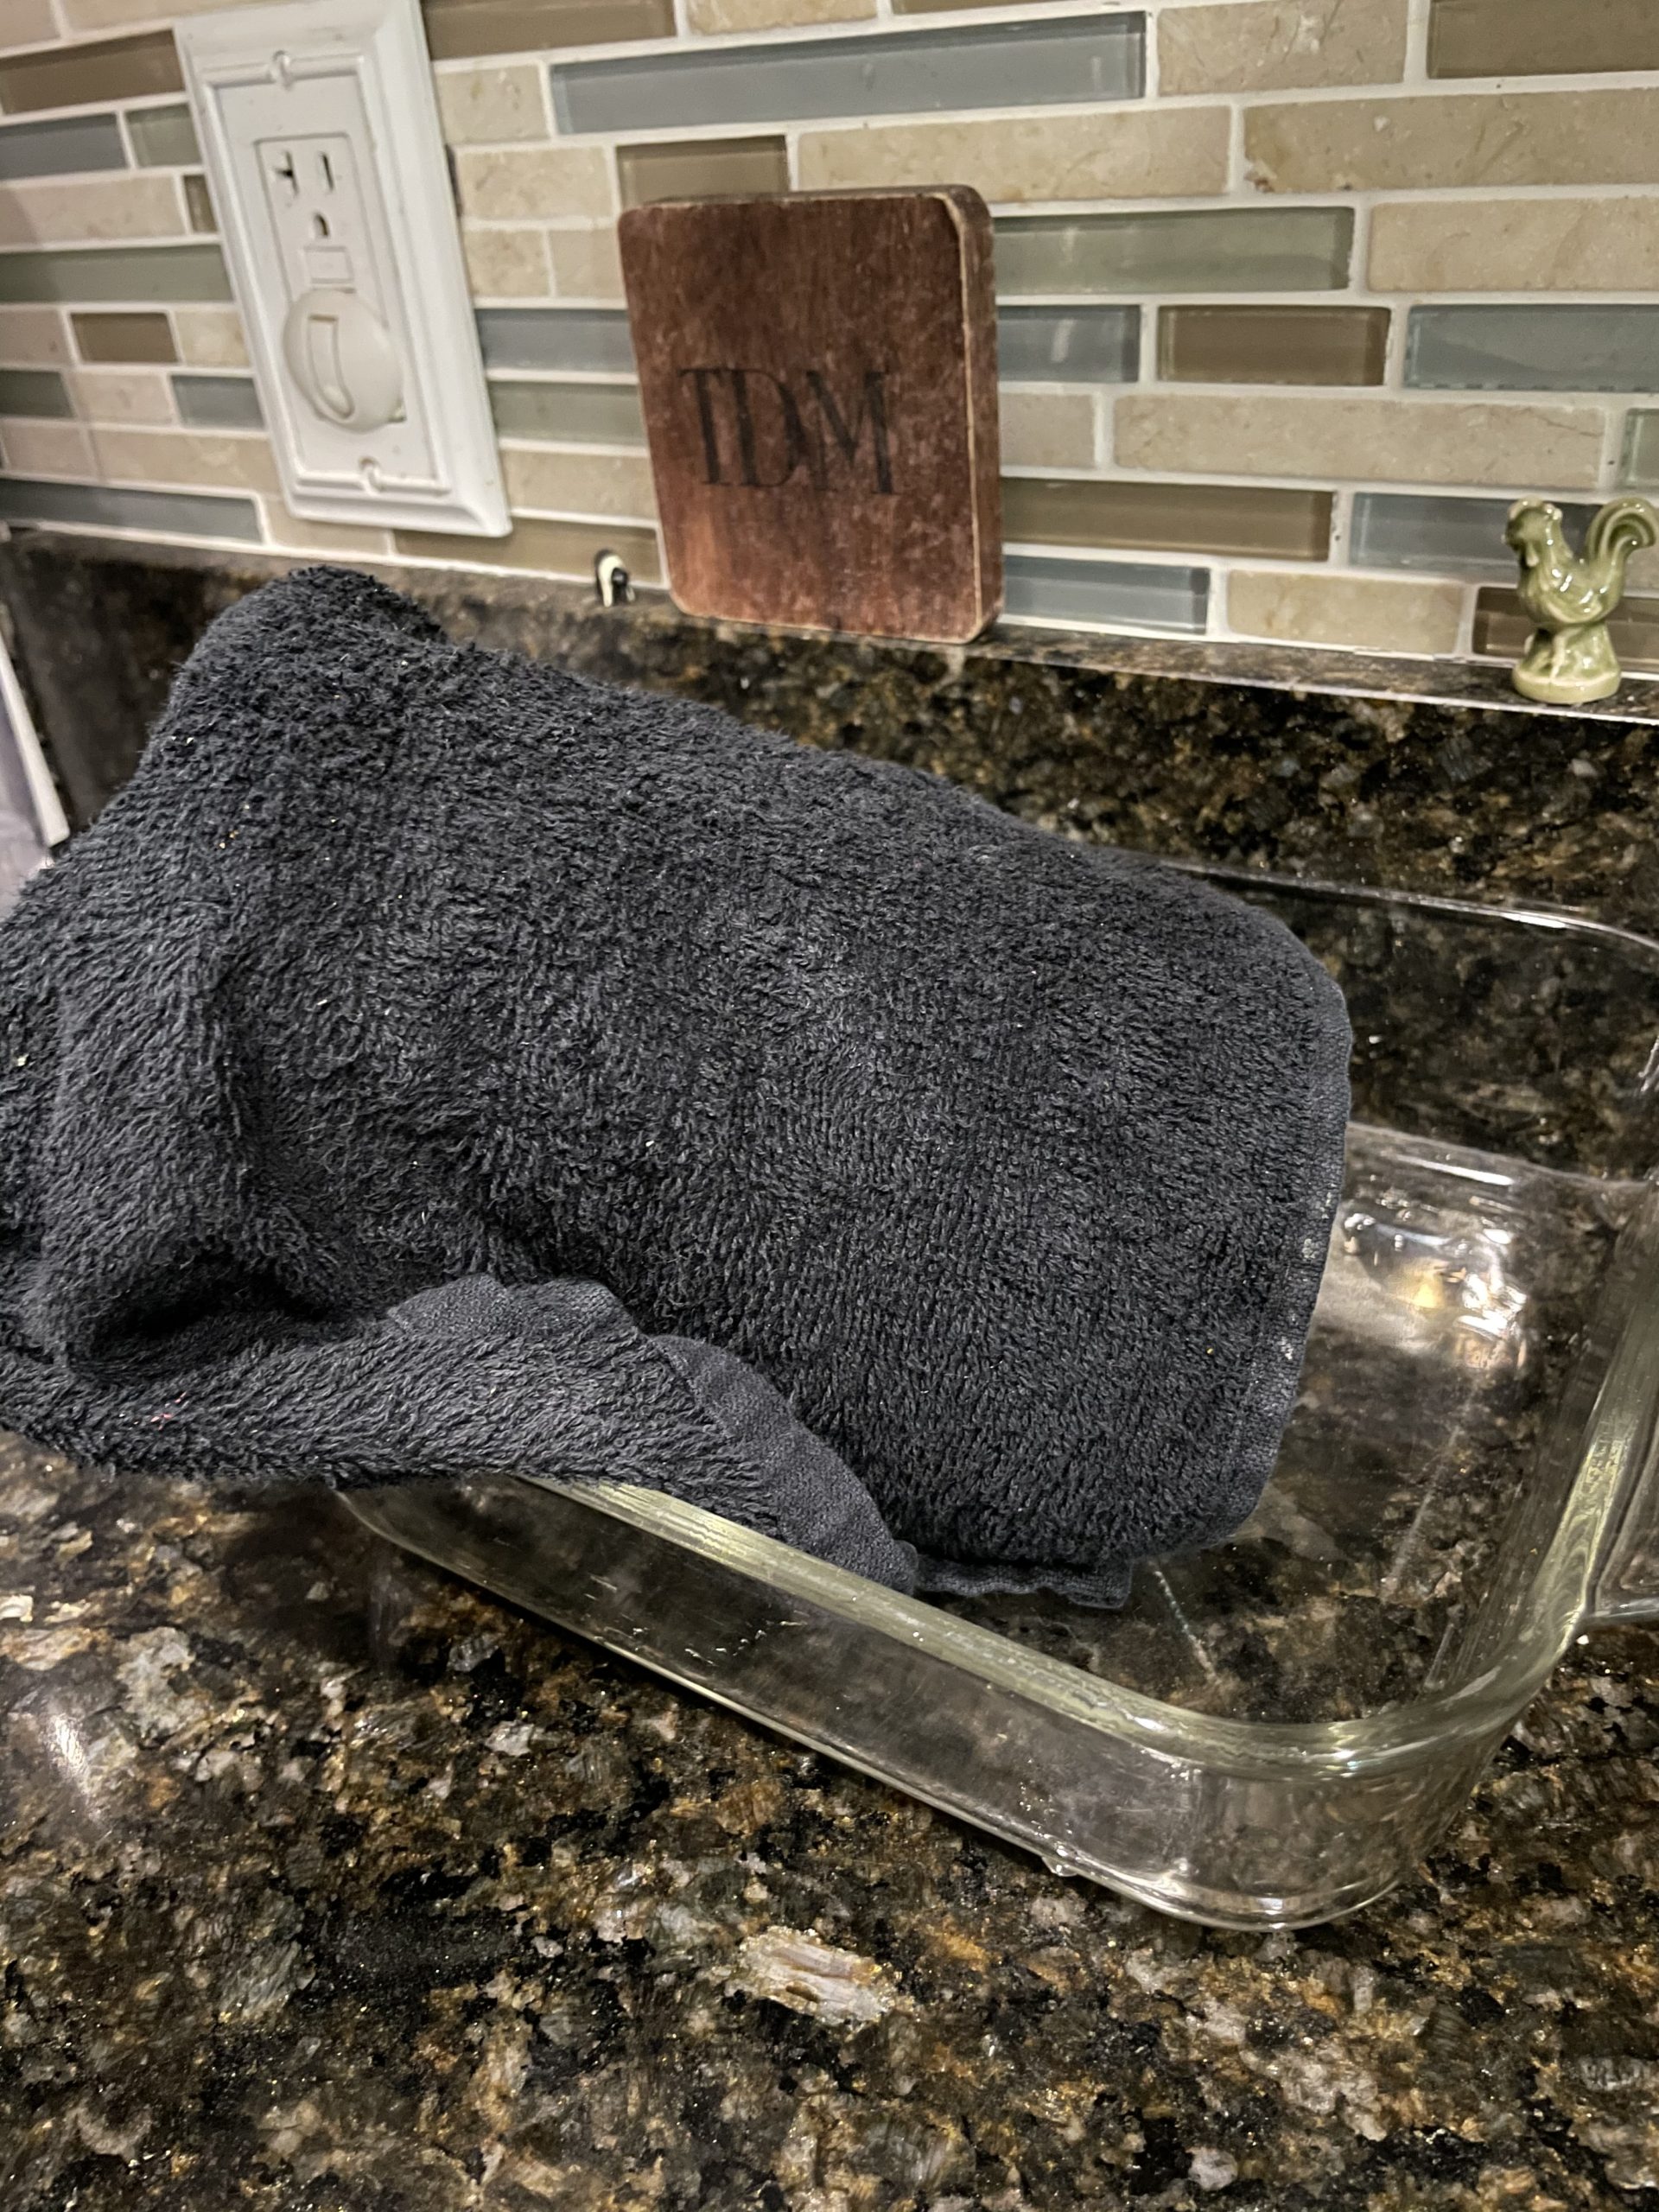
Wrap hand towel/cloth around glass part of jar. Do NOT cover the lid screen.
This is done to block out sunlight especially if on a kitchen counter near a window, however it also needs air flow through the lid.
Place wrapped jar, tilted upside down, into a bowl or baking dish.
Again be sure that the screen is not blocked. You’ll want the sprouts to drain any residual water and stressing again air flow is important.
**SUPER IMPORTANT**
Rinse, drain, and replace tilted upside down 2-4 times every day for the next 4-6 days depending on your seed choice (reference your seed packet).

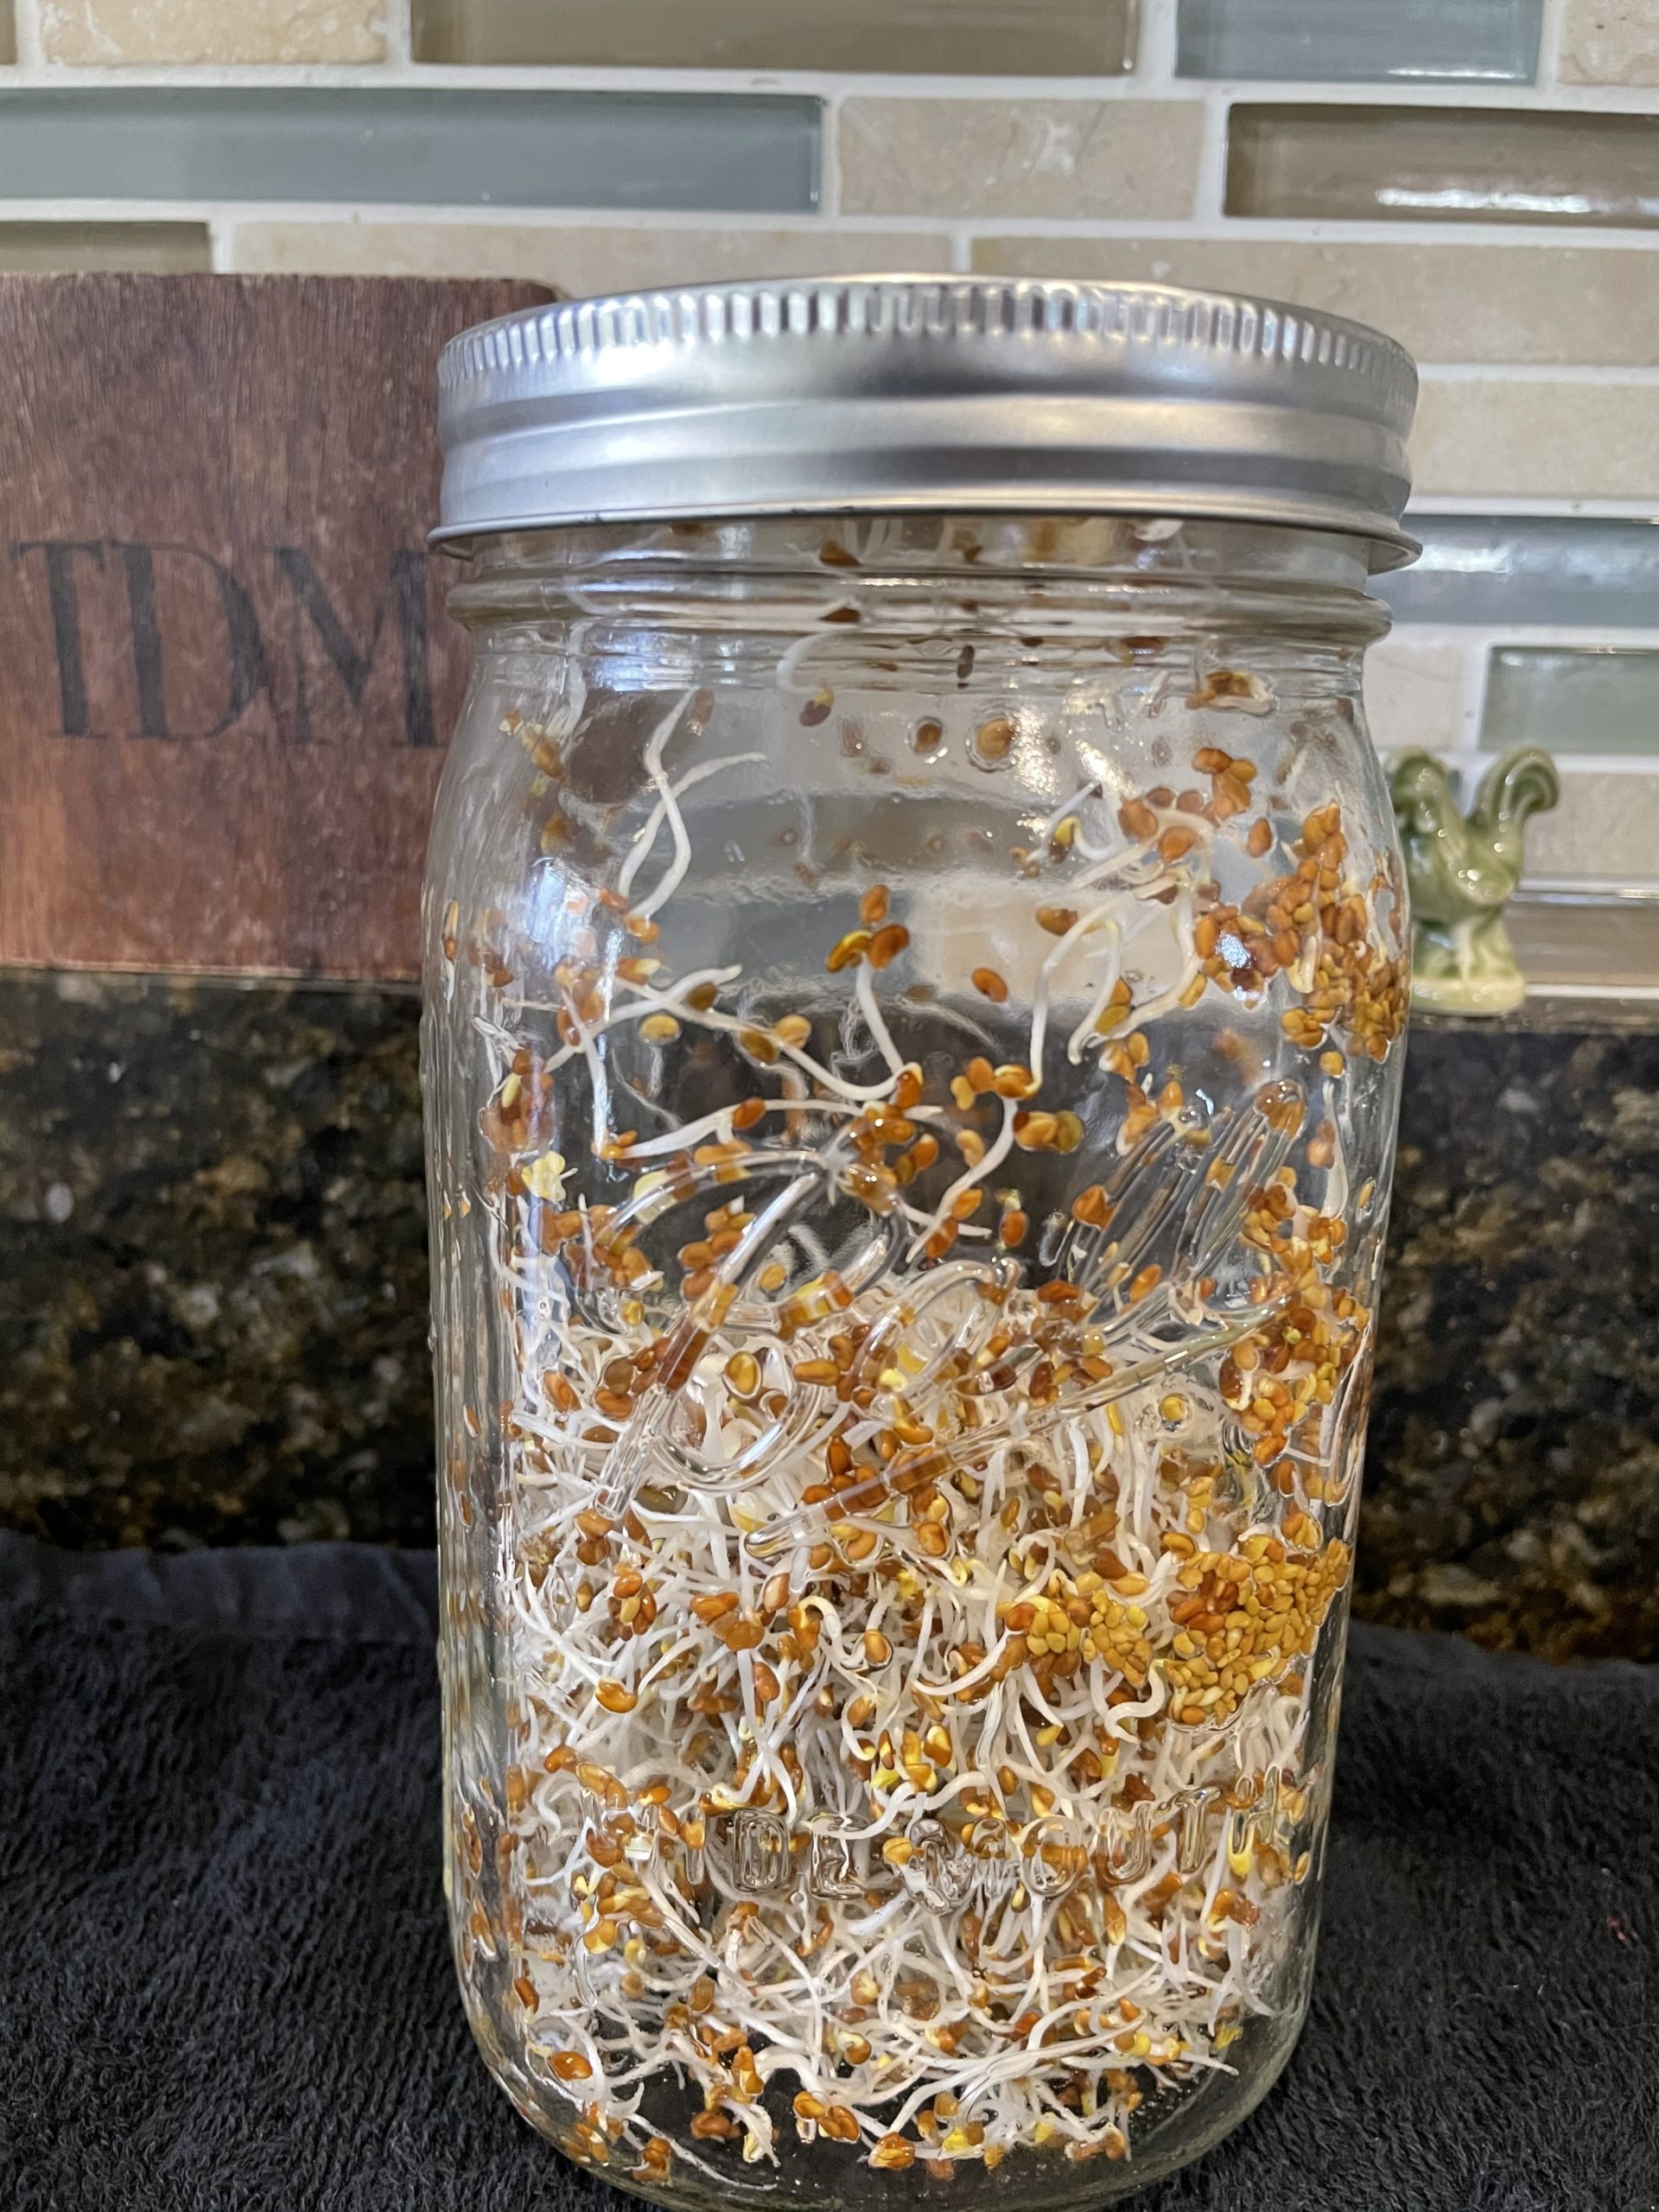
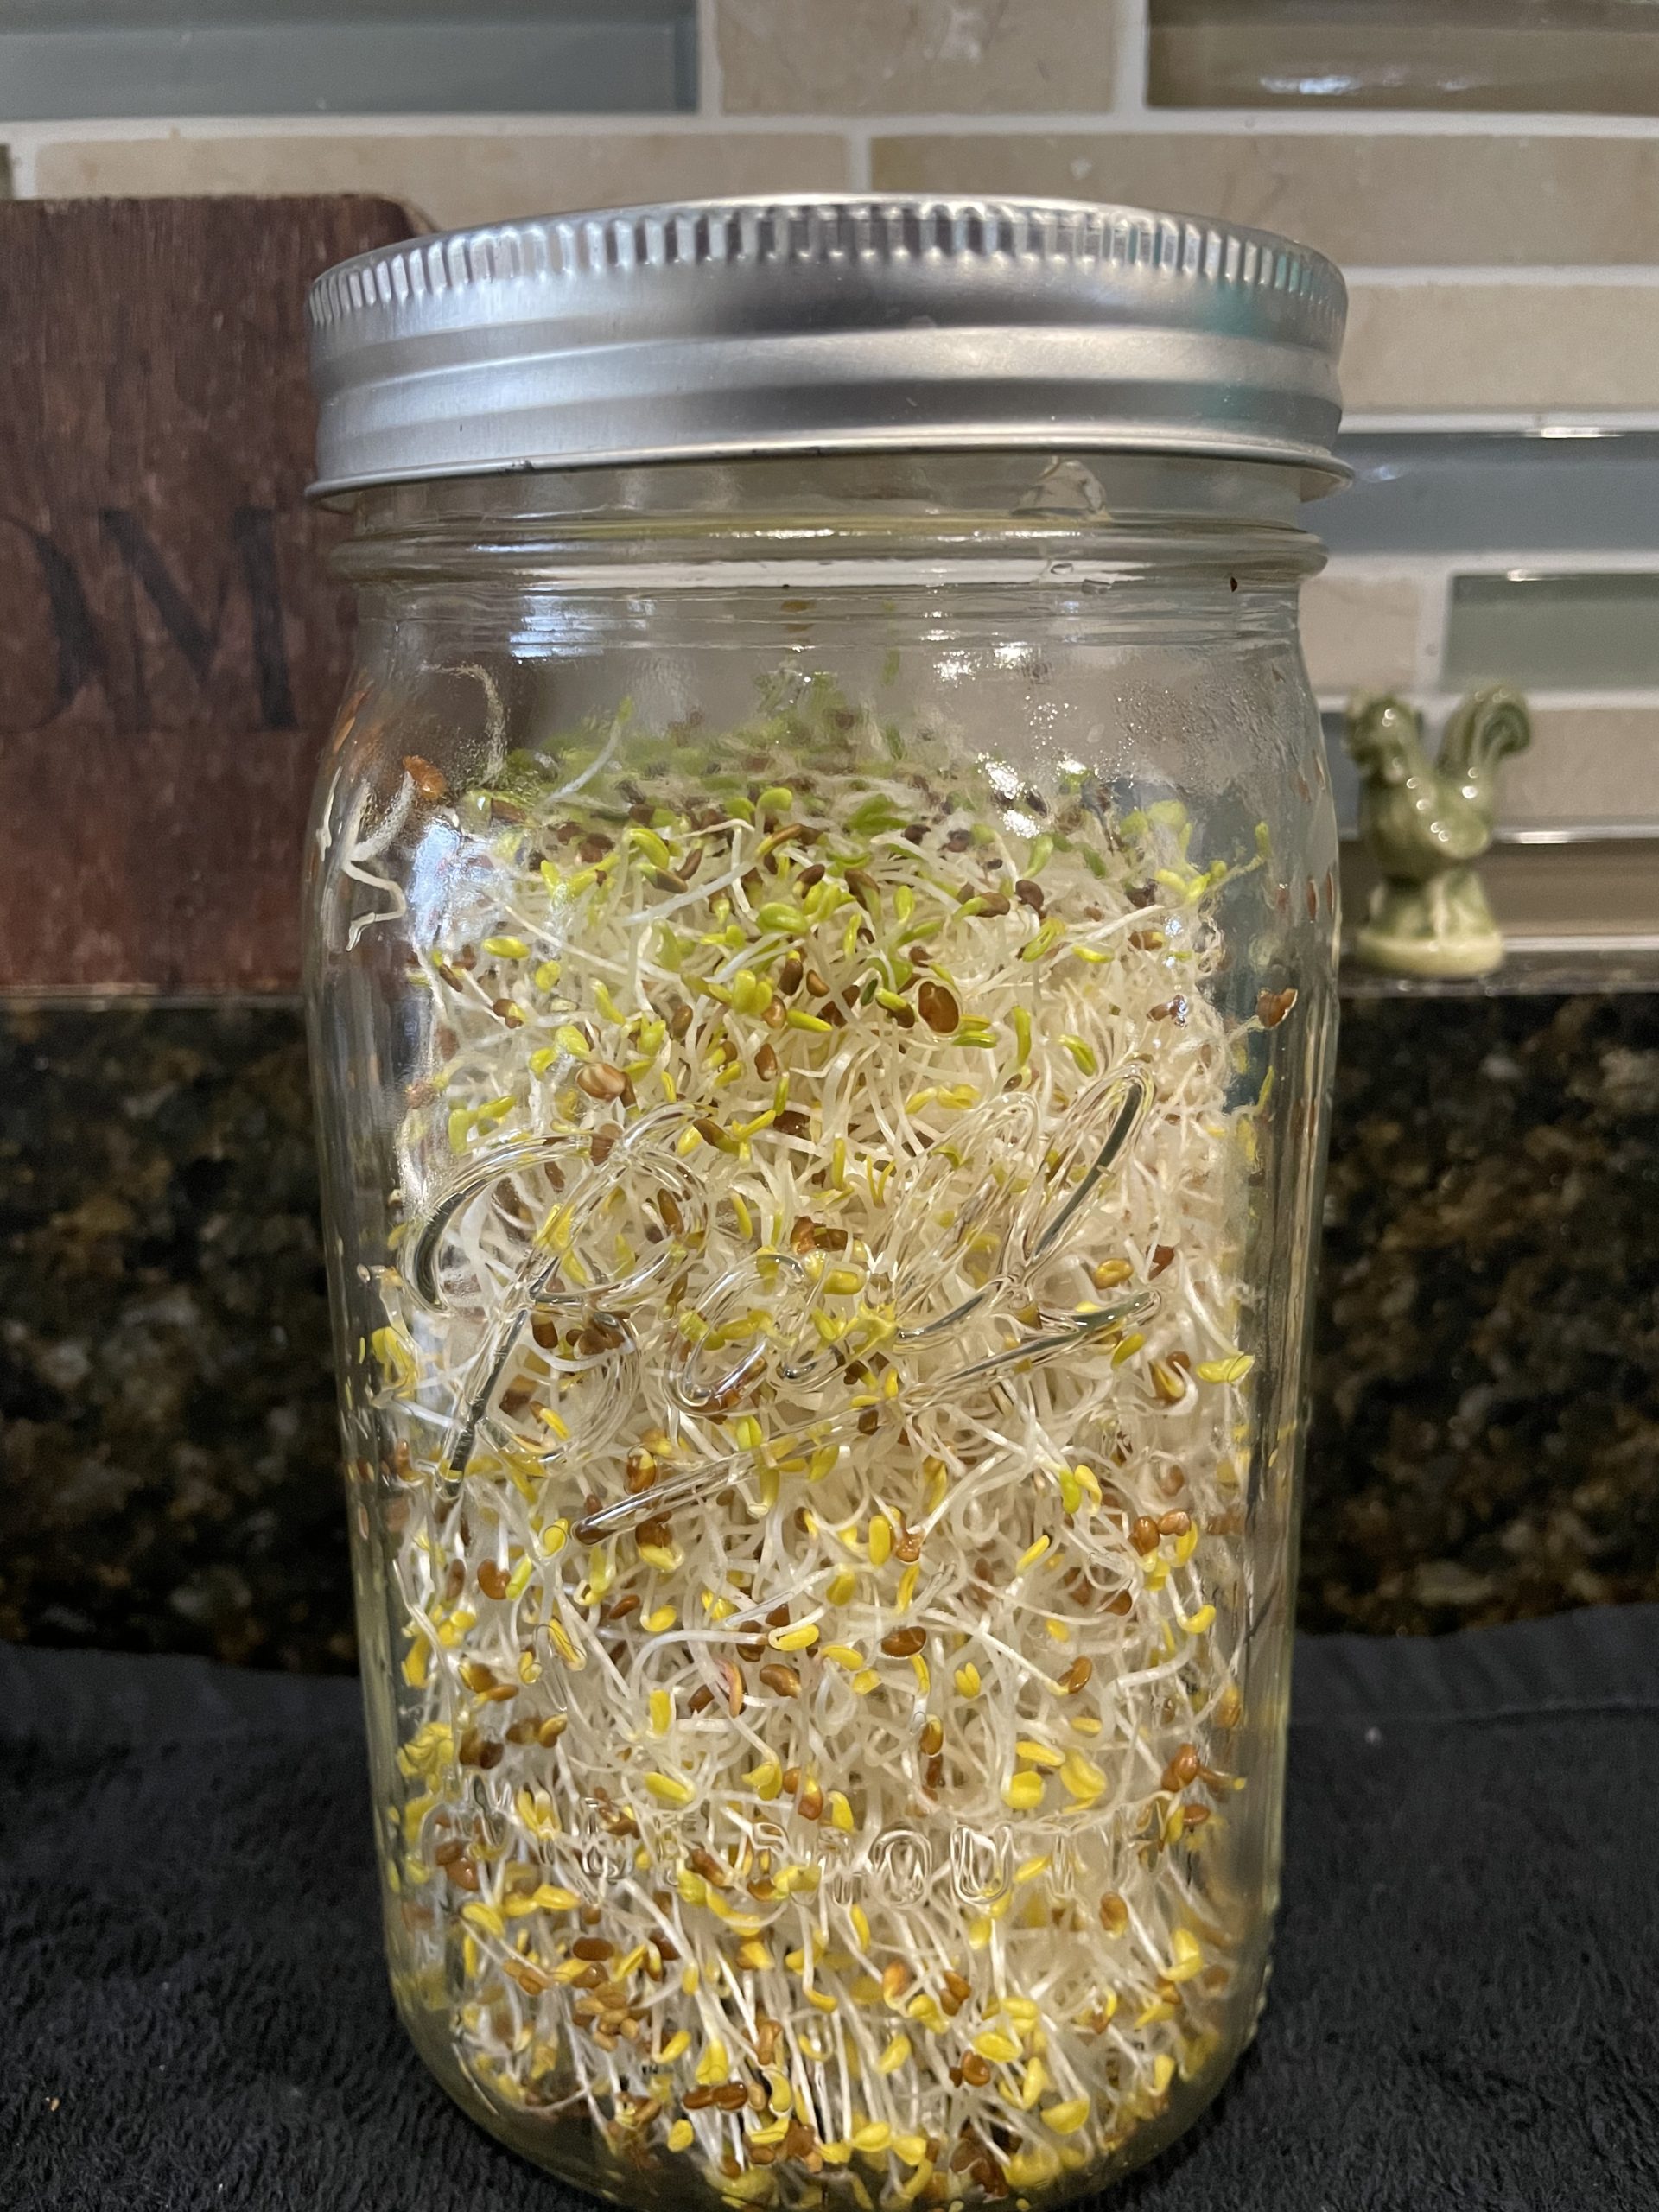
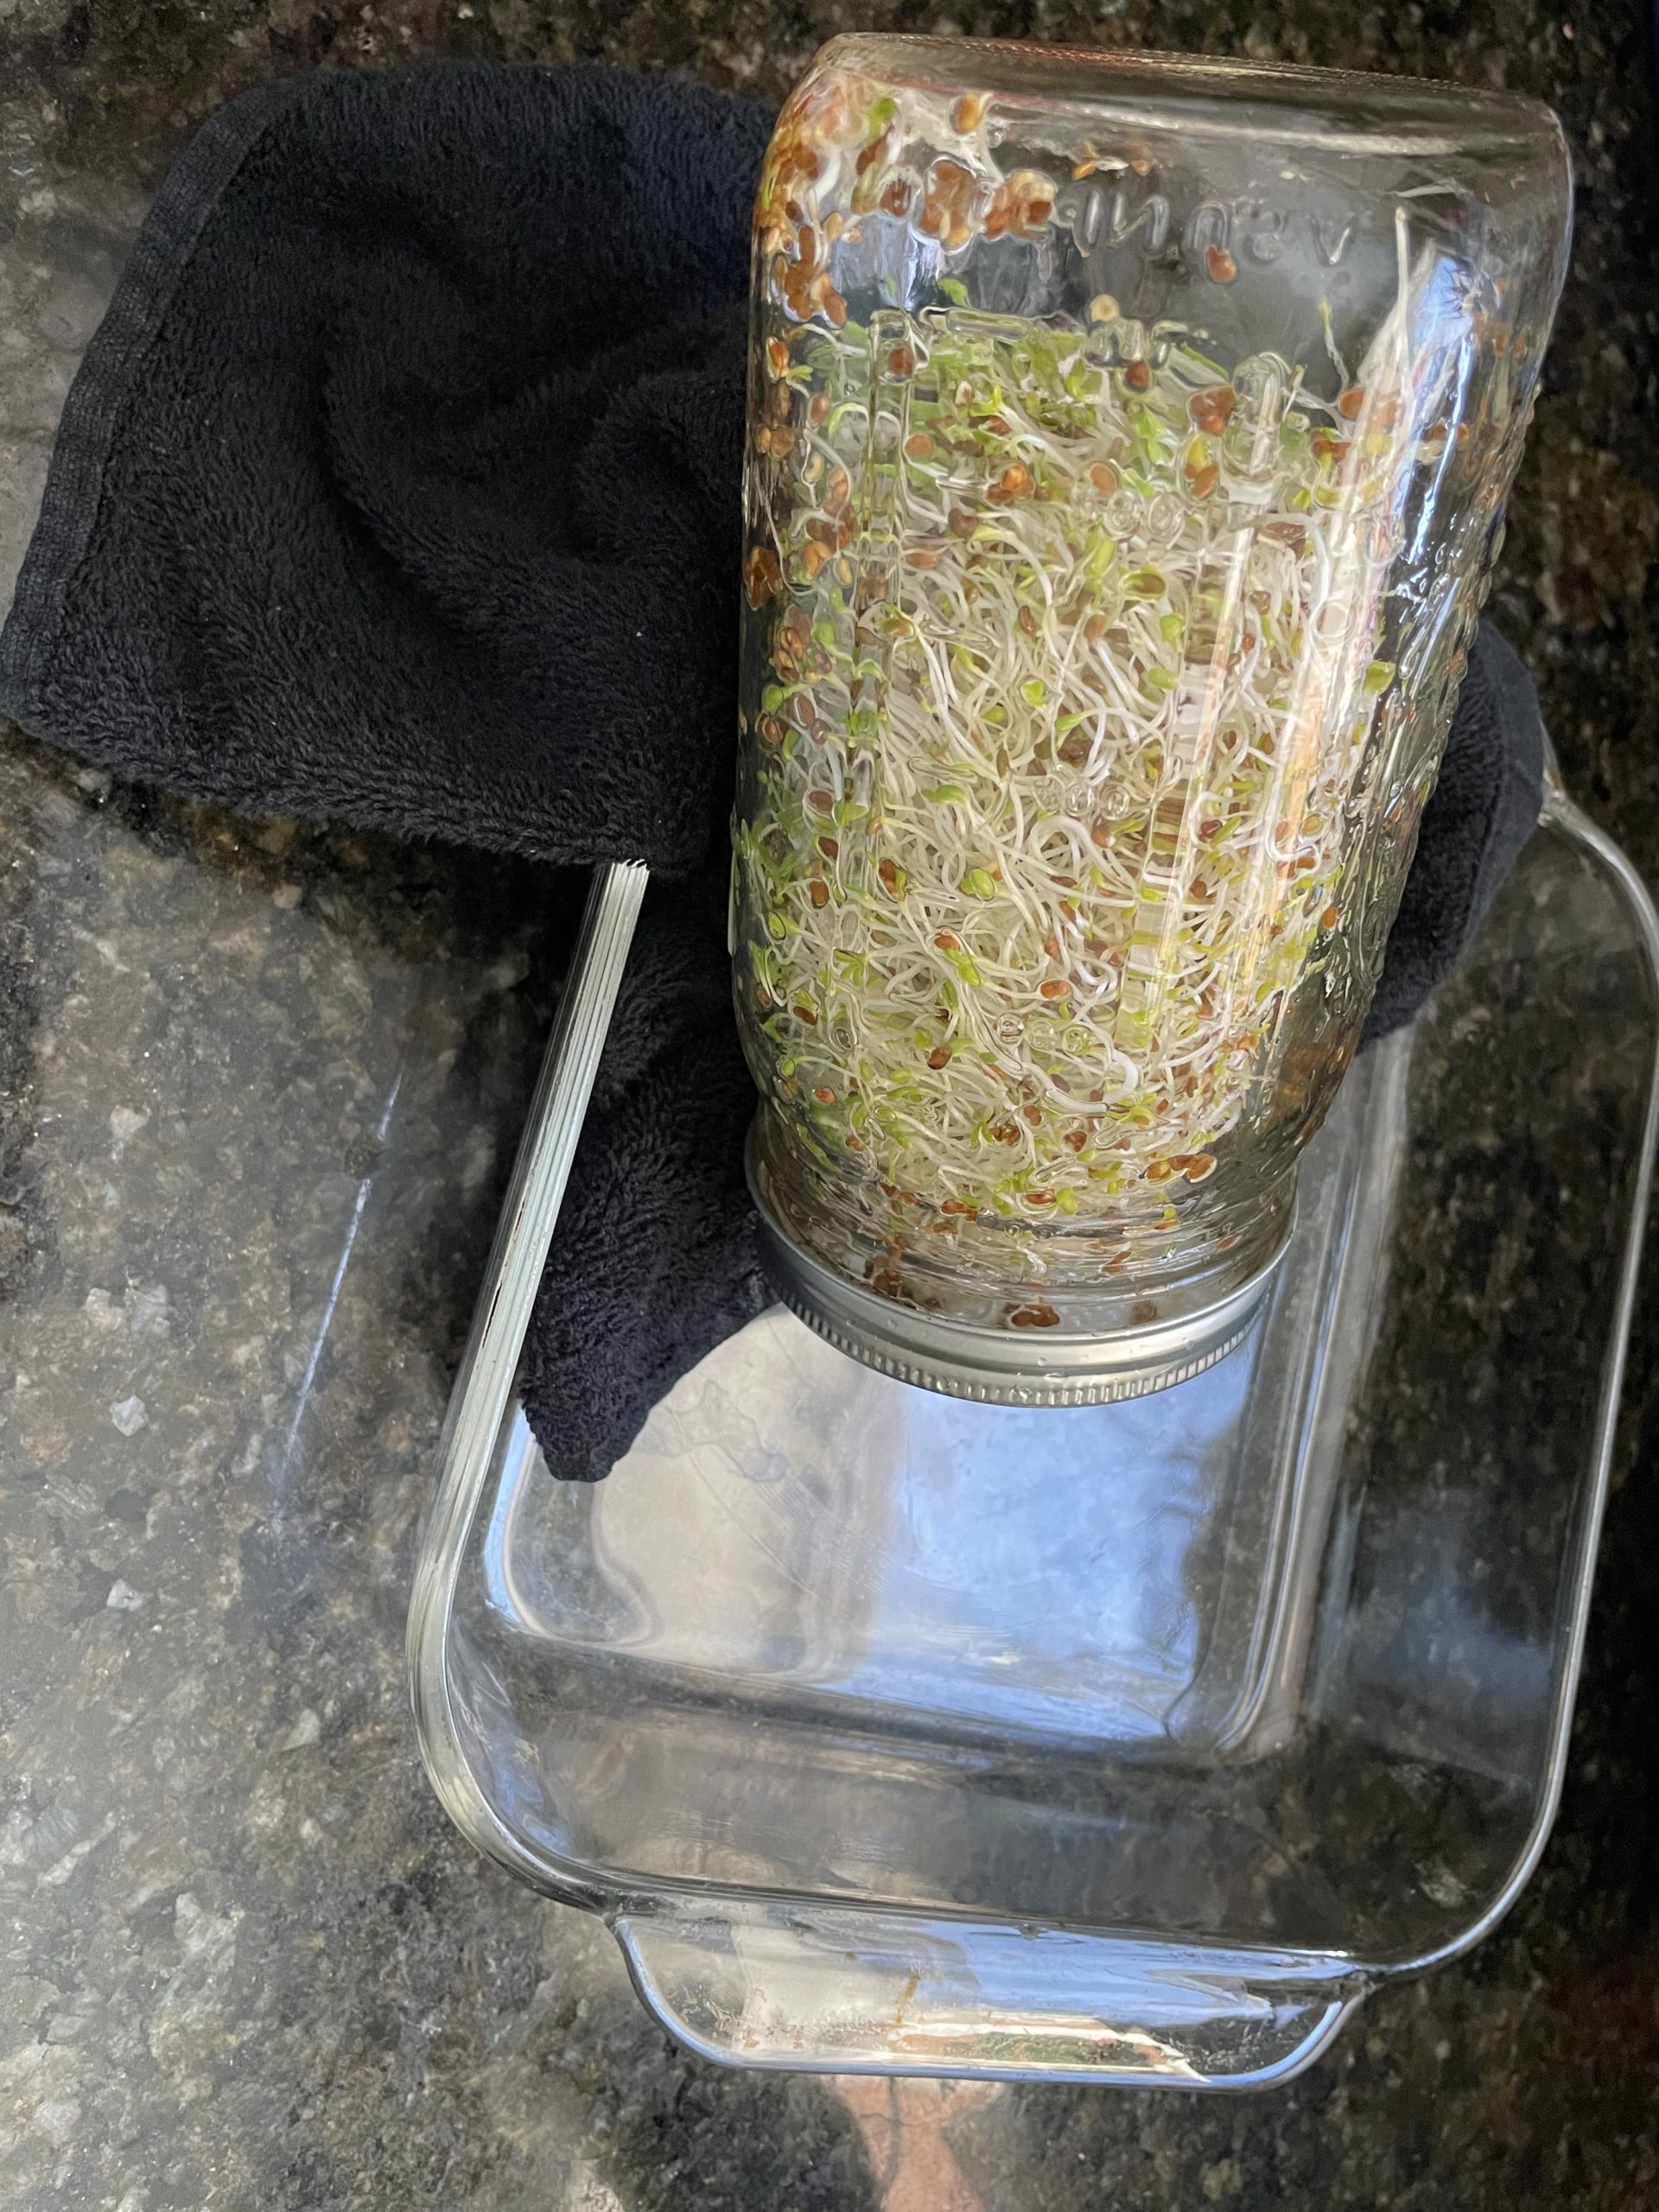
When Sprouts start showing green (usually on the last day or two), keep towel off and allow jar to be in the sunlight (tilted upside down still and continuing rinse/draining). This is when photosynthesis happens!!
Periodically rotate jar while it’s in the light until all sprouts are green.
The green pigment is Chlorophyll. Chlorophyll helps our blood bring oxygen to all the cells in our bodies and also aids in detoxification!! Isn’t that awesome!! And YOU just made that happen! So cool!
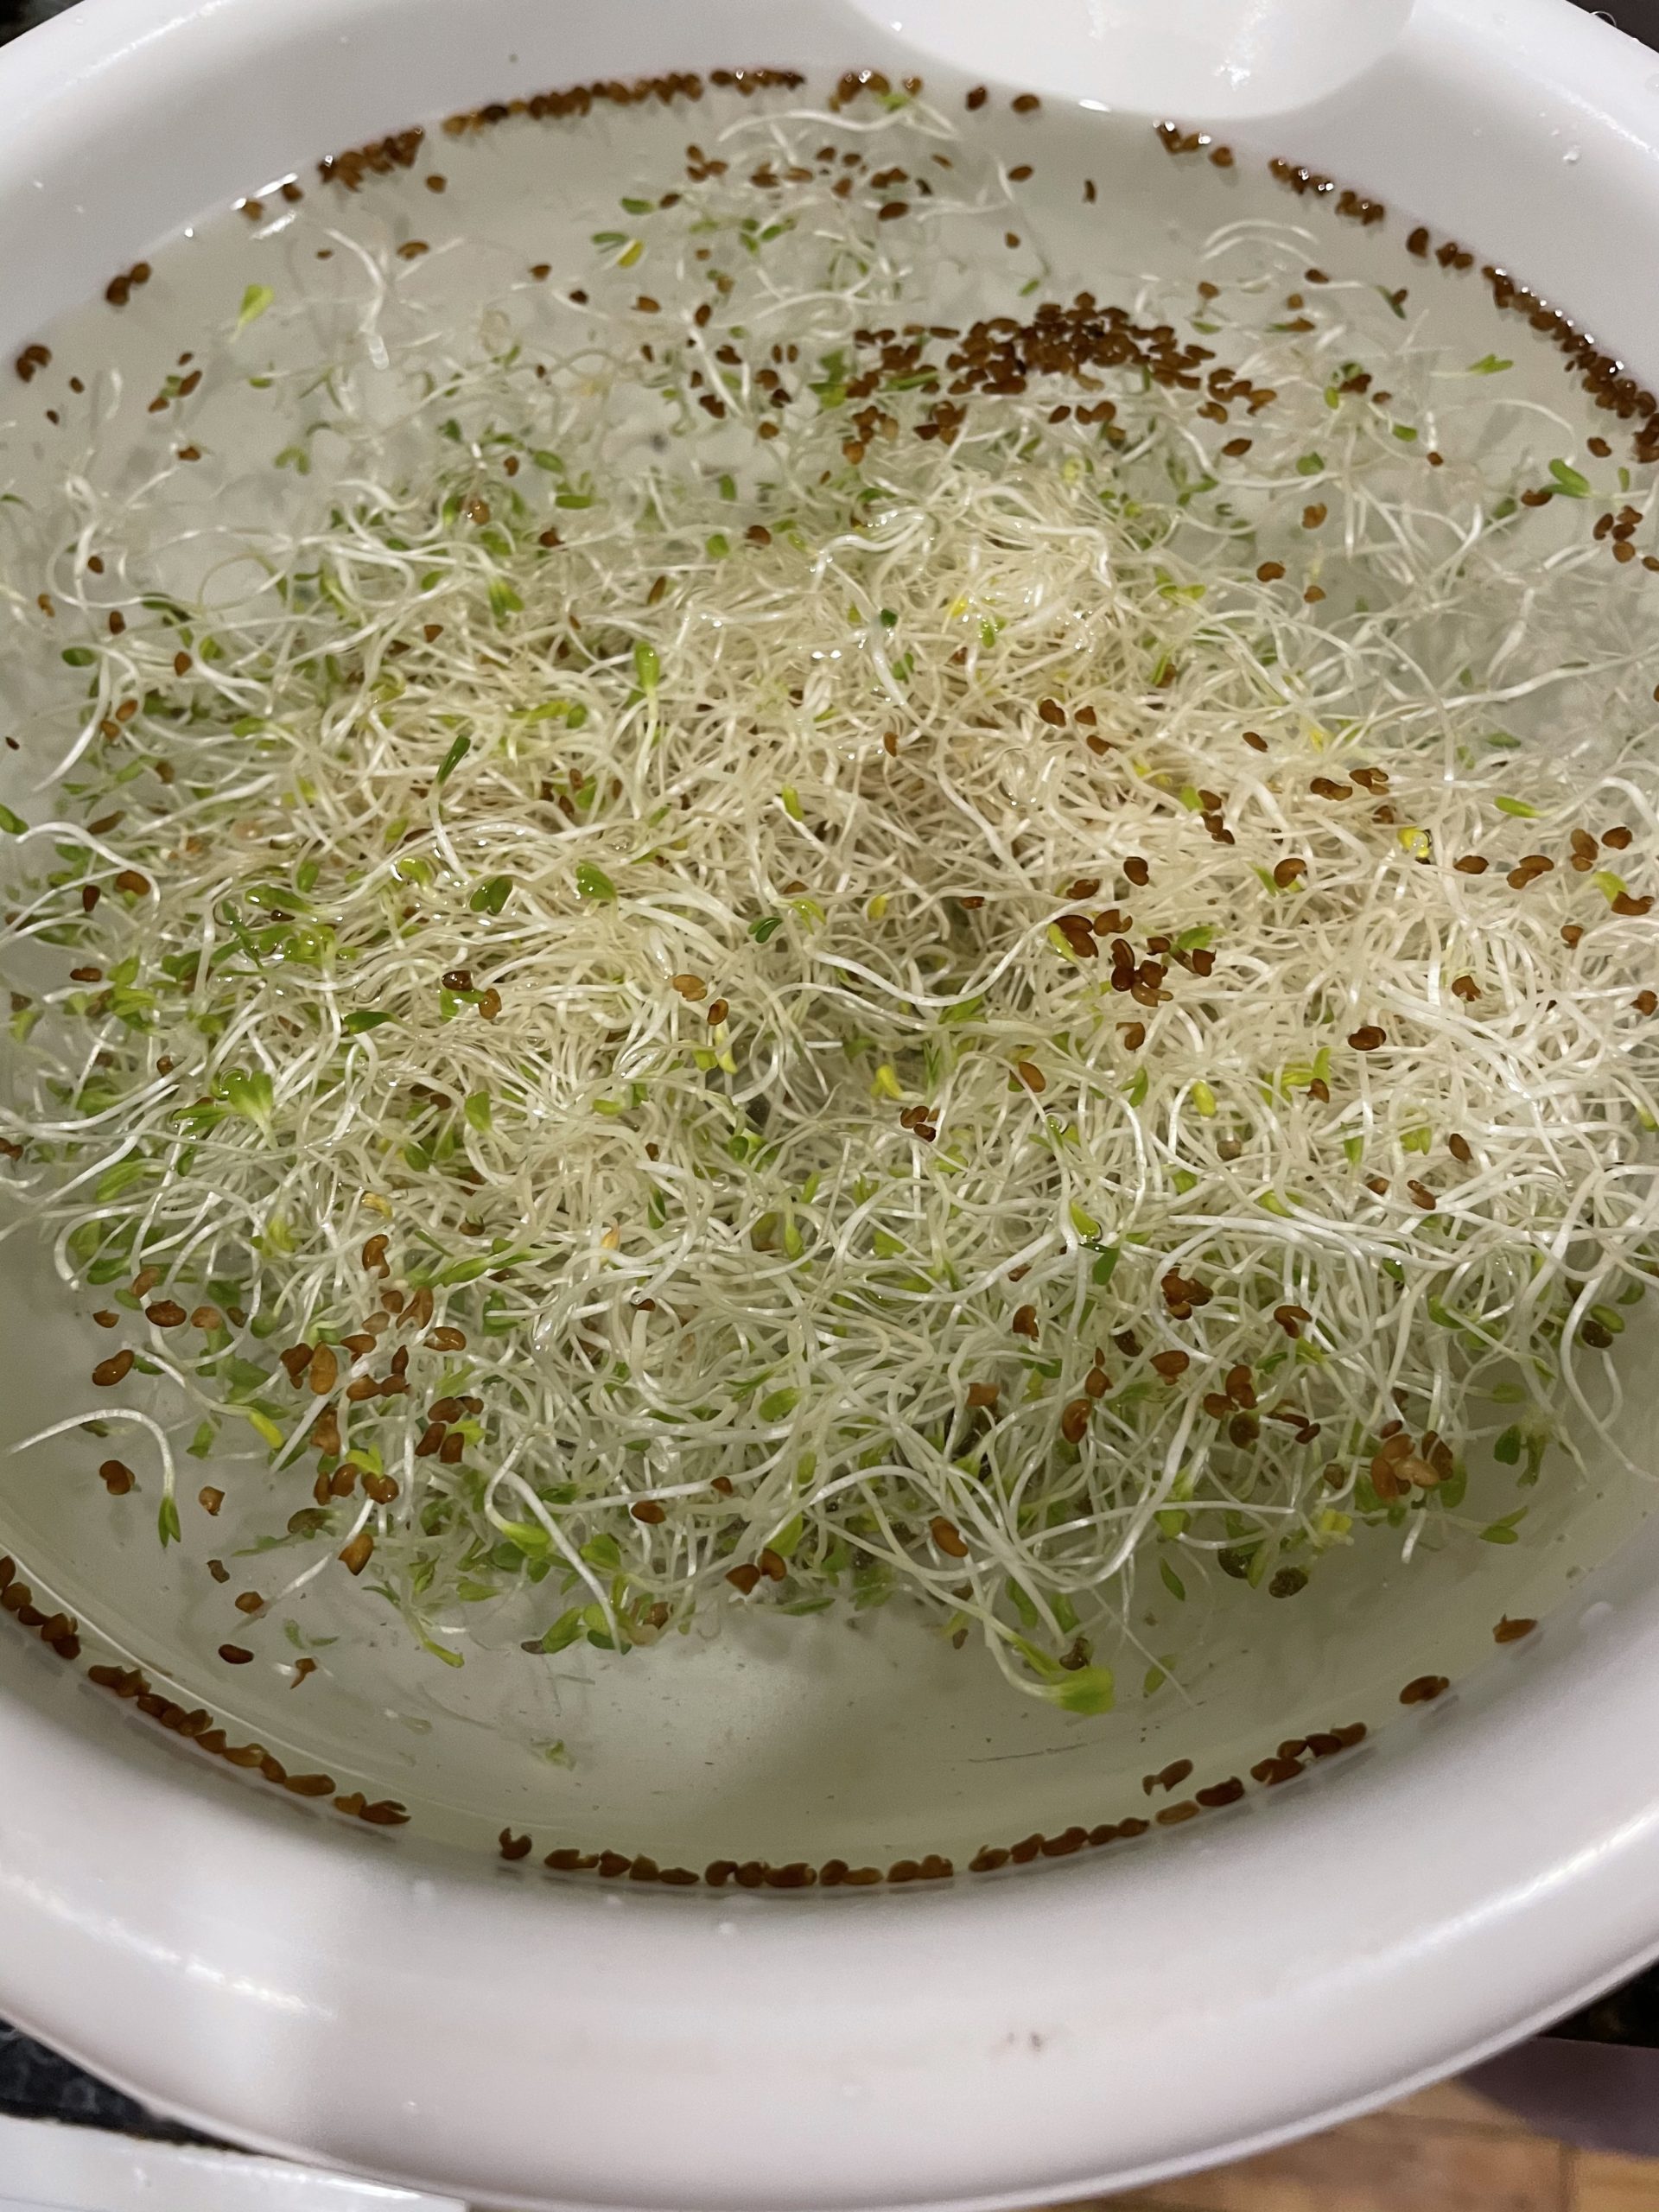
Once sprouts are all nice and green, remove (it’s normal for them to be a big clump) from jar and place in a large bowl filled with cold water.
Using your clean hands, swish the clump around in the water to loosen.
This naturally will separate a lot of those hulls (brown seed shells) from the sprout.
The hulls usually rise and you could scoop out with your hand and discard.
Drain and dry sprouts by patting them with a towel or paper towel.
Store in the refrigerator in a sealed container lined with paper towel.
Consume within a week.
So when will you begin sprouting?
 About Me
I relish, cause I found exactly what I used to be taking a look for. You have ended my four day long hunt! God Bless you man. Have a great day. Bye Caprice Wood Montfort
I’m so glad!! Good luck growing!
What size plastic mesh did you use? I bought 2 lids for sprouting and I like the metal one better. The green plastic one won’t allow water to penetrate making it hard to rinse.
Shelia, I am so so sorry for the months long delayed response!! Your comment/question was buried in tons of spam msgs… I use just a left over plastic canvas that you would cross stich on. I just looked online and it appears the holes are .08 x.08 inch…they are easy to wash and hold up nicely. It really depends on the size of what you are sprouting..usually you would use a couple different sizes, starting small and changing to bigger once the sprouts start filling the jar, but I don’t bother with that and just use the one size.