How to Make String Art
Becoming super popular lately, the method of how to make String Art is so simple that almost all ages could do it! Learn the basics and the sky is the limit to what you could ultimately create.
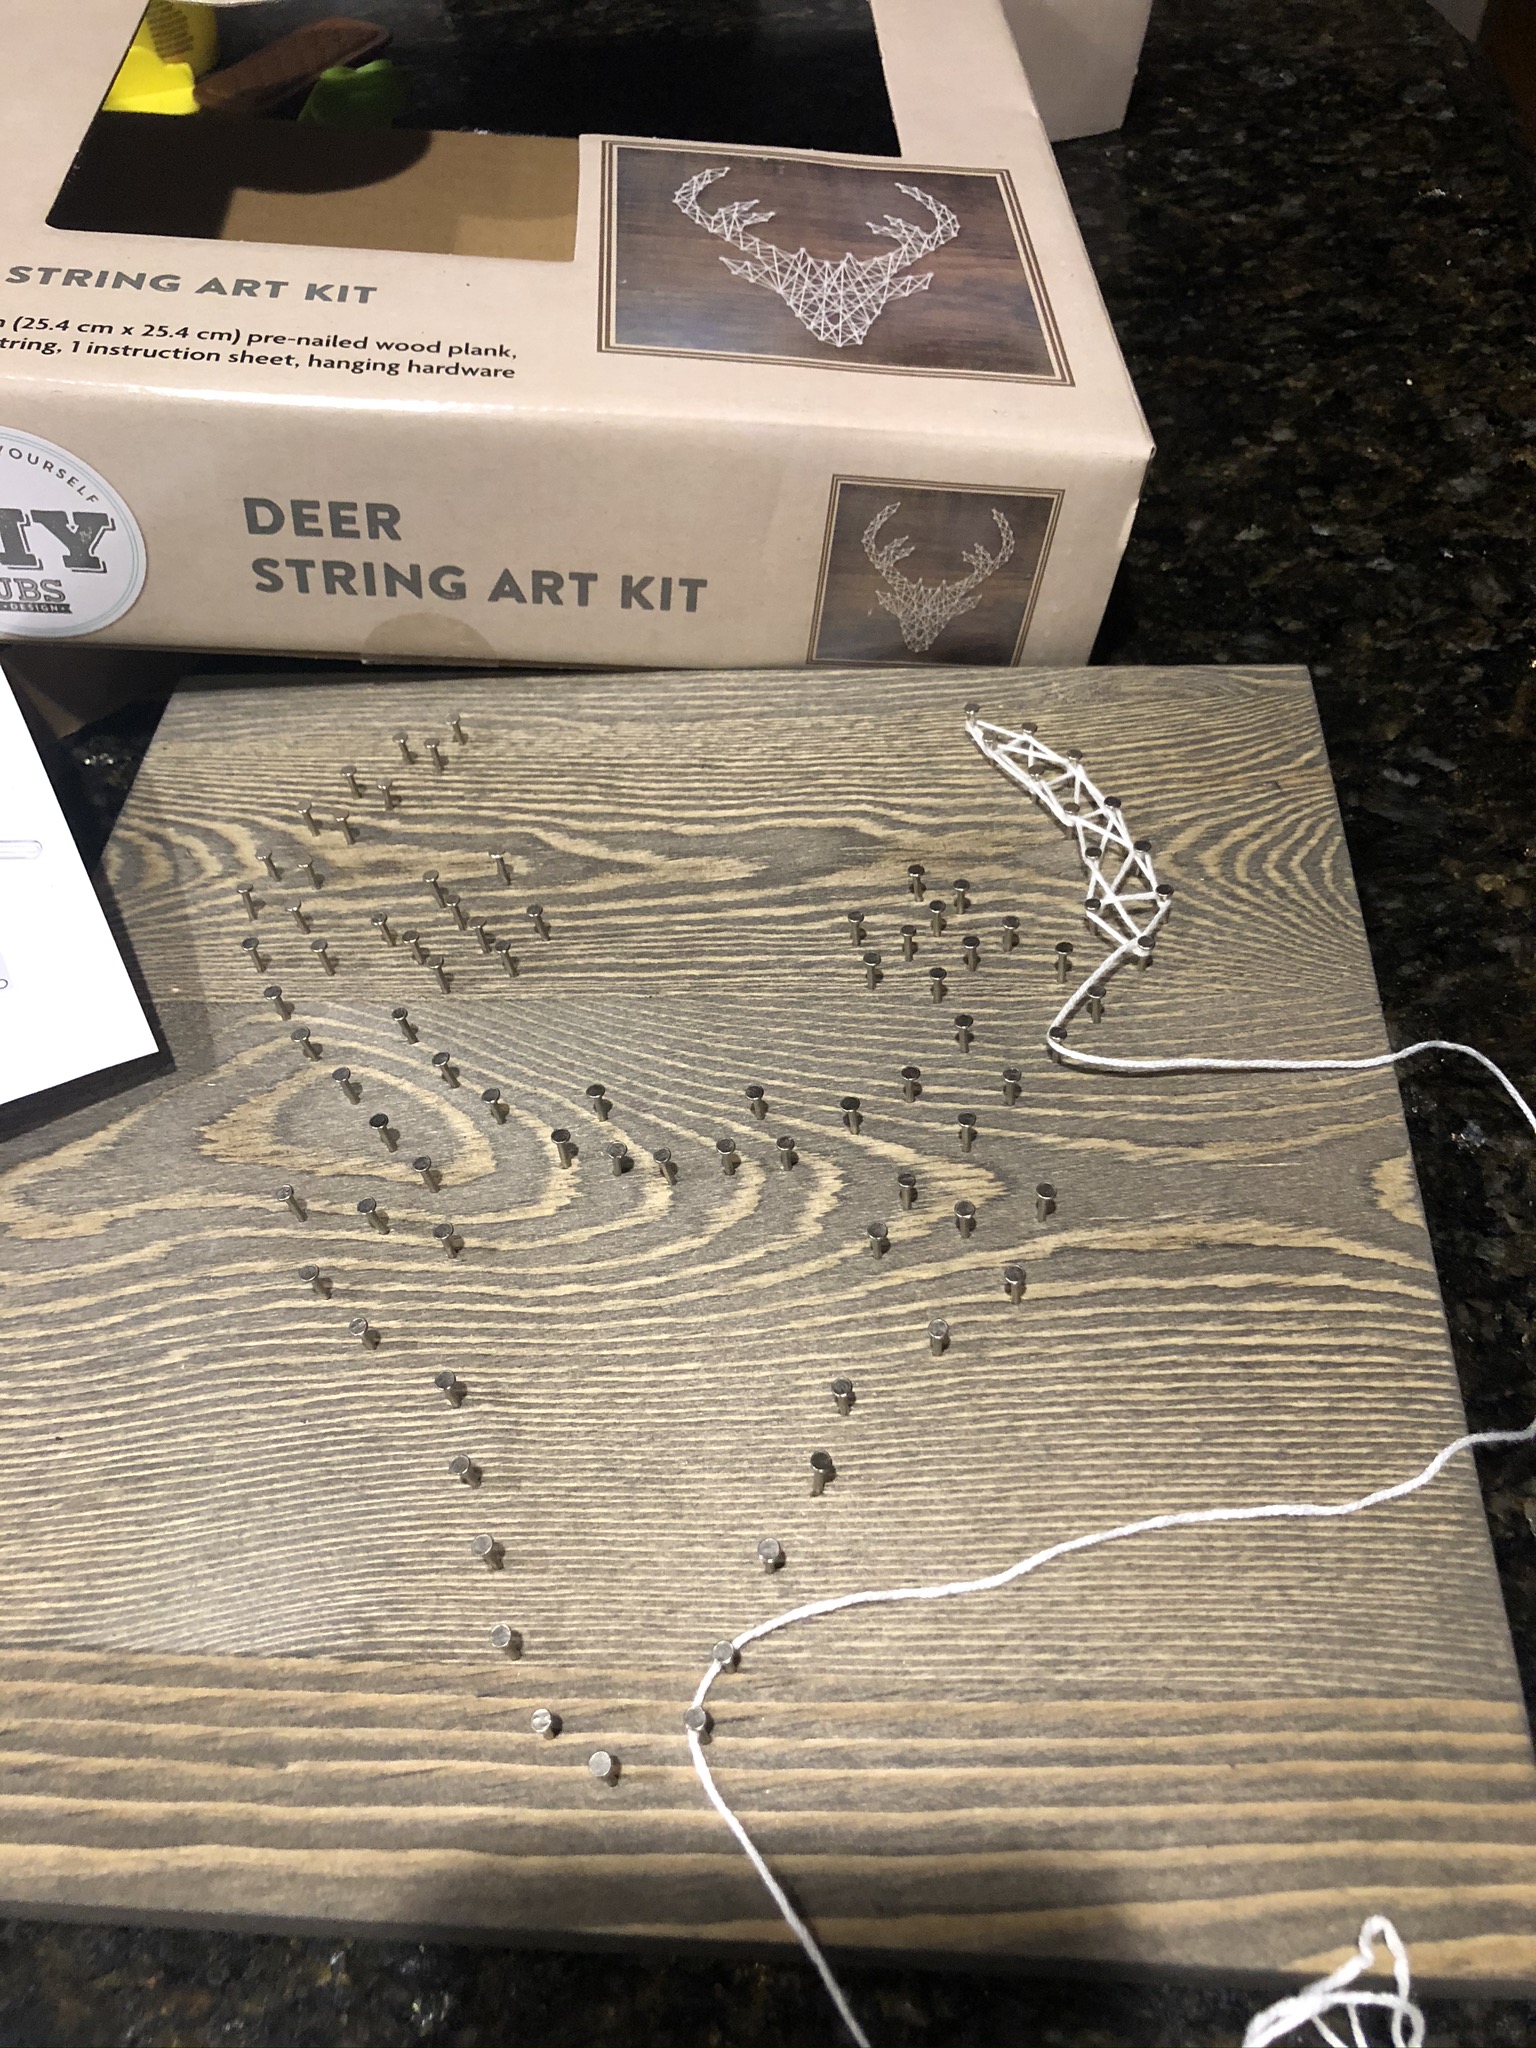
It all started when I purchased a kit from Walmart that already had nails in the rustic board. All that you needed to do was to attach the string to fill in an image of a deer’s head.
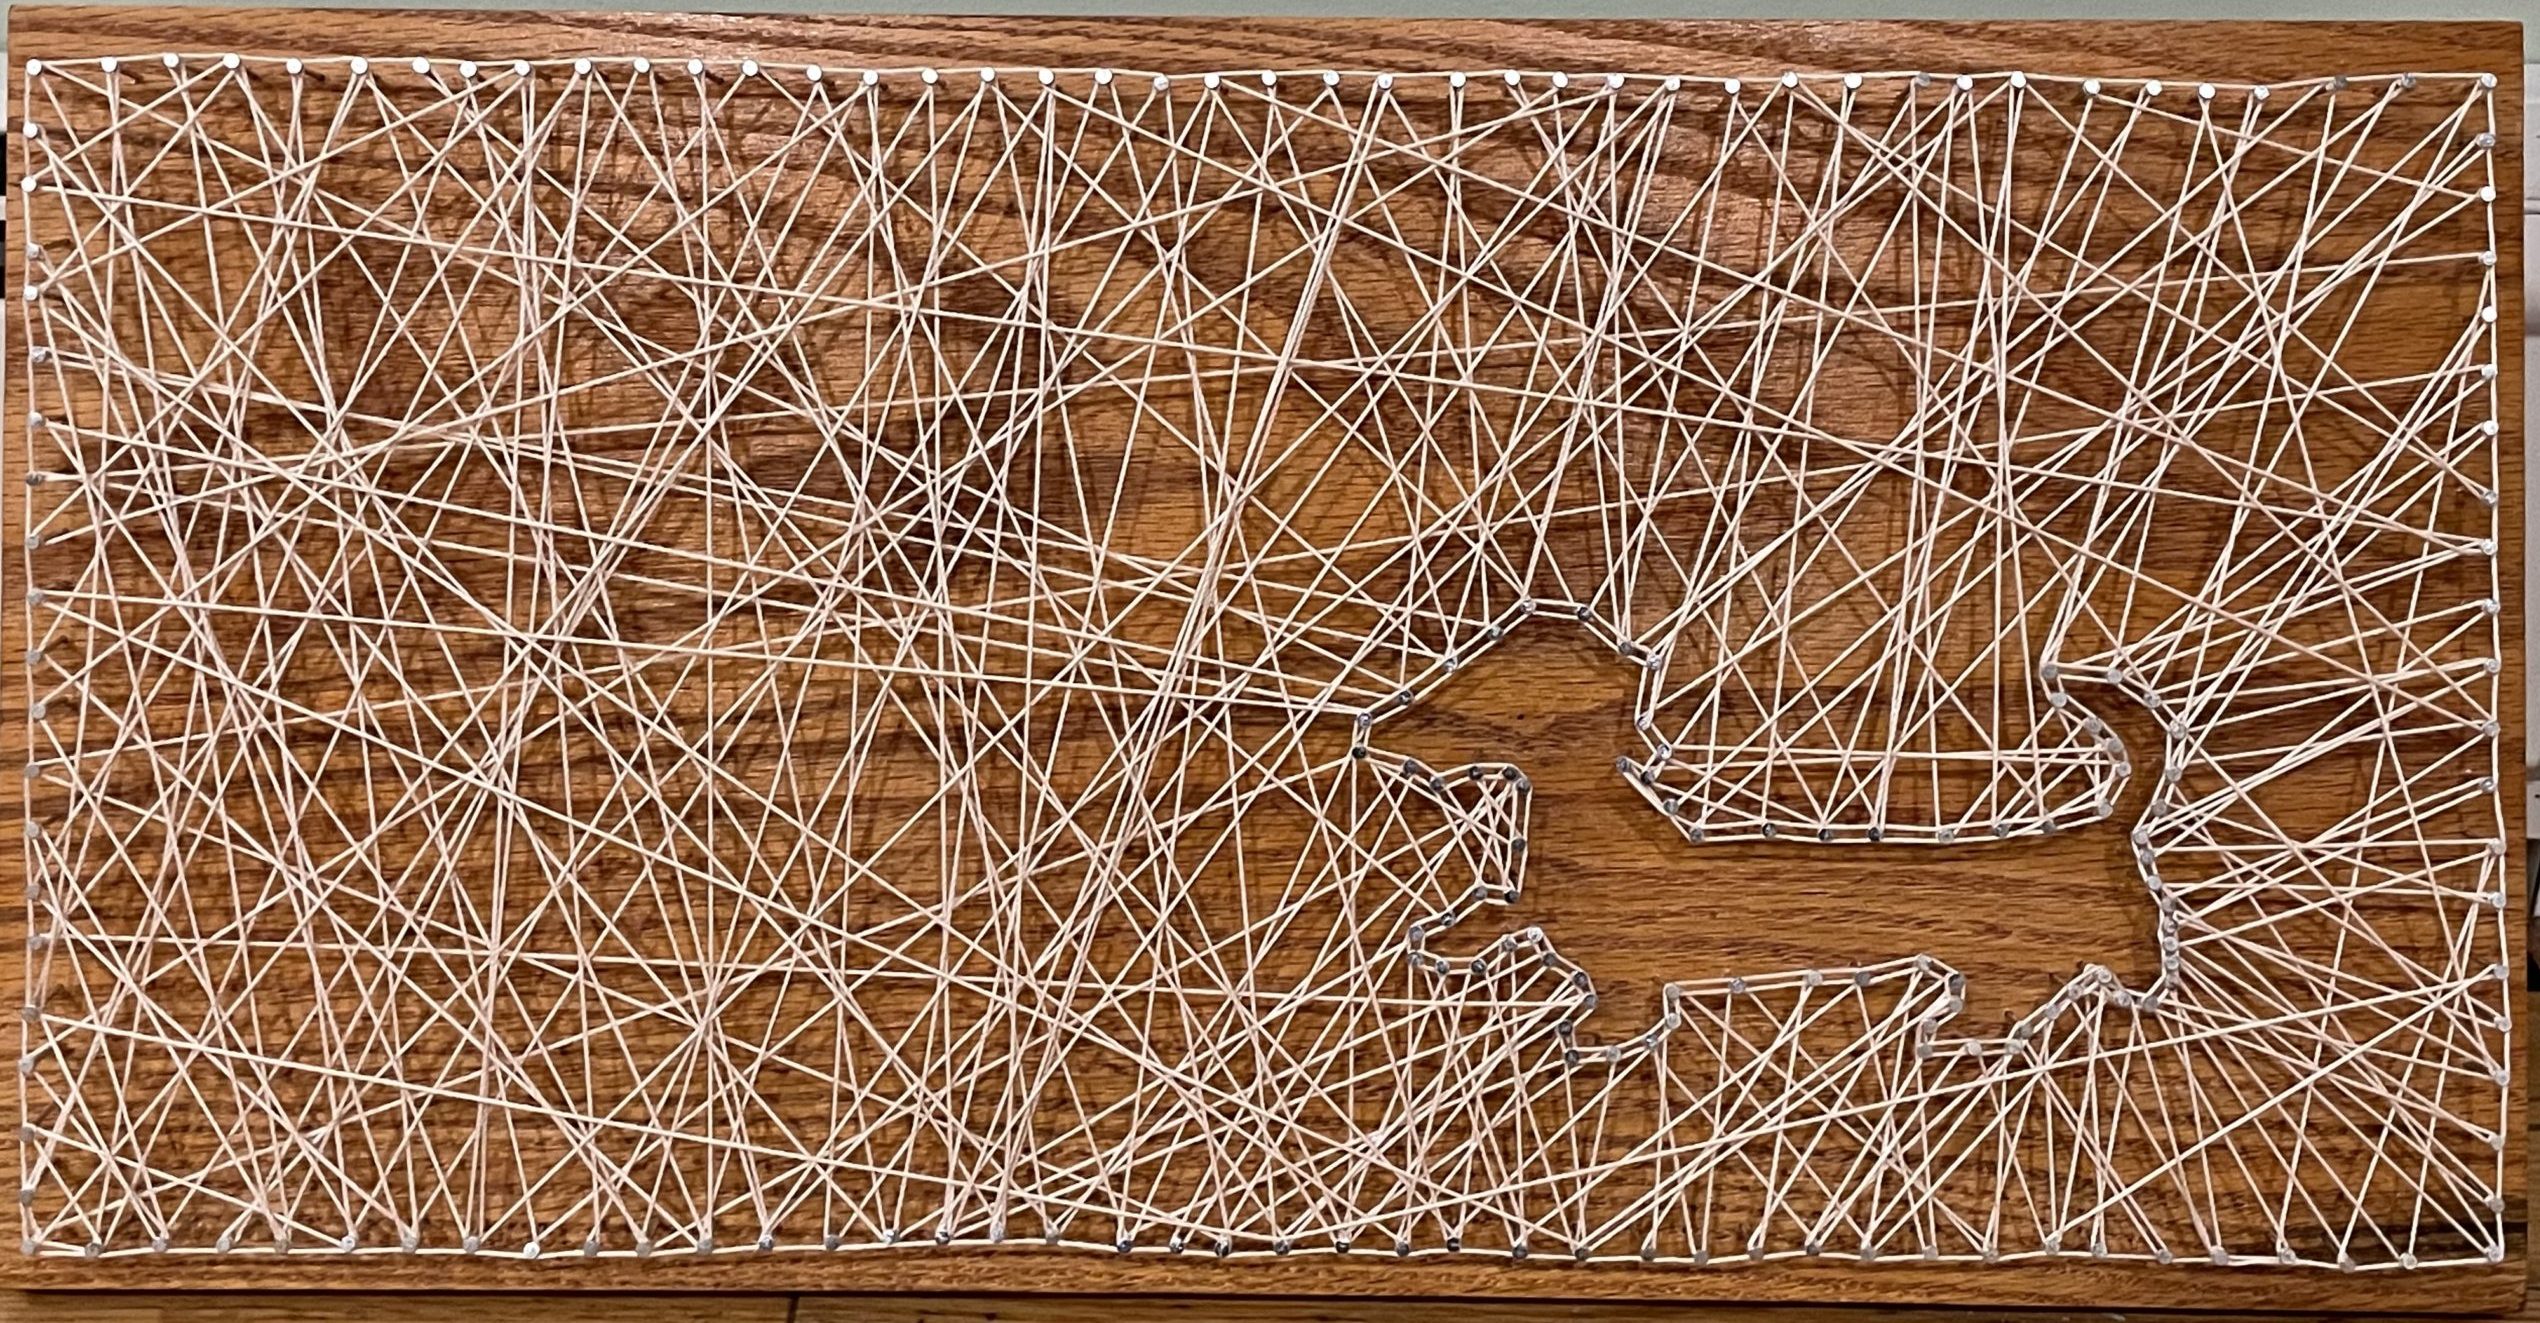
I wanted my oldest son to make it for his father, for Father’s Day, and I thought it would be simple, quick, and easy. He had other thoughts though.. ”No mom. I want to make Dad one in the shape of Vermont!”. It inspired him at least!
He has special needs and I was beyond excited that he wanted to create something specific, as a gift for someone else, and something that he knew would be very special to that person.
So we looked up String Art of Vermont and found a ton of ideas online. Next, we googled How To Make String Art and we were quickly off and running with our plan.
I knew right away what wood I wanted for the project. I had seen it at Michael’s Craft Store a while back. It was a rustic slice of wood with bark still on the edges. Tristin wanted green string for Vermont and red for a heart where our land is generally located. For the green, I purchased size 10 thread which is what you would use to make a doily. For the red, we used embroidery thread that I already had at home.
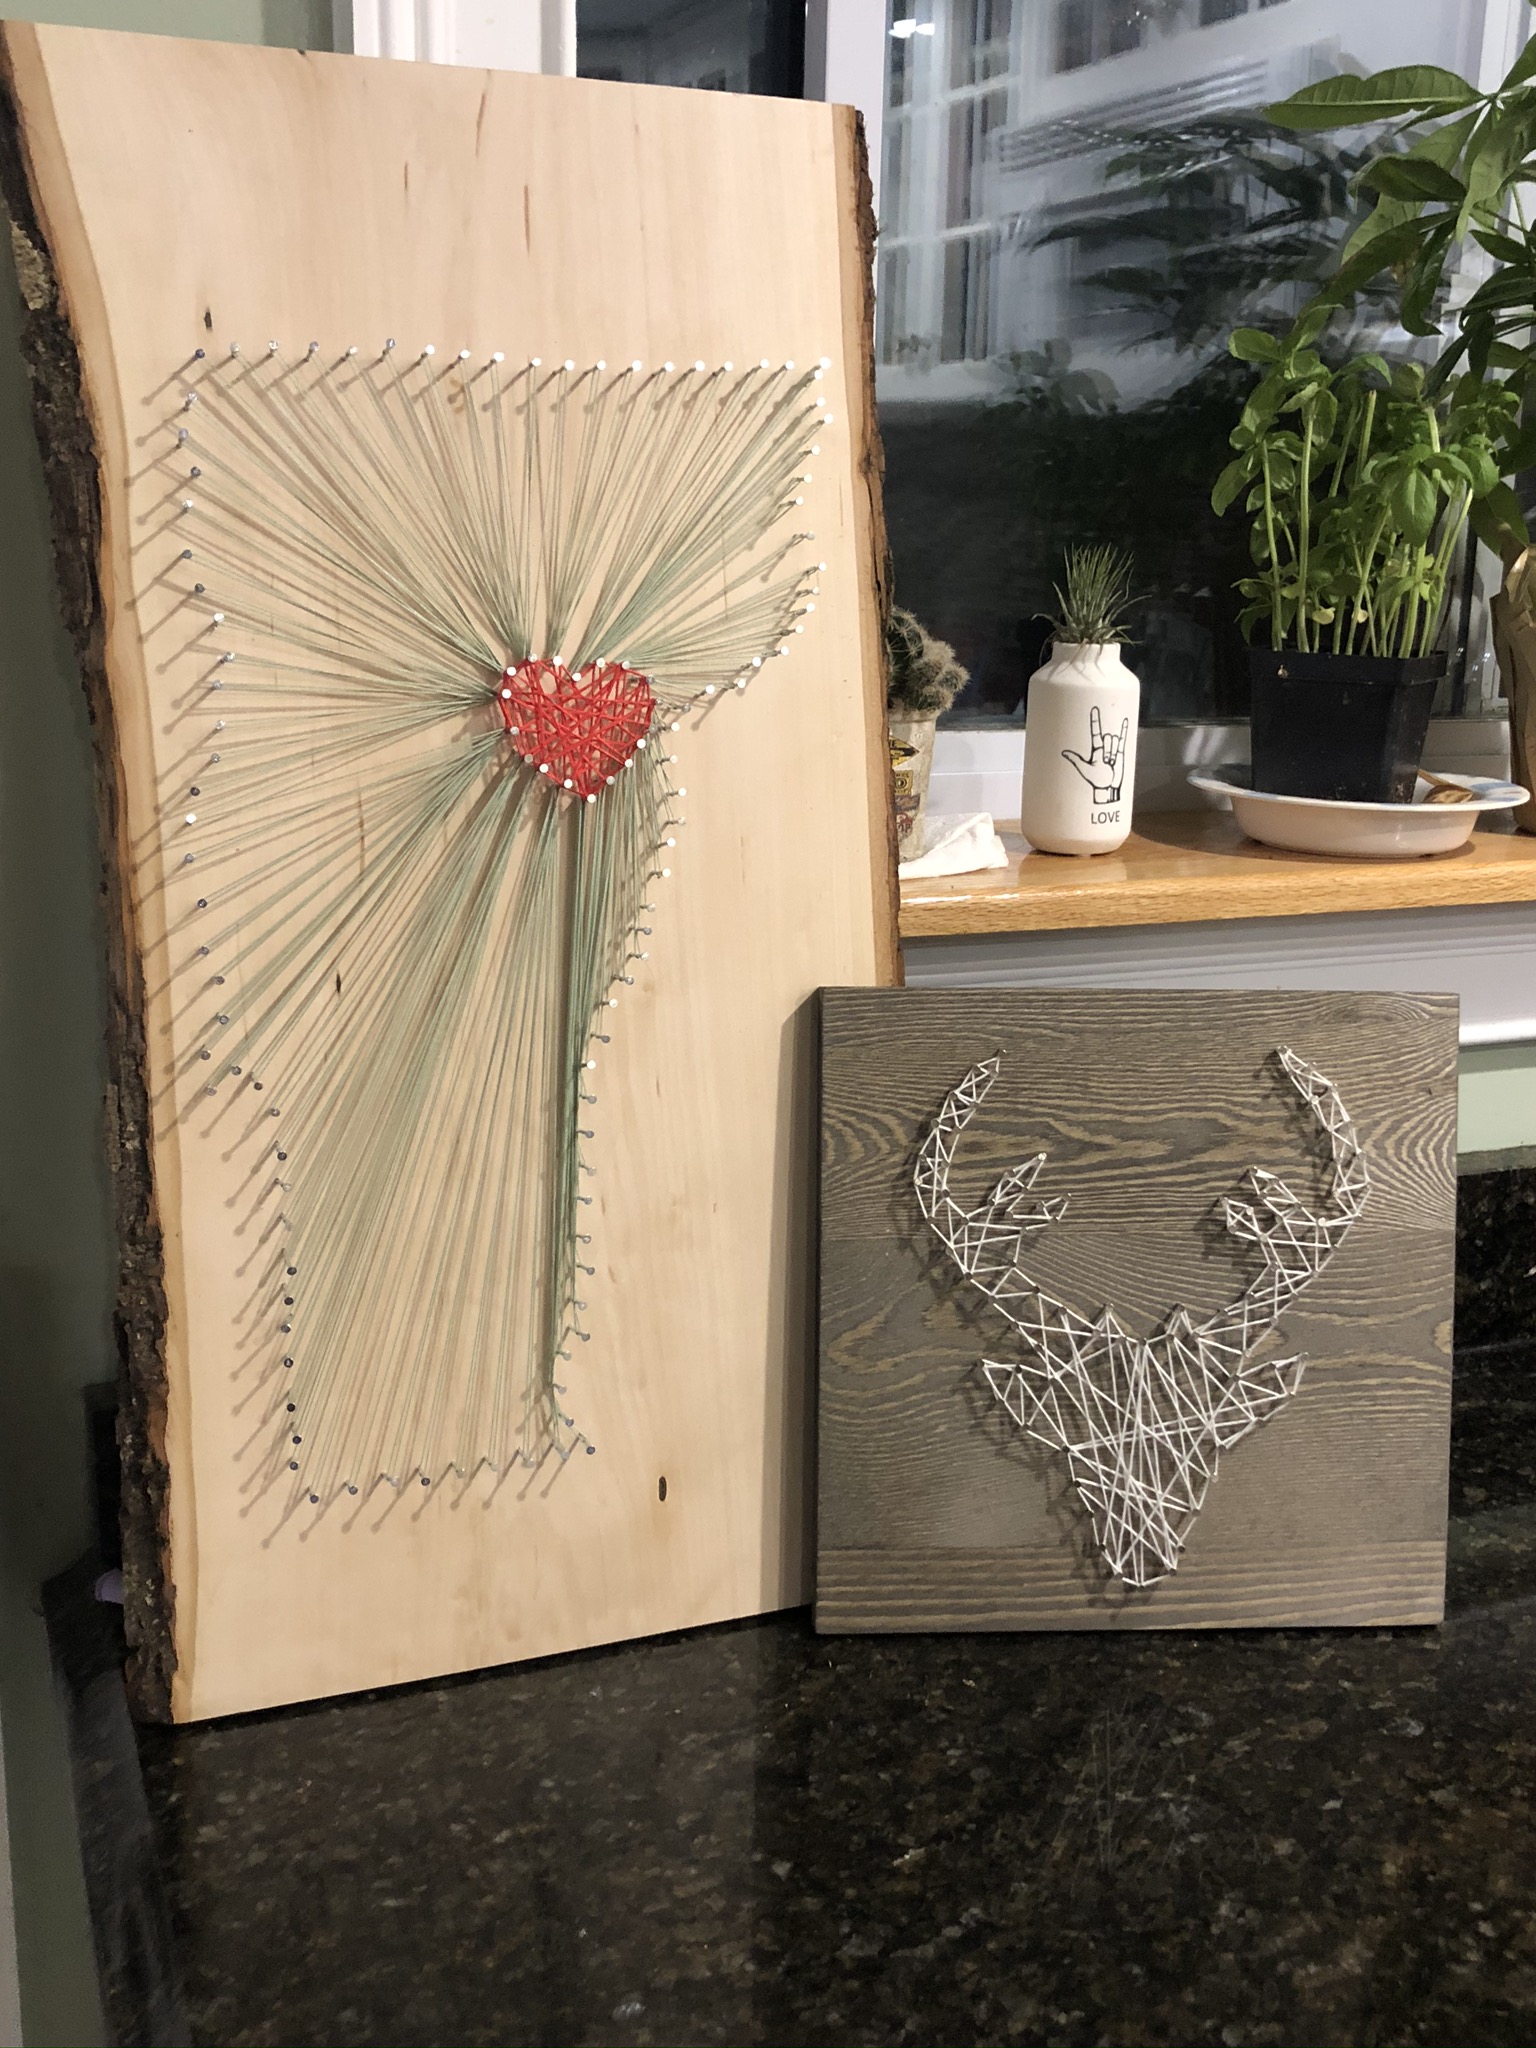
So while Tristin made Vermont, I made the deer head.
Really once you know how to make string art, you could create with all varieties of wood, finishes (raw, stained, or painted), string colors and types, and all sorts of designs.
This got us on a roll and we quickly started planning gift ideas for Christmas starting with our String Art creations.
My nephew’s girlfriend has and LOVES Dachshunds (hot dog dogs), so we made her this Dachshund String Art. It has the background filled in with string and the intended image empty.

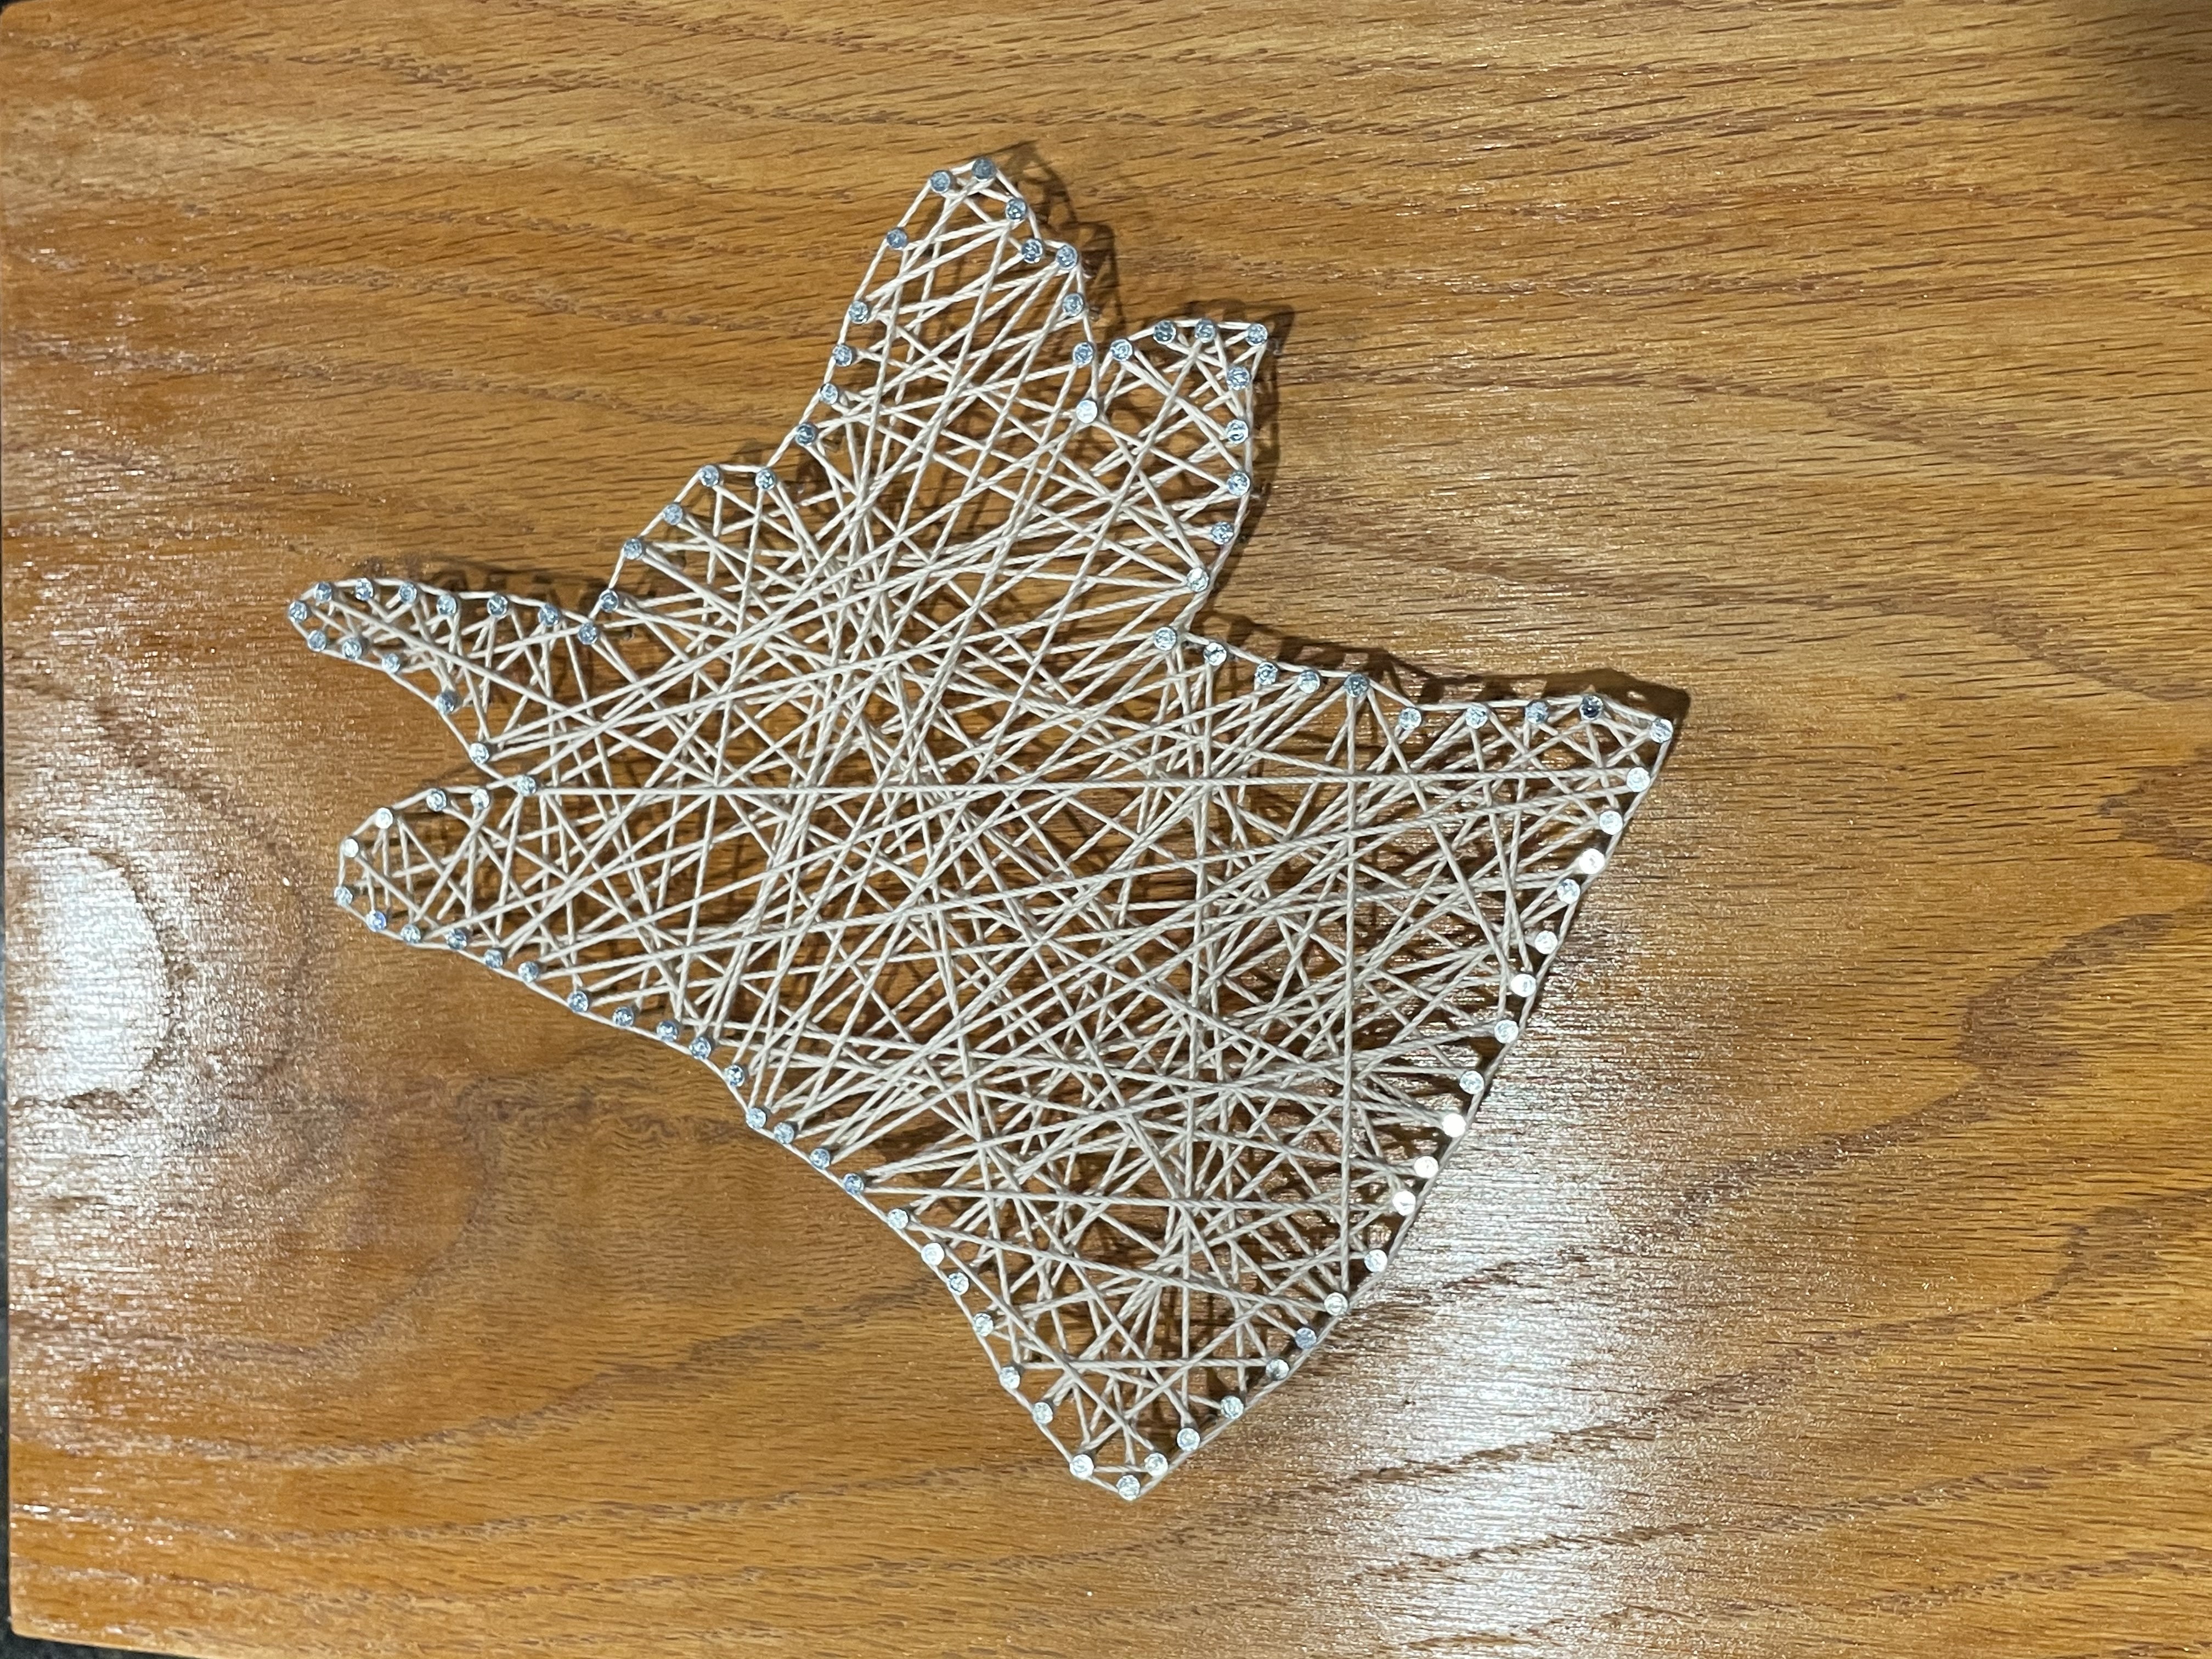
We have a family friend who is blind and I always try to make every gift that we give her textured in some way. If it’s material, I try to get the softest. If there are words on it, I make sure they are raised and could be felt.
The kids (and honestly myself too!) are always astonished, with jaws dropped, at how she will open a gift, feel it, and know EXACTLY what it is…I mean descriptively exact.
She relies on her seeing eye dog, and since dogs were on my mind, I decided to make a string art gift for her in the shape of her companion’s head.
Well, sure enough! She opened the gift, felt around it, and proclaimed “It’s a German Sheppard! It’s Donner!”
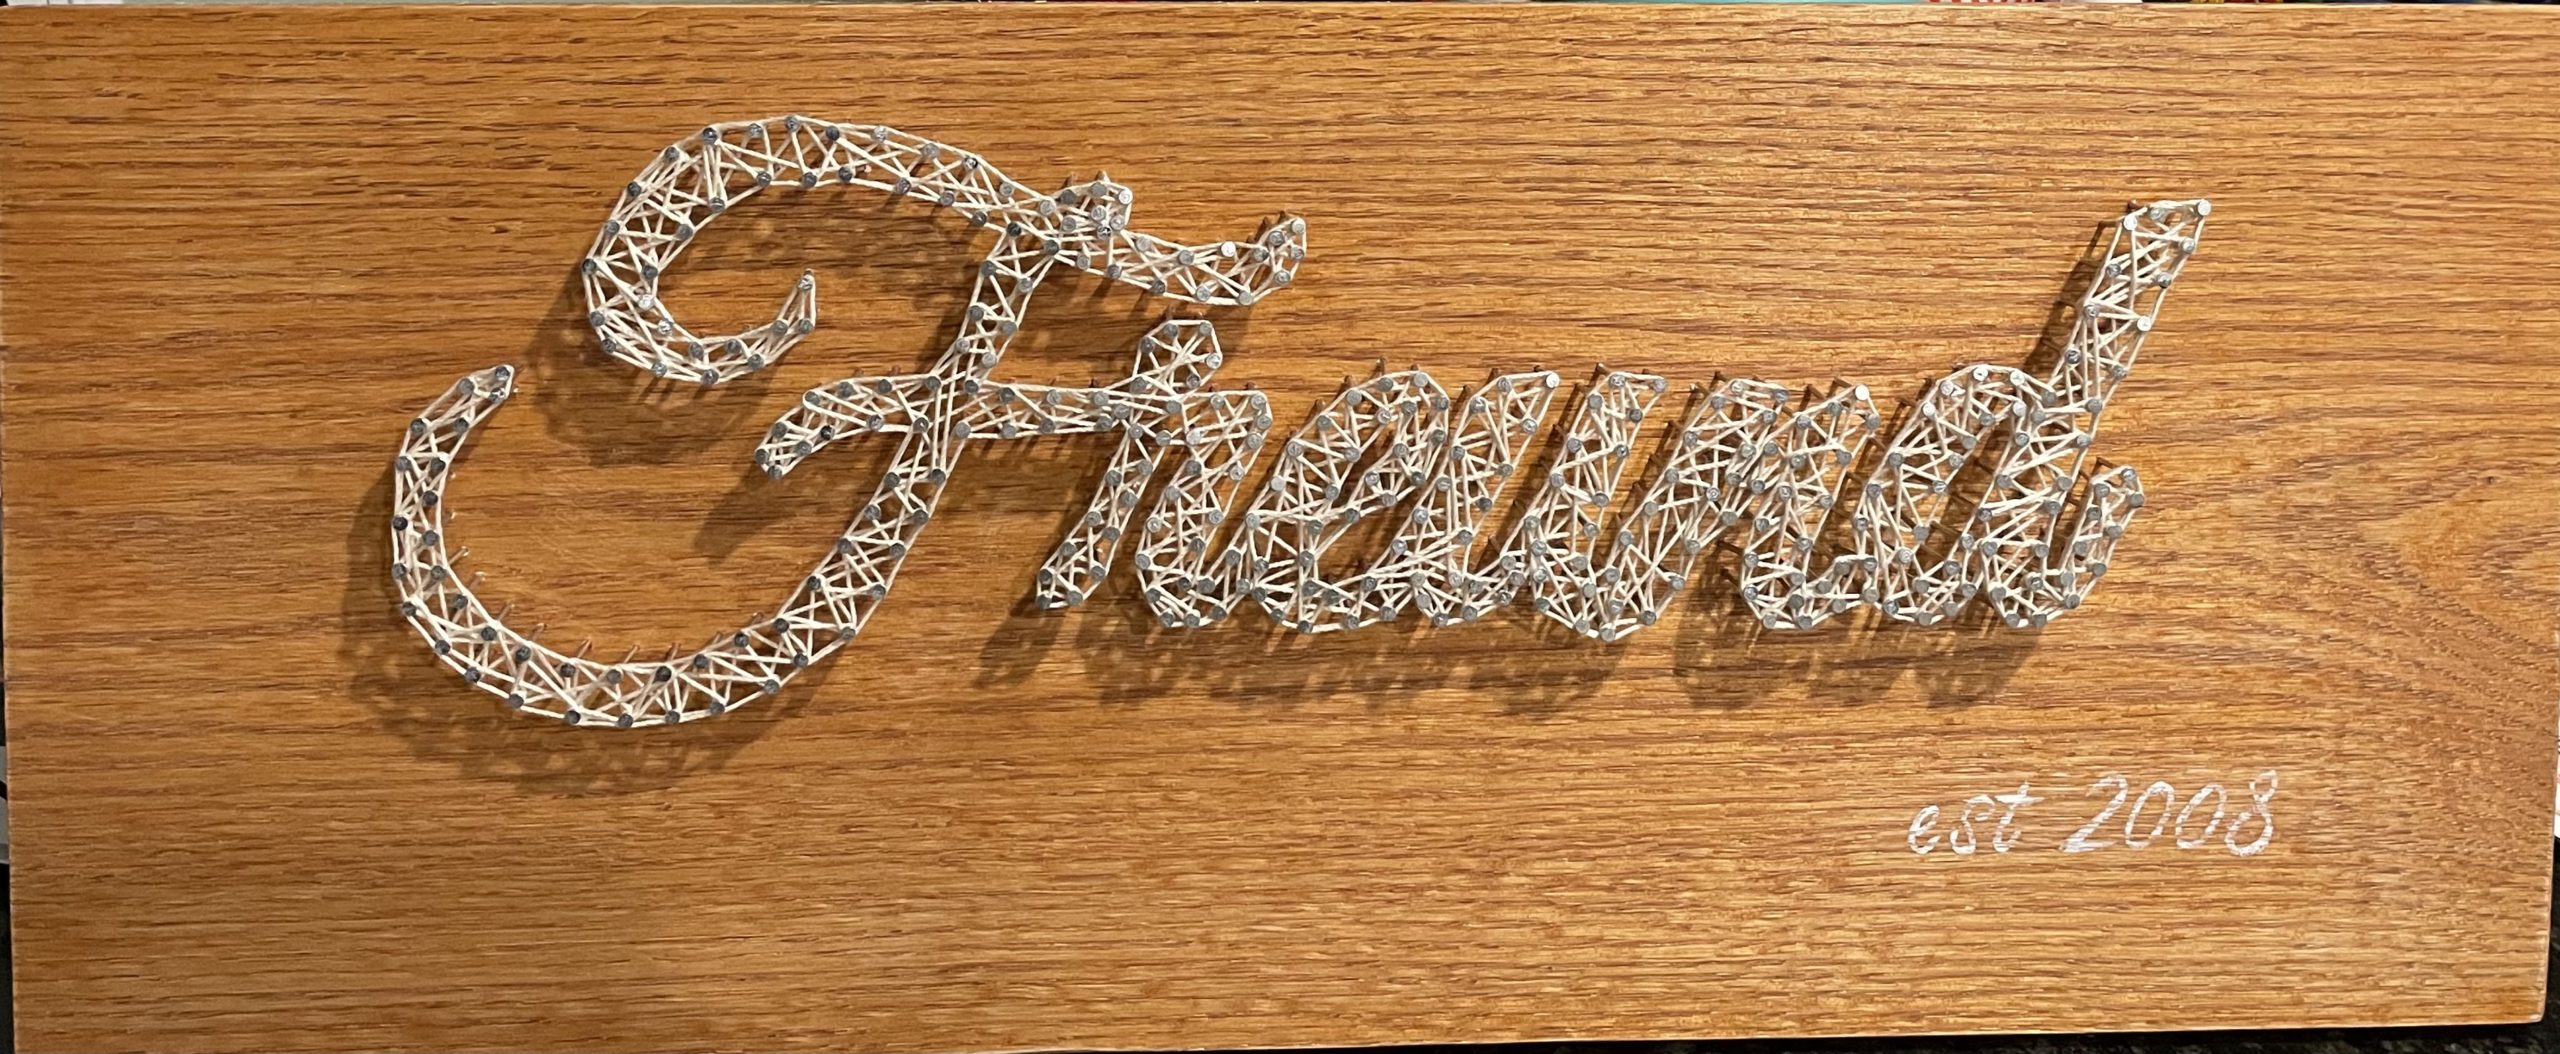
For my brother-in-law, we made a sign with his last name in string then painted the year he and my sister-in-law were married. Words/Names could be done in almost any font, and bold works best so that the outlines are far enough away to give you a space to fill in with string.
Ok let’s get started!
How to make STRING ART
You will need- a piece of wood, stain/paint (optional), wire nails (Zinc “Smooth Shank” # 17 x 1 in or similar with a flat head) , hammer, needle nose pliers, paper, string, picture hanging hardware (optional), something to write with, painters tape (optional), glue that dries CLEAR
Choose your wood
This is a great way to turn any scrap wood from homestead projects into a gift! Pretty much any type of wood could be used, just keep in mind though that the harder the wood, the harder it is to nail into it… I used Oak for some of these because I loved the grain but it definitely made for harder pounds of the hammer and some bent nails. Just something to consider when planning.
Choose Your Finish
Sand and stain/paint, if you wish, or keep raw for a more rustic look.
Choose Your Image
While your paint/stain is drying, keep plotting out your project. Either draw your own design or scroll through endless google searches online to find the perfect one (ex. “Dachshund Silhouette”, “German Shepard Head Silhouette”).
If you would like to have a name/word be your image, create what you want in a Word document, playing around with the different fonts and sizes.
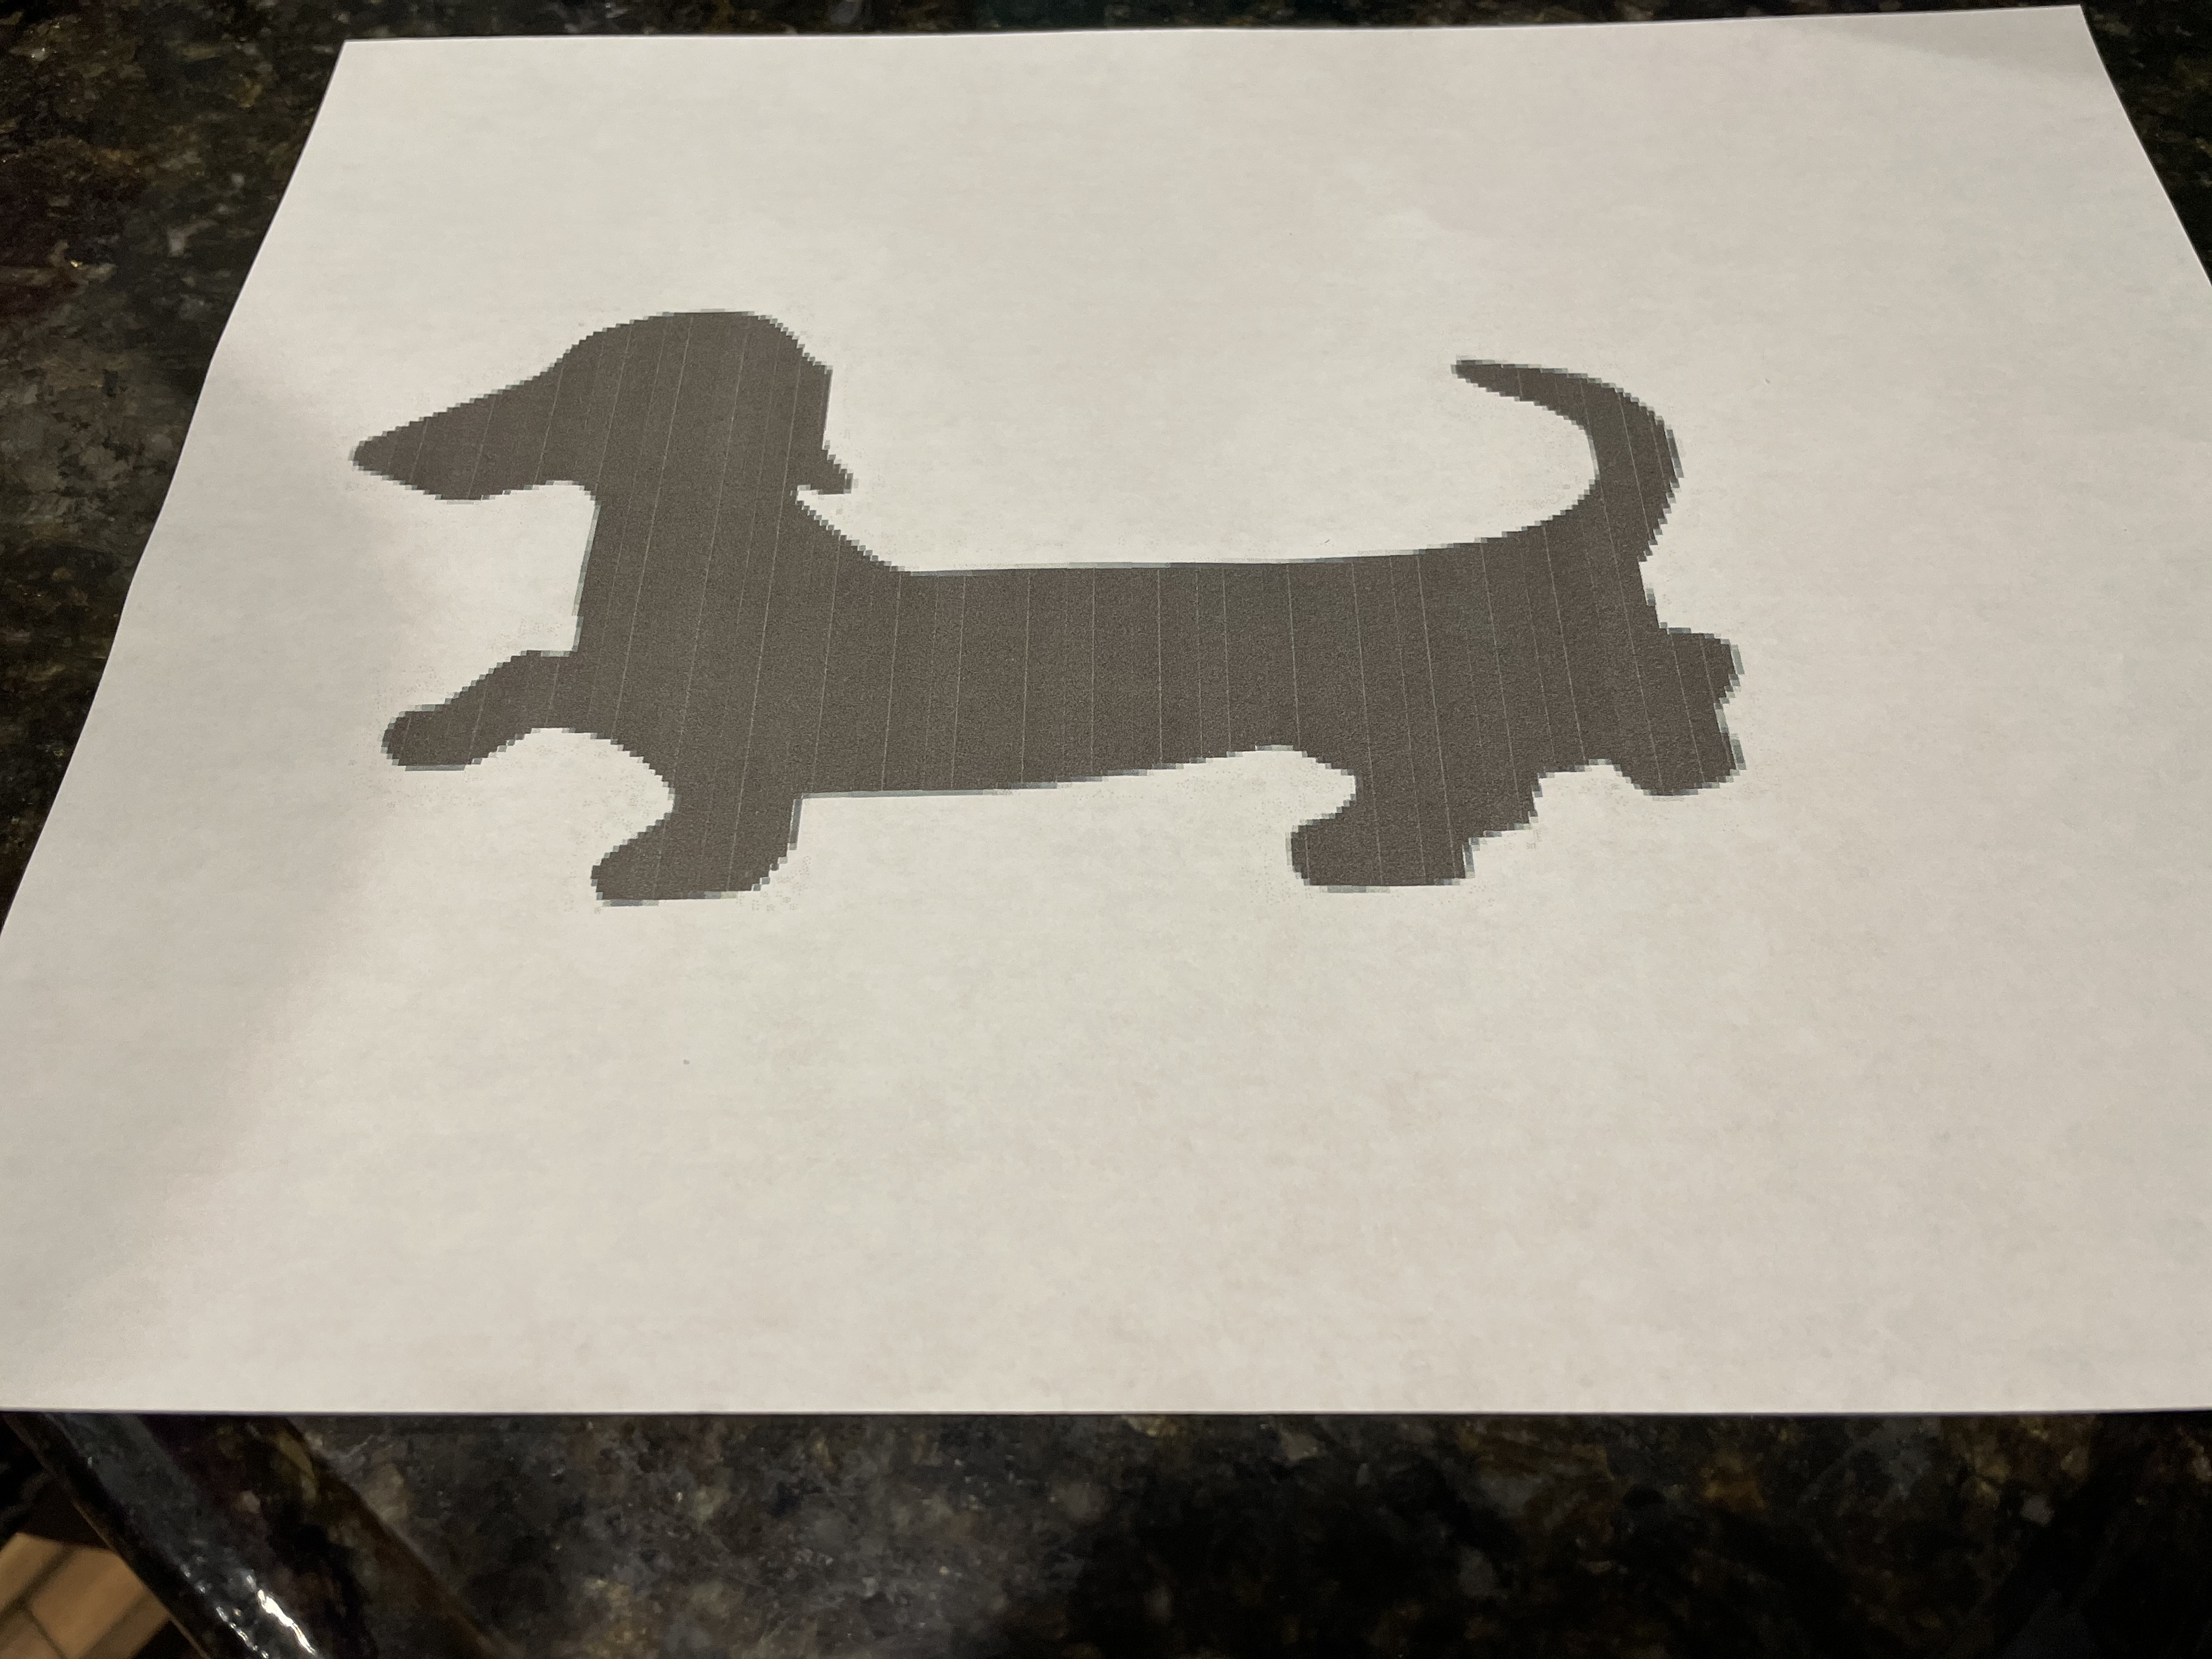
Download, Resize, and Print Image
Once you find the perfect image, download it. I then insert it into a Word document so that I could play with the size. It’s ok if it runs onto another page if you need it really big, depending on the size of your board. Print it out (I set my printer to draft print so that it doesn’t use so much ink.) and be sure the size is what you want by laying it against the board. Re-do if needed, sometimes it may take a few tries.
Mark It Out
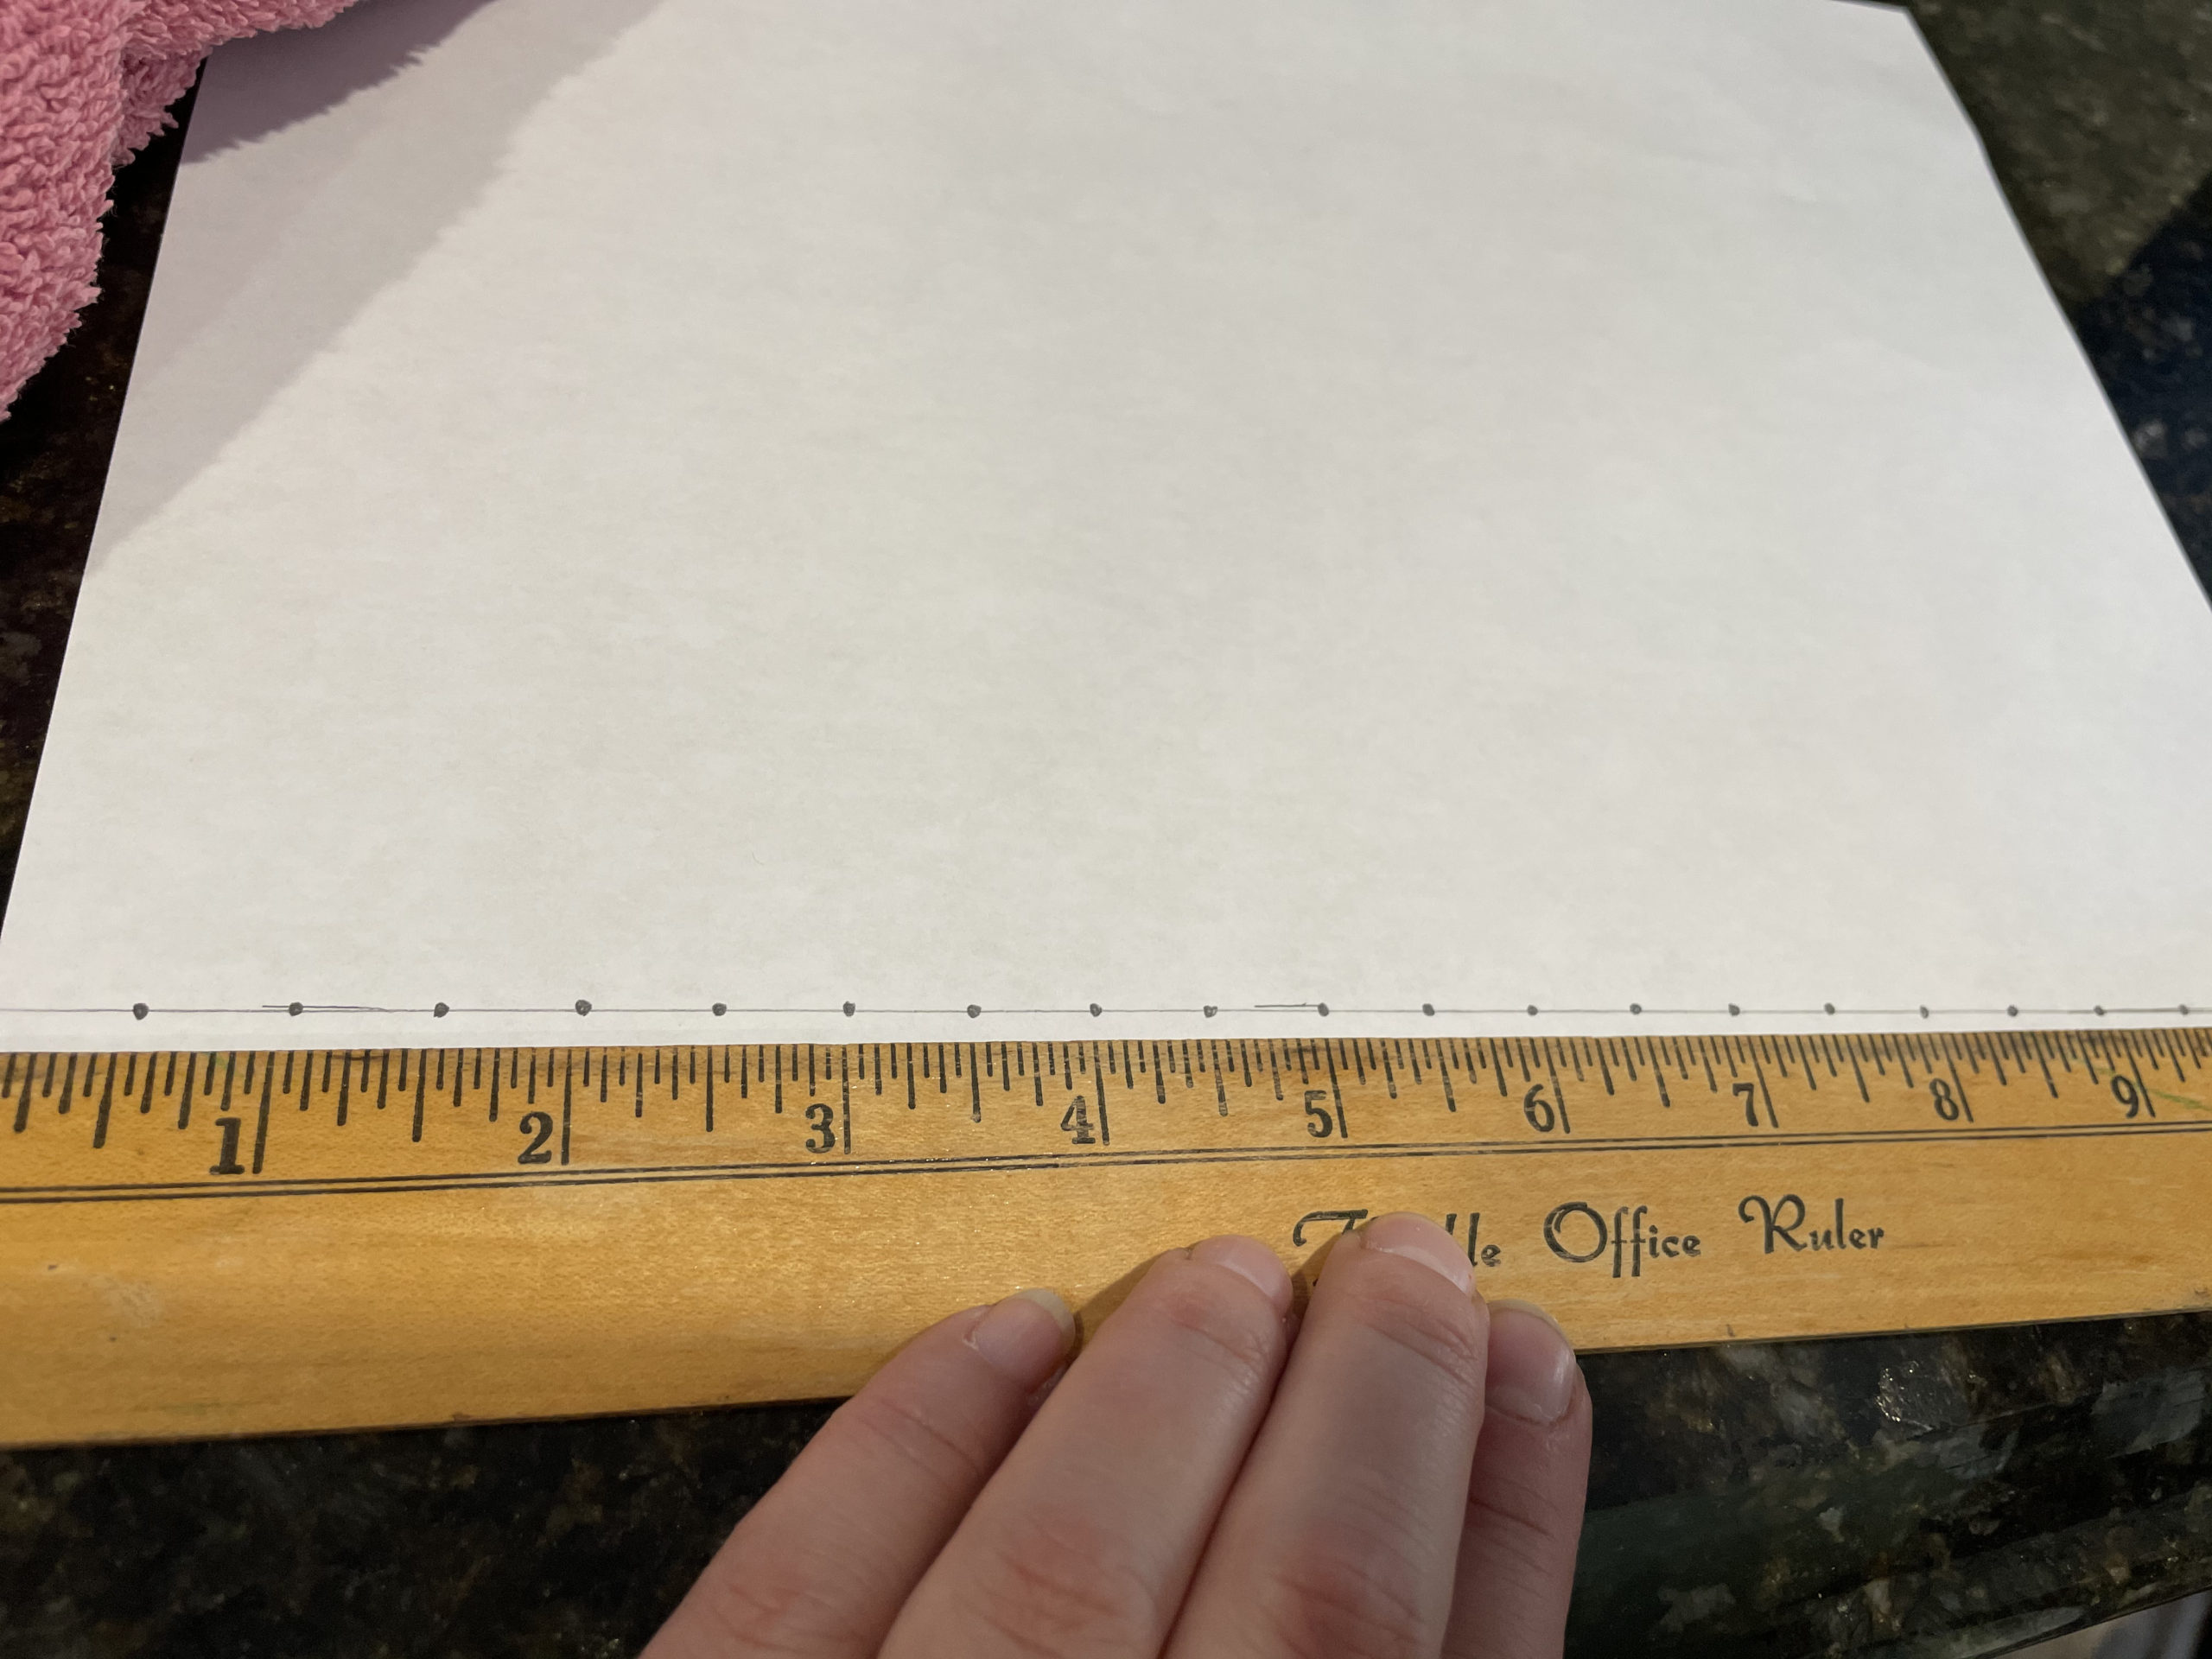
On the paper with your printed image, make dots (spaced about ¼ – 1/2 inch apart) all along the outline of the image. There will be times that you will need to make them closer together (like around curves so they don’t end up pointy looking) or a bit farther apart. These dots are where you will be putting your nails.
Position and Tack your paper
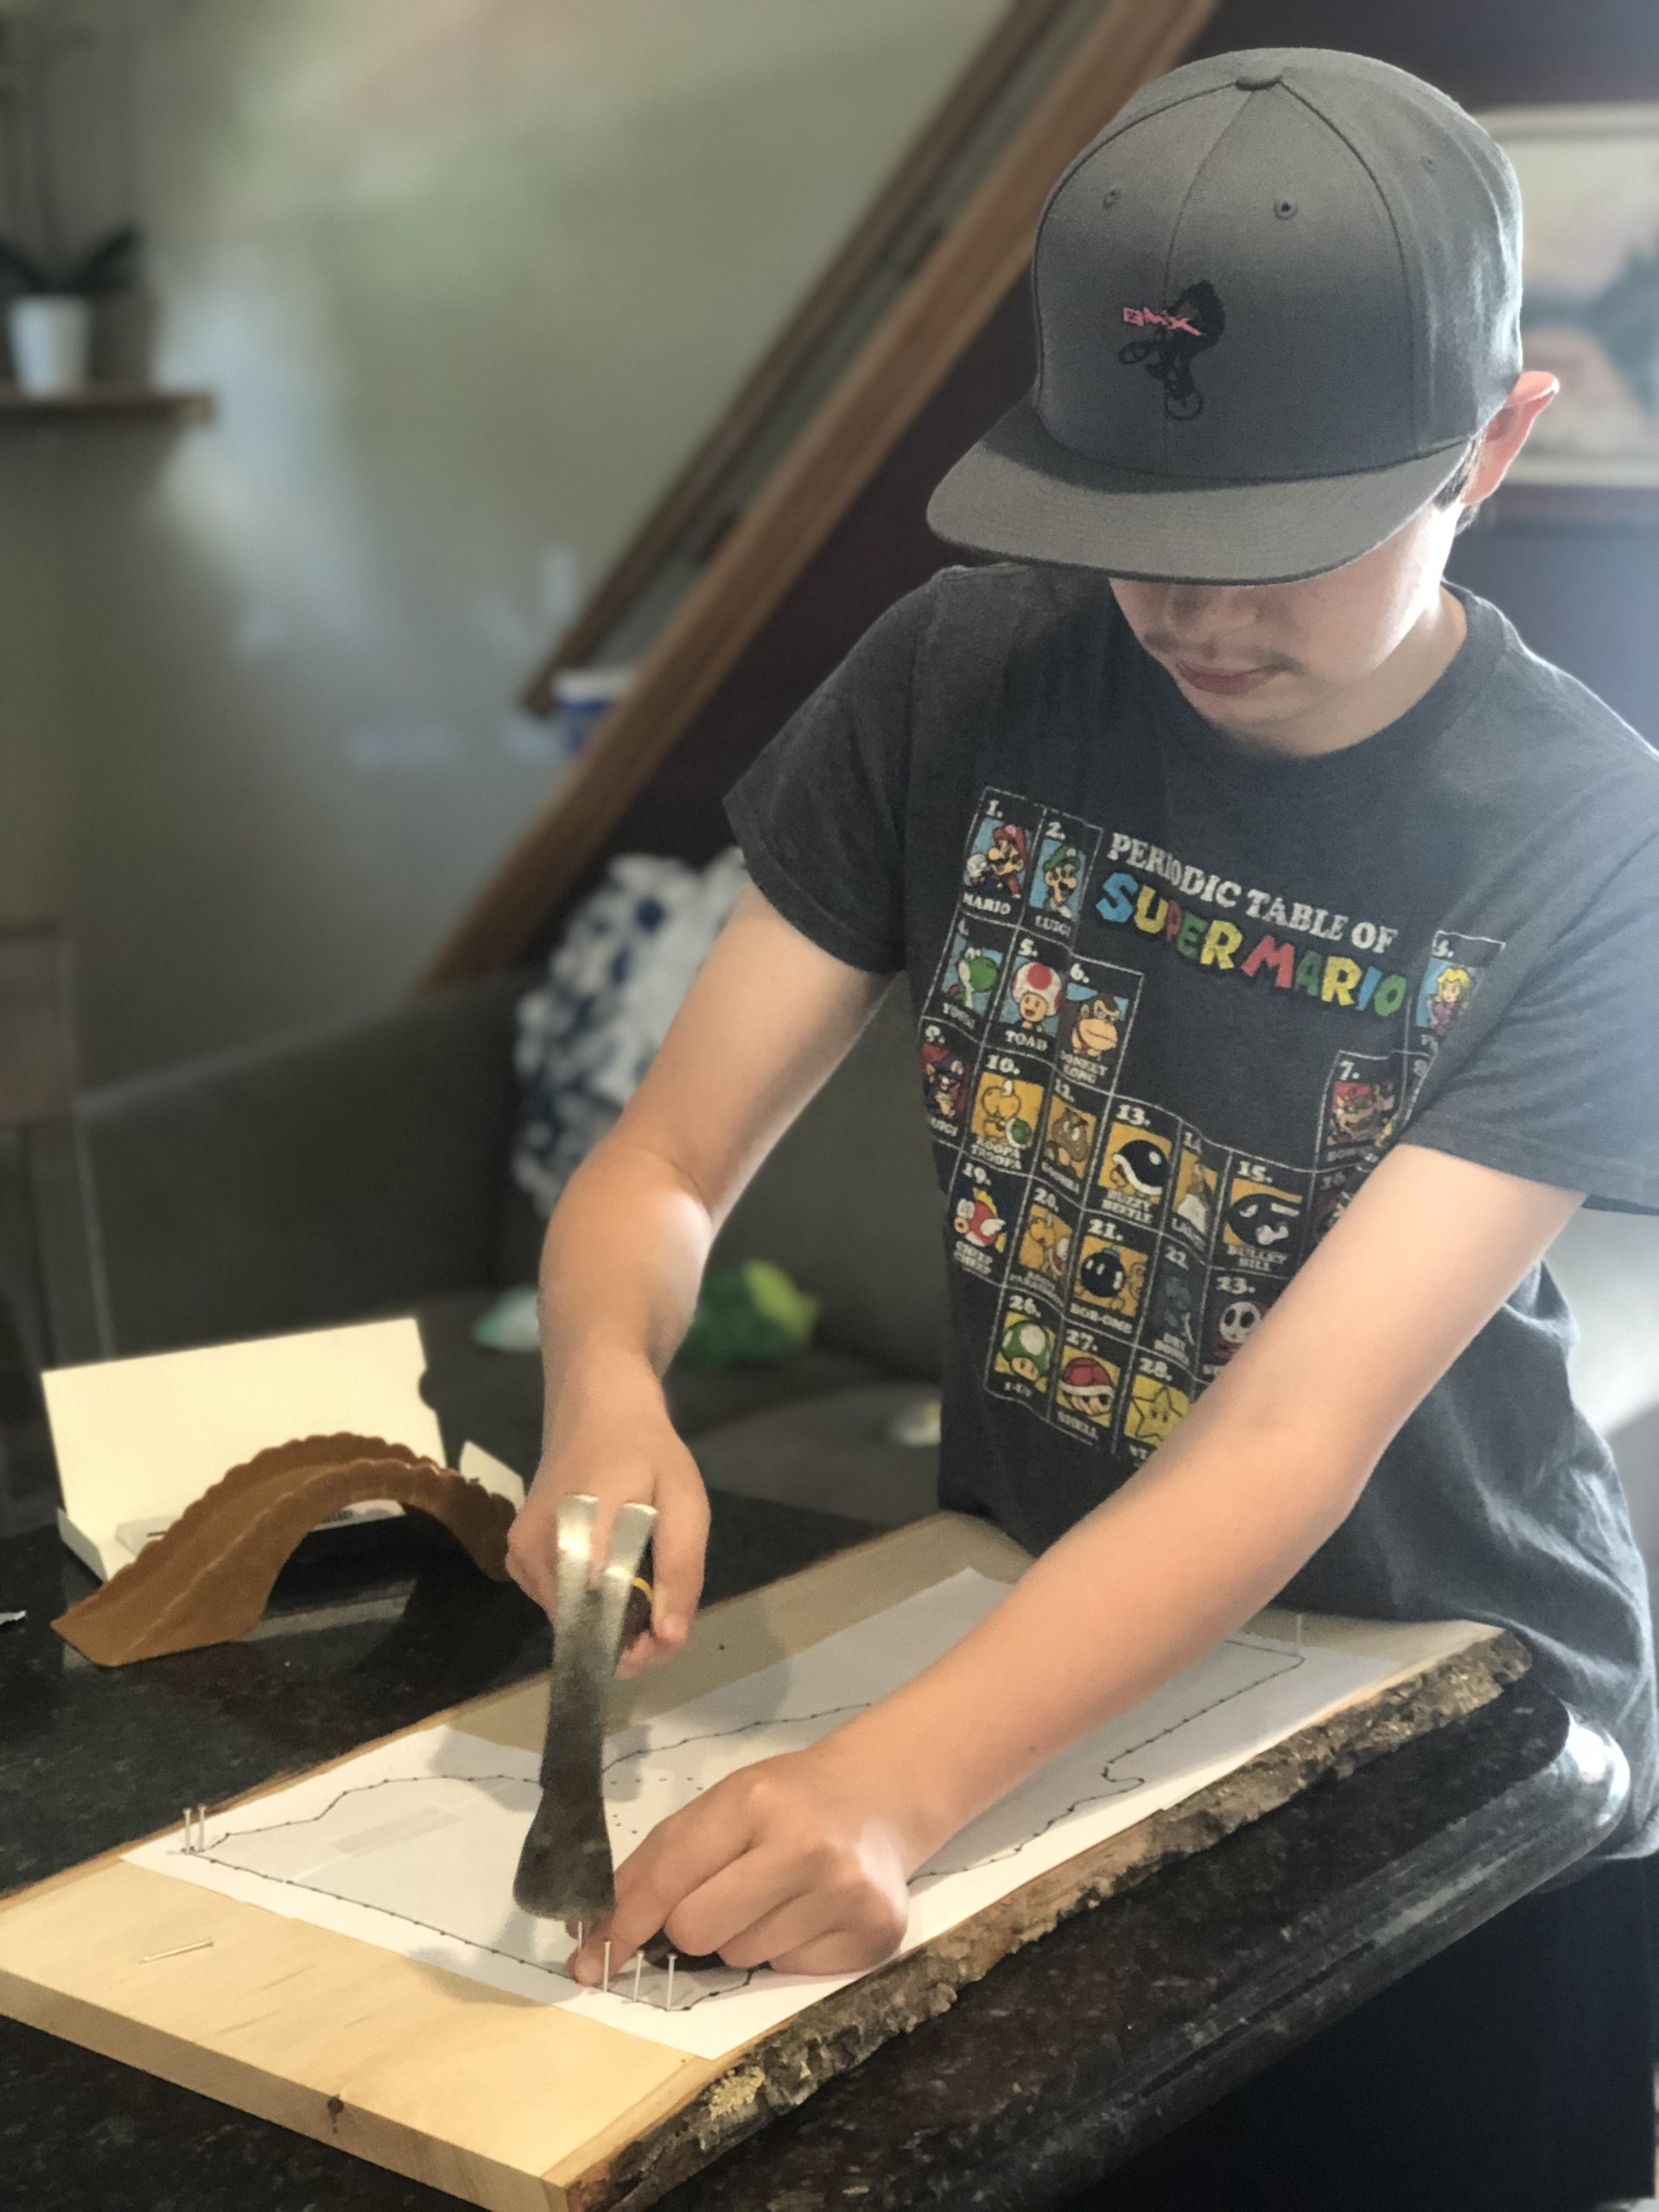
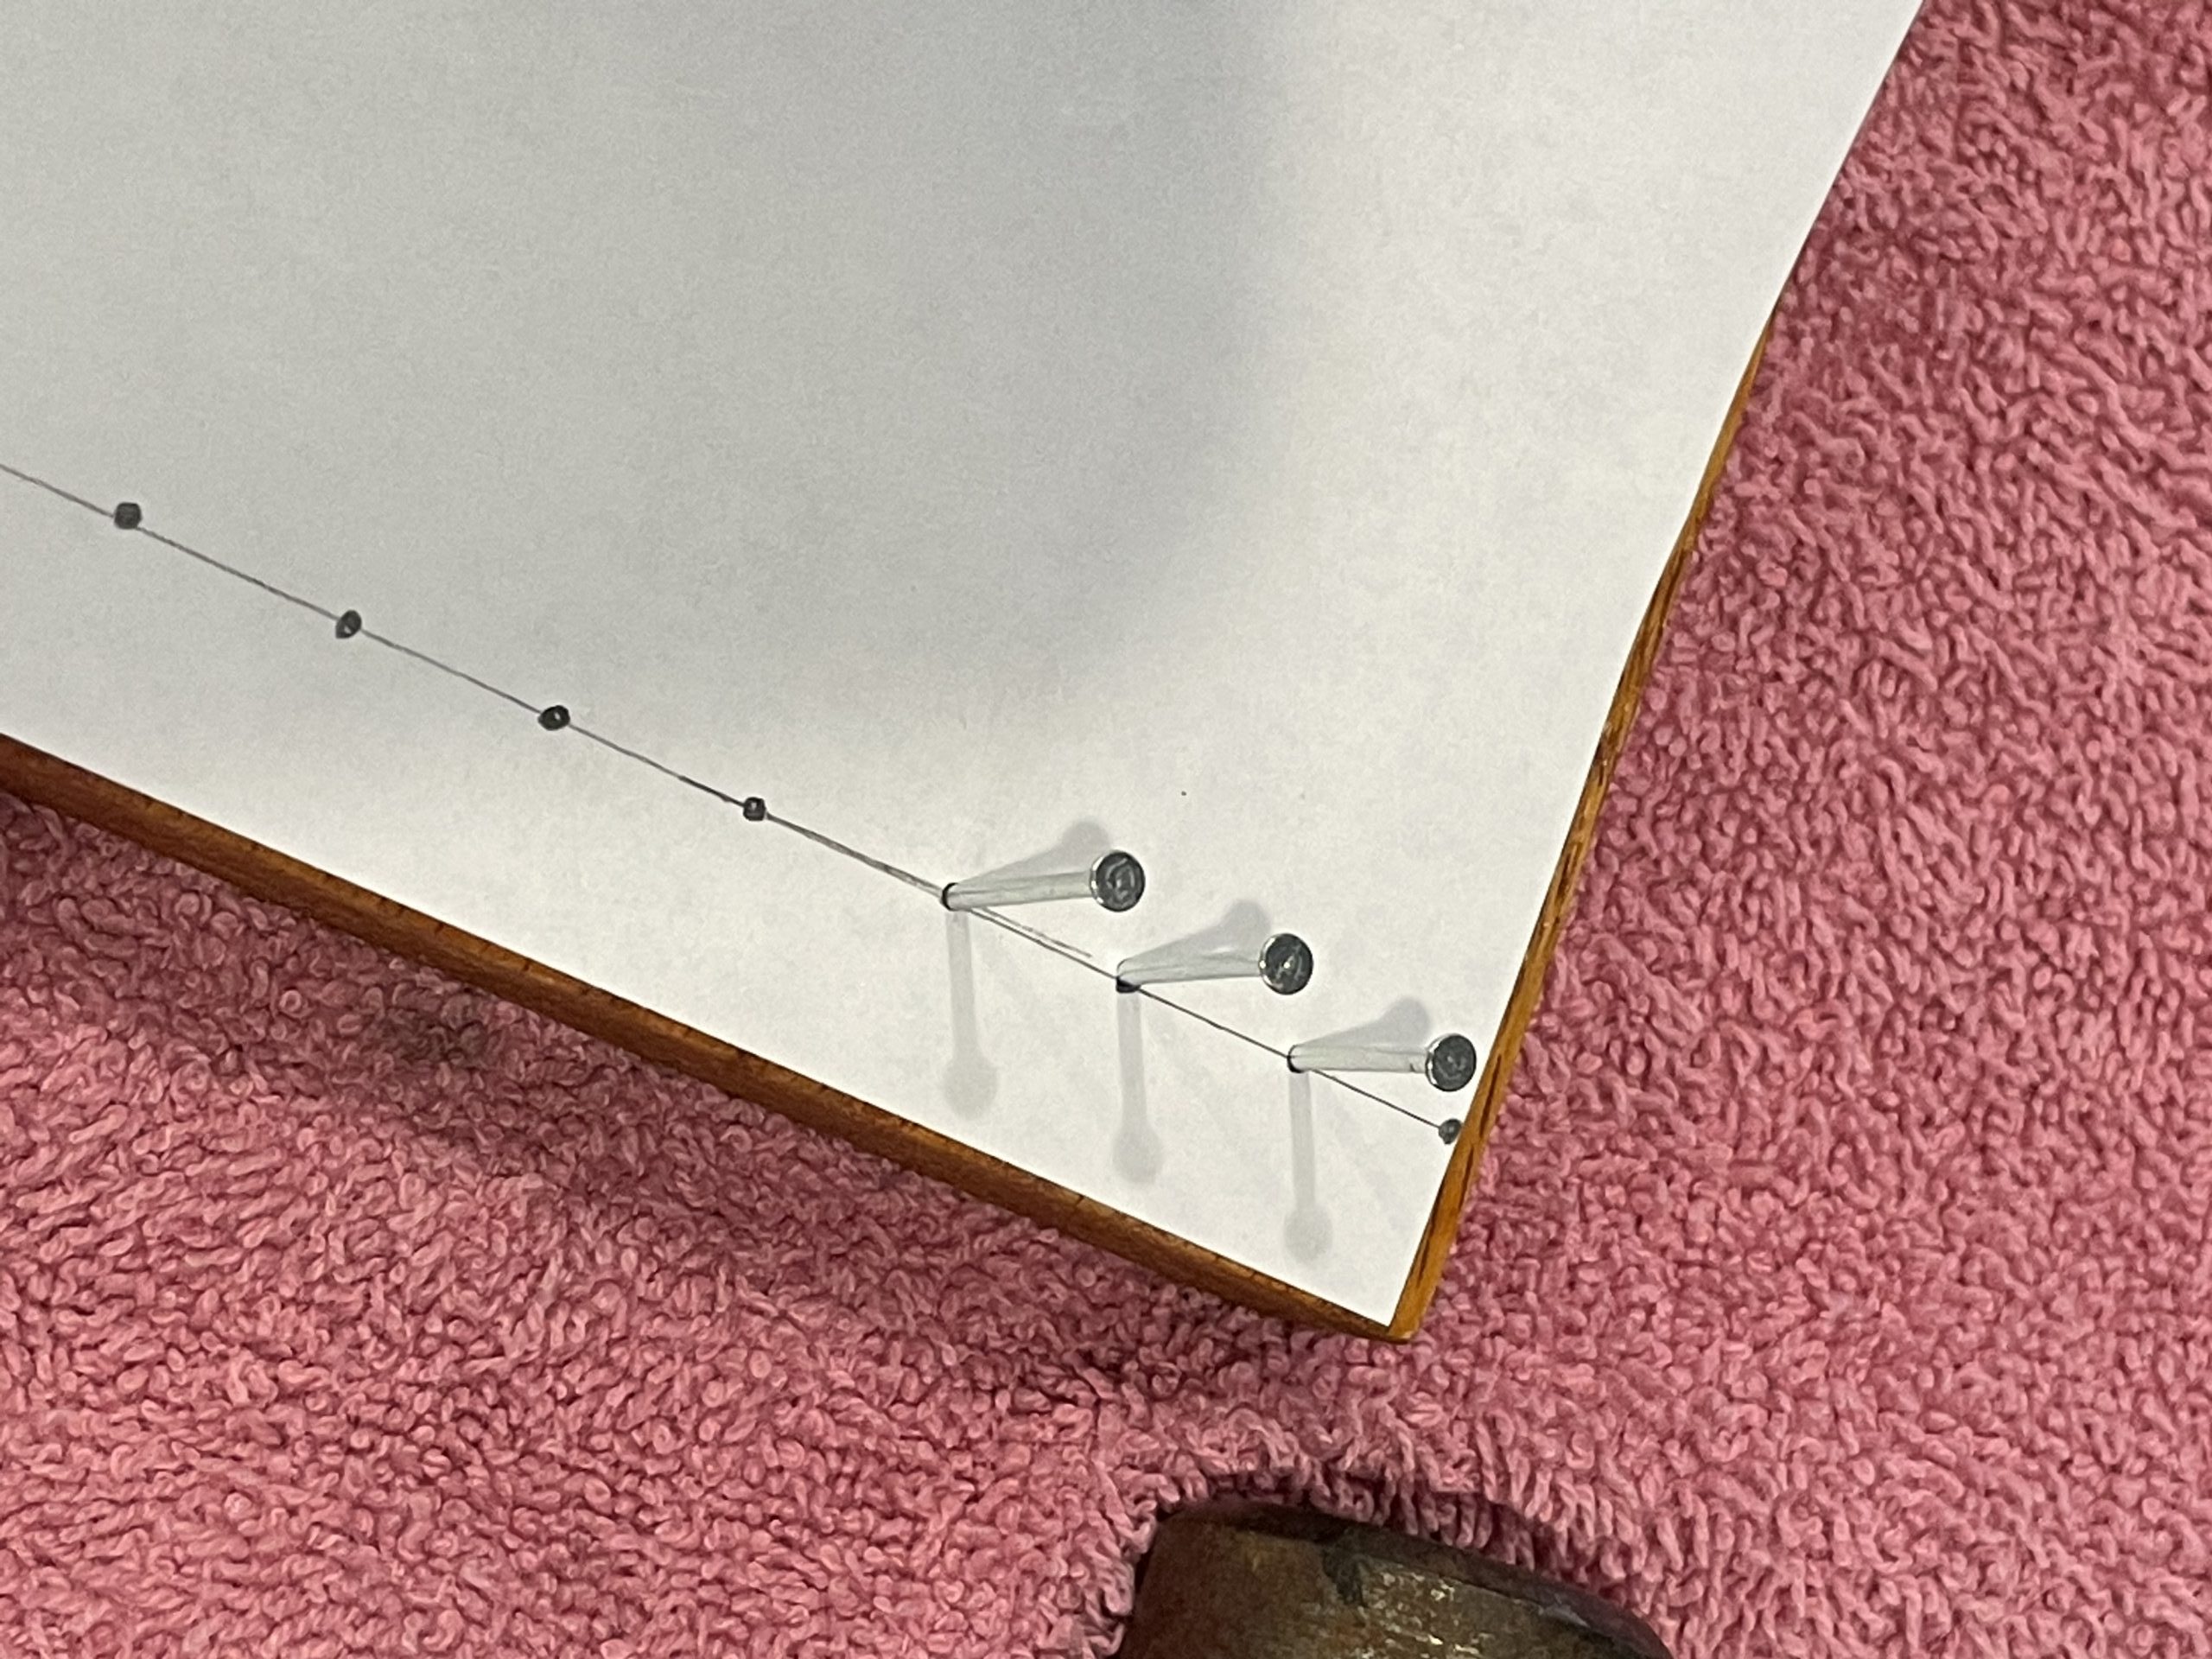
Lay your paper on the wood and tack it with a piece of tape to hold the position if you would like. Personally I don’t like using tape, as it either doesn’t stick for me OR I’m afraid that it will stick too well and screw up my finish when I remove it. I usually tack it by putting in a few nails on the far corners of my image, carefully smoothing the paper as I go so that there is no gappy waves in the paper.
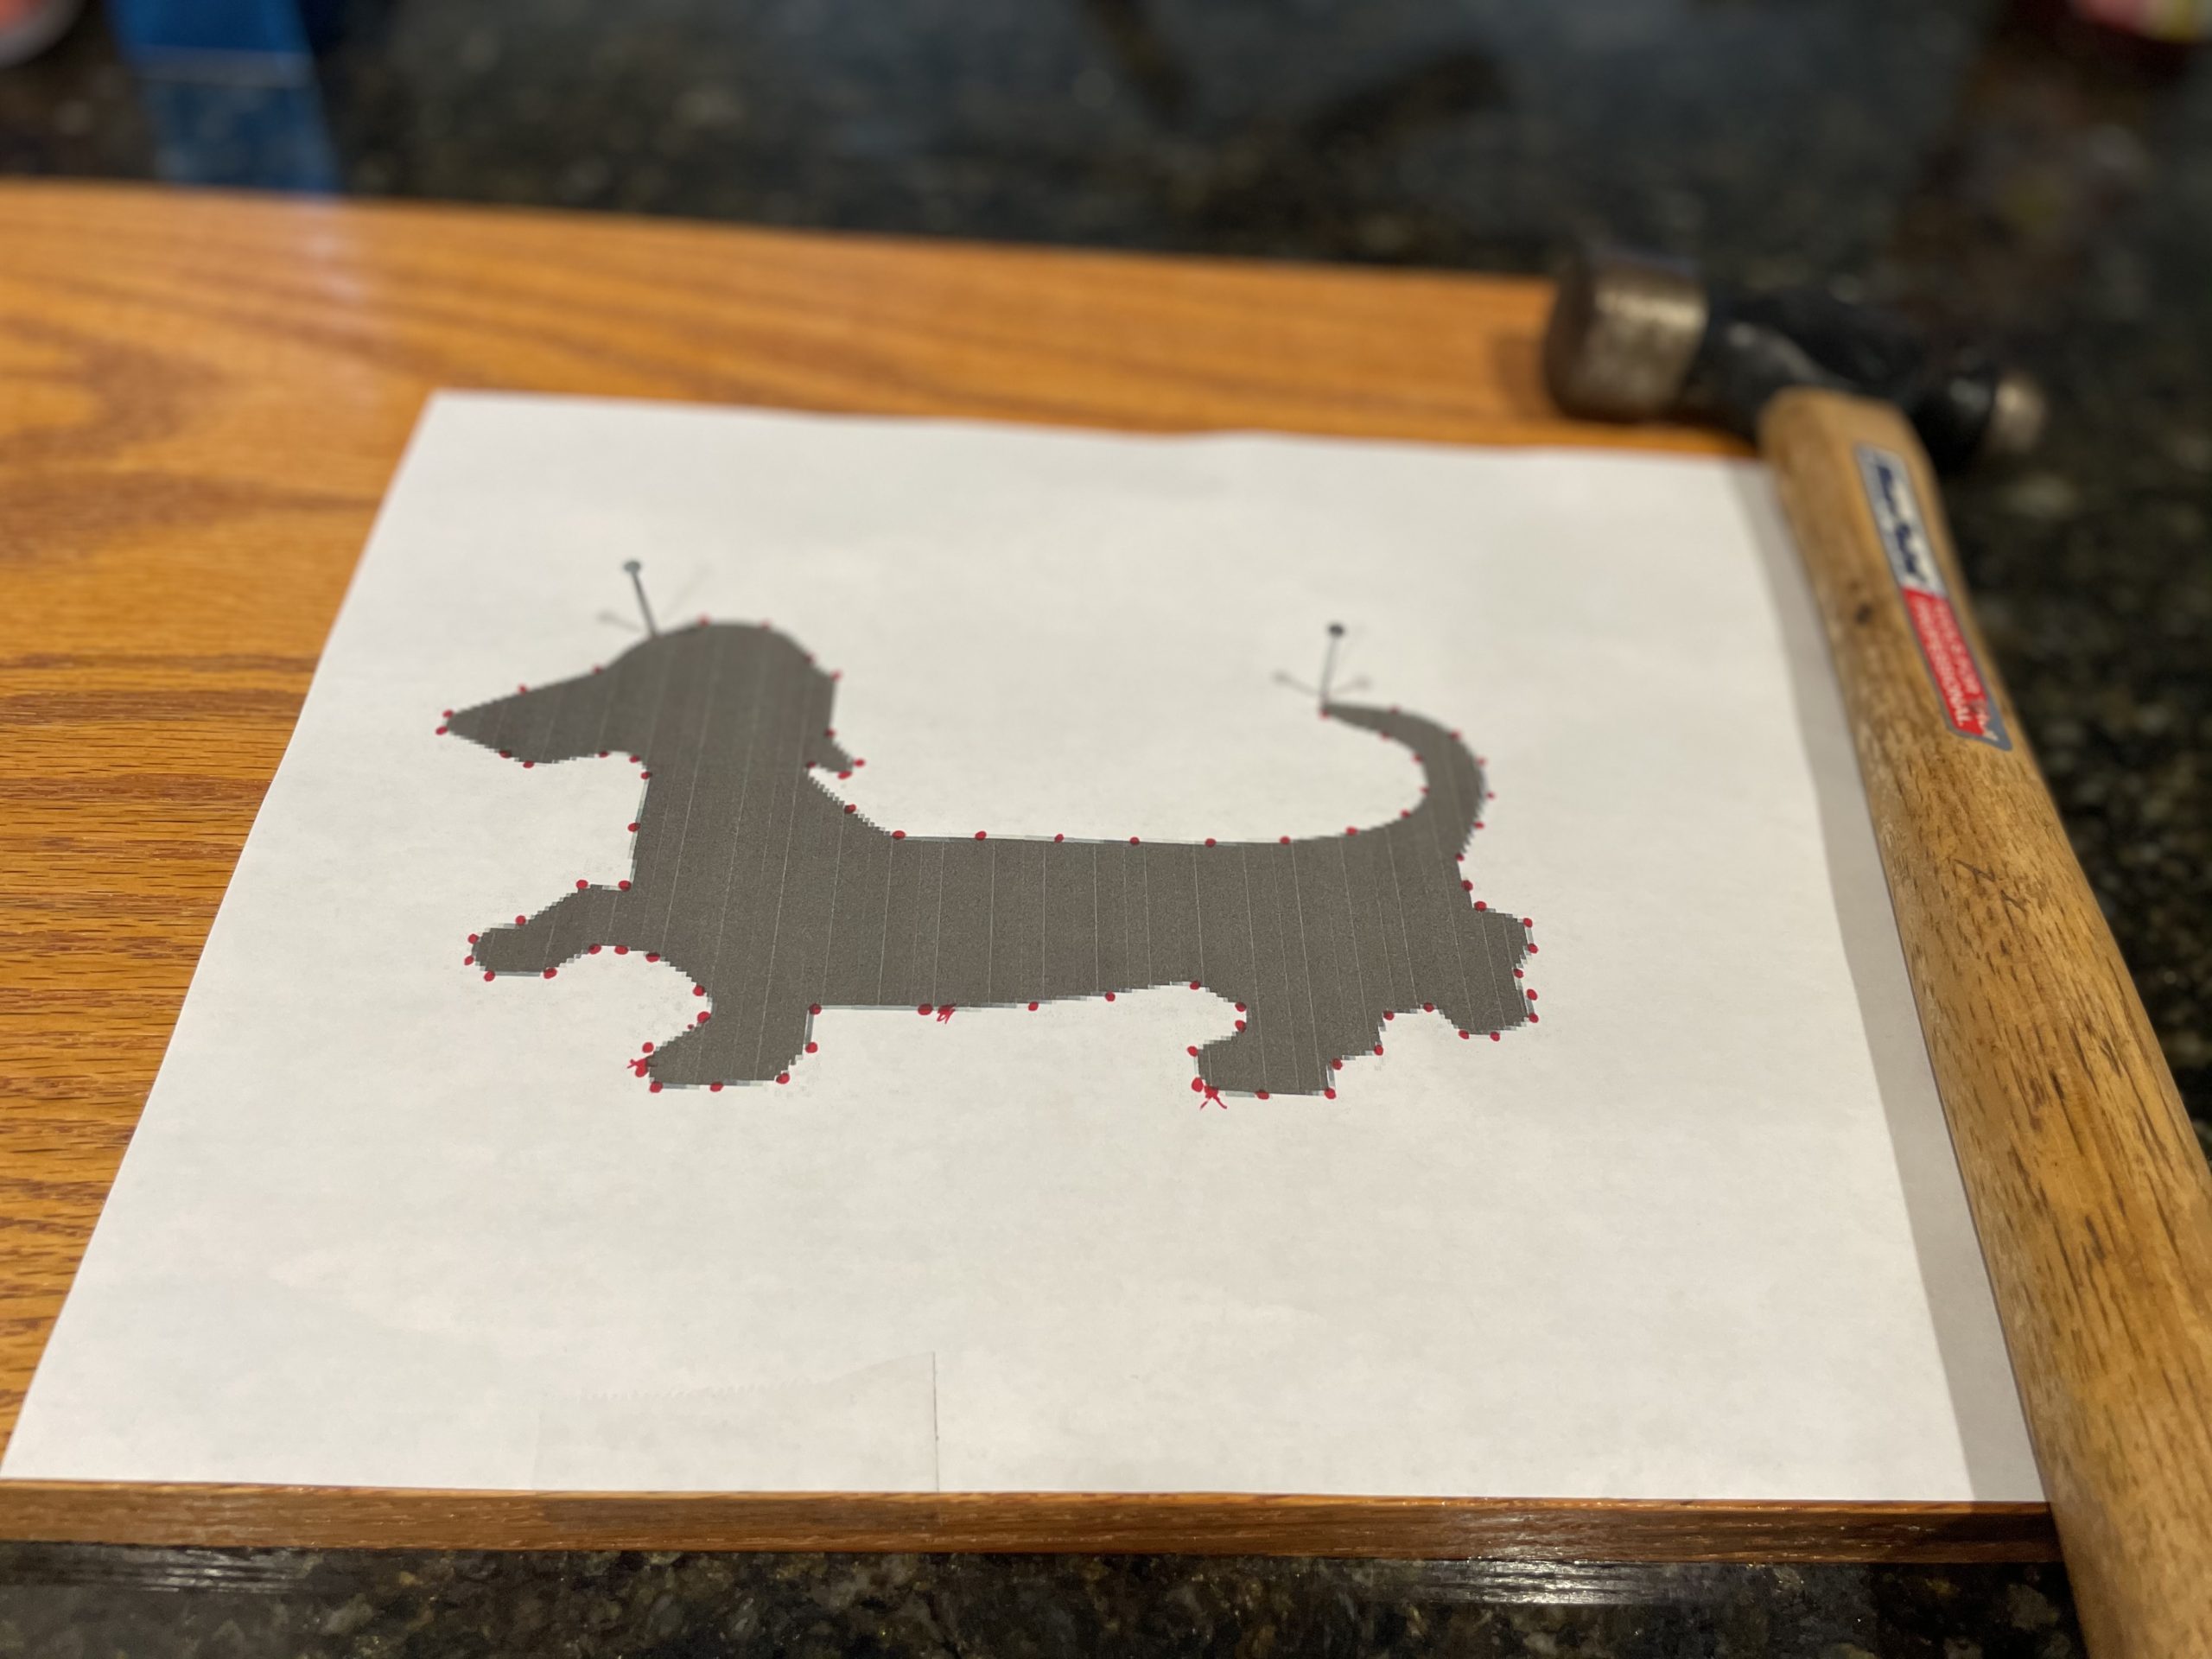
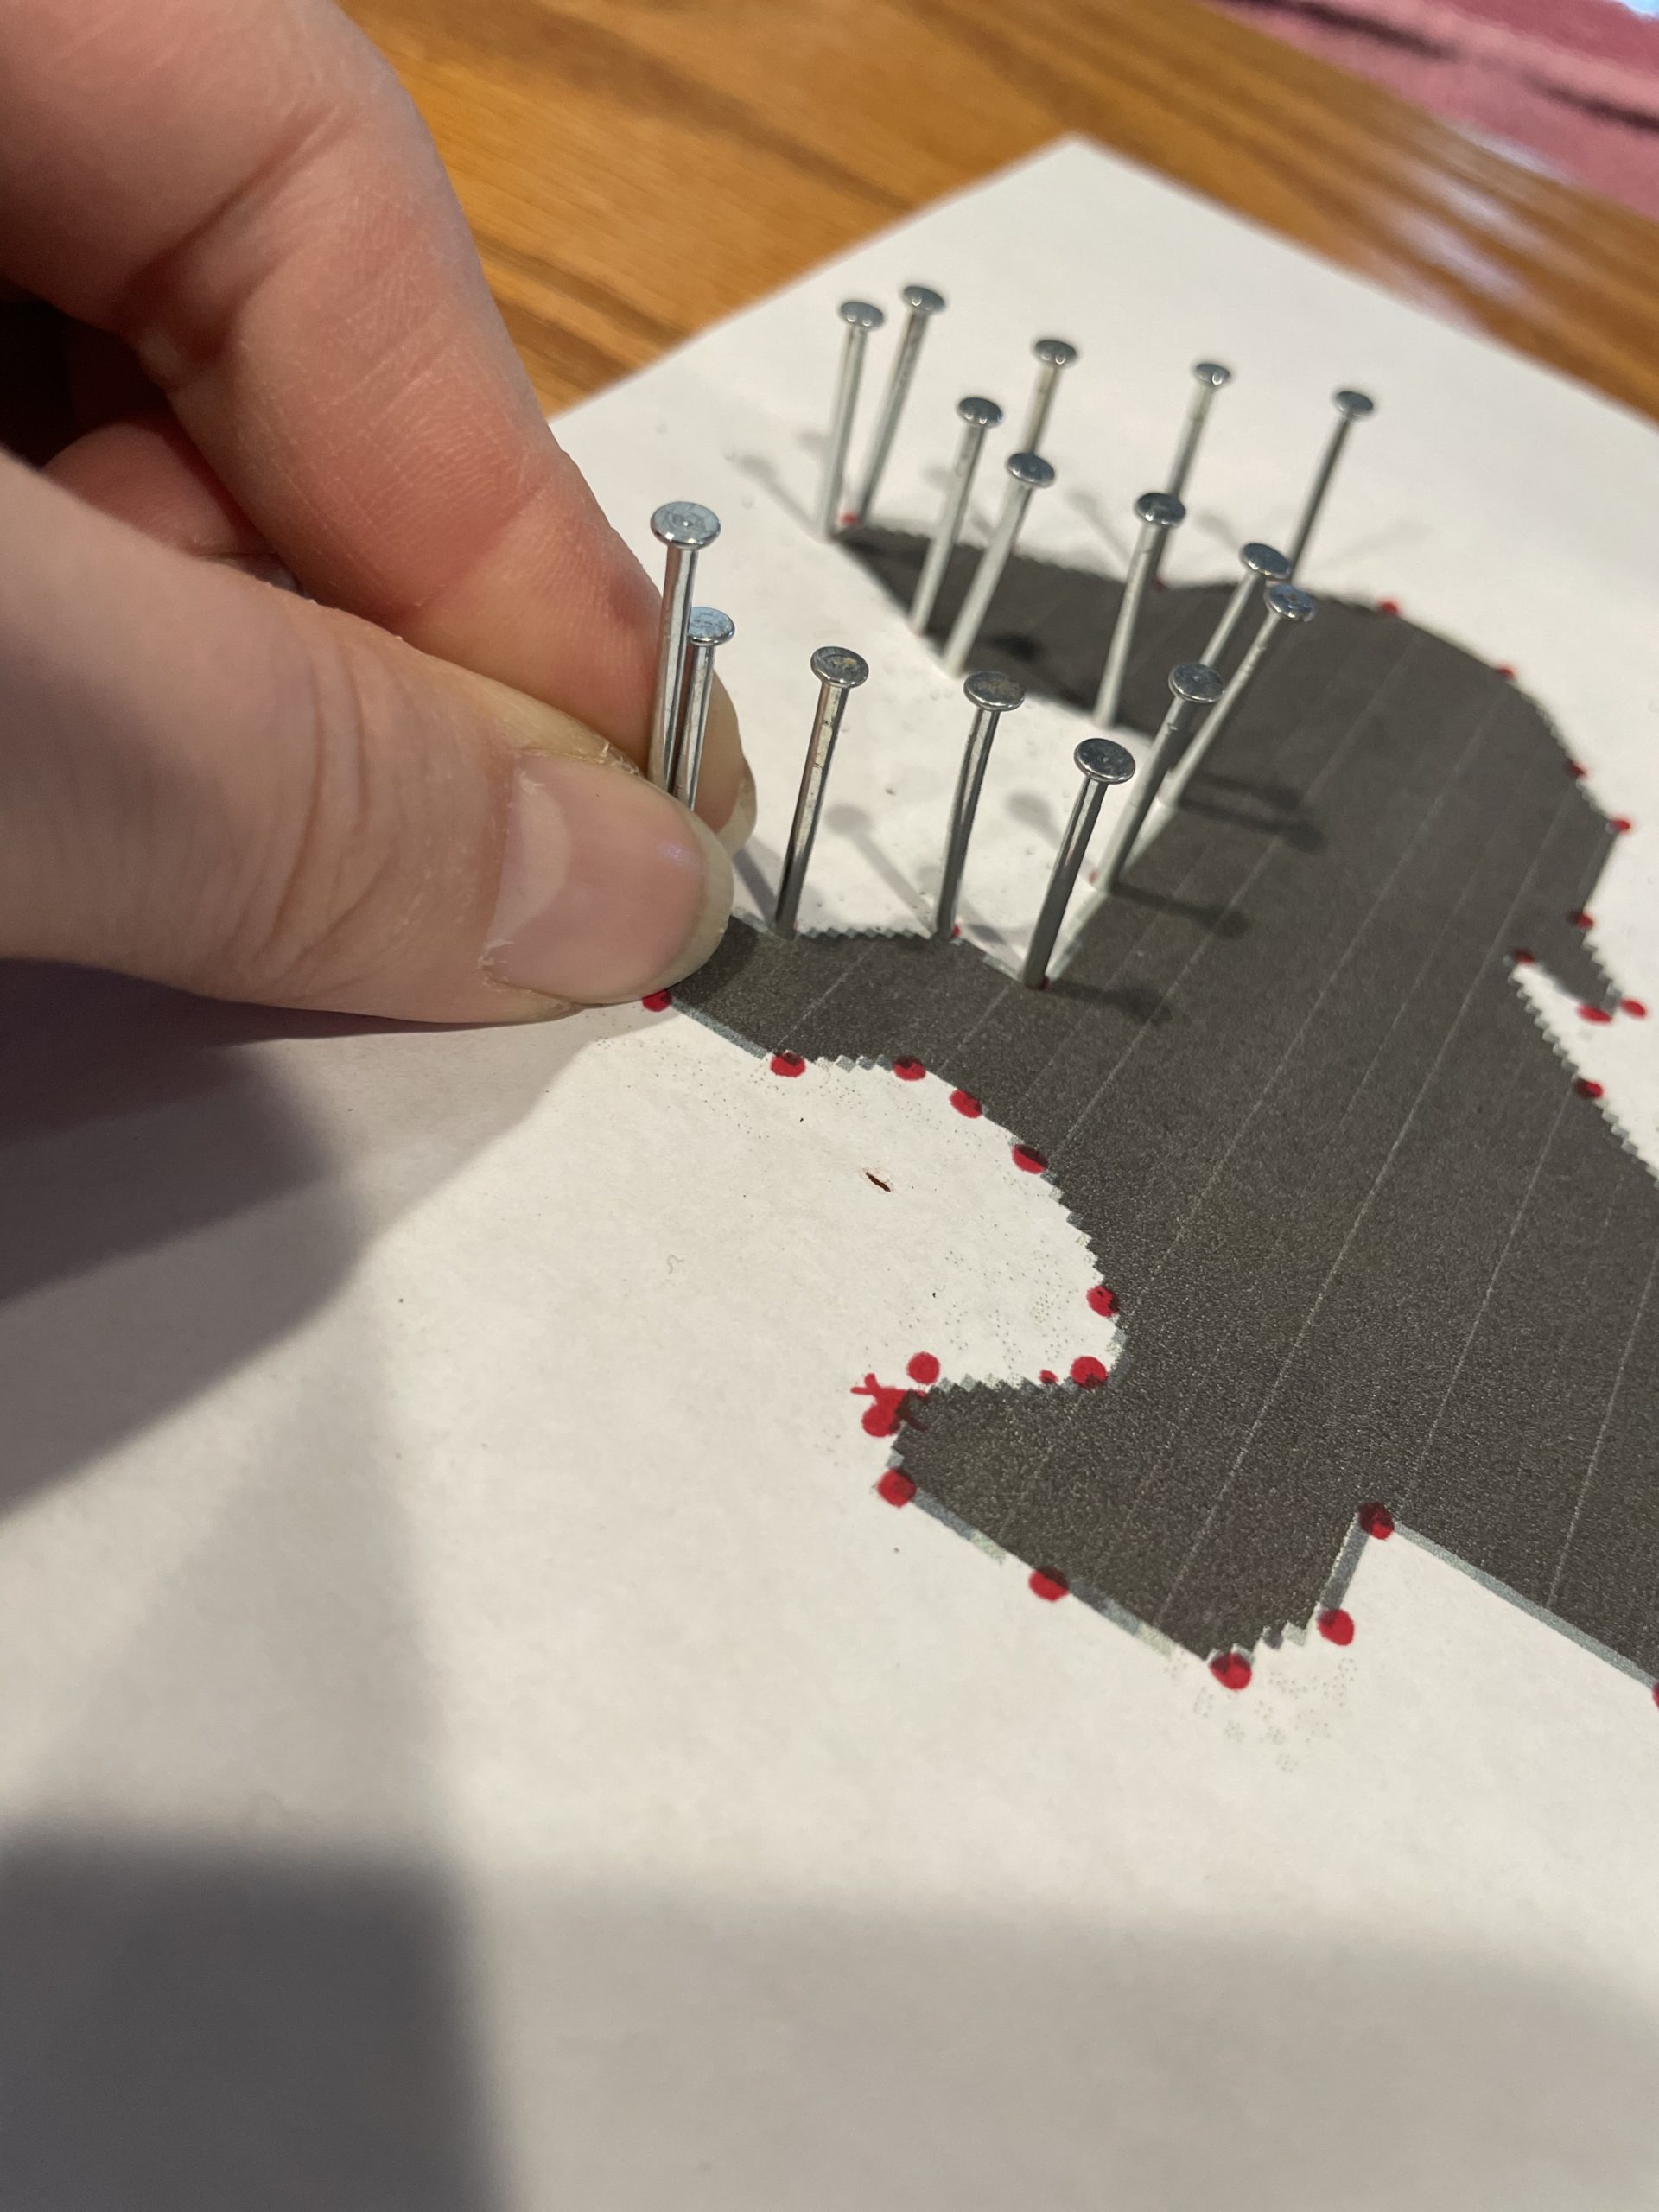
Let the Hammering Begin!
Placing each nail on a dot, hammer through the paper and about ¼ inch deep into the wood. After doing it for a bit you will feel the difference in hammering and nail stability when you reach ¼ inch deep. You’ll want to make sure that you can’t pull the nail out with your fingers. Use needle nose pliers for spots that are hard to position your hand to hold the nail, as you are hammering.
Personally, I figured out that I like to start at the top right corner of the image, work my way down and to the left, which I find makes it easier with positioning since I hold the nail with my left hand. You’ll find your rhythm as you go. Keep in mind that the dots are only a guide. As you nail, you may decide to space a couple father apart (or closer), which is totally fine.
If your nail is leaning to one side tap it gently over. In hard to reach spots, use the needle nose pliers to grab the base of the nail and gently bend. If you hammer too hard and bend a nail too bad then just remove it and try again.
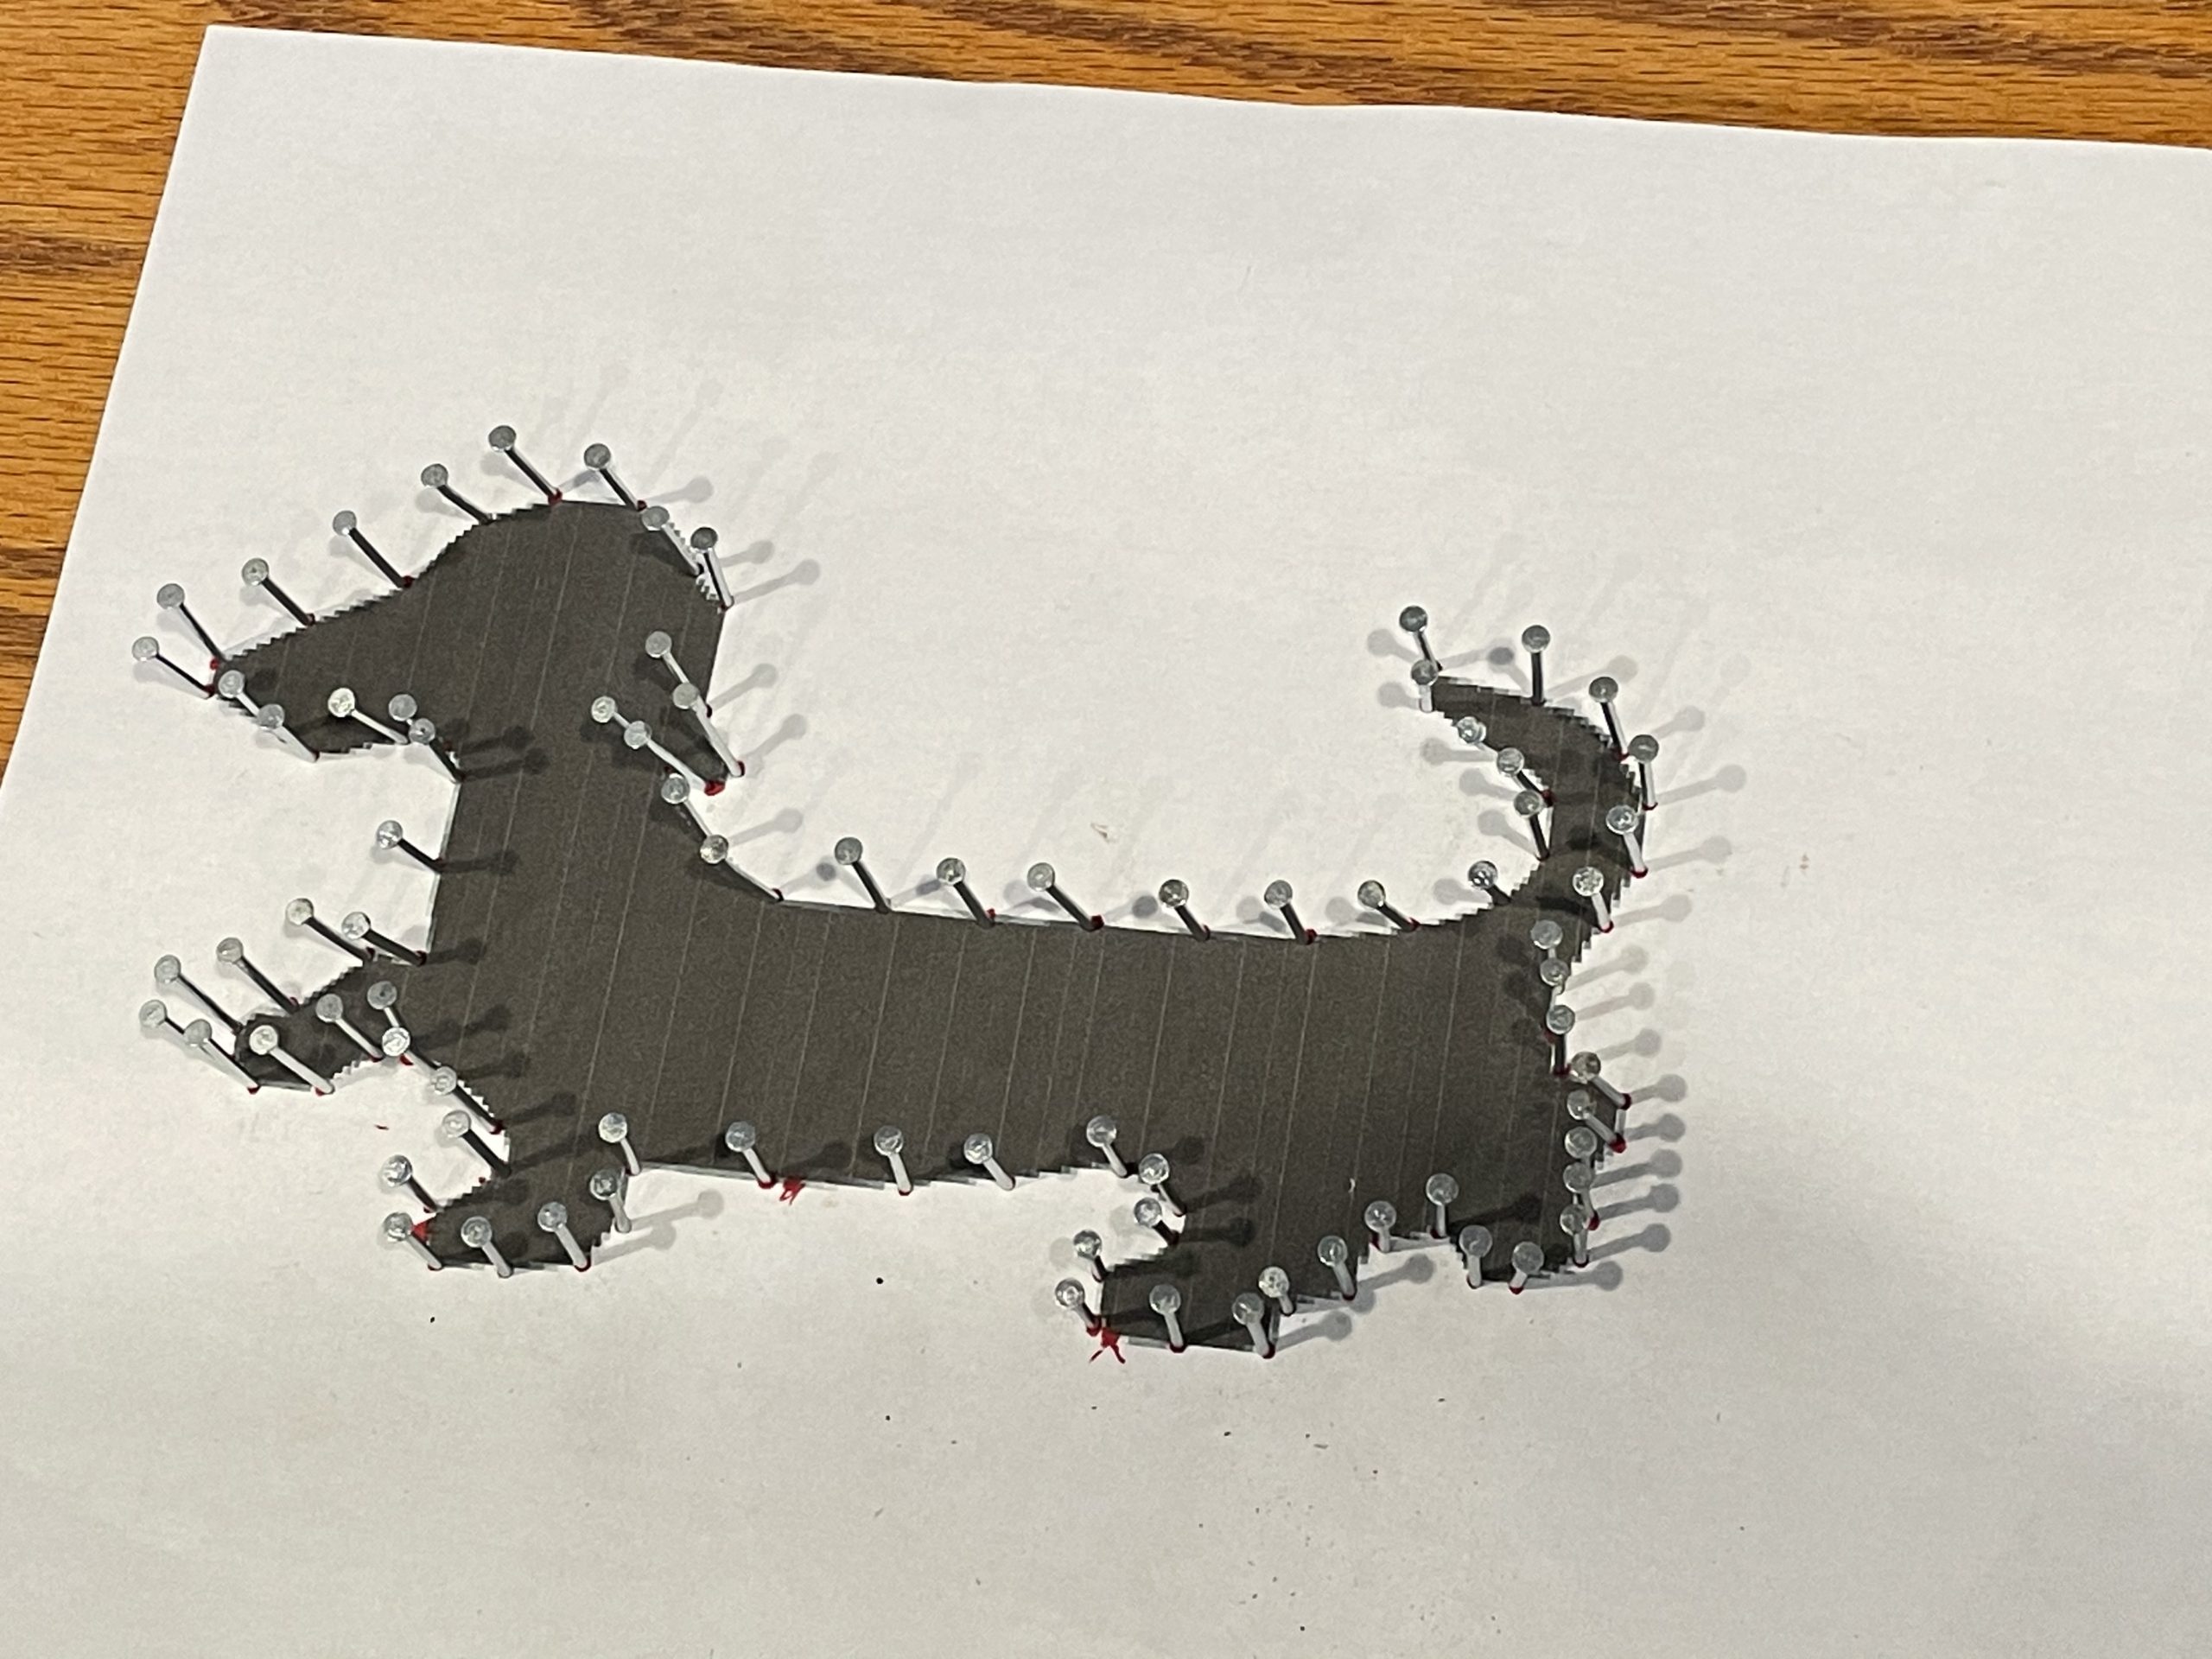
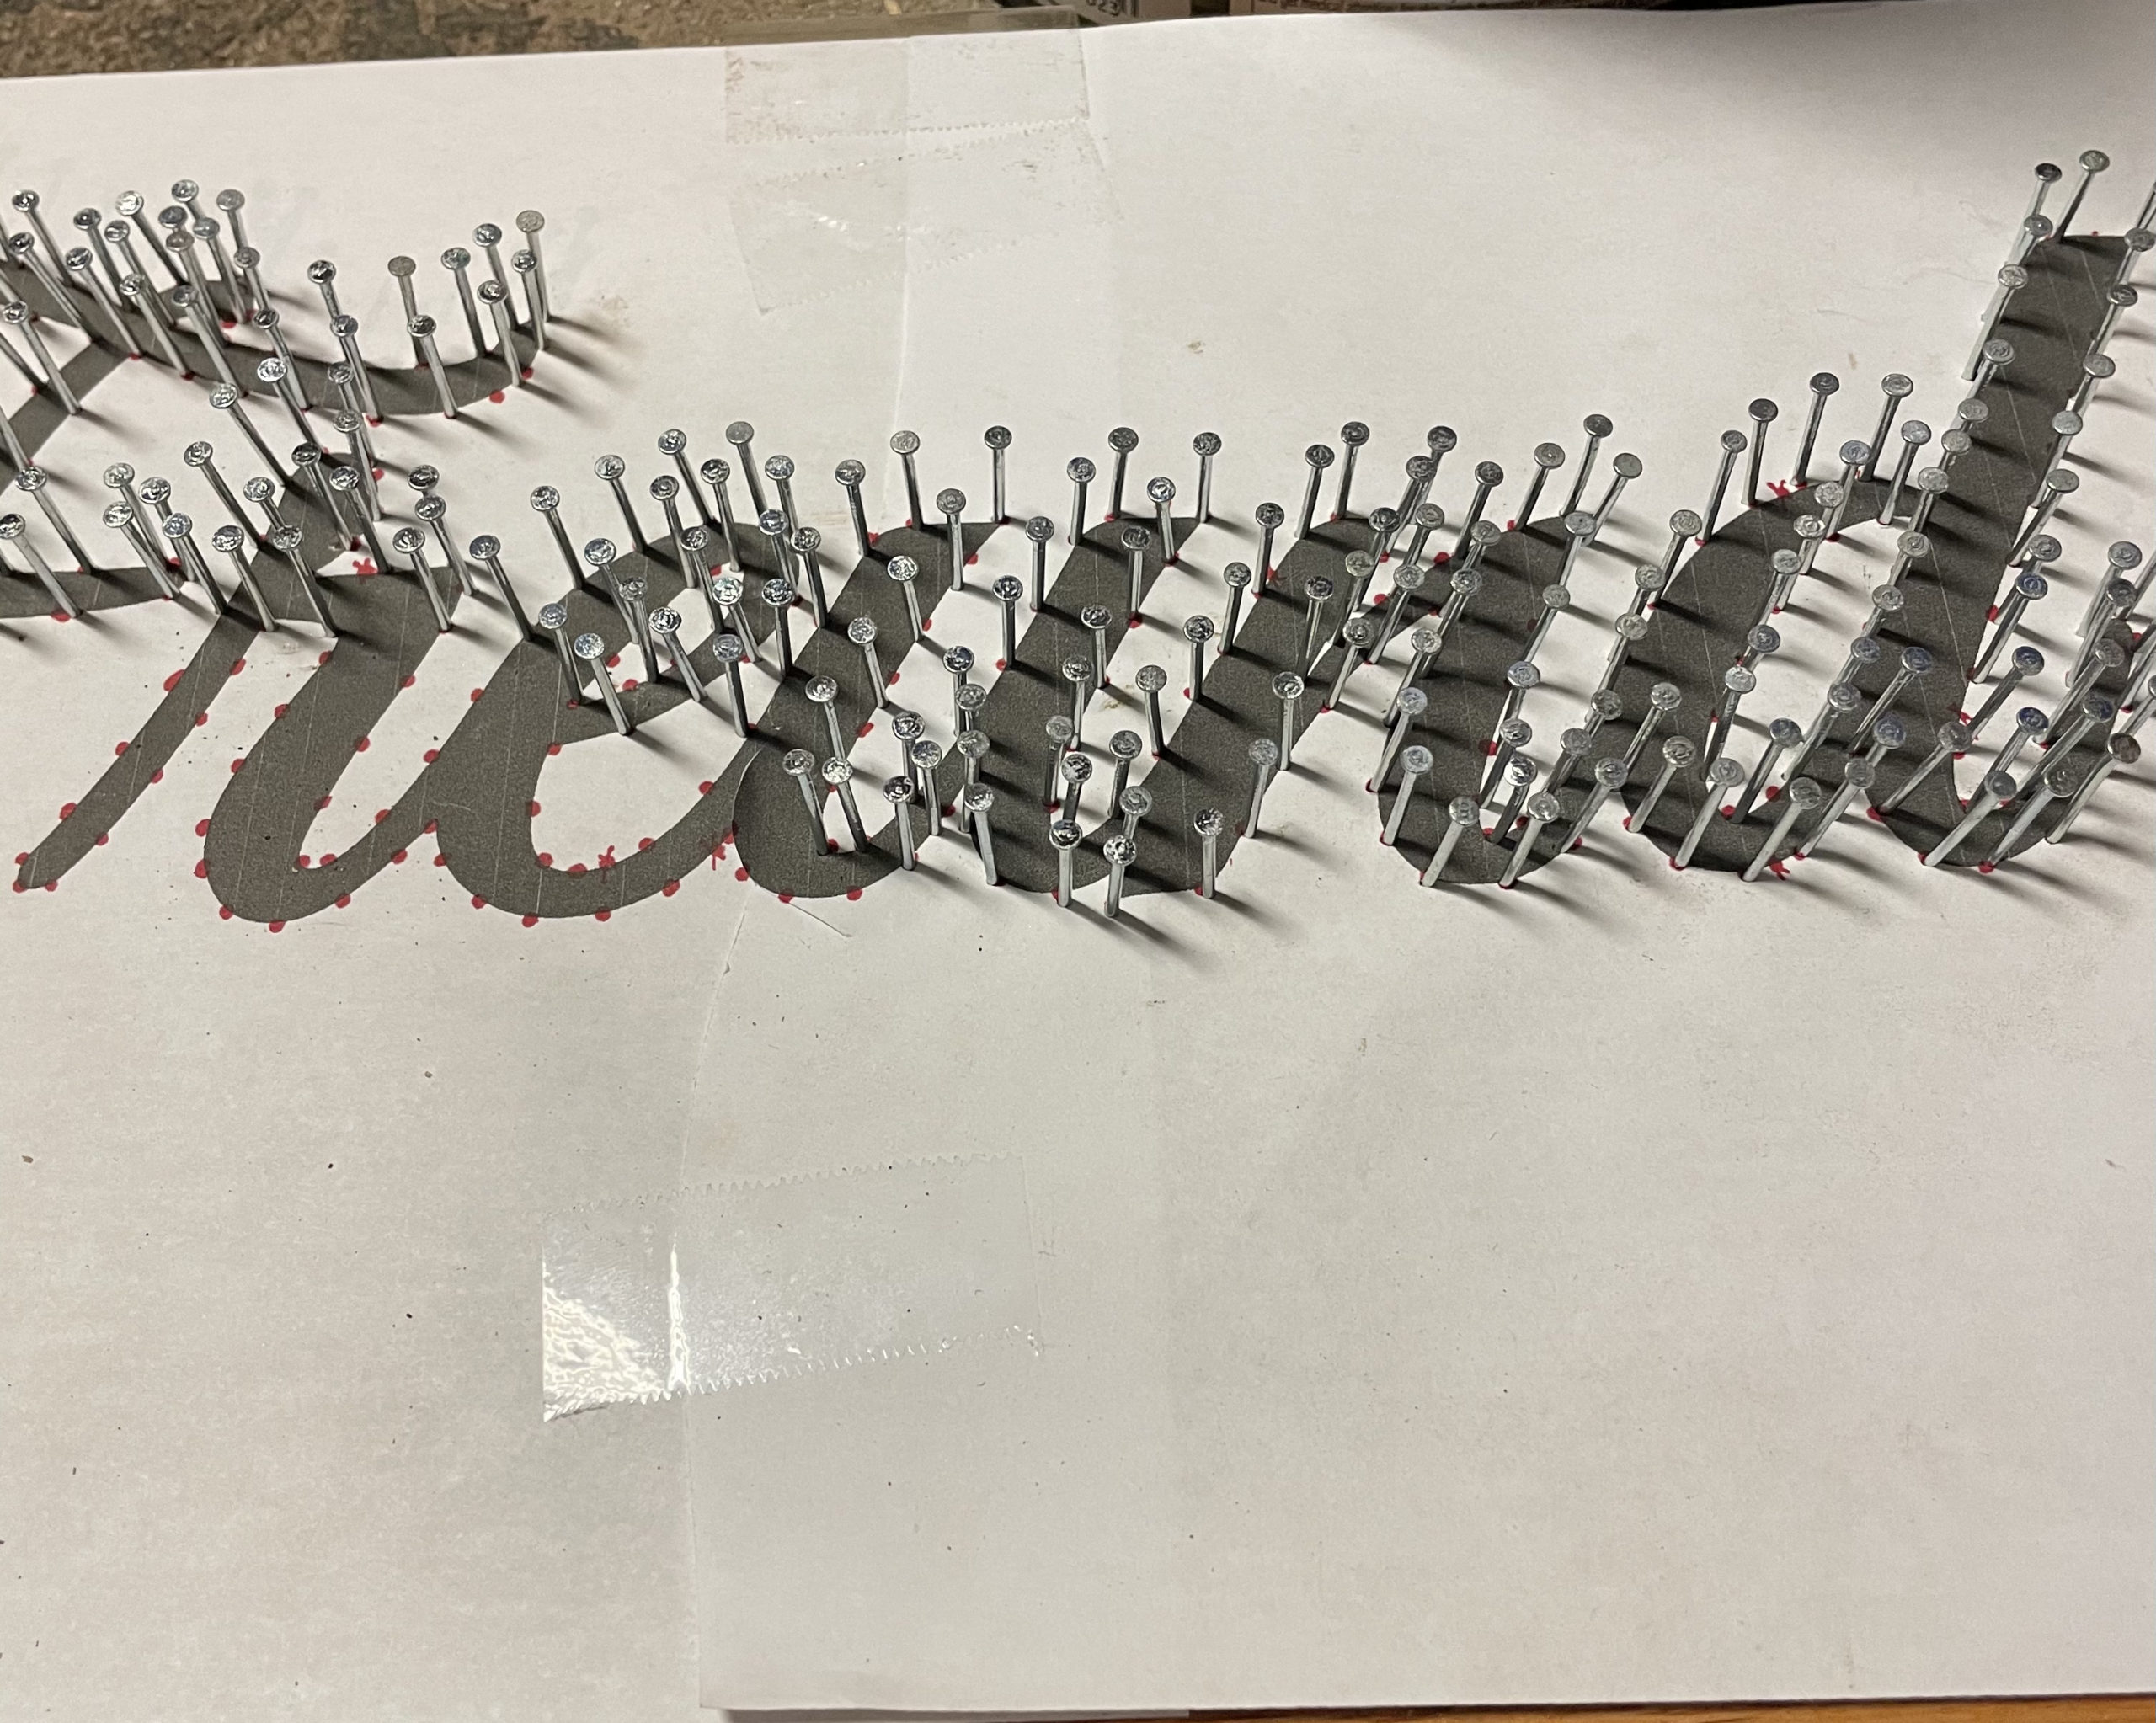
PICK YOUR STRING ART METHOD
Will you be filling in your picture with string like the above name and German Shephard head? Or will you be filling in outside of the image like the hot dog dog? If filling in the outside, you will need to put a border of nails around your board. I space mine out about 1/2 inch between nails, making a template out of a sheet of paper and centering it on the board. Don’t get too close to the edge of the board, to avoid cracking or chipping.
Quick Take a Picture
Once you have nails hammered into each dot, take a picture. I find this especially helpful when stringing cursive words which will make you have a LOT of nails. Sometimes it will be difficult to picture the outline of what you are actually looking at and where you need your string to go next.
Remove Paper Carefully
Self explanatory step.
Anchor Your String
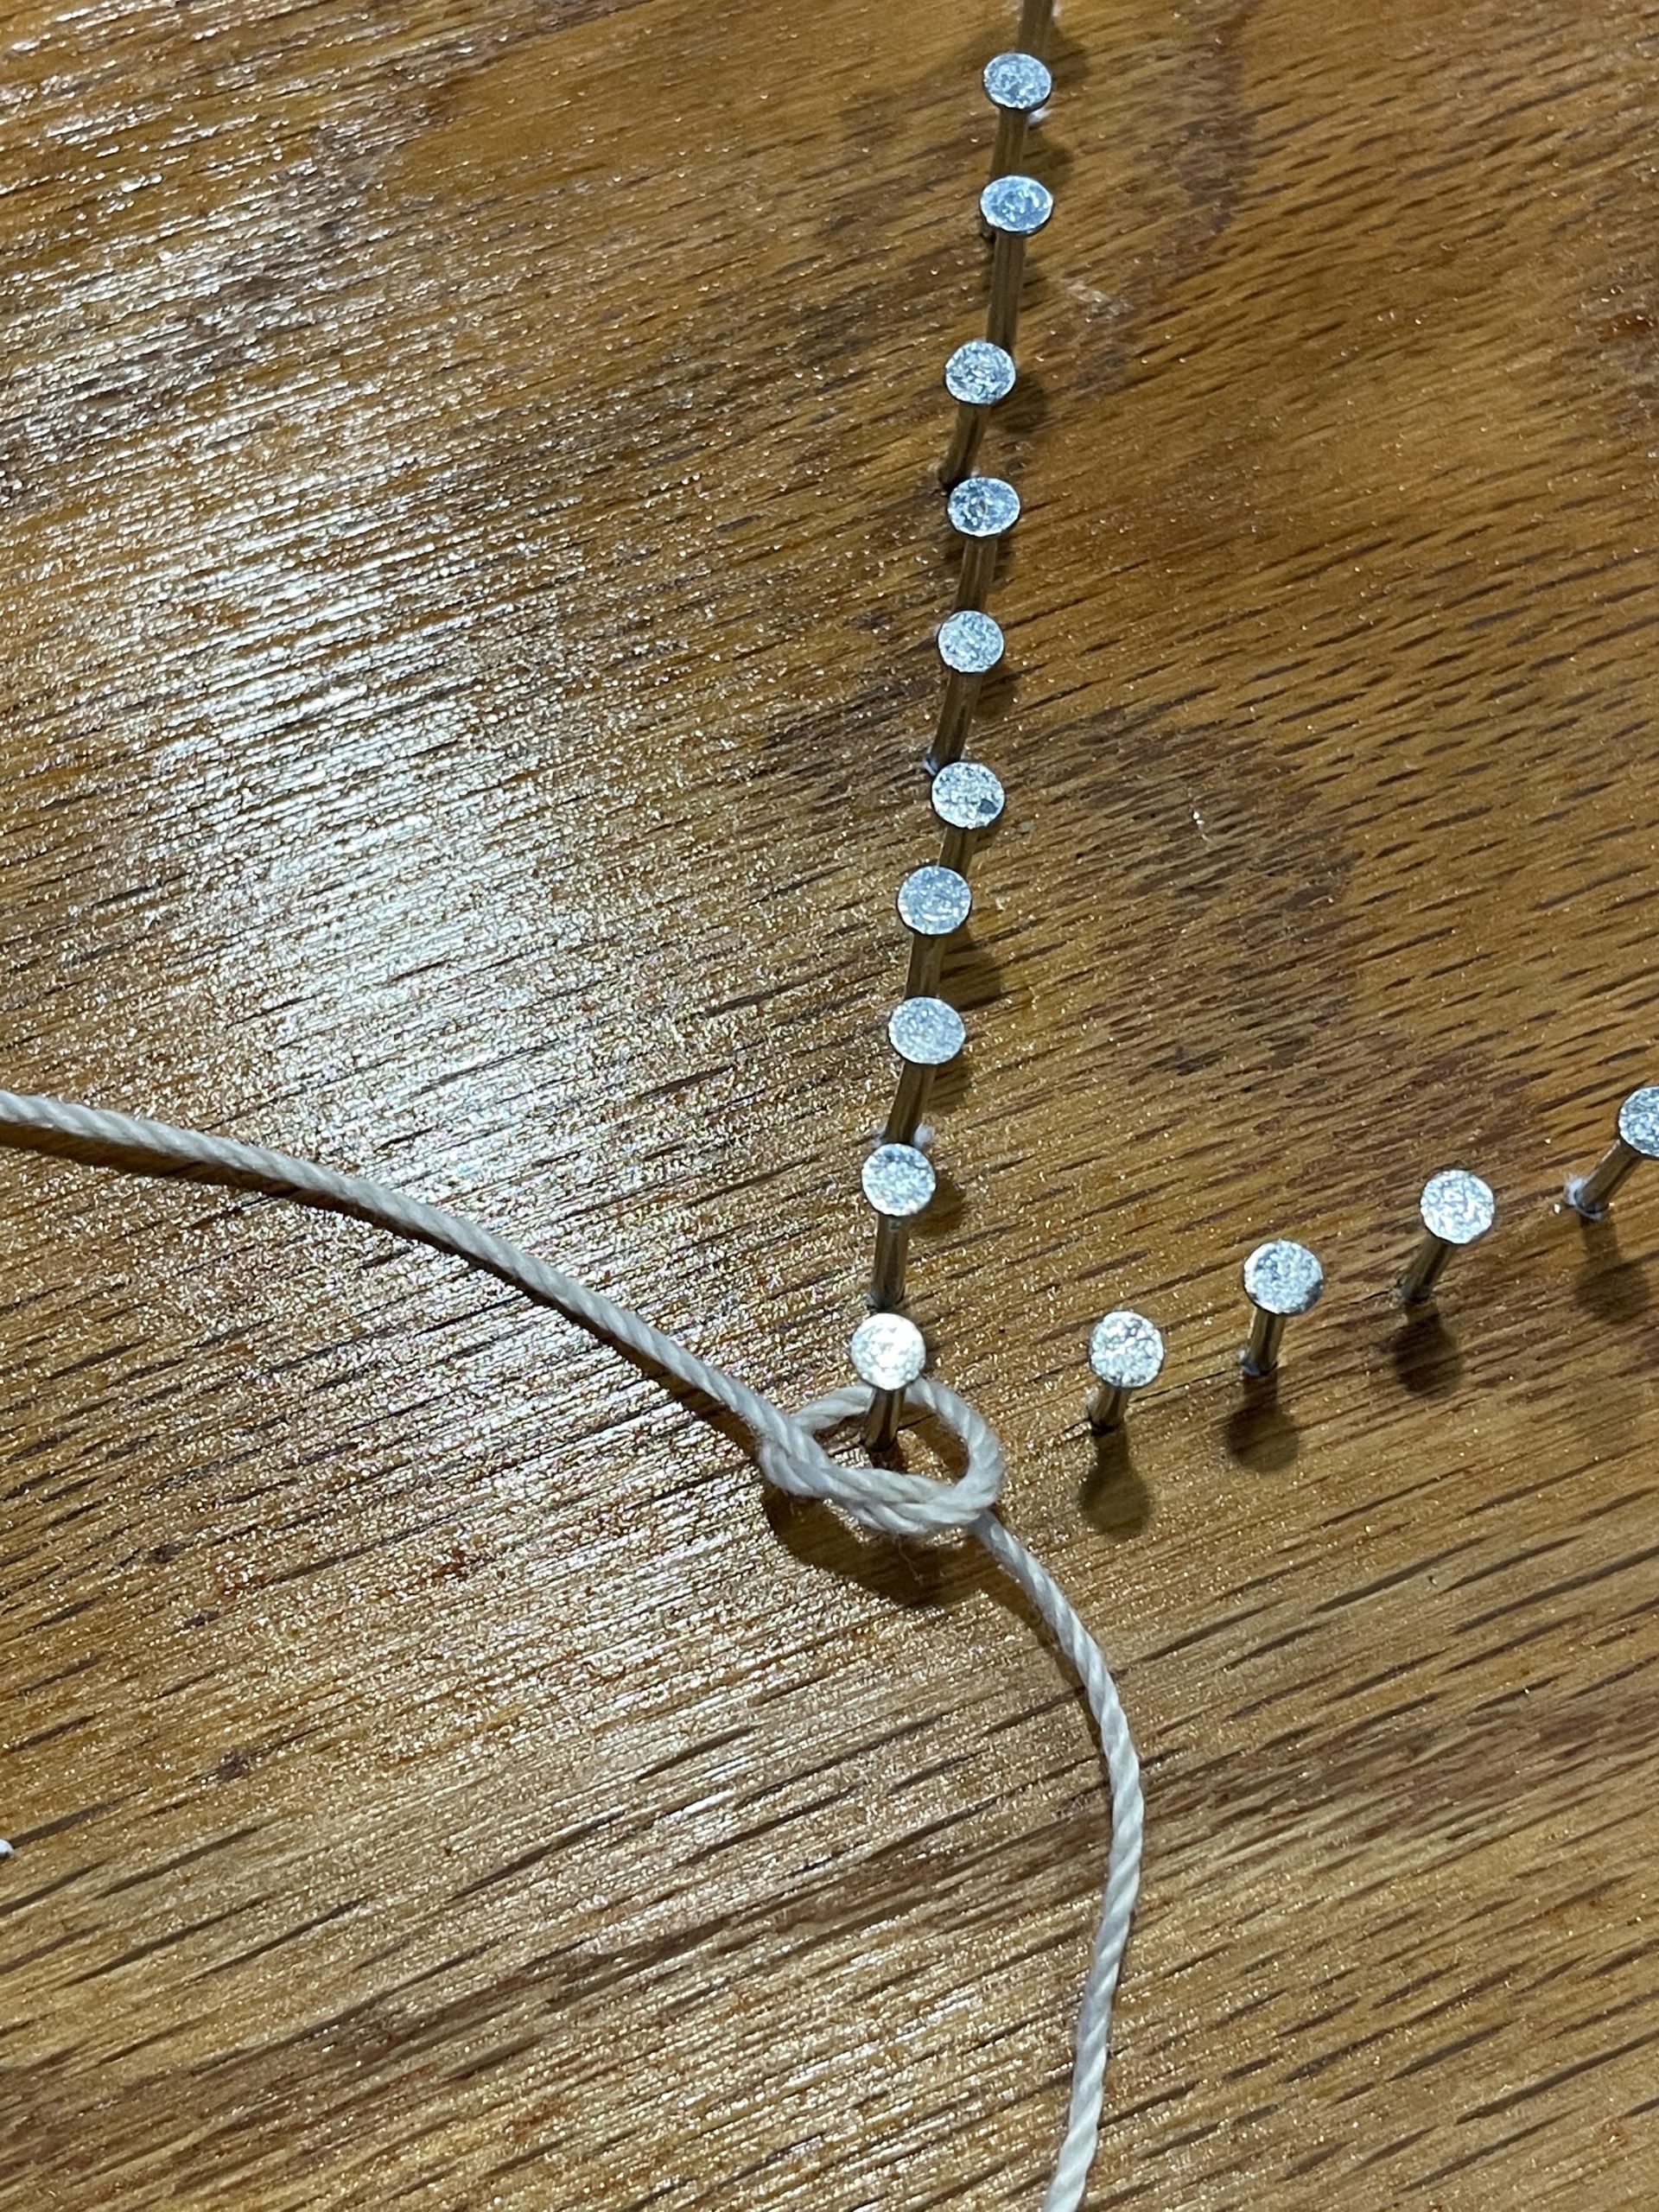
Starting anywhere on the image, tightly knot your string around an easily accessible nail, leaving a tail of string hanging a bit. Double knot the string for security.
I say to do this on an easily accessible nail because, at the end, we will be gluing the tail to other strings in order to hide it. You’ll need to be able to get your fingers in there to do it.
Let the Fun Begin!
Before you begin stringing, take a swig of your drink, go to the bathroom, make sure all kids are fed, and all potty training kiddos get a turn on the potty.
Once you start, you aren’t going to want to let go of the tautness of the string until it is totally complete.
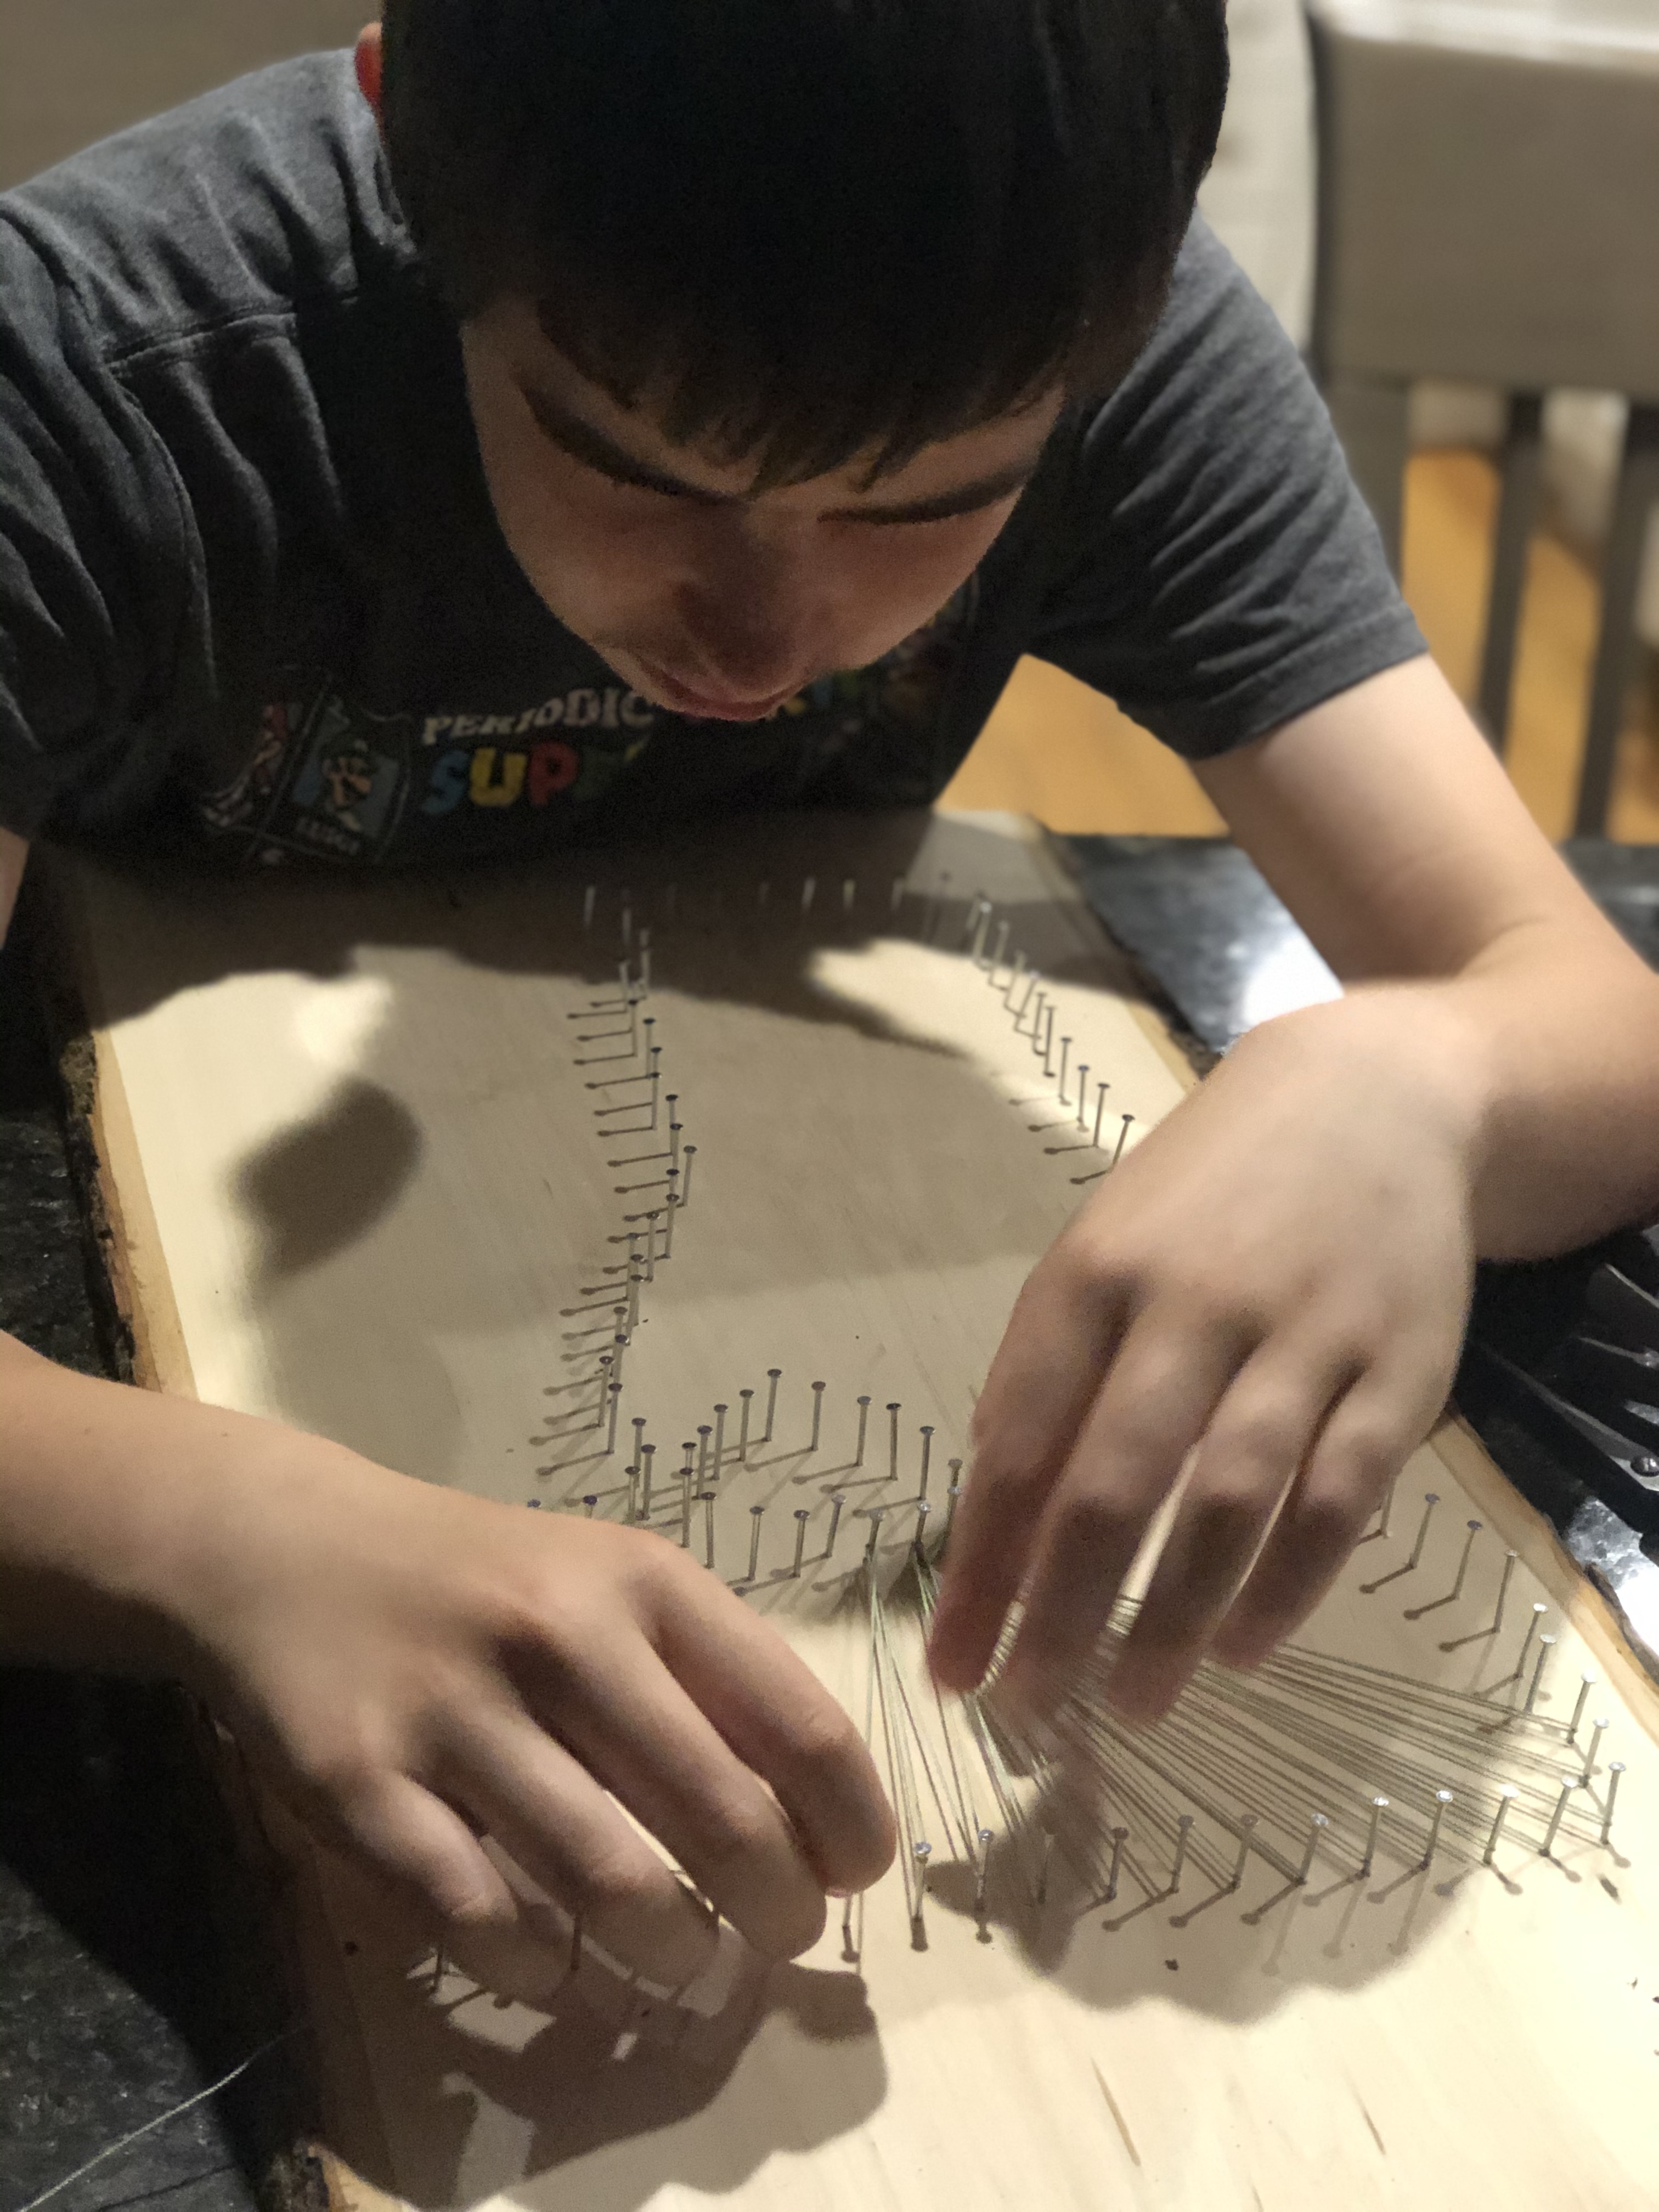
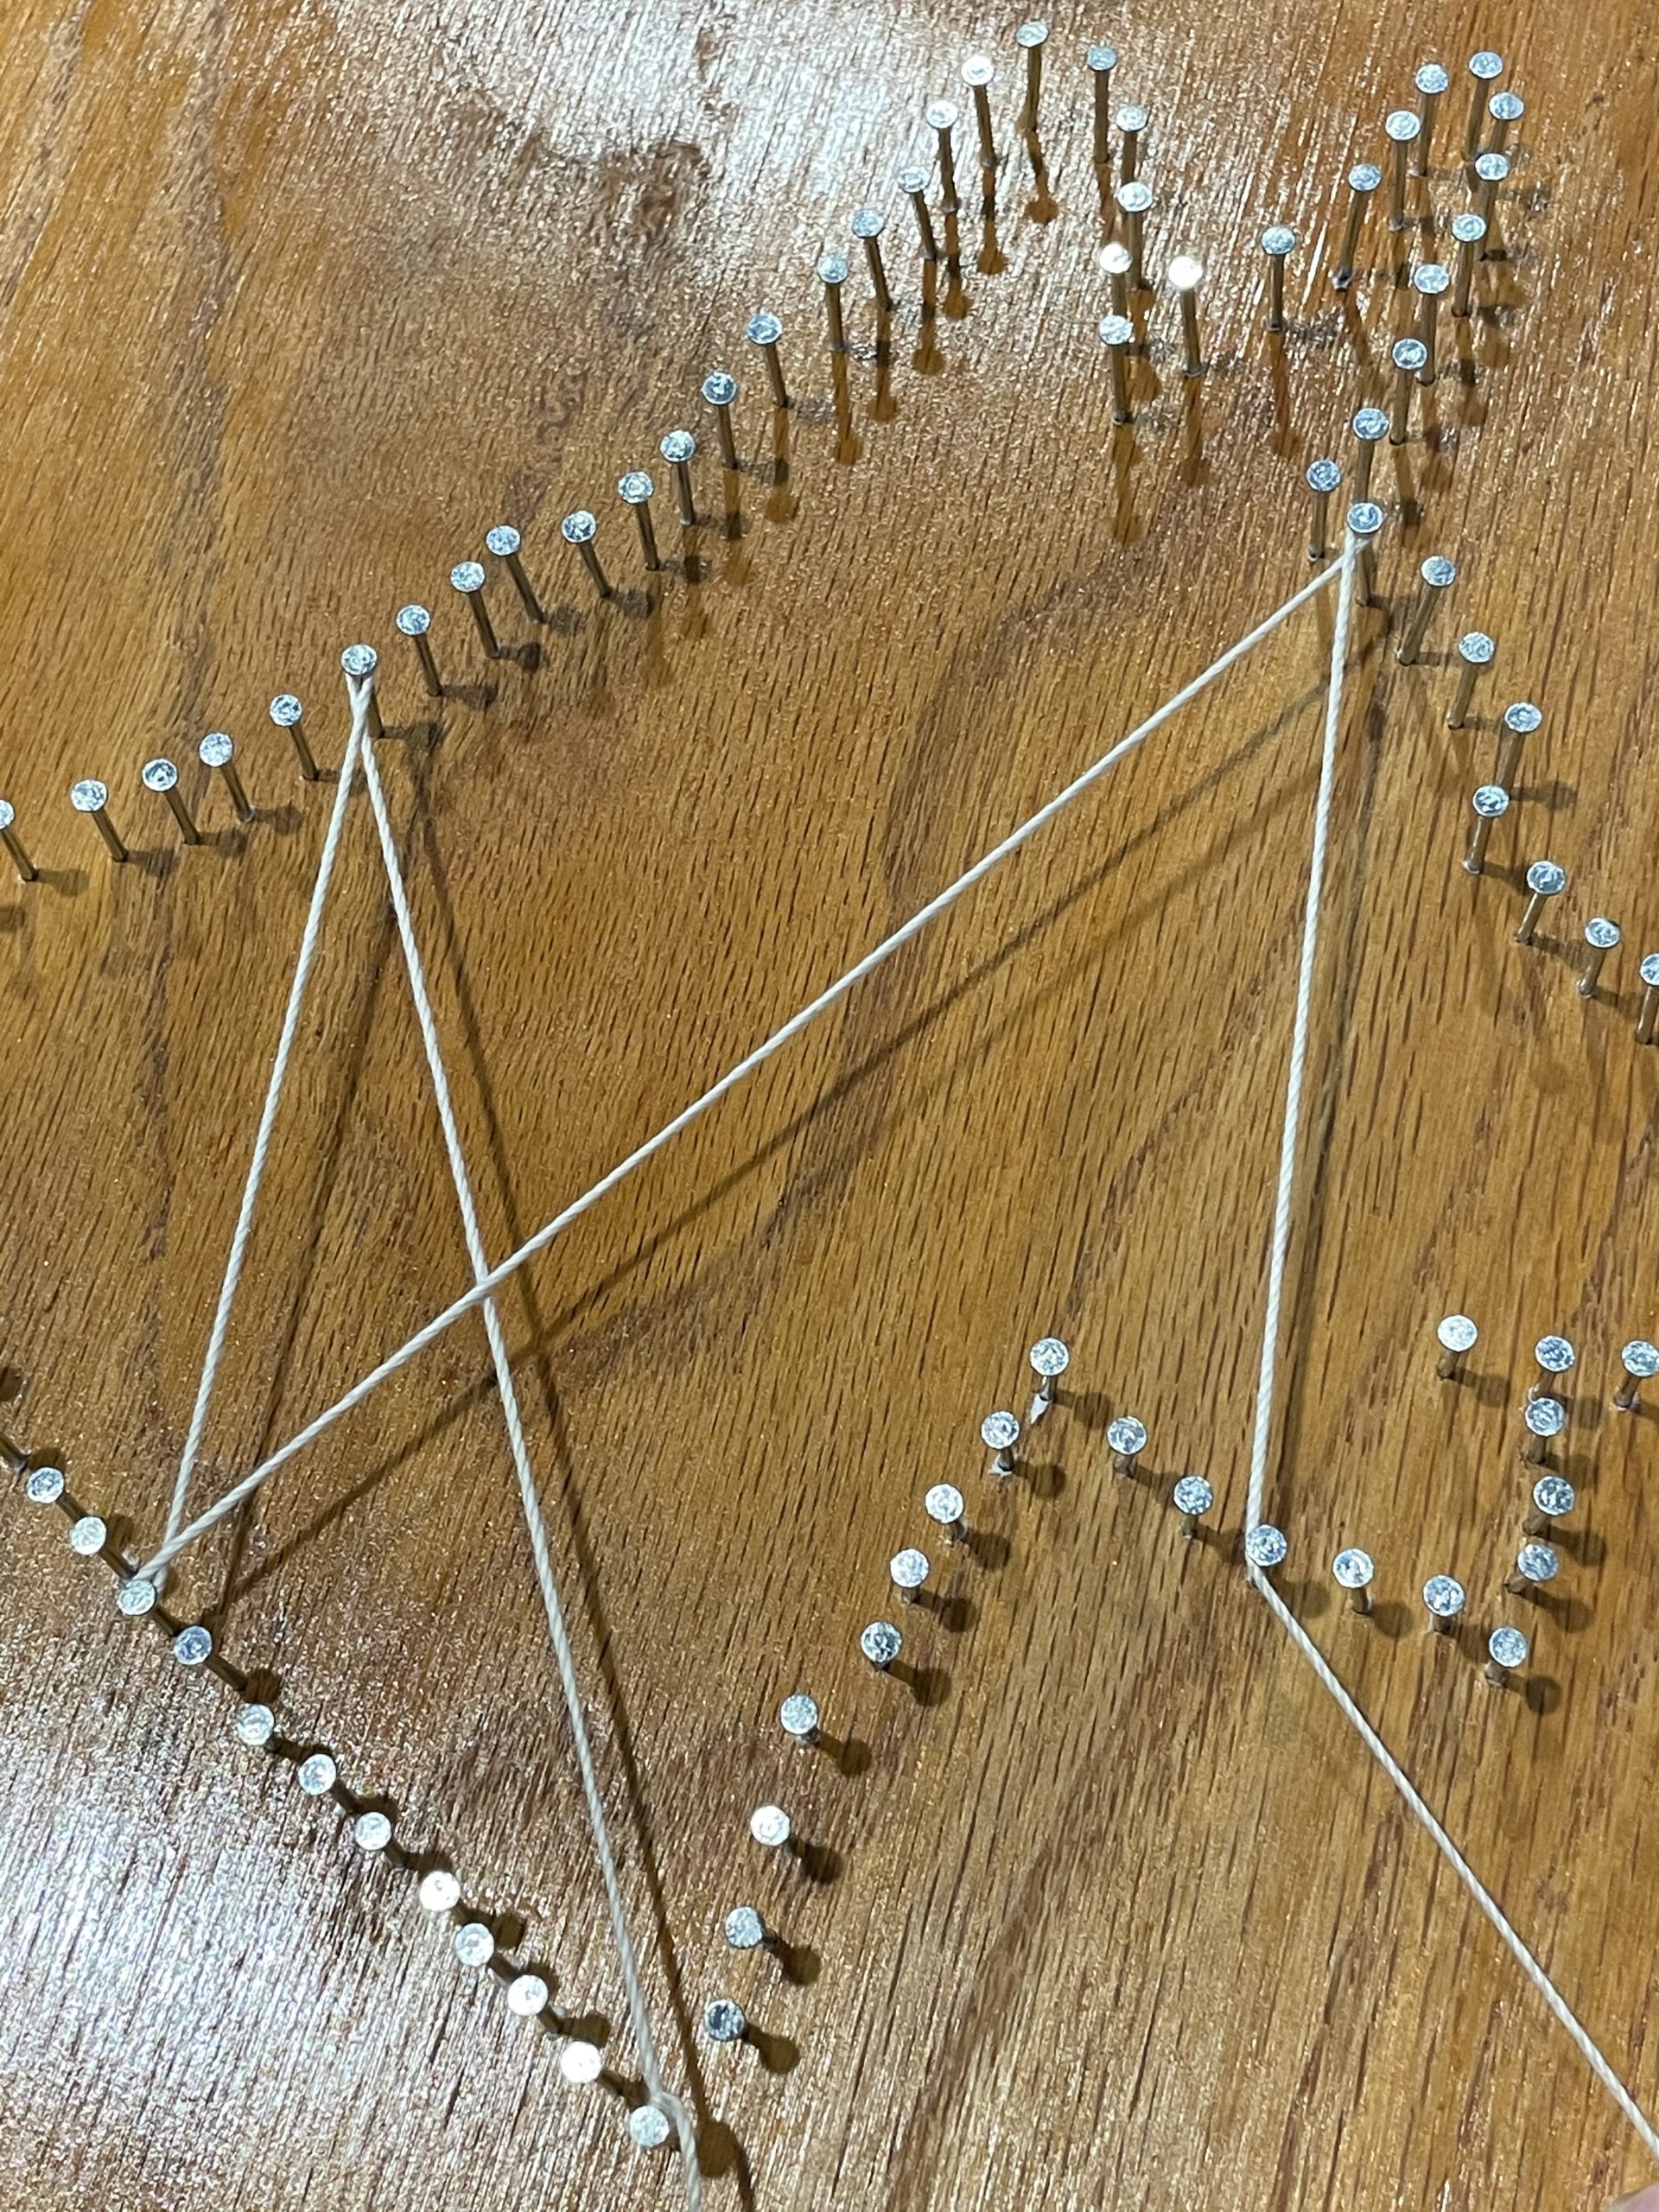
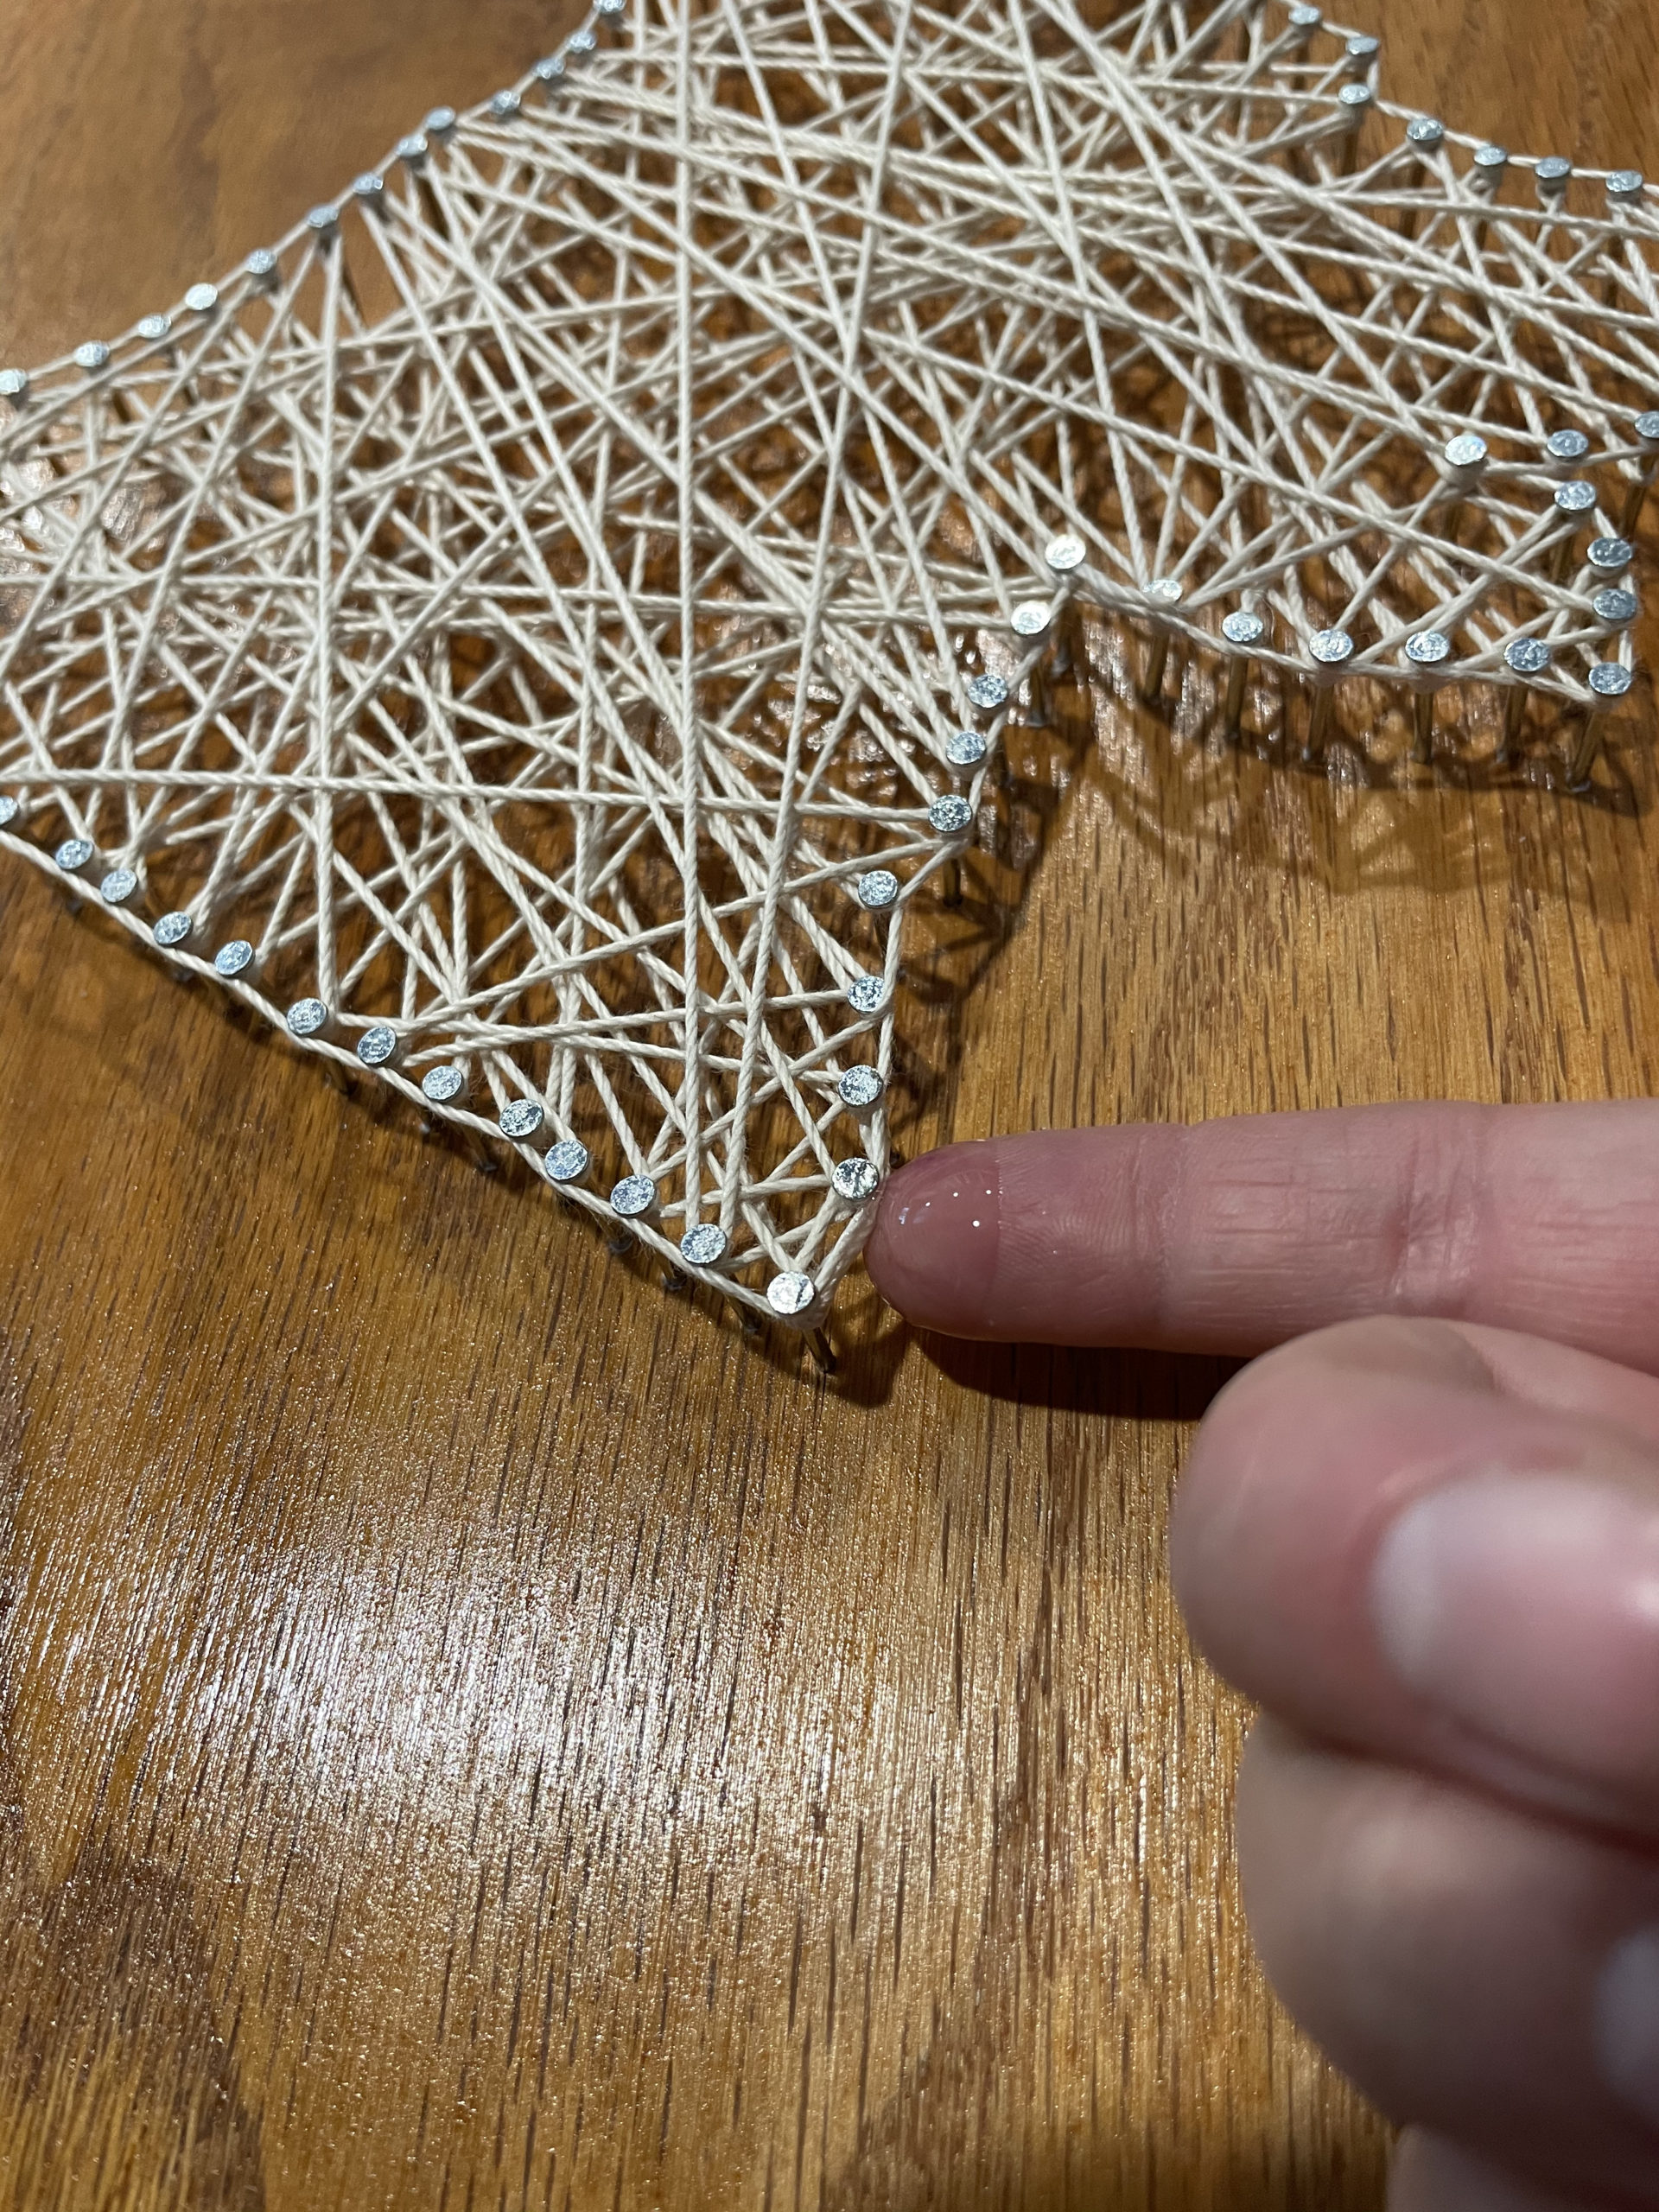
Gently pull on your string to keep it taut as you wrap it around each nail, randomly crisscrossing and zigzagging as you go. Make sure that each nail gets wrapped around 1-4 times by the end.
Some people like to go light on the string and use minimum amount while others like to go heavy and make a few layers of crisscrossing…go with the flow and let your creative self loose!
Final Outline
Once you are finished filling in your image, you may (or may not) want to give it an official outline by wrapping the string around every nail. This time, instead of zigzagging, wrap every nail going in the same direction until you work around the entire image. You may want to leave it with a single outline or work your way around again, for a double layer, to make the outline more pronounced.
Finishing Knot
Still keeping your string taut, double knot it around an easily accessible nail, and cut the string leaving a short tail hanging. Now, take a tiny dab of glue with your finger and rub it gently on the starting and finishing knots that you made. Again with your finger, take another dab of glue and tuck under and smooth each of the short hanging tails essentially gluing them onto other strings close by.
Picture Hangers (optional)
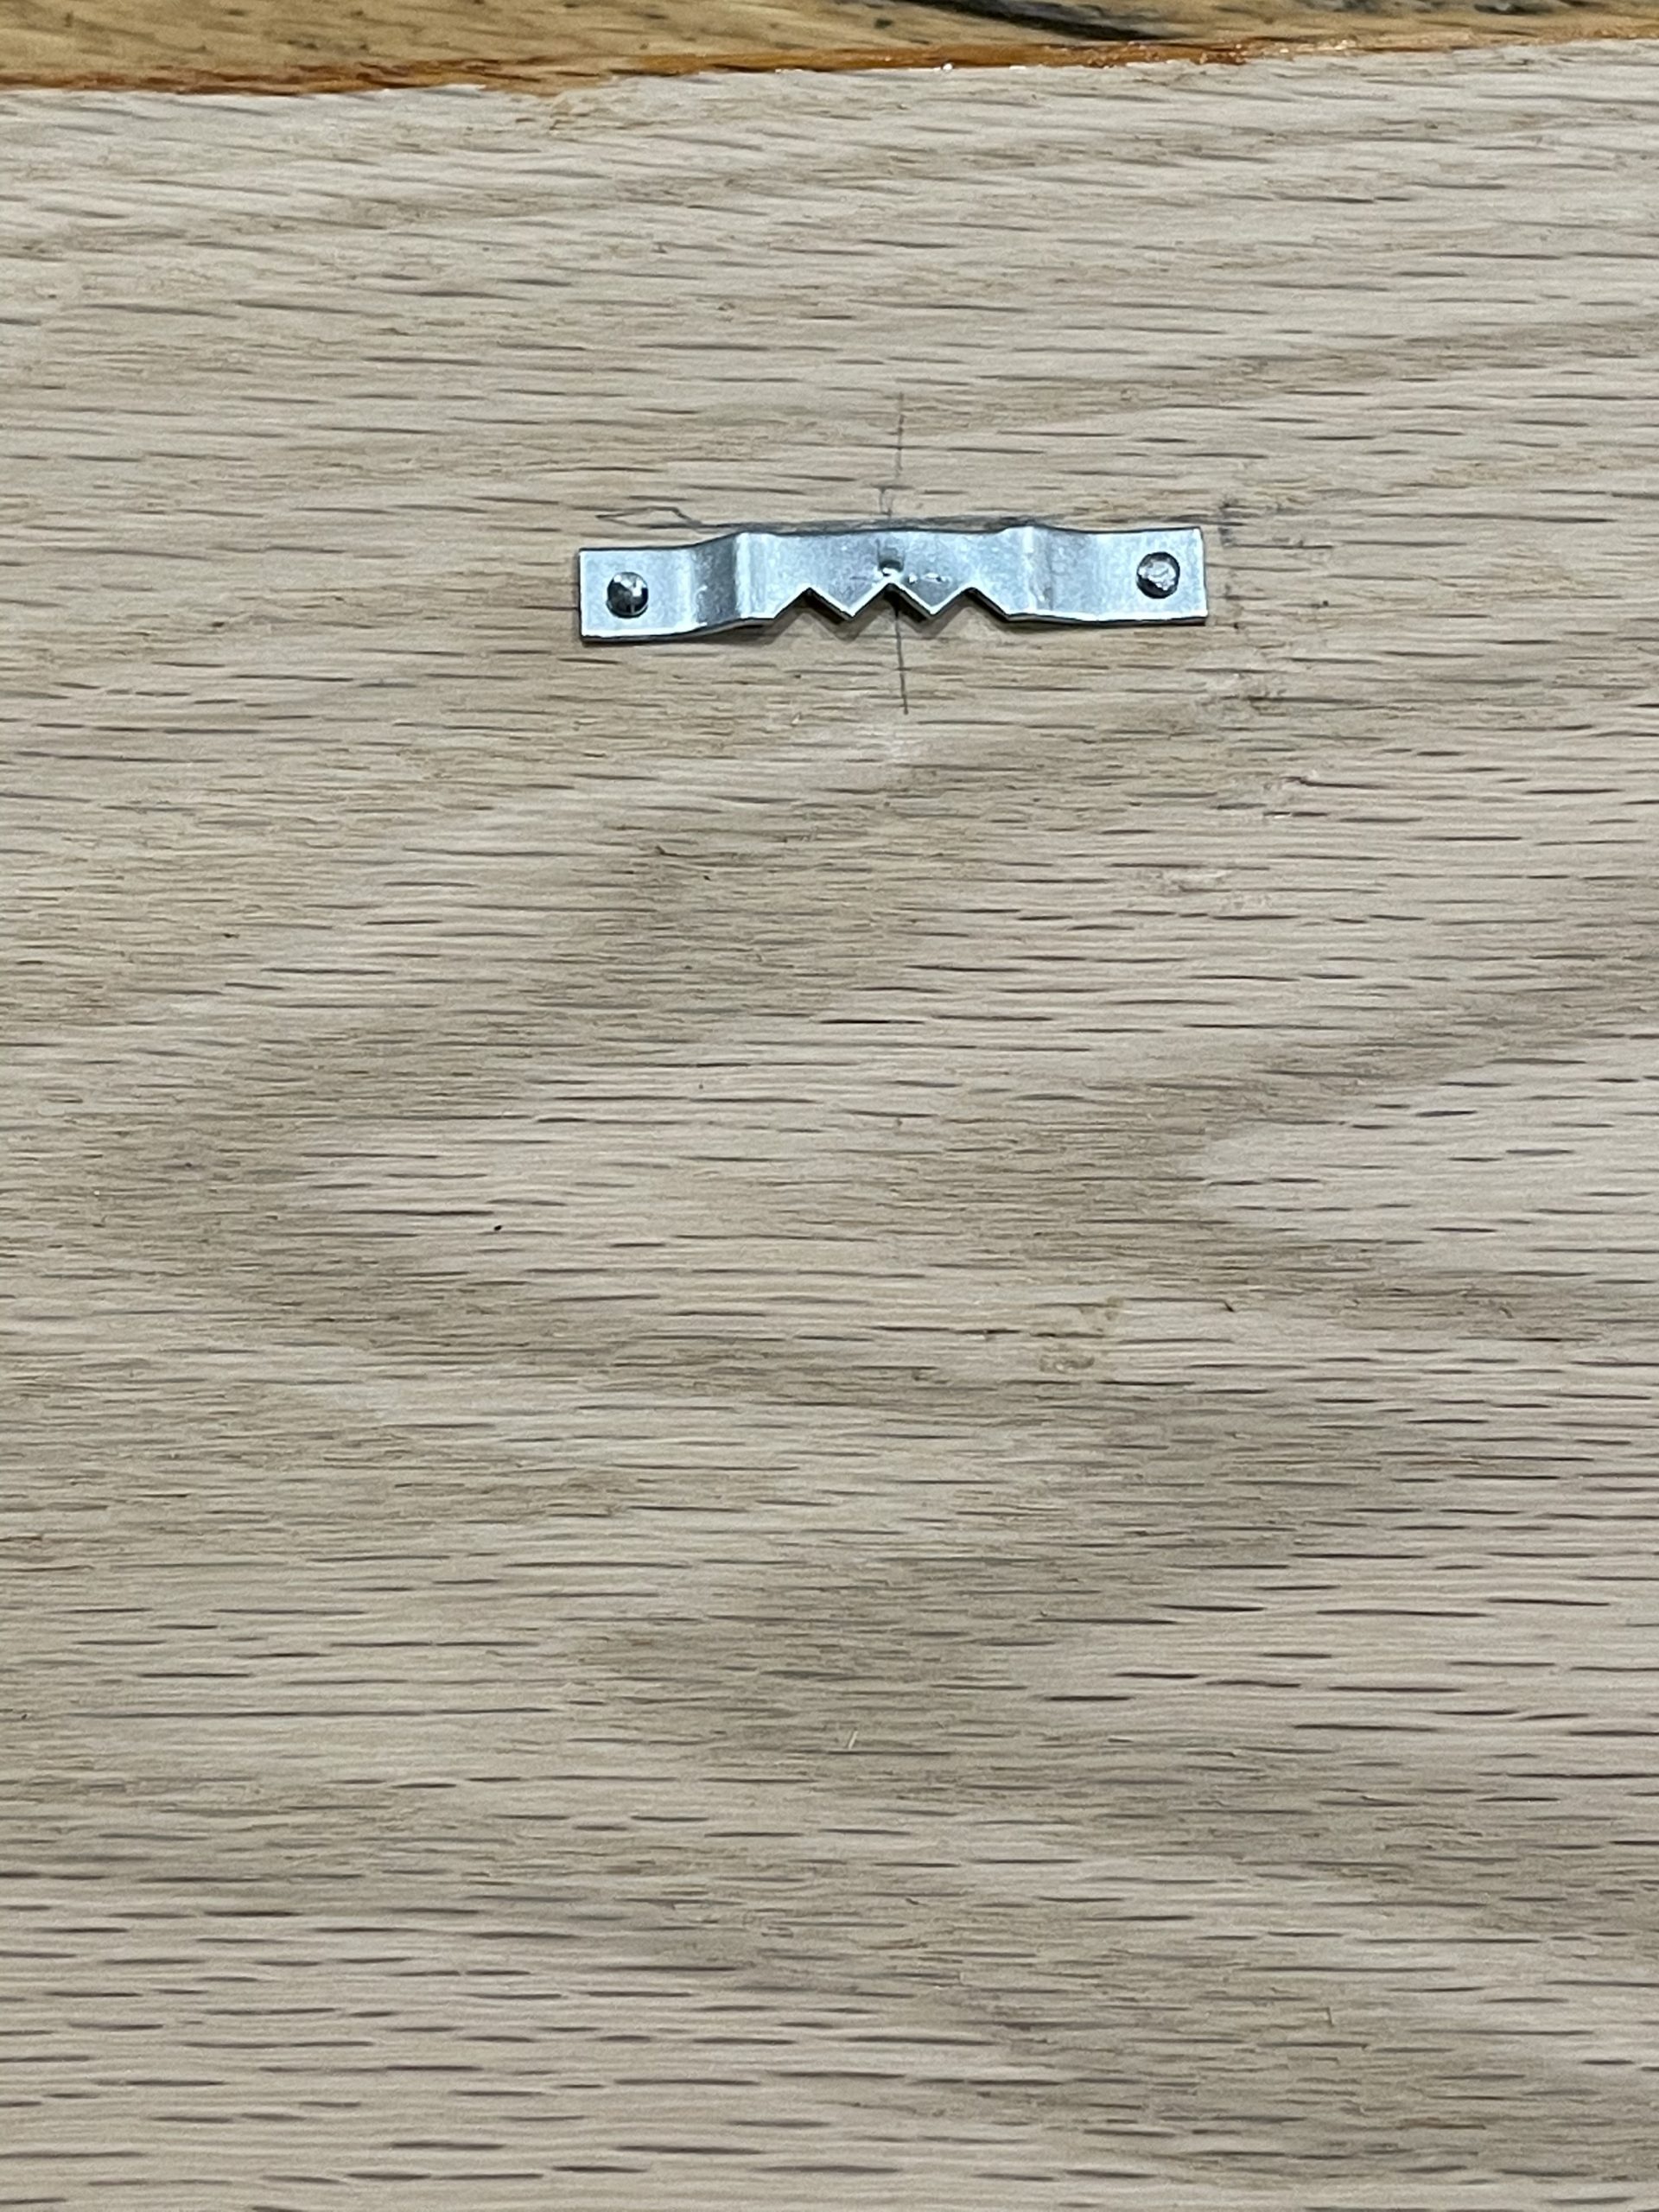
Now that you are done, flip your artwork over and add your hanging hardware if you choose. I found it helpful to put two boards covered with material at either end of the free space of my project in order to be able to hammer the hardware on the back without messing up what I just did on the front.
SHARE!
Ok , not that you are all DONE. Take a pic and share with us what you created! I would absolutely love to see it!
 About Me
0 Comments