DEHYDRATING APPLES
WOW! What have I been missing this whole time?! I had no idea that dehydrating apples was so simple and SO delicious……until today!
I always thought that I didn’t like dehydrated fruit but now I’m HOOKED.
Disclaimer: As an Amazon Associate I earn from qualifying purchases.
Over the summer, I purchased a very basic Presto dehydrator(paid link). In all honesty, it was totally a Covid impulse buy while I was at Walmart looking at empty canning shelves. I bought it to use as another way of preserving and I’m so glad that I did. I haven’t yet used it to its fullest potential but having fun playing with it and getting used to the process.
If you are new to dehydrating, I definitely recommend this affordable super easy to use Presto. (paid link) People in online forums had good reviews but said that I will want to order more trays (paid link) (this one has four) to stack higher and to be able to fit more dehydrating foods in it. While just starting out the 4 trays are totally suitable, I could see how adding more will be beneficial and I’m definitely planning on ordering some before next harvest.
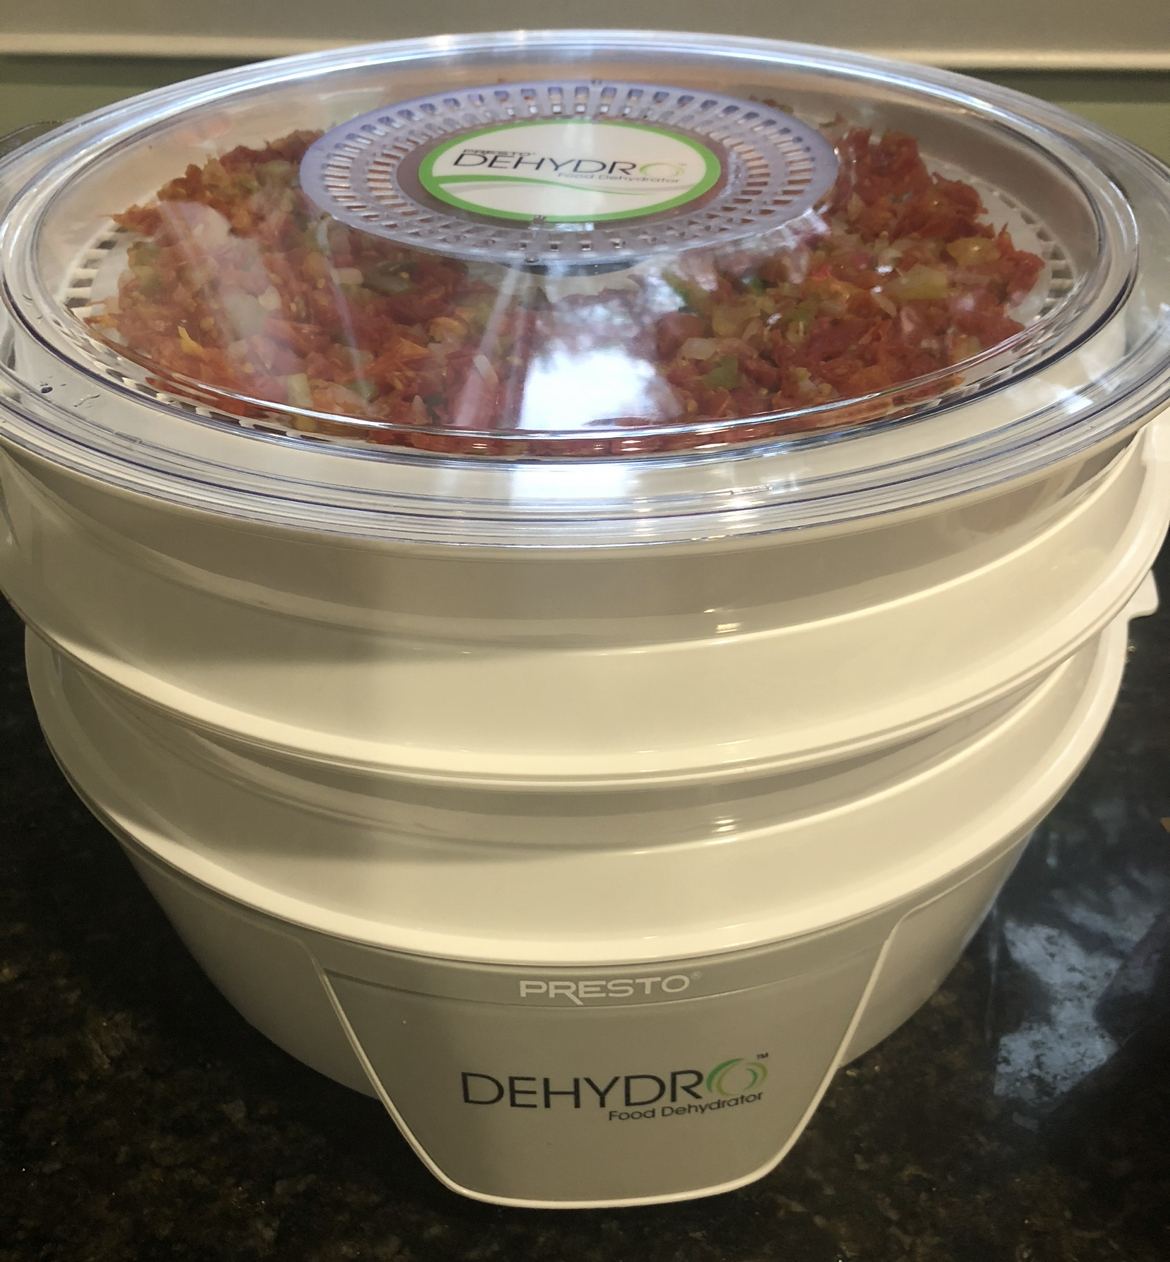
ANYWAY…on to Dehydrating Apples!
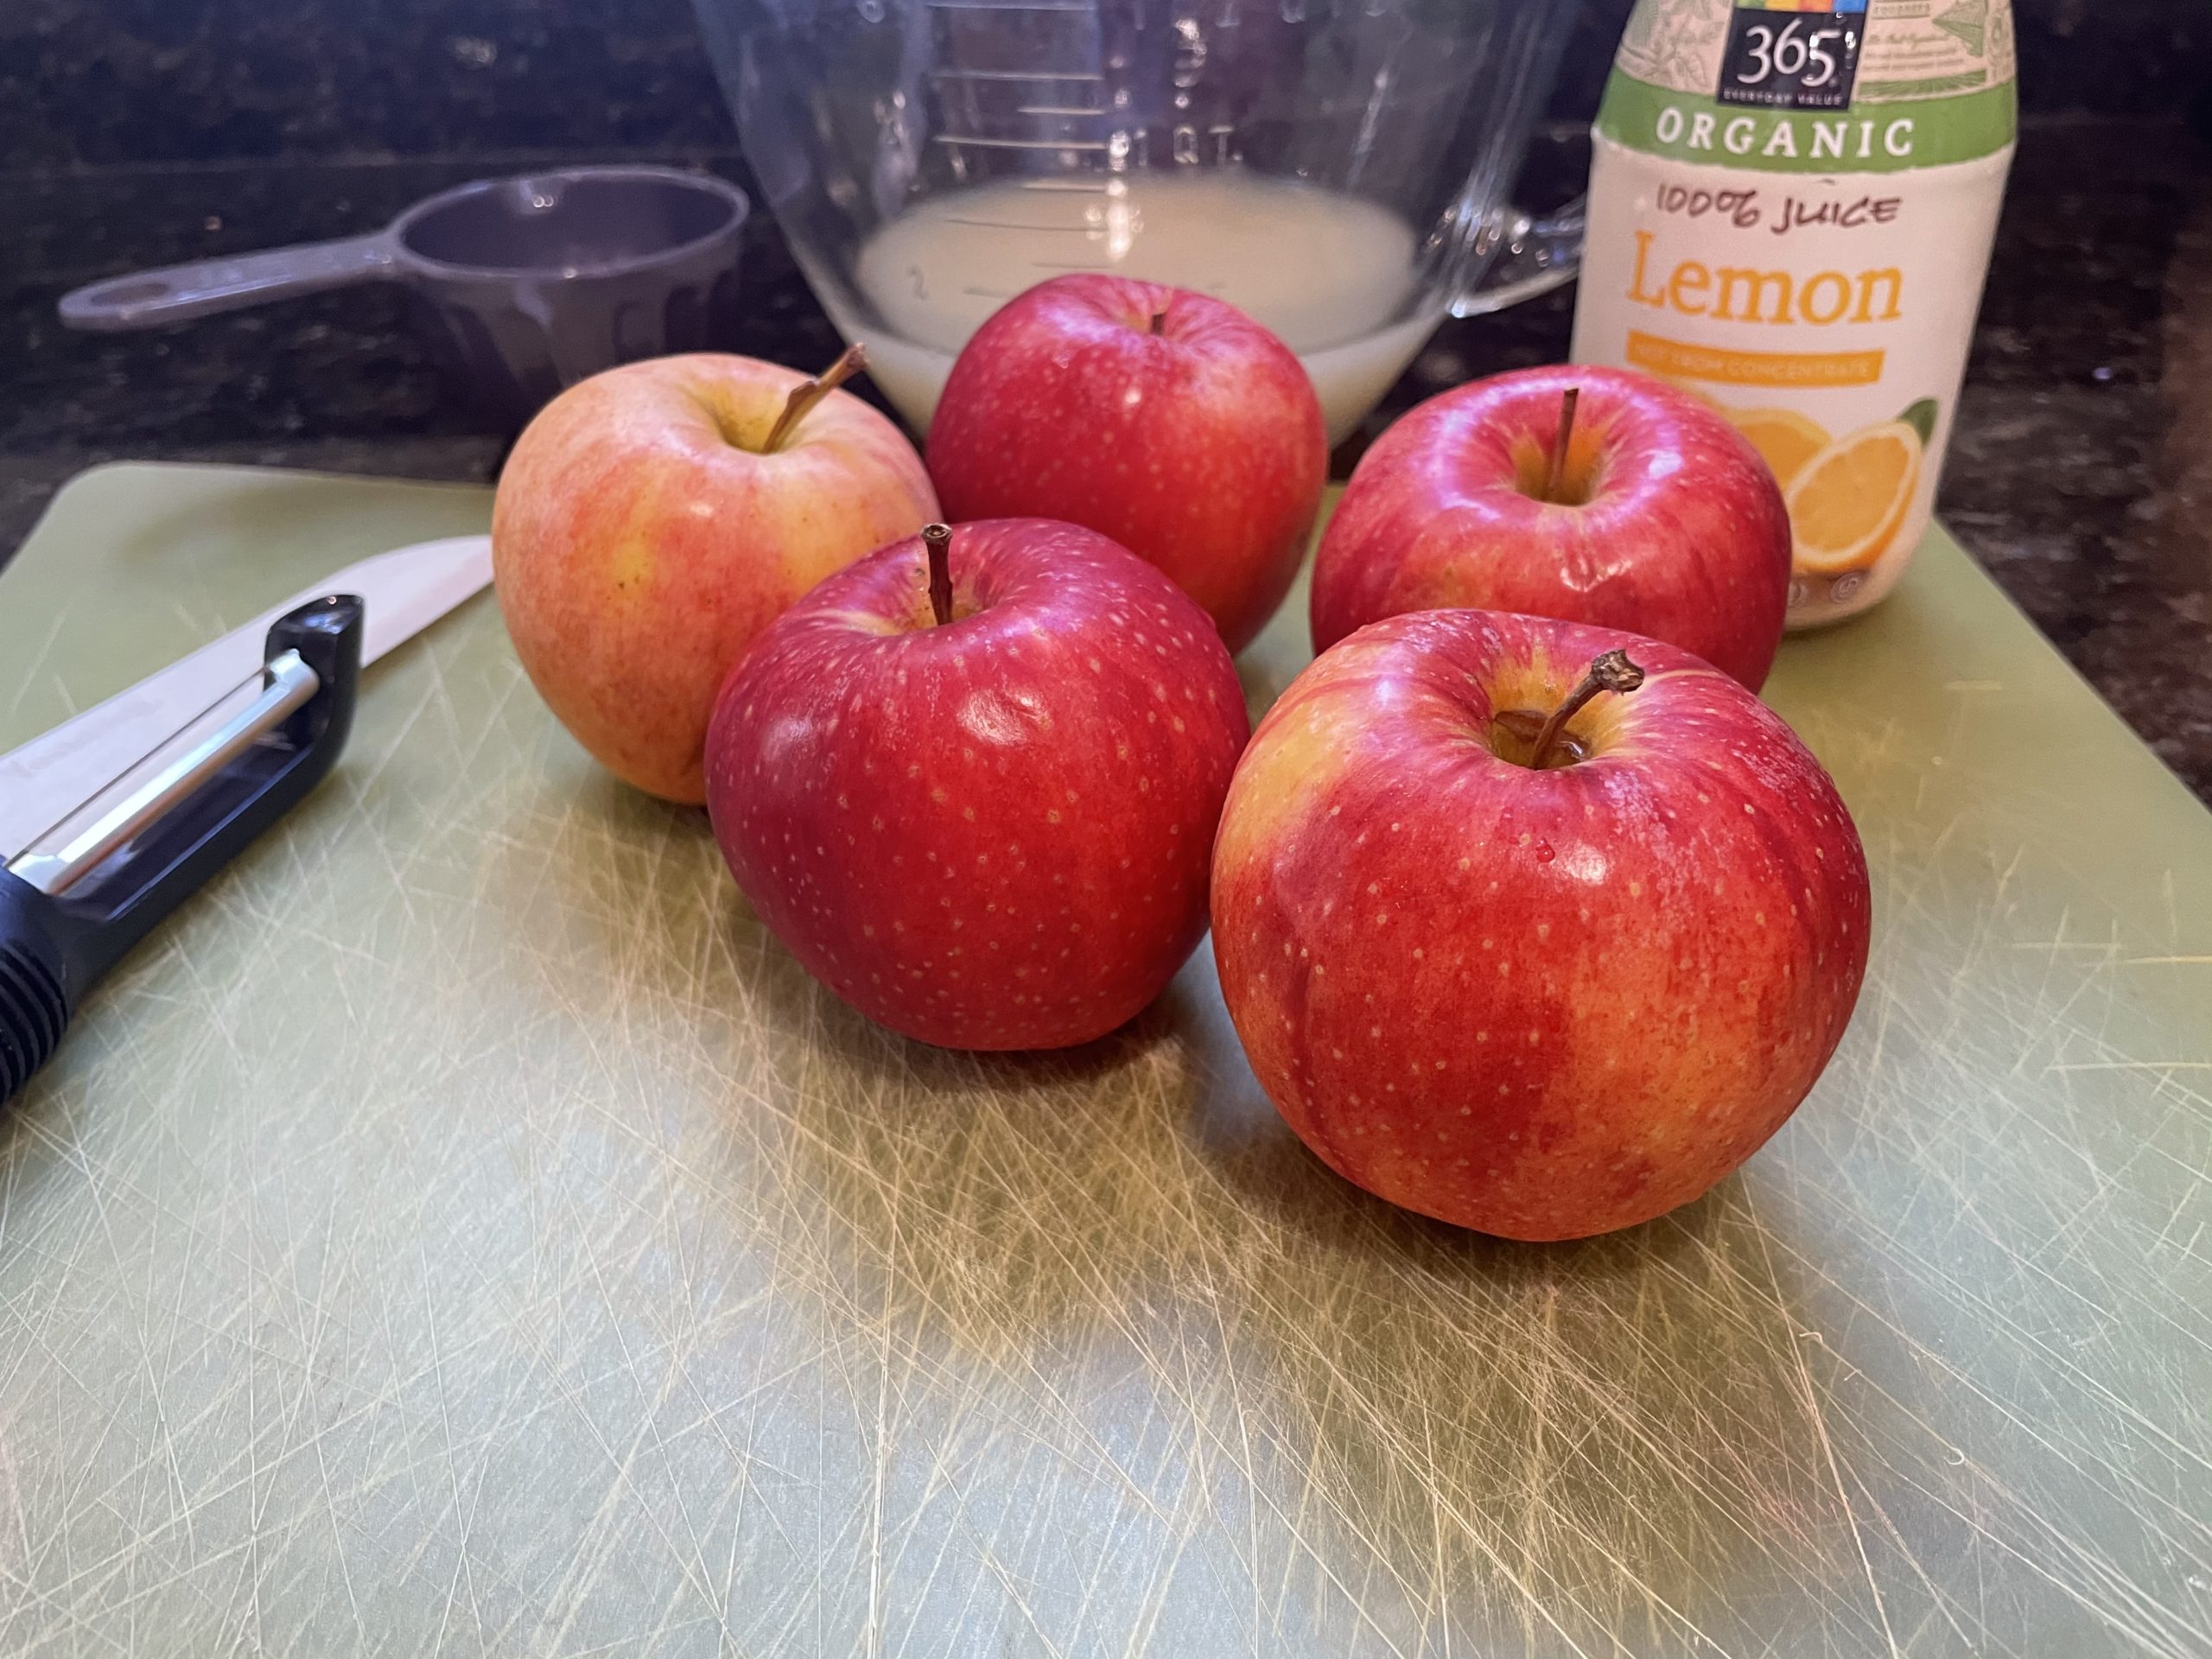
We recently found ourselves with an abundance of apples. However with very picky eaters in the house, they weren’t being eaten due to the not perfect texture on the inside. Are your kids like that too with apples?!? So they were either going to get made into something else or given to the chickens, either way something needed to be done with them or they are just going to rot. I thought about muffins but then Troy walked into the kitchen with a store bought bag of dehydrated bananas. Light bulb!
I’ve never tried dehydrating apples before so I just chose a handful of apples to give it a shot and see how we liked them.
**DEHYDRATING TIP- Until you are used to your machine’s capacity, start in small batches. 4 medium apples took up about 2- 2 ½ trays in this particular dehydrator. You don’t want to cut up too much of your produce and not be able to fit it all.
Pretreatment
PICK YOUR METHOD BEFORE YOU BEGIN
When dehydrating apples or certain other fruits, you may choose to “Pretreat” them to avoid discoloration. Discoloration happens when the air hits the enzymes in some fruits, which apples are notorious for. Pretreatment is not necessary however makes your finished product more appealing to the eye. Depending on the method that you choose as pretreatment, you might be able to taste a difference. Today I used lemon juice and water and didn’t taste it at all with only delicious results.
~Ascorbic Acid (Vitamin C) – this could be found in supplement departments in stores like Whole Foods, drugstores, or online. If in a powder form, mix 2 ½ tablespoons of ascorbic acid with 1 quart of cold water. If in Vitamin C tablet form, crush first then mix with 1 quart of cold water. Six 500mg tablets equal 1 teaspoon of powdered ascorbic acid. (So you would need 45 500mg tablets to equal 2 ½ tablesppons. ) Soak cut fruit for 10 minutes, drain well, and then place on dehydrating trays.
~Ascorbic Acid Mixtures- Mrs. Wages Fresh Preserver is probably the most common (but there are other brands) and usually found where canning supplies are sold as it’s used often when canning or freezing fresh fruits. It’s a combo of ascorbic acid and sugar. Follow the directions on the package if choosing this method.
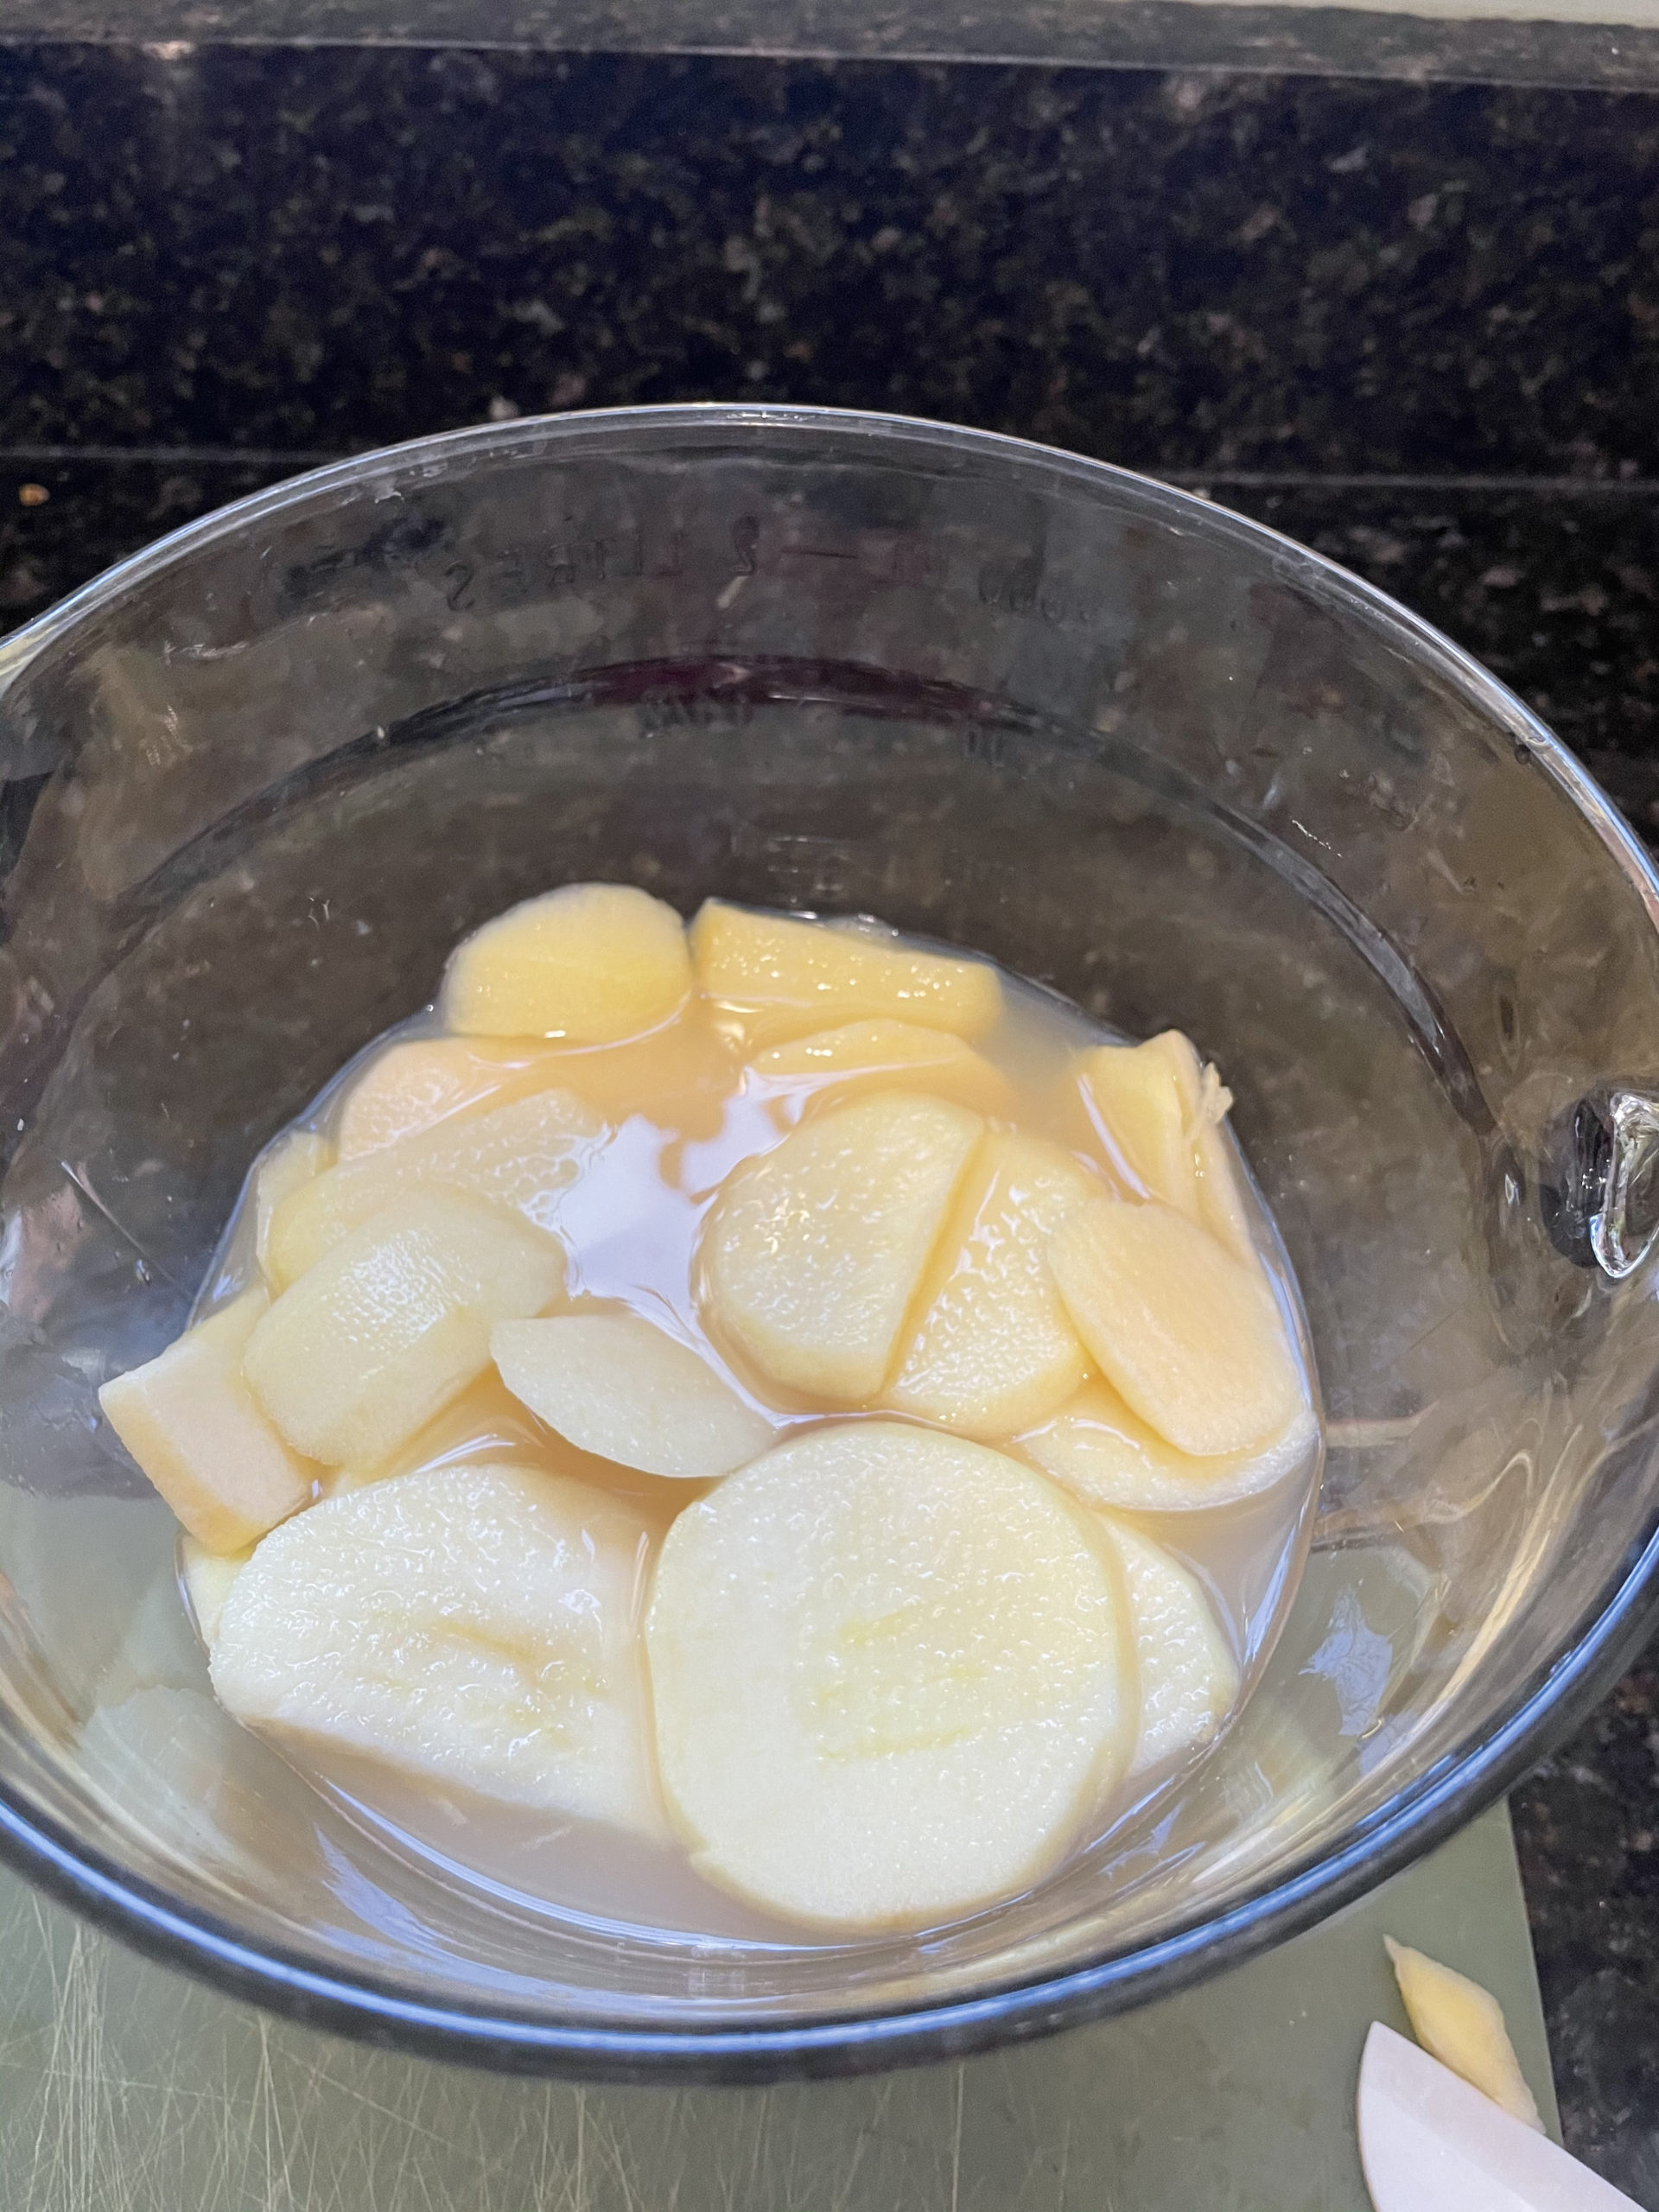
~Lemon Juice- Mix as a 1:1 ratio of equal parts of cold water and lemon juice. Soak cut fruit for 10 minutes, drain well, and then place oh dehydrating trays. This is what I have on hand and measurements are easily adjusted so Lemon Juice & Water is my choice method.
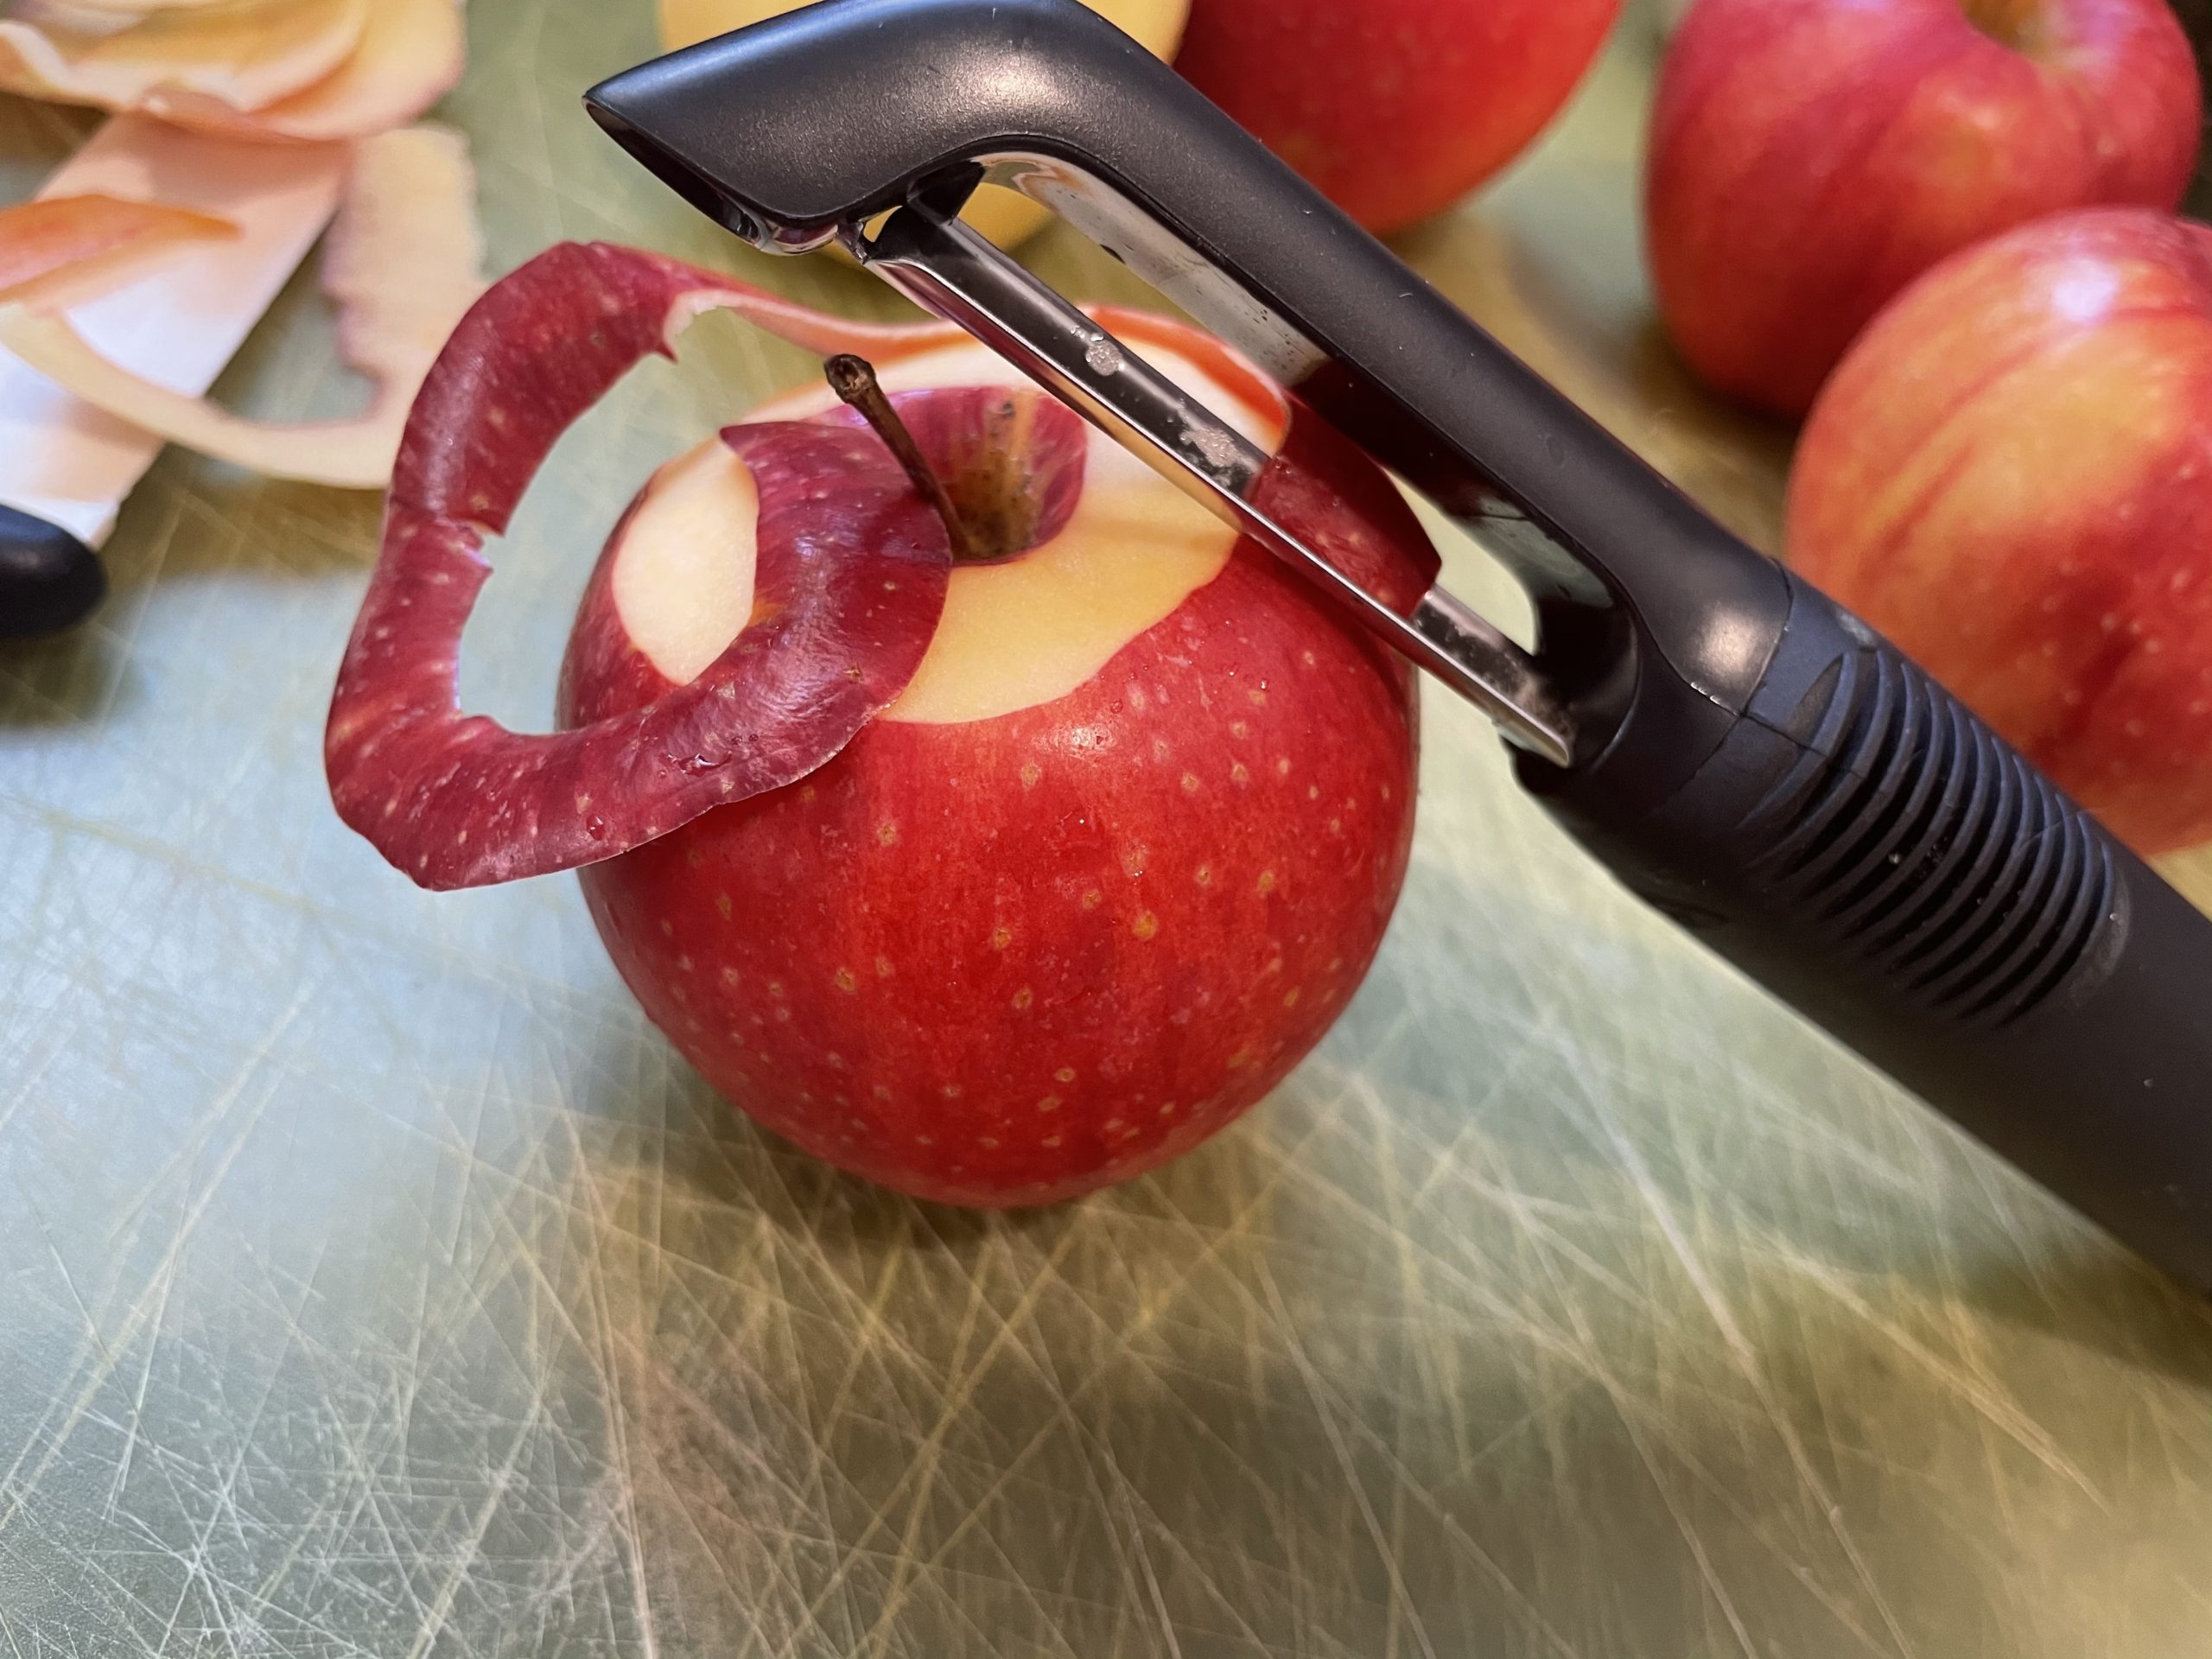
Slice Apples
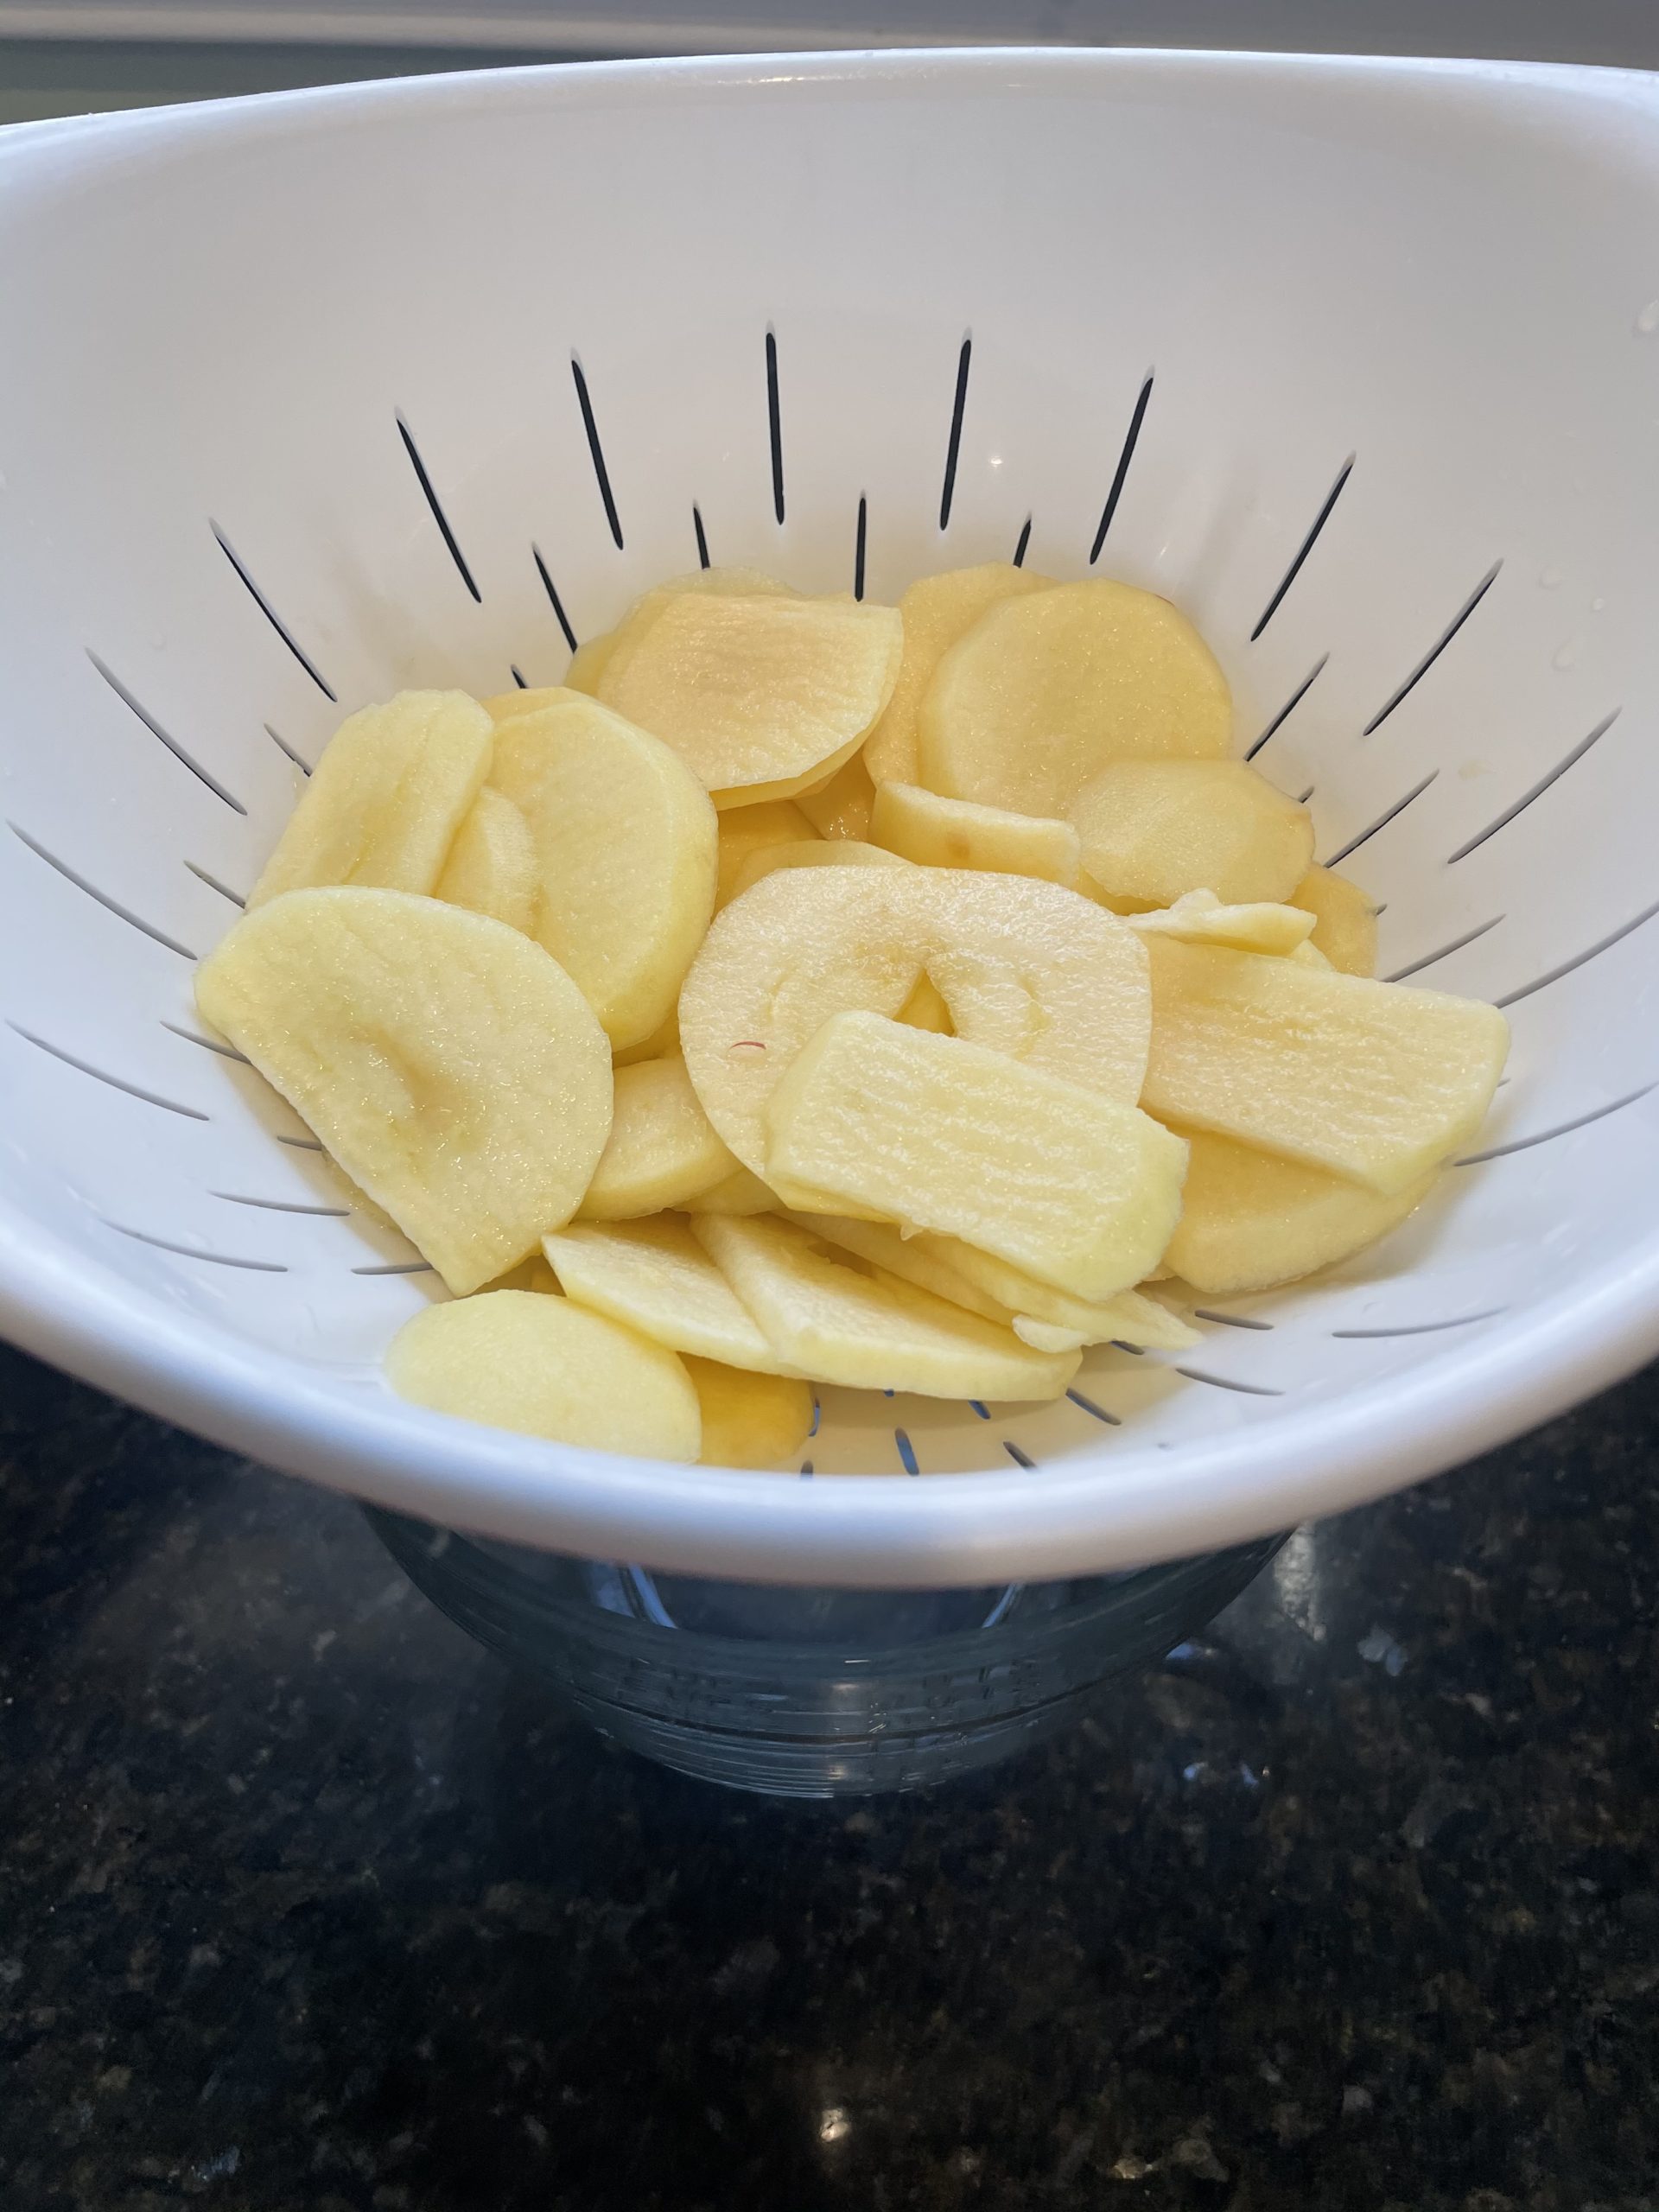
Core, peal (if desired), and slice apples to uniform 1/8-1/4 inch thickness. If you don’t have an apple corer (I don’t), just cut slices from each side of the core. You won’t have pretty rings but they will taste the same so who cares!
**DEHYDRATING TIP-Can you Dehydrate bruised Apples?? Yes bruised and very ripe fruit can be dehydrated, just make sure there is absolutely NO mold….personally I set aside my overly bruised ones as a treat for the chickens.
SOAK
Soak apples for 10 minutes in your desired pretreatment solution. Drain well before placing on your dehydrator’s tray.
TRAY THEM UP
Place your apple slices onto your dehydrator’s trays in a single layer. You will want them close together but not overlapping.
DRYING
My dehydrator (paid link)is pretty basic and doesn’t have a temperature option. Those more advanced in their dehydrating skills tend not to like this, however for beginners I feel like it’s just fine as it keeps it simple. If you have a fancy dancy machine, you’ll want to dry fruit at about 135F.
Your machine will usually come with a little book that has recommended drying times (and temps!). For Dehydrating Apples the drying time is usually 4-6 hours.
Since I didn’t fill or use all of my trays, I set the timer for 4 hours to begin checking and that was all the time I needed for this batch.
ARE THEY DONE YET?!?
To check your dehydrating apples for doneness, remove a slice from each tray (always check each tray) and allow to cool to room temperature.
Dehydrated fruit may be a bit soft and pliable however not at all sticky. To test this, fold your apple slice in half and see if it sticks together. If it does stick, continue to dehydrate longer checking again in about 30mins-1 hr depending on how close to dryness they seem to be.
Once dry, turn off machine and let apples cool to room temperature.
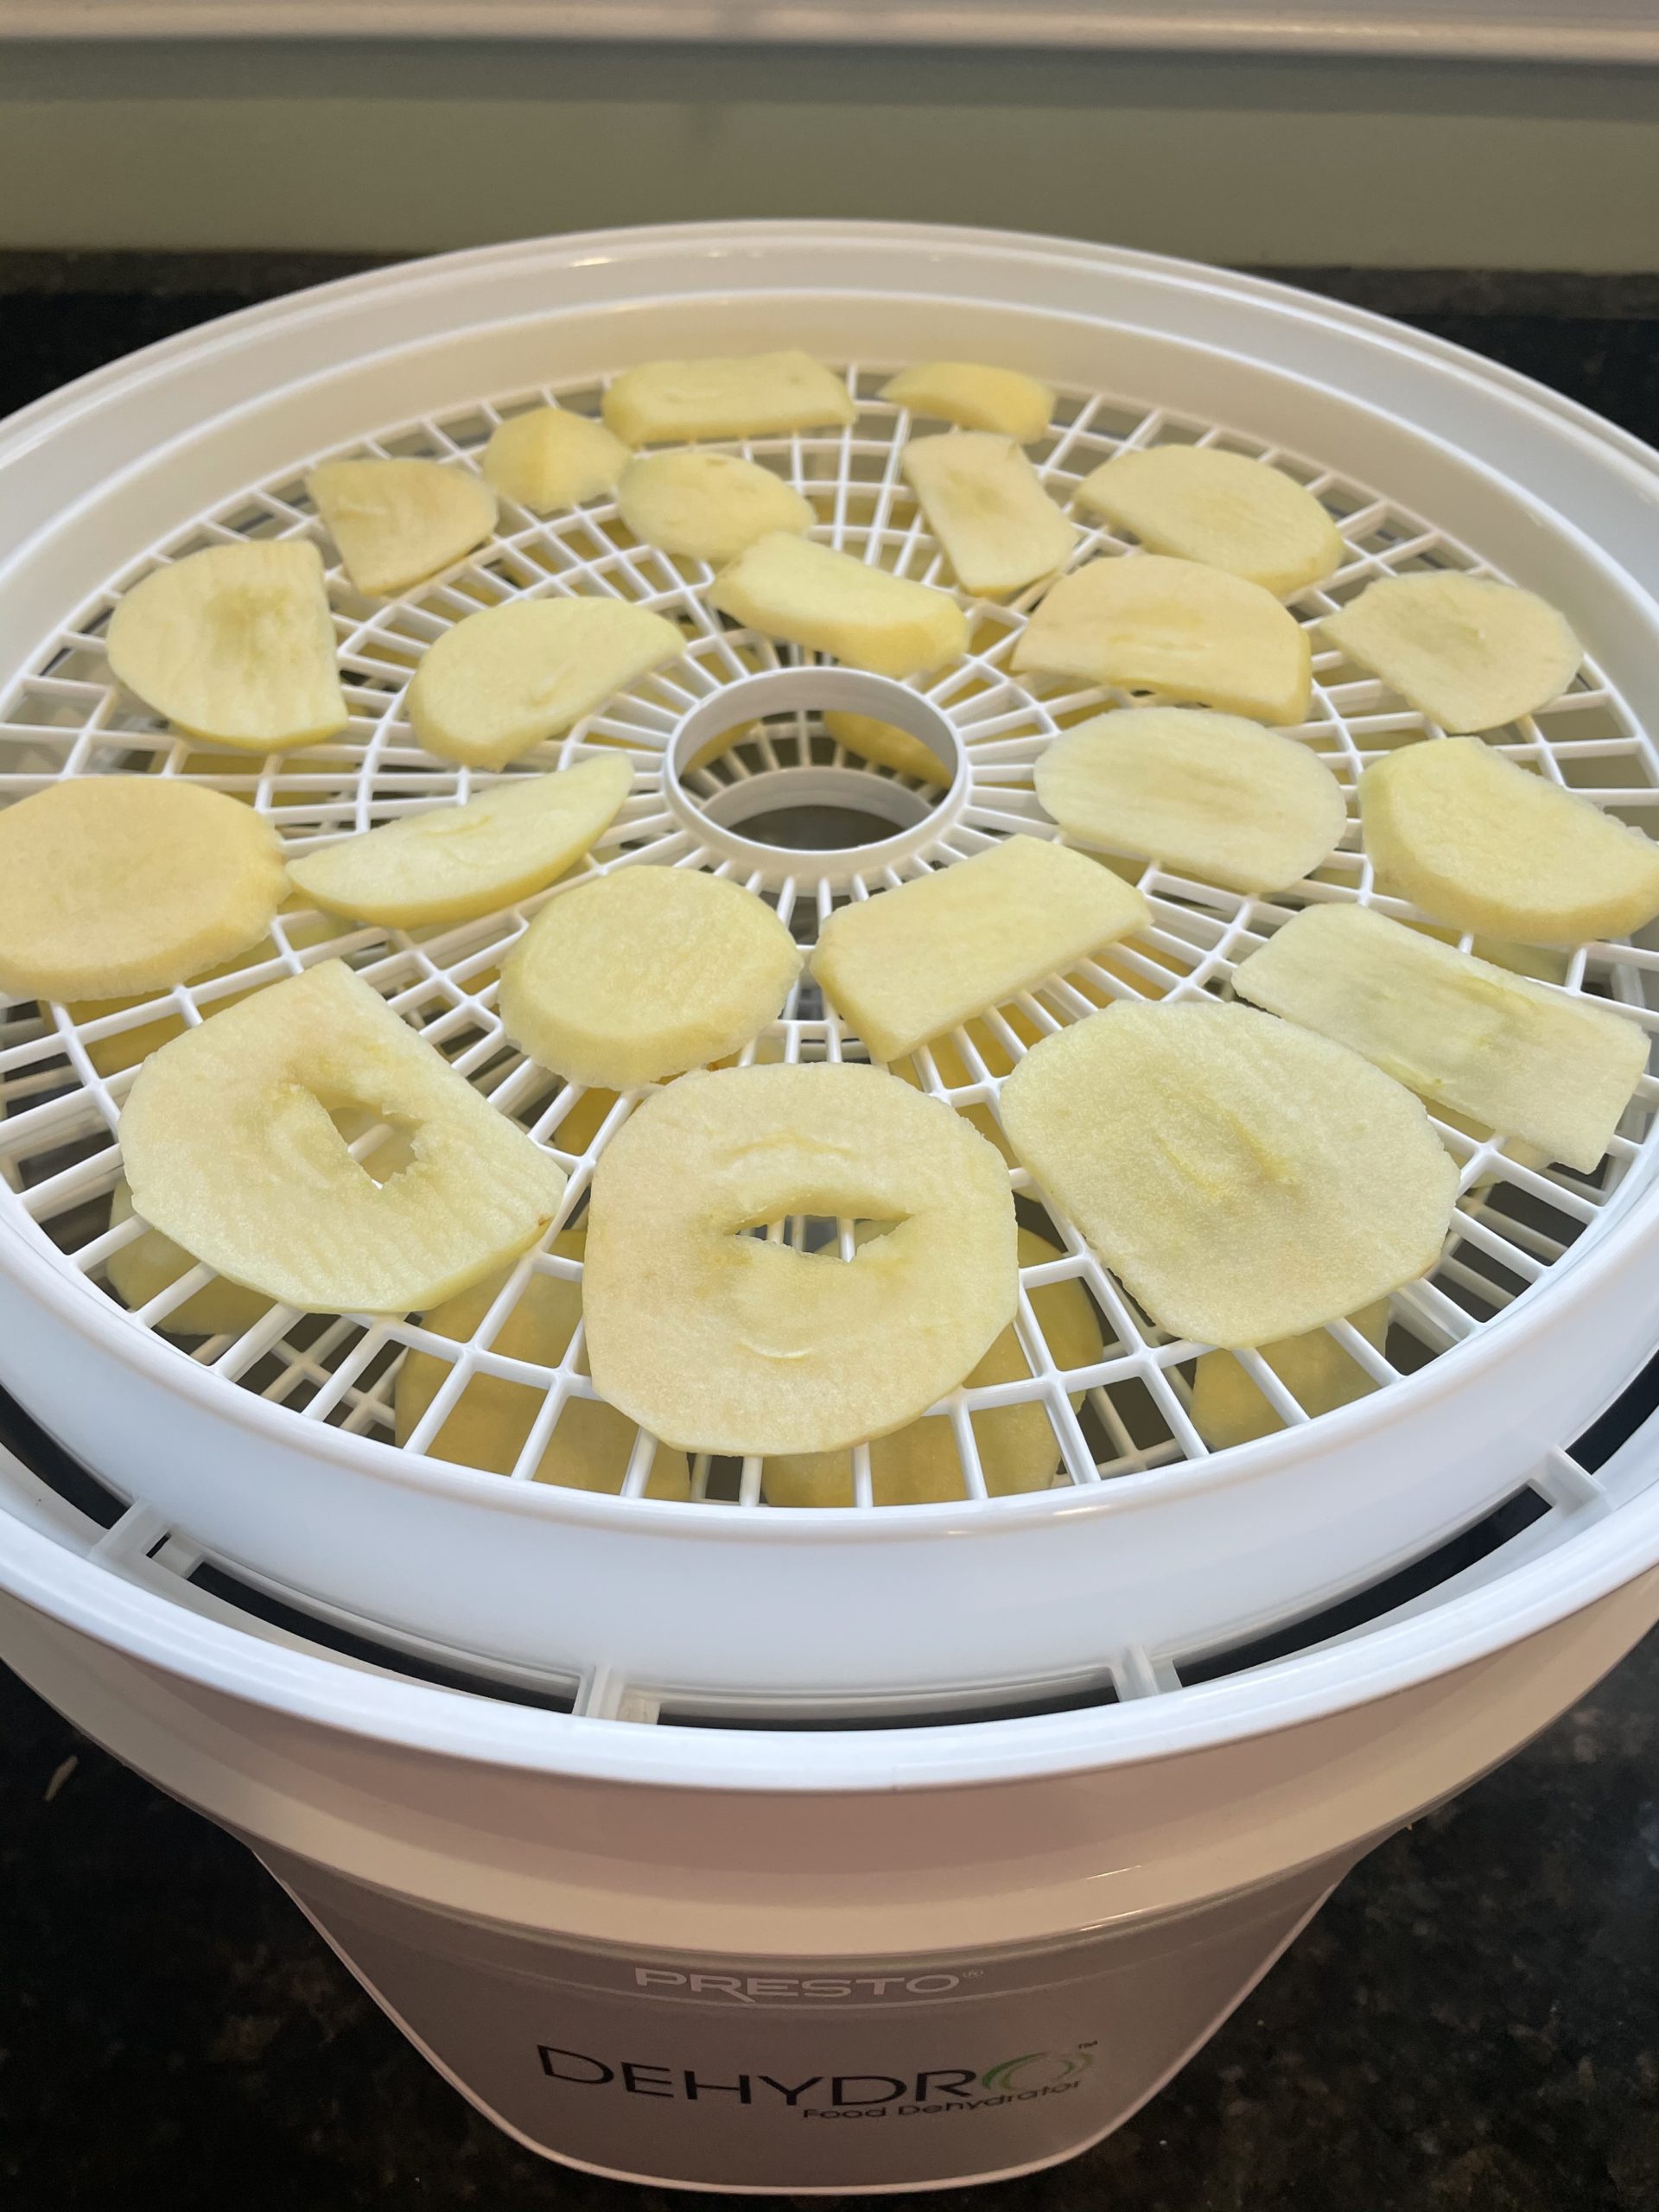
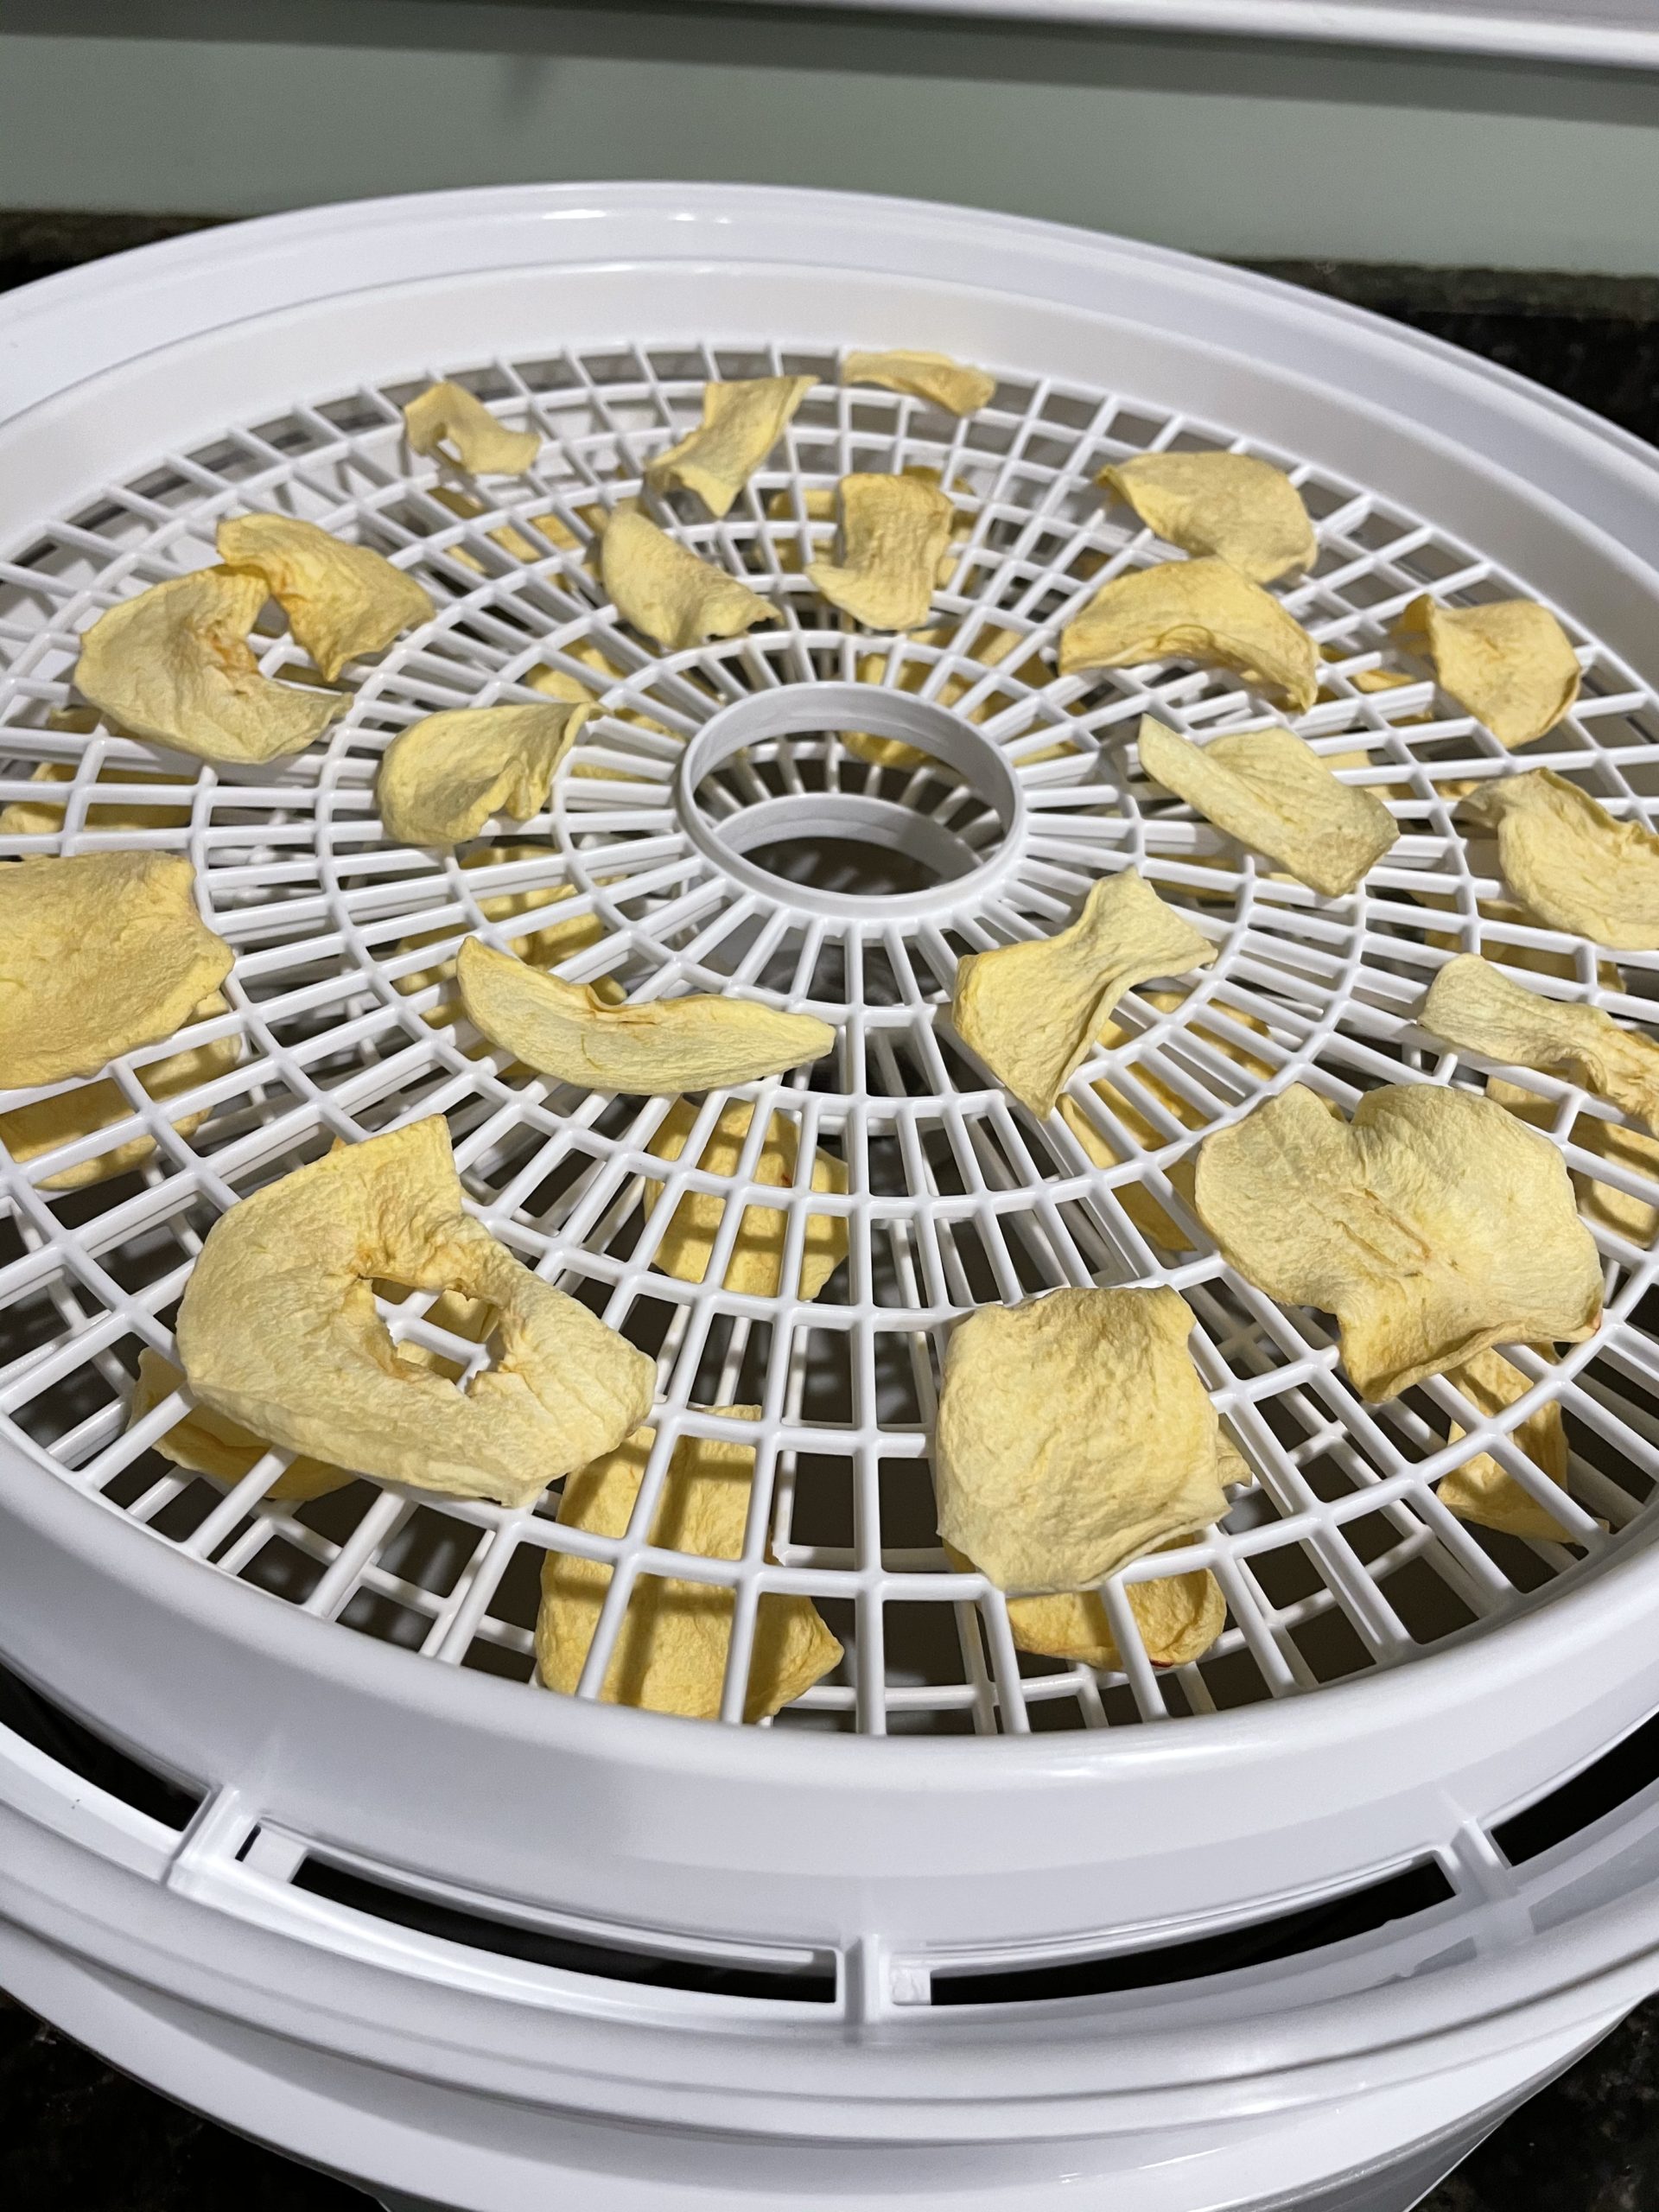
CONDITIONING
Since each fruit piece is a different size and may be slightly varying in thickness, their moisture content is going to be different as well, and while they may APPEAR dry there still may be some lingering moisture inside. Always take the time to do the process of conditioning when dehydrating apples or anything else for that matter.
Conditioning is a process that is done to help evenly distribute moisture between pieces, reduce the risk of mold, and alert you if you need to dehydrate longer.
**DEHYDRATING TIP- Take the time to Condition your dehydrated bounty to avoid a jar full of mold a month from now.
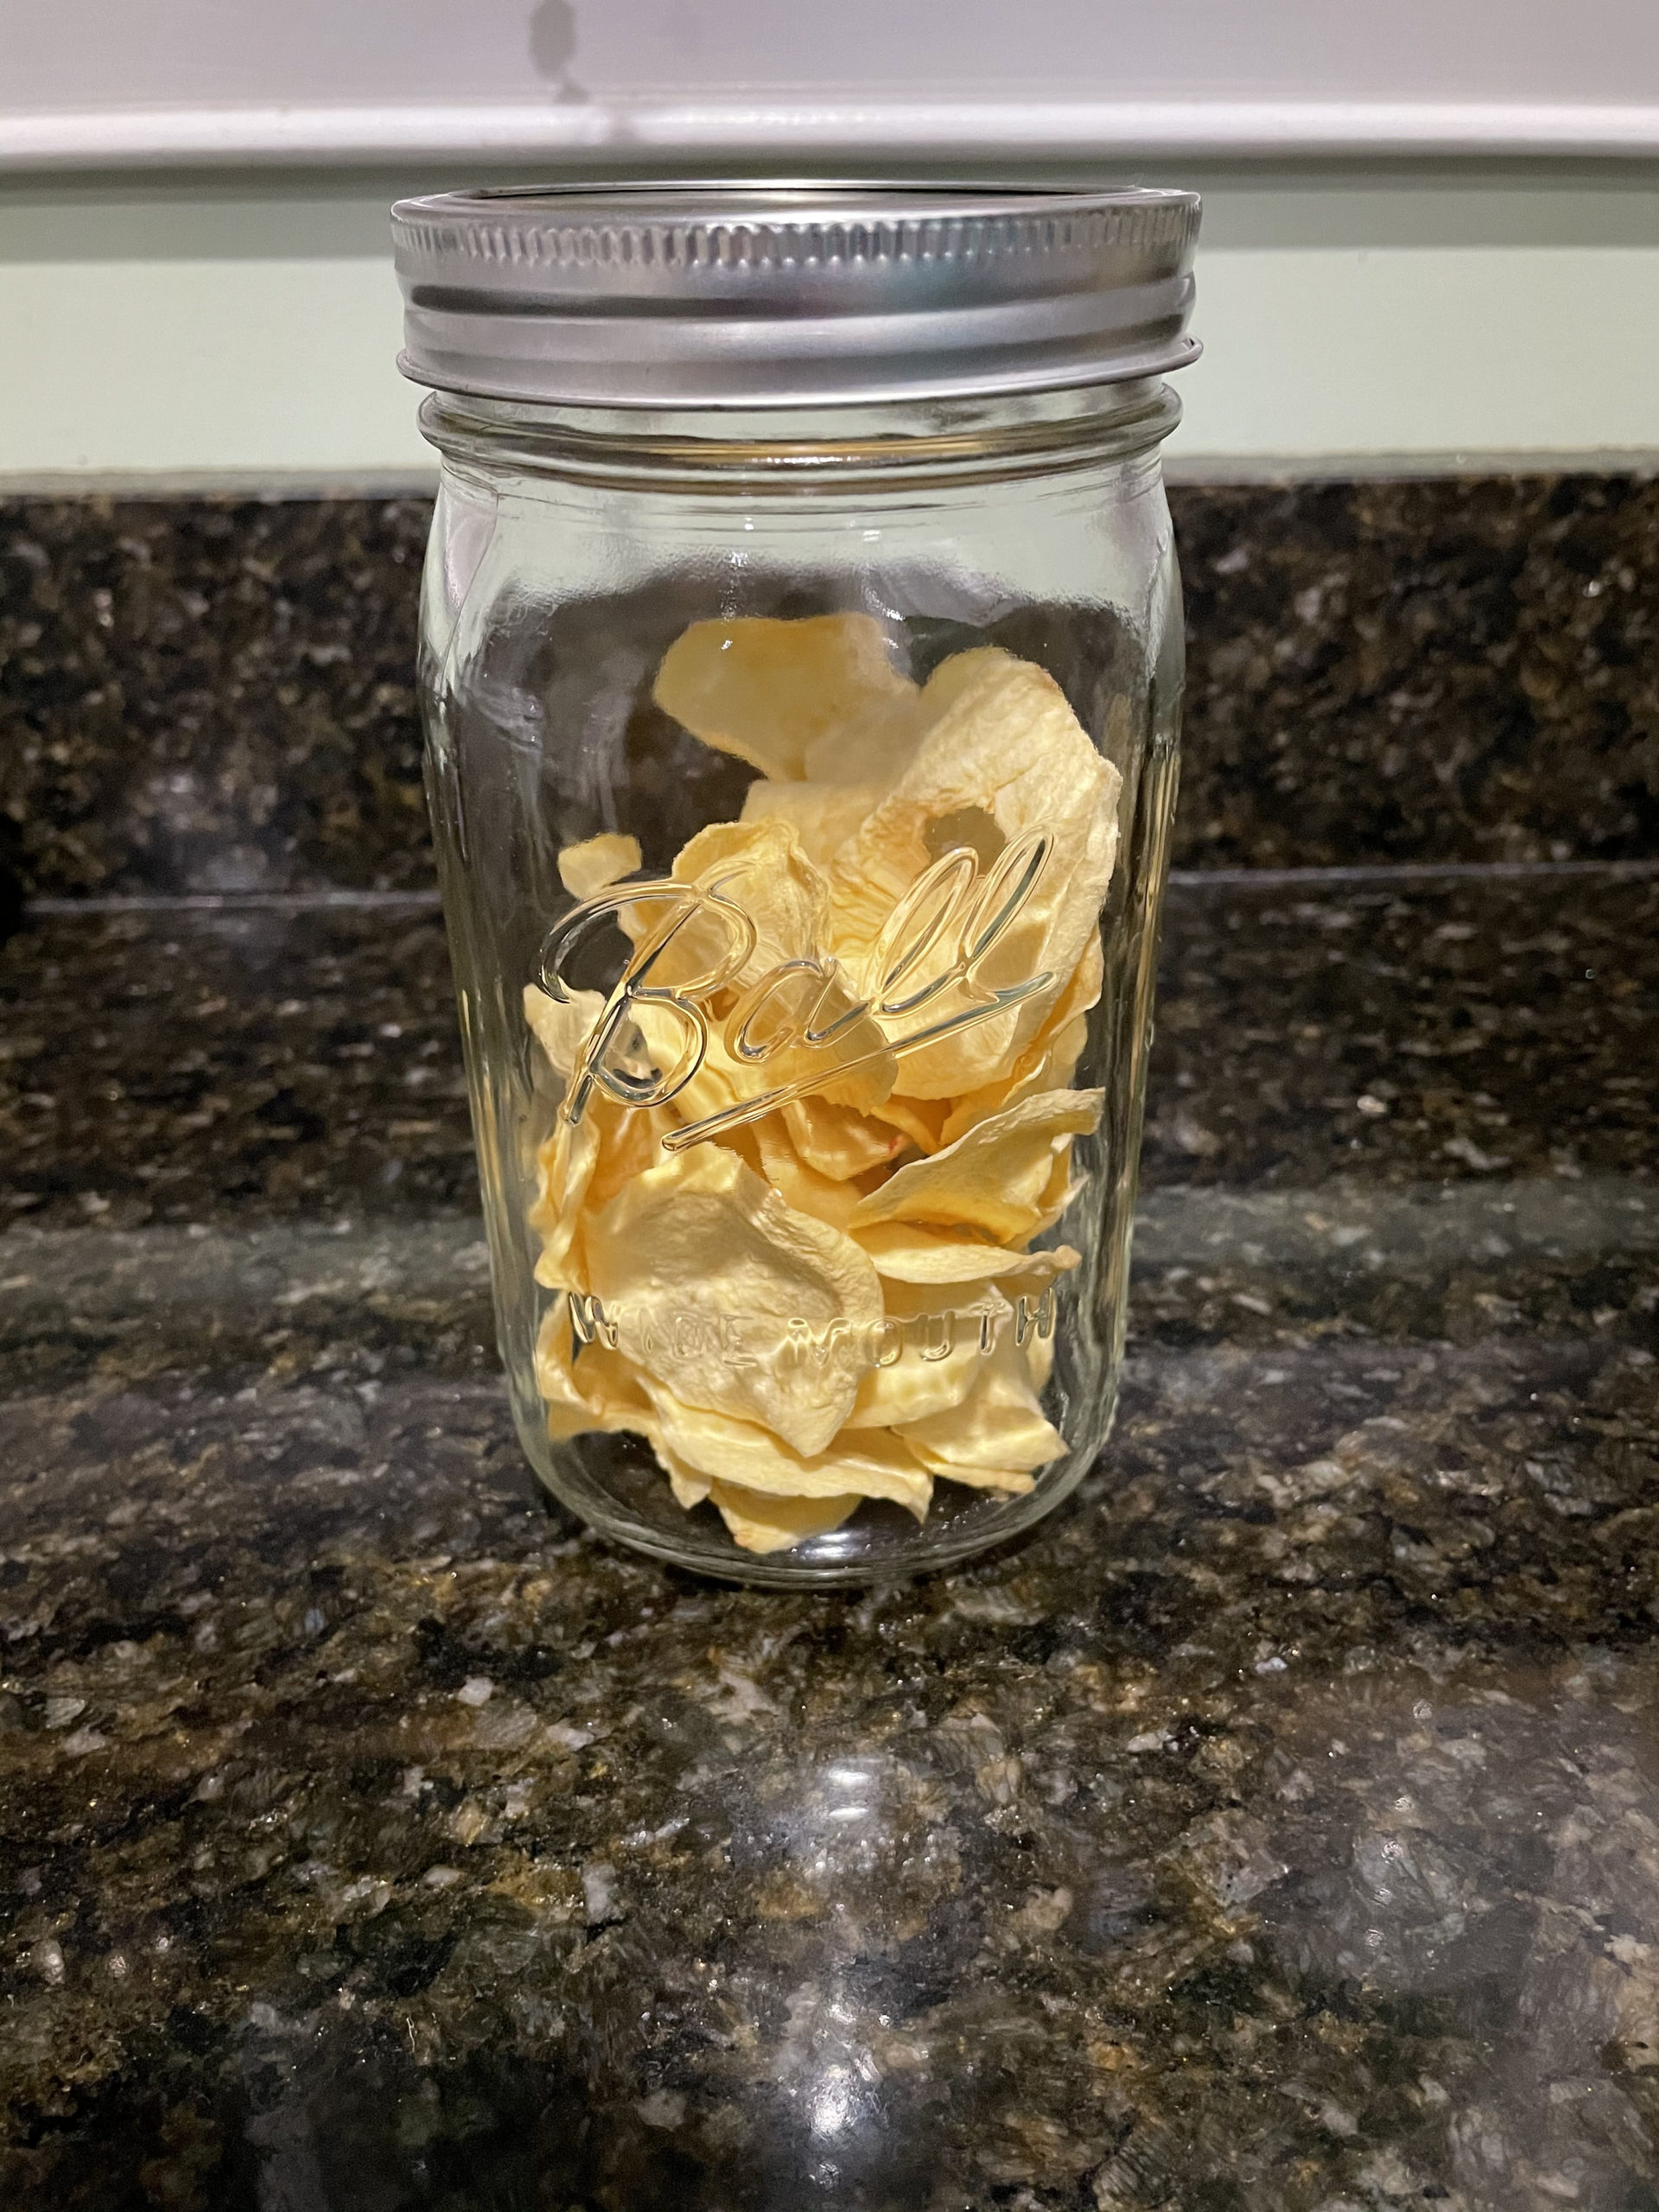
Place dehydrated pieces into a plastic or glass container and seal. Do not pack pieces but allow loose space. Every day for 1 week gently shake sealed container. Look for clumps of sticky fruit and most importantly look for condensation on the walls of the container. If condensation appears, put entire container’s contents back into dehydrator and dehydrate longer, finish with same conditioning process.
STORING
After a successful 1 week conditioning process, package up your dehydrated apples for longer storage by putting them in a jar with minimum amount of air space or in a plastic storage bag with air squeezed out and sealed. Some people like to use vacuum sealers which will of course allow for even longer storage. Generally for just basic storage procedures, it’s best to use dehydrated fruit within a year’s time (Always label & date your container!).

 About Me
0 Comments